> ## Documentation Index
> Fetch the complete documentation index at: https://docs.zoice.com/llms.txt
> Use this file to discover all available pages before exploring further.
# Generate Veo 3.1 Videos Using Frame to Video
> Create premium-quality videos with Veo 3.1 using frame-by-frame animation.
## Overview
Veo 3.1's Frame to Video mode allows you to upload multiple frames and generate smooth, high-quality video transitions between them, perfect for creating professional animations and controlled video sequences.
## Quick Start
Upload multiple frames and let the AI generate smooth transitions and motion between them to create a cohesive, premium-quality video.
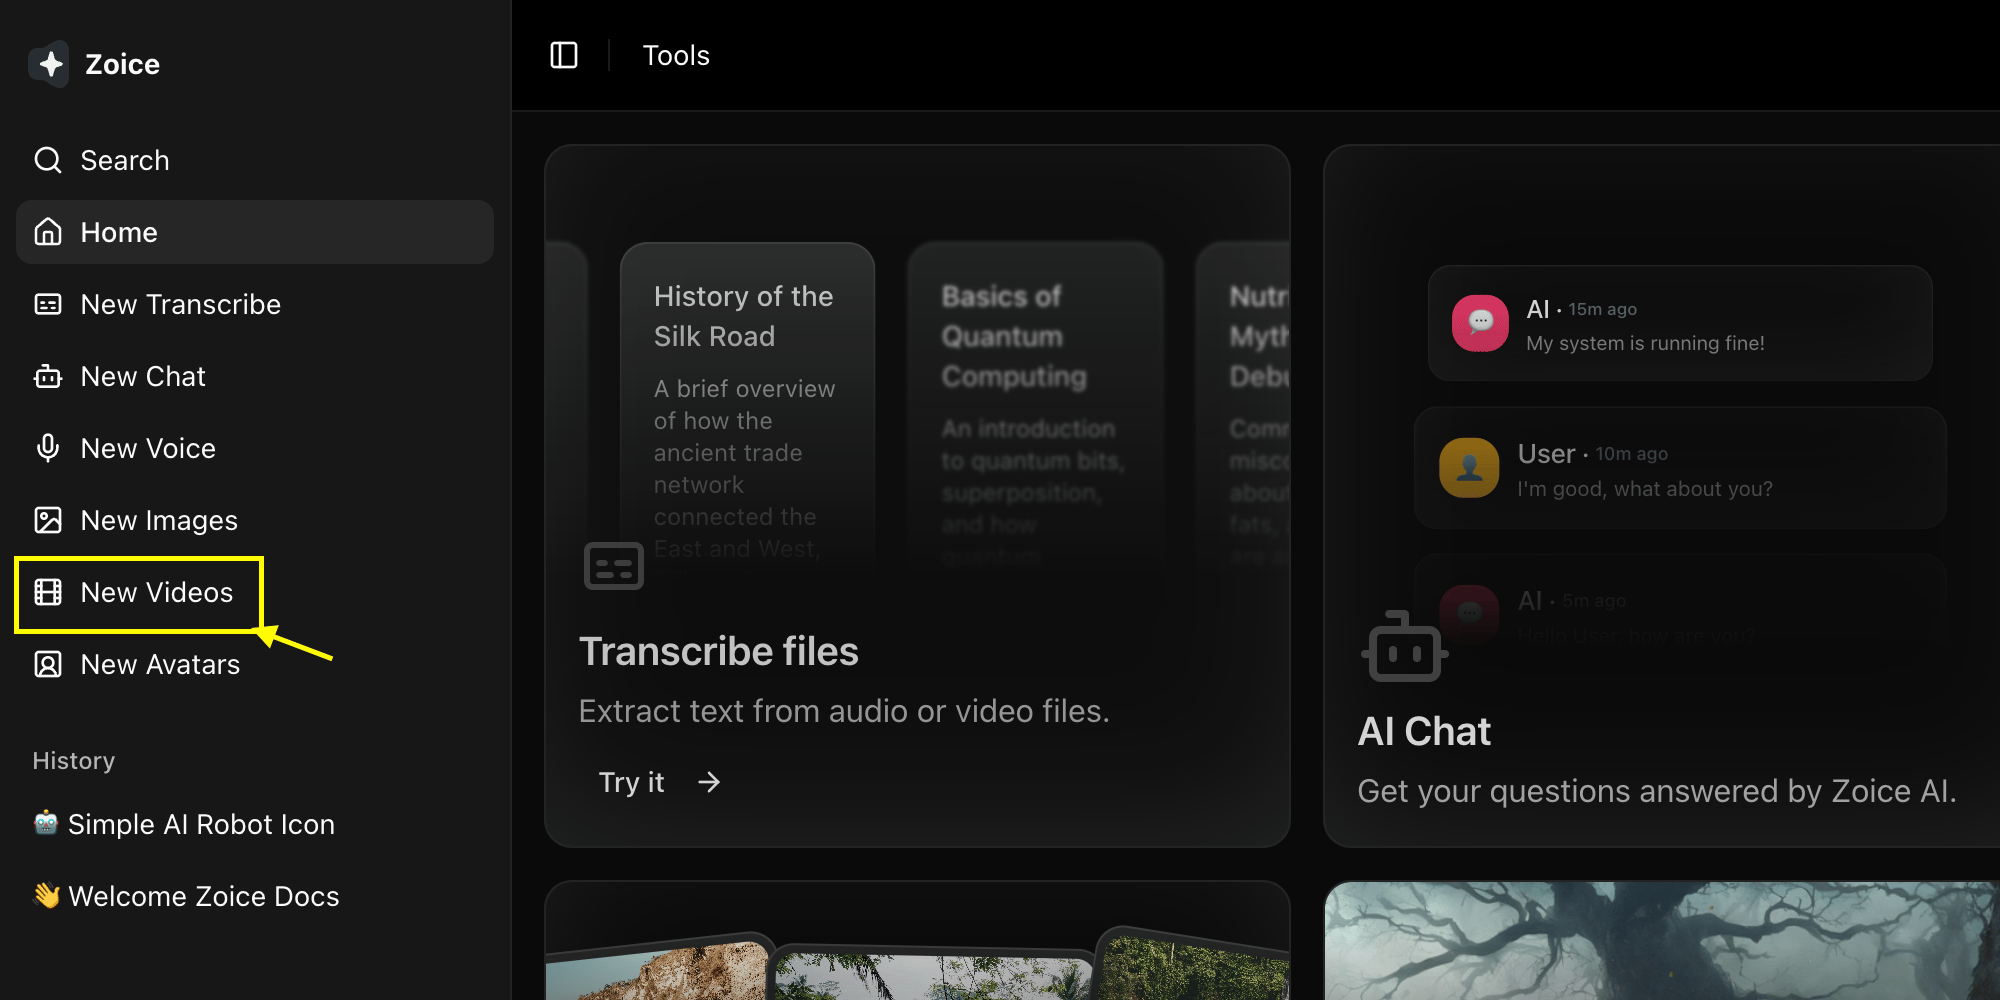
Go to the Video Generator tool by clicking on **New Video**.
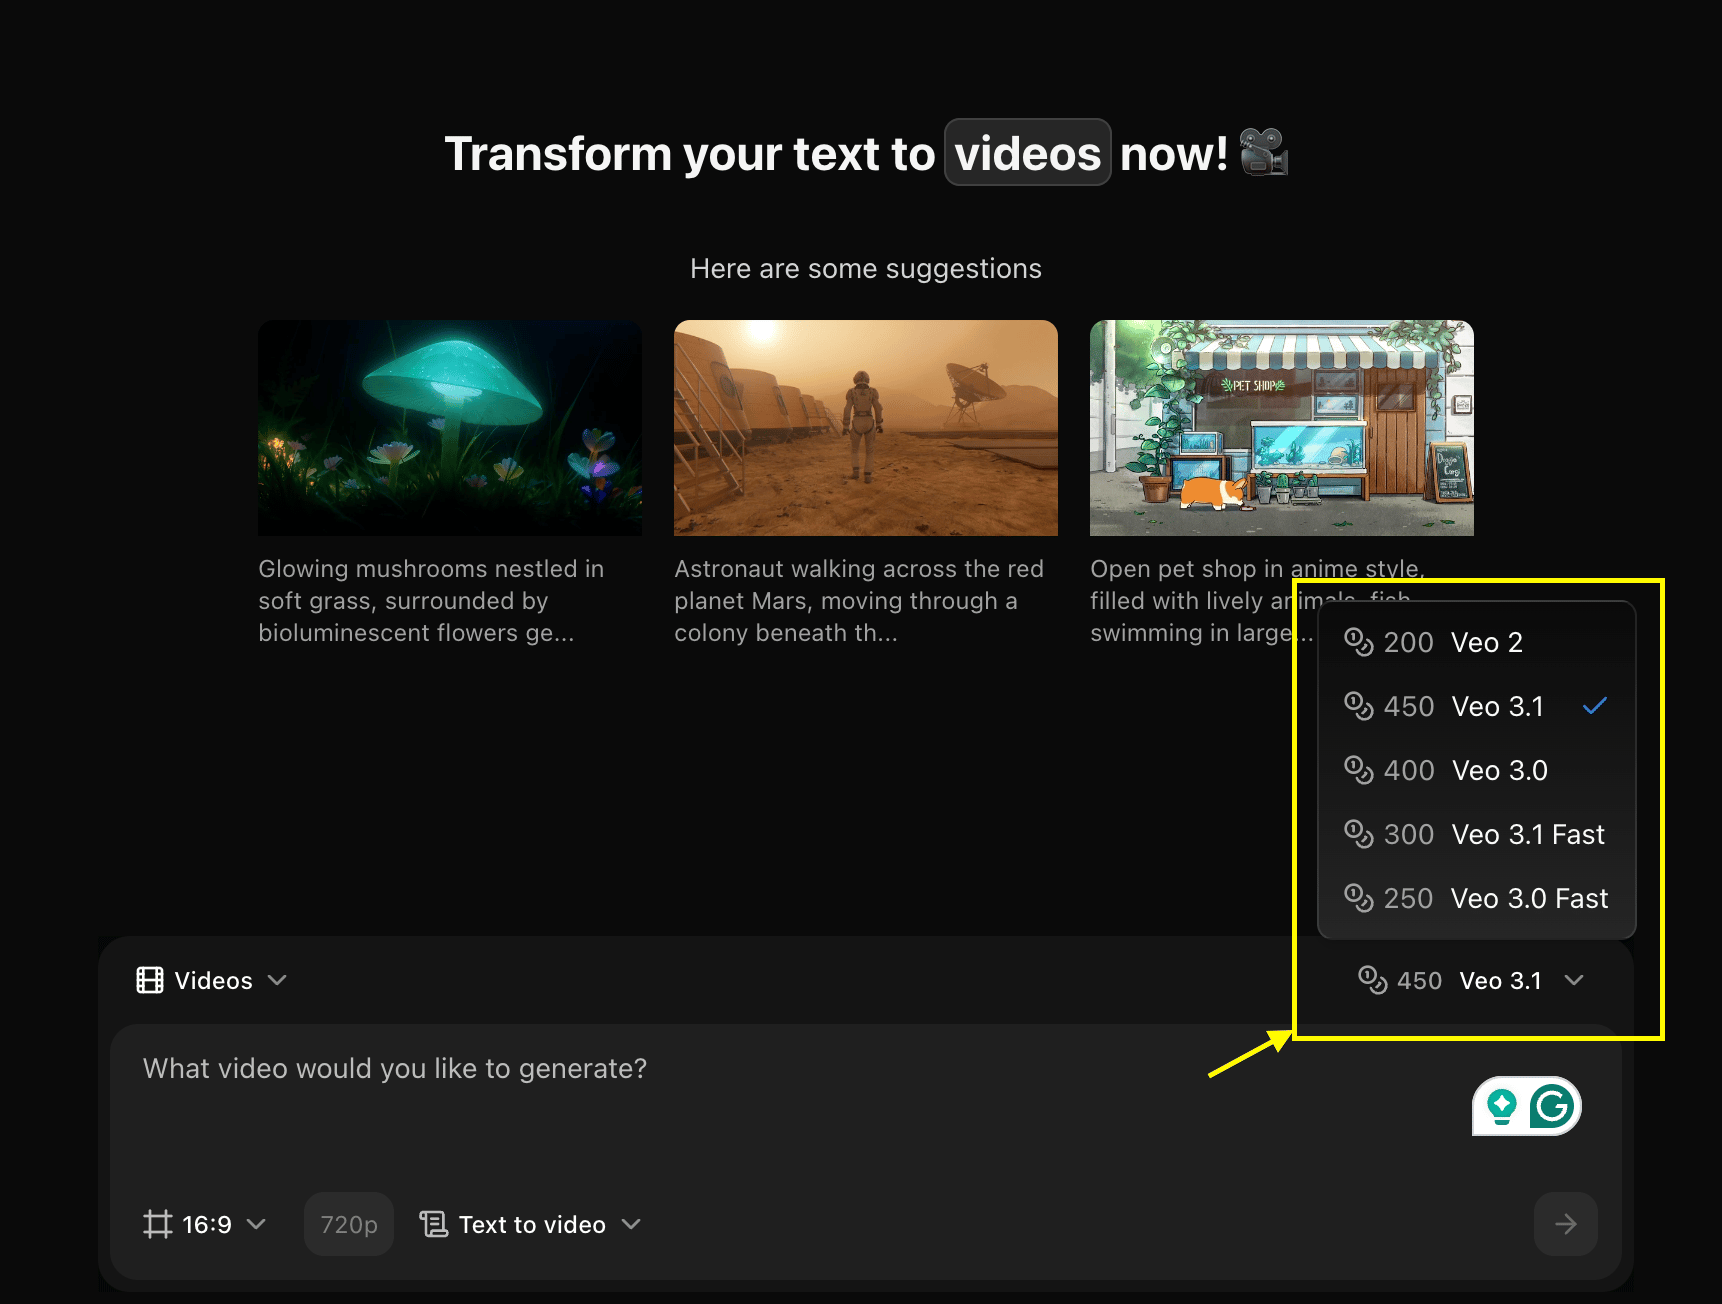
 Choose **Veo 3.1** from the model selector.
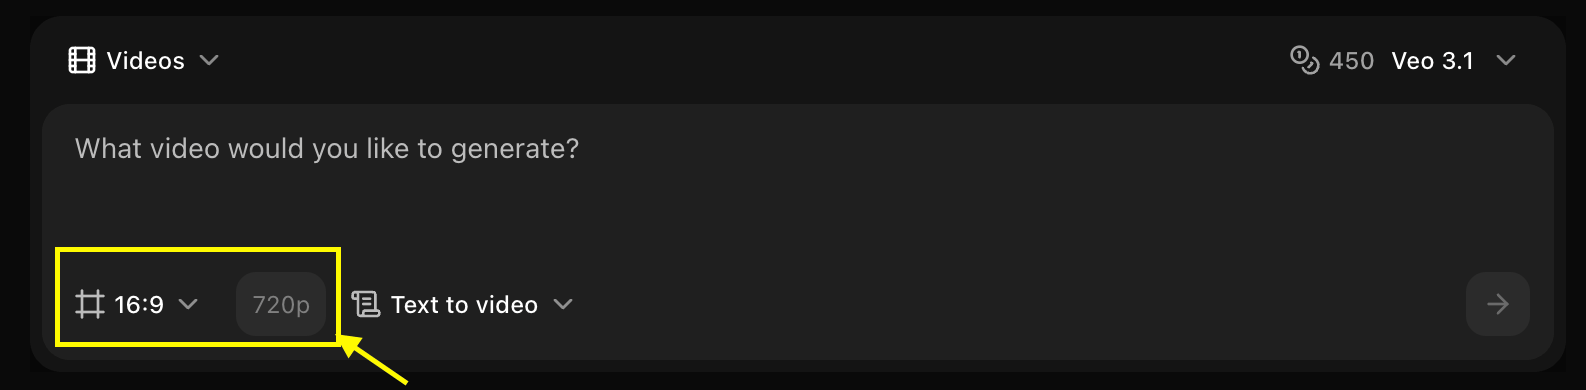
 Set dimensions, resolution, and choose **Frame to Video** mode.
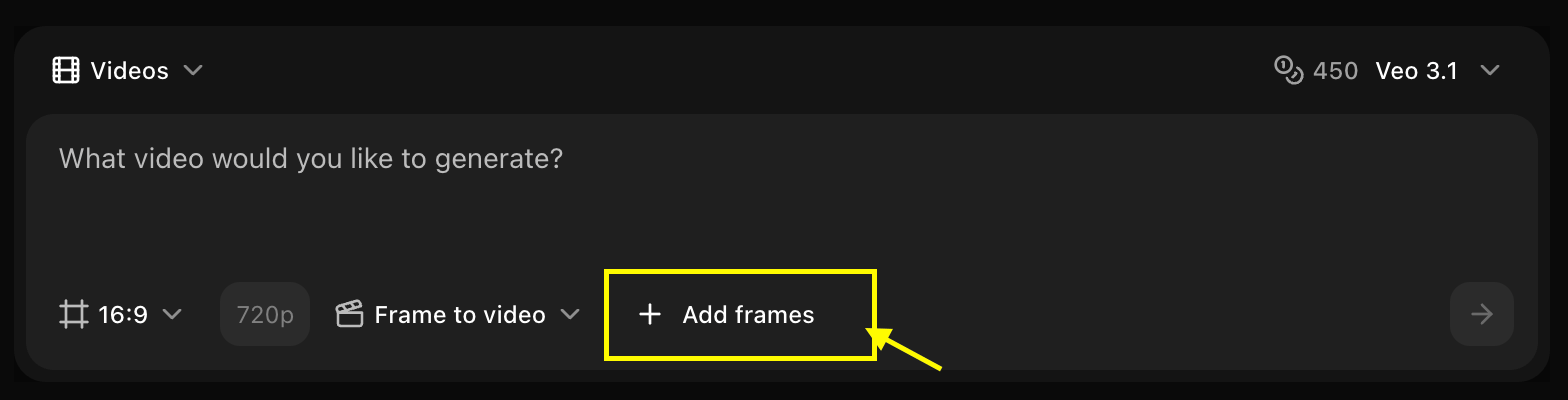
 Upload multiple frames in sequence that you want to animate.
 Add a description to guide the animation style and motion between frames.
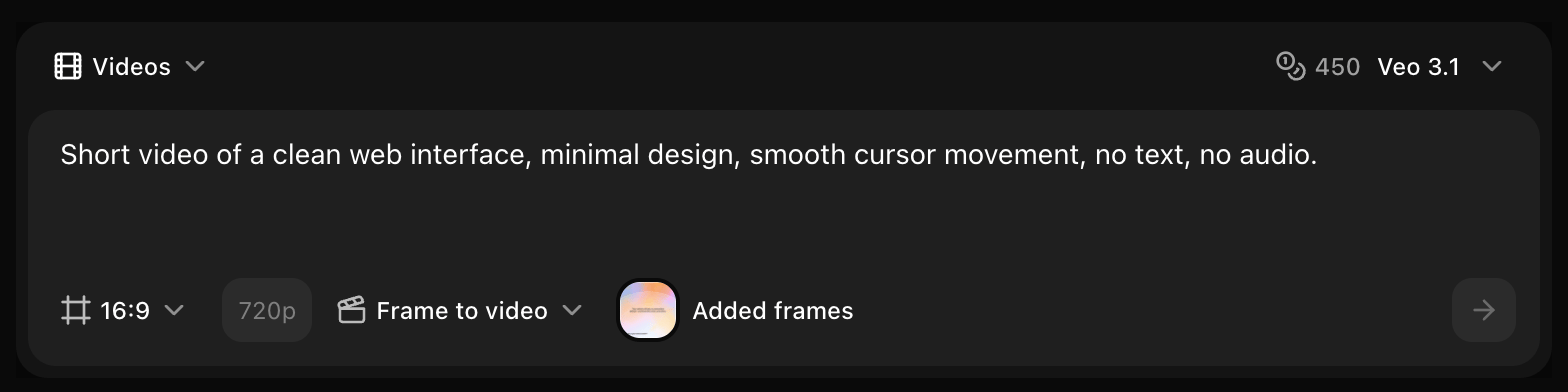 Click on the **Generate** button to begin creating your video.
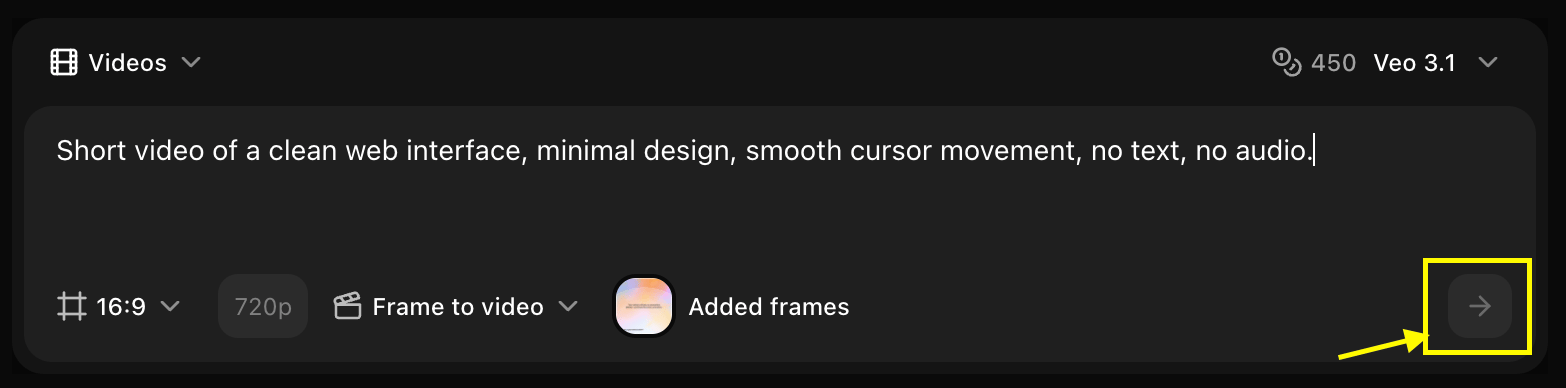 Save your generated video.
## Best Practices
* Use consistent frame sizes and aspect ratios
* Maintain visual continuity between frames
* Add descriptive prompts for better transitions
* Specify desired animation style
* Consider timing and pacing
## Next Steps
Generate from text only
Generate from reference image
Save your generated video.
## Best Practices
* Use consistent frame sizes and aspect ratios
* Maintain visual continuity between frames
* Add descriptive prompts for better transitions
* Specify desired animation style
* Consider timing and pacing
## Next Steps
Generate from text only
Generate from reference image