> ## Documentation Index
> Fetch the complete documentation index at: https://docs.zoice.com/llms.txt
> Use this file to discover all available pages before exploring further.
# AI Image Generator
> Create stunning high-quality visuals from text prompts. Learn how to use Zoice's AI image generator for marketing, social media, and professional graphics.
## Key Features
Zoice's Image Generator allows you to create high-quality, unique images from simple text descriptions. Whether you need artwork, graphics, product mockups, or creative visuals, our AI-powered image generation makes it easy to bring your ideas to life.
* **Integrated Model Selector**: Select your preferred AI model (e.g., *Imagen 4 Fast*) directly within the prompt input panel for a cleaner, unified workspace.
* **Prompt Suggestions**: Get inspired with clickable suggestion cards displaying pre-configured sample prompts and sample generated images.
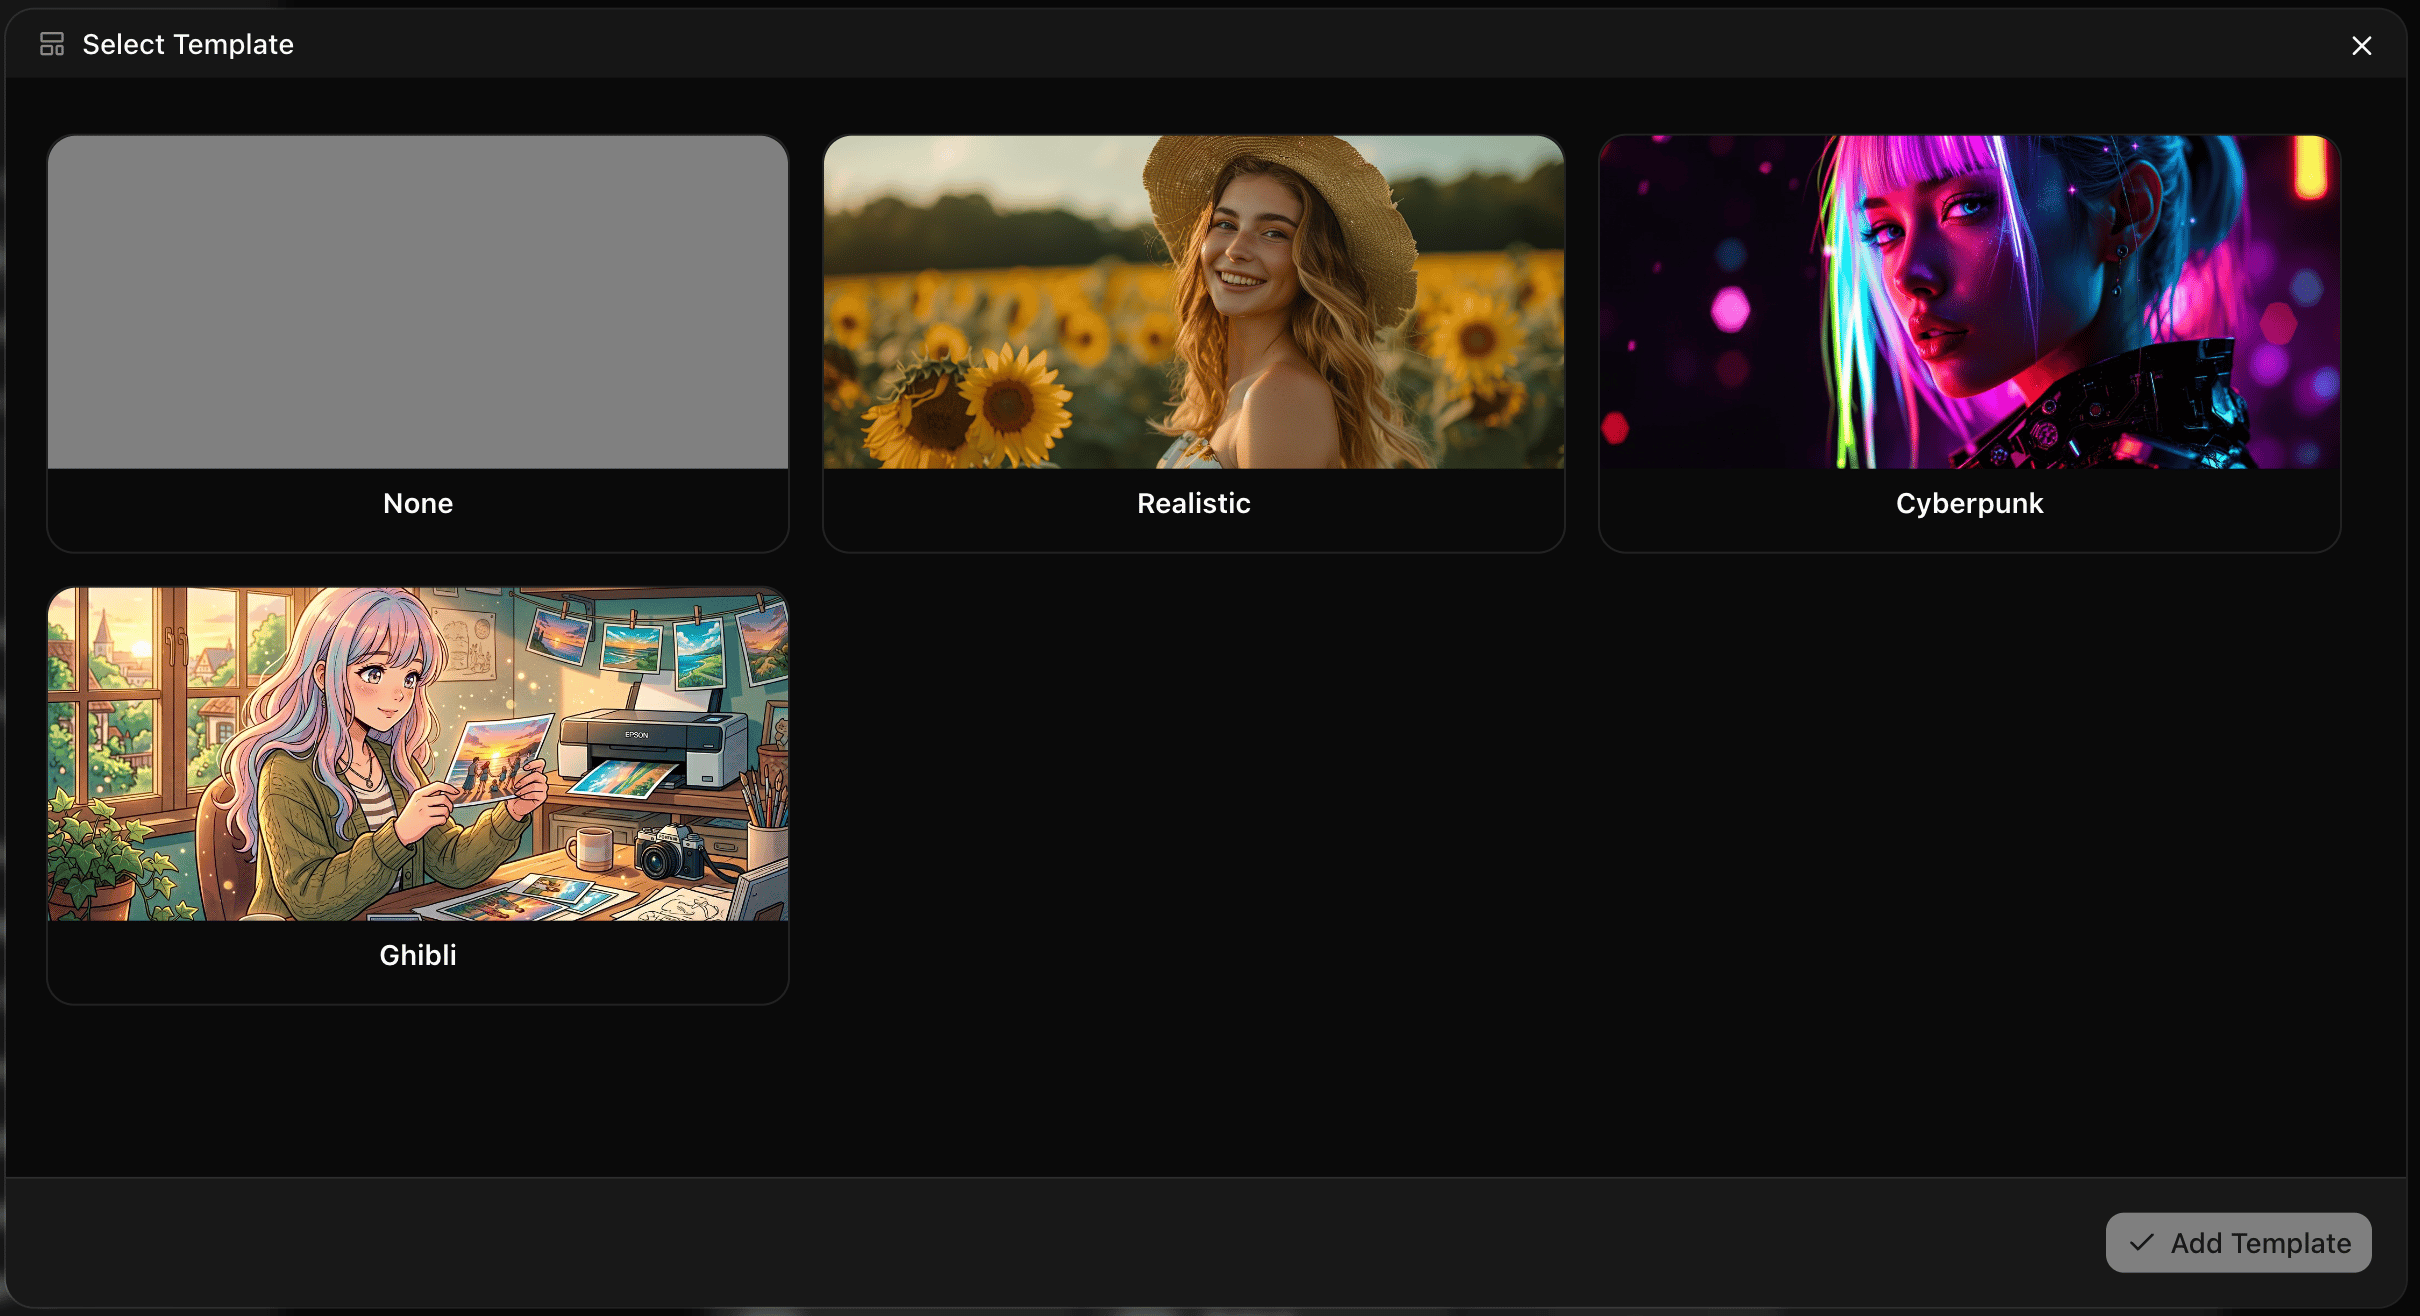
* **Template Styles**: Apply preset templates and visual styles with a single click using the **Template** selector.
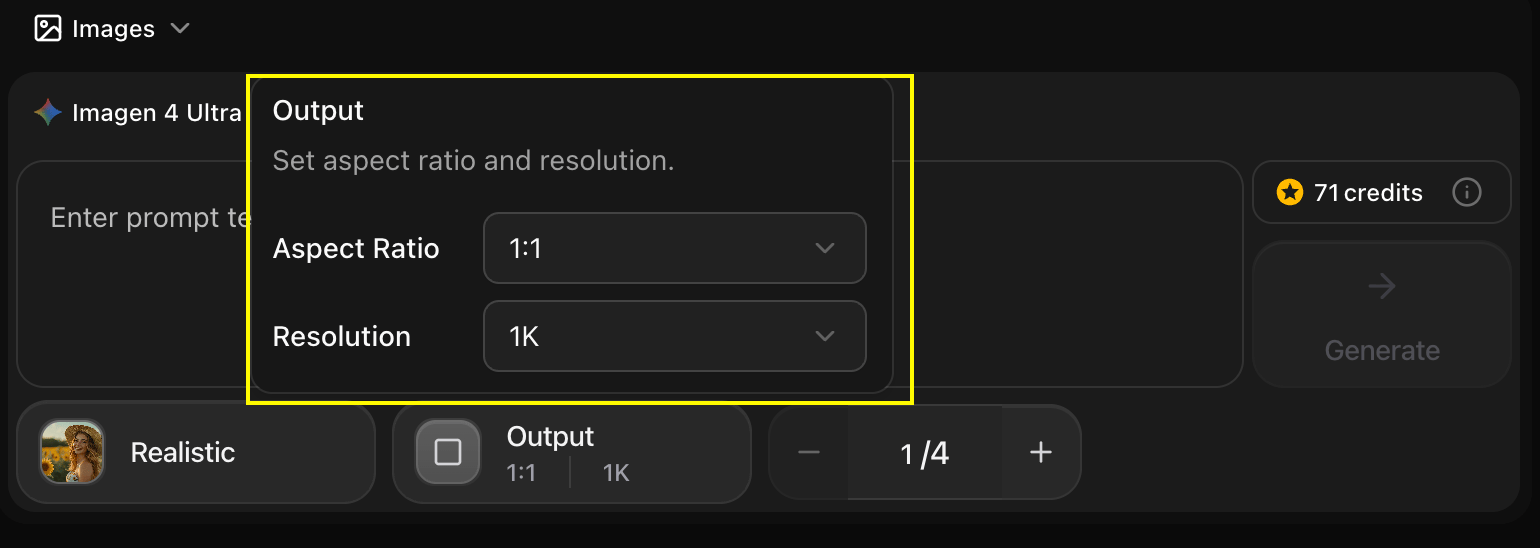
* **Aspect Ratio Controls**: Set the precise output size (e.g., `1:1`, `16:9`) using the **Output** settings button.
* **Batch Generation**: Customize the number of images to generate (from 1 to 4) using the batch count counter (`- / +`).
* **Real-Time Credit Costs**: View the required credit cost per generation dynamically on the dashboard before clicking Generate.
* **Text-to-Image & Image-to-Image**: Feed descriptions or upload visual references to guide the AI's generation.
## Use Cases
Create eye-catching visuals for social media, ads, and campaigns
Generate concept art and product mockups
Produce unique images for blogs, articles, and websites
Bring artistic visions to life for personal or professional projects
## How It Works
1. **Navigate to Images**: Go to the Image Generator section in your Zoice dashboard.
2. **Select a Model**: Choose your desired AI model (e.g., *Imagen 4 Fast*) from the dropdown menu located at the top-left of the input panel.
3. **Use Suggestions (Optional)**: Click on one of the suggested cards under the header to instantly populate a prompt.
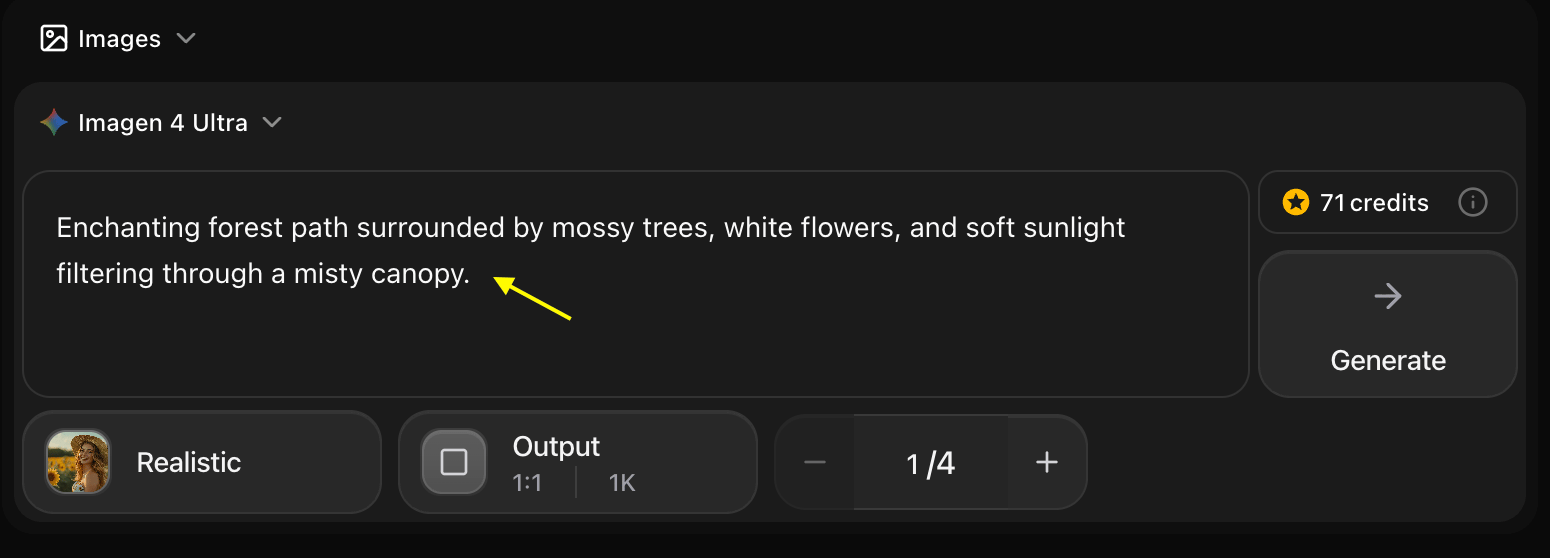
4. **Enter Your Prompt**: Type the details of the image you want to create in the main prompt input textarea.
5. **Configure Parameters**:
* Choose a **Template** style to apply preconfigured aesthetics.
* Adjust the **Output** layout to change the aspect ratio.
* Select the number of images (1 to 4) to generate simultaneously using the batch counter.
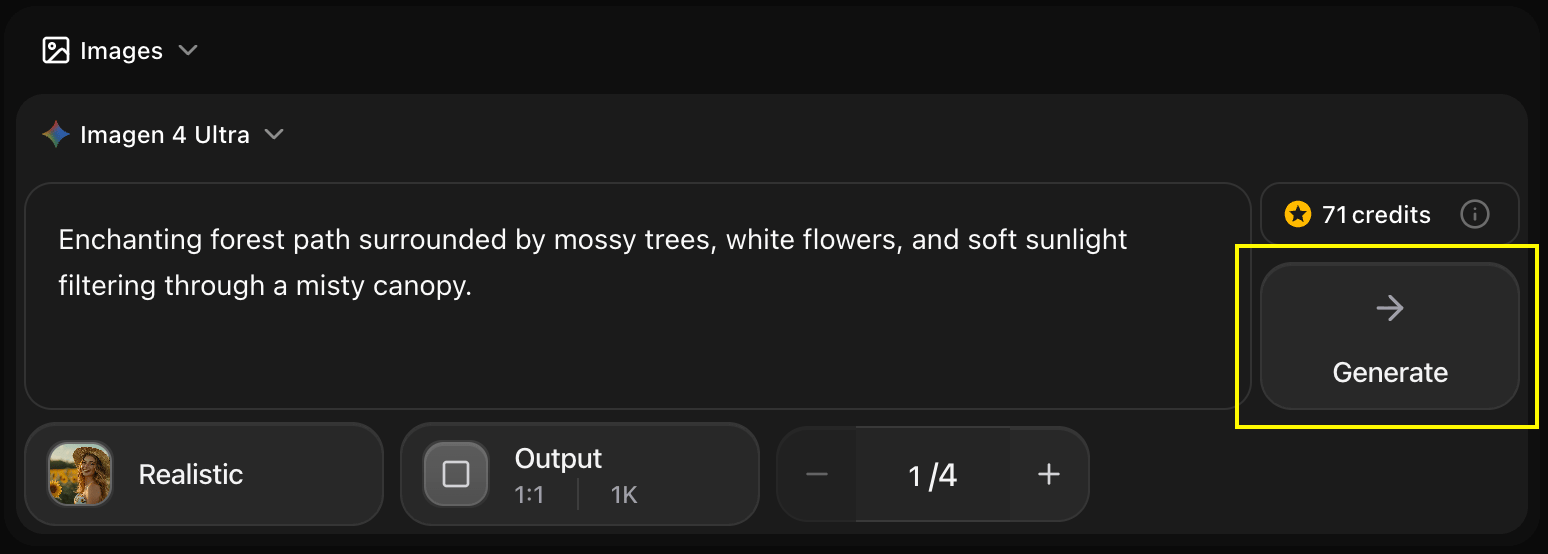
6. **Check Credit Cost**: Confirm the credit cost (e.g., 24 credits) indicated next to the Generate button.
7. **Generate**: Click the **Generate** button to create your images.
8. **Download**: Save your generated images in high quality.
## Getting Started
Go to the Image Generator section in your Zoice dashboard.
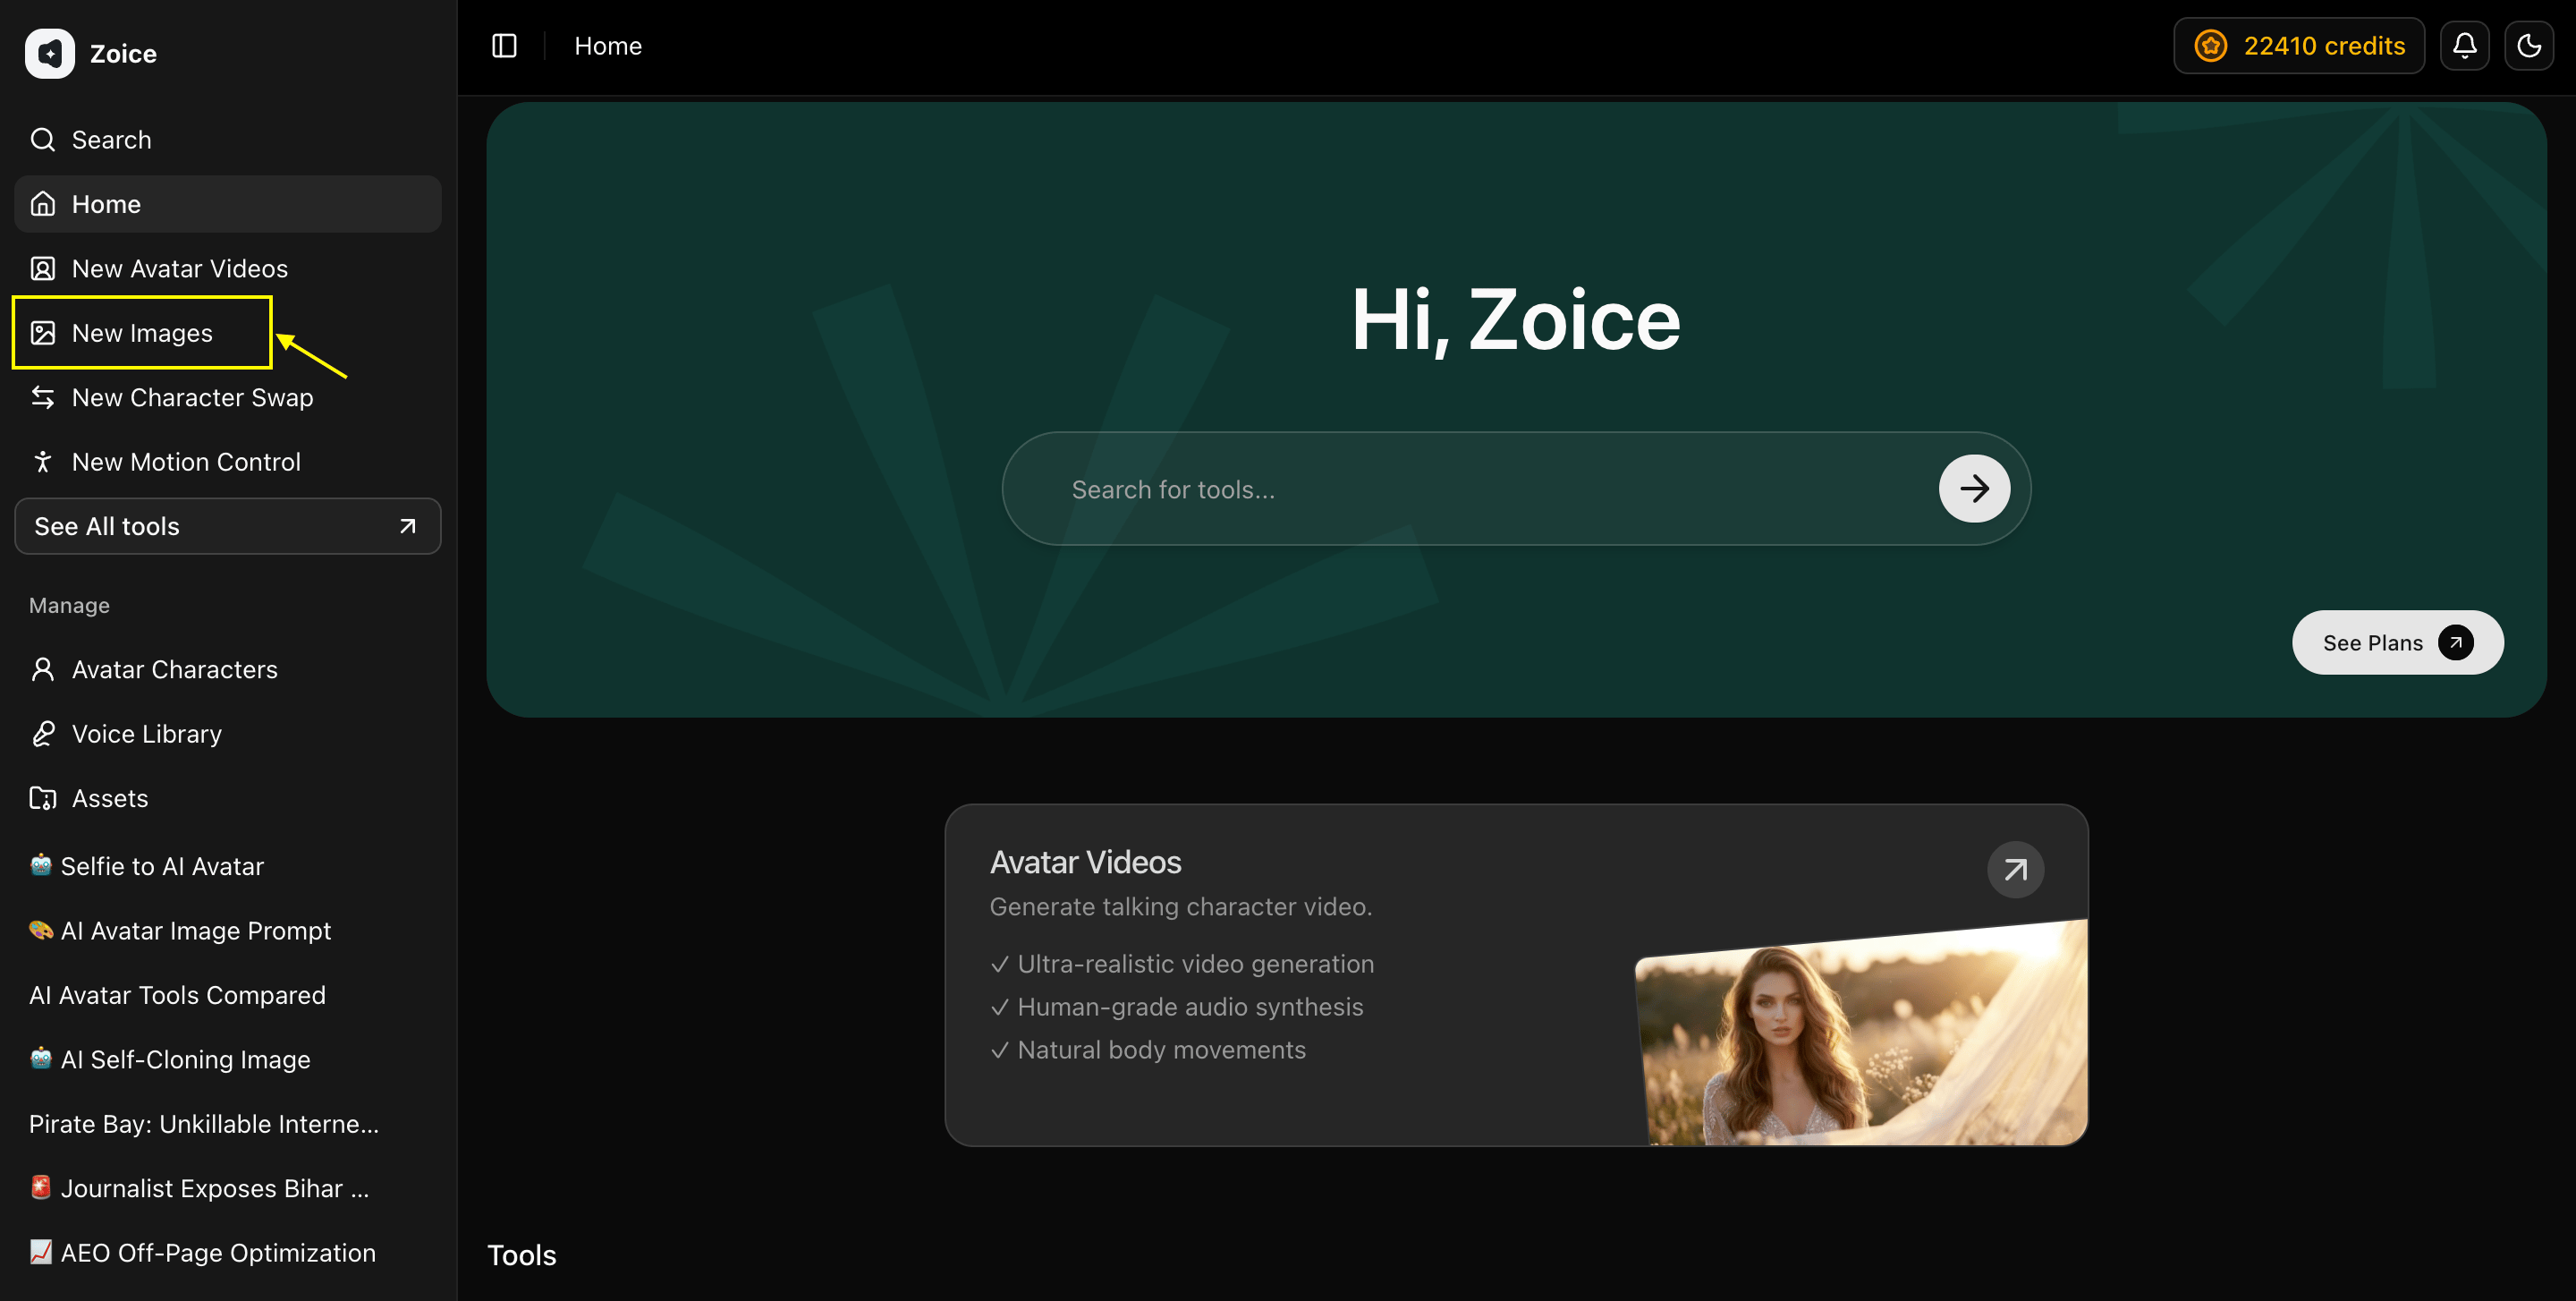 Select the AI model you want to use from the model dropdown selector nested directly within the generation card, under the tool selector dropdown.
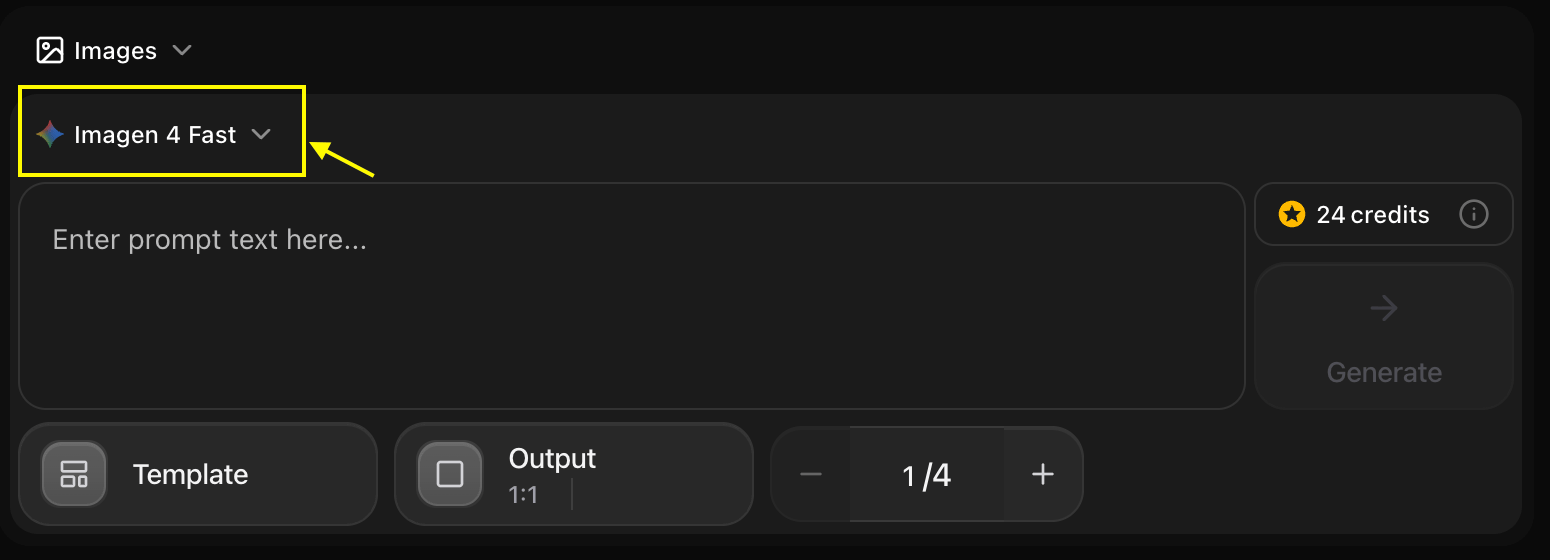 Click on sleceted model to change into diffrent model.
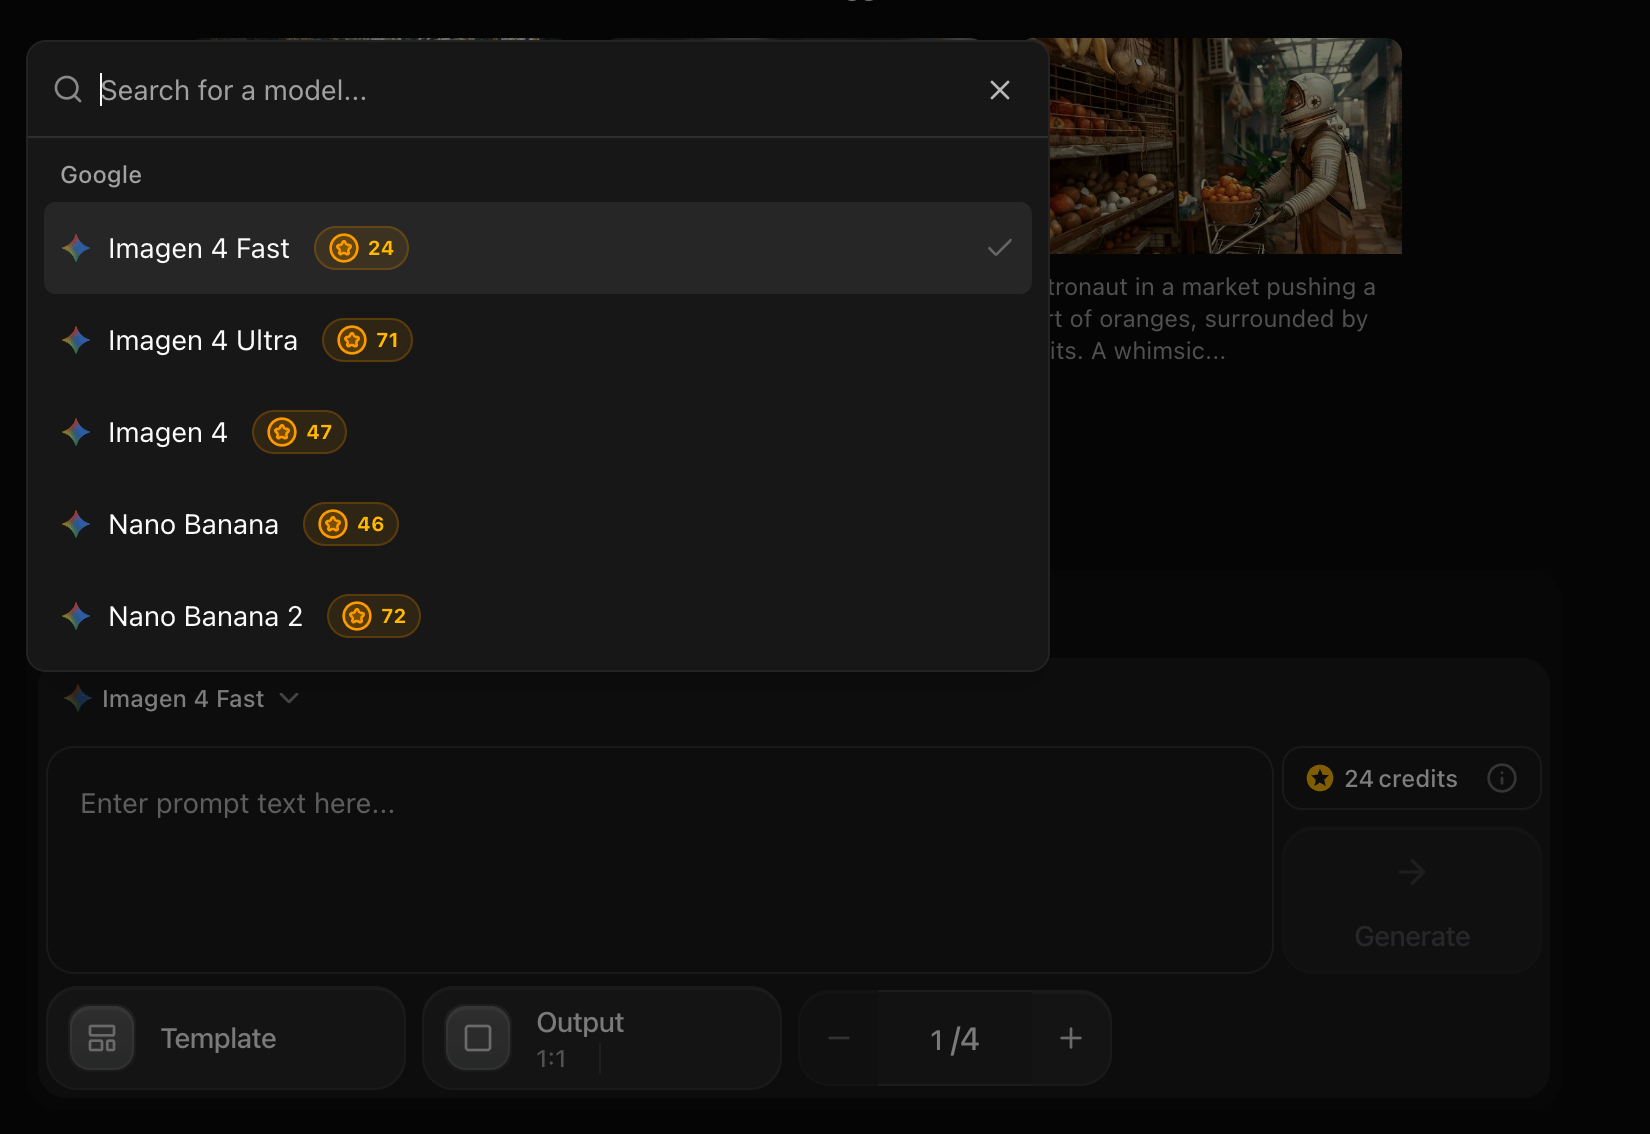 Set your generation styles with **Template**, choose the layout using **Output**, and adjust the batch size (1 to 4 images) using the counter.
* Click on template to change the style.
Set your generation styles with **Template**, choose the layout using **Output**, and adjust the batch size (1 to 4 images) using the counter.
* Click on template to change the style.
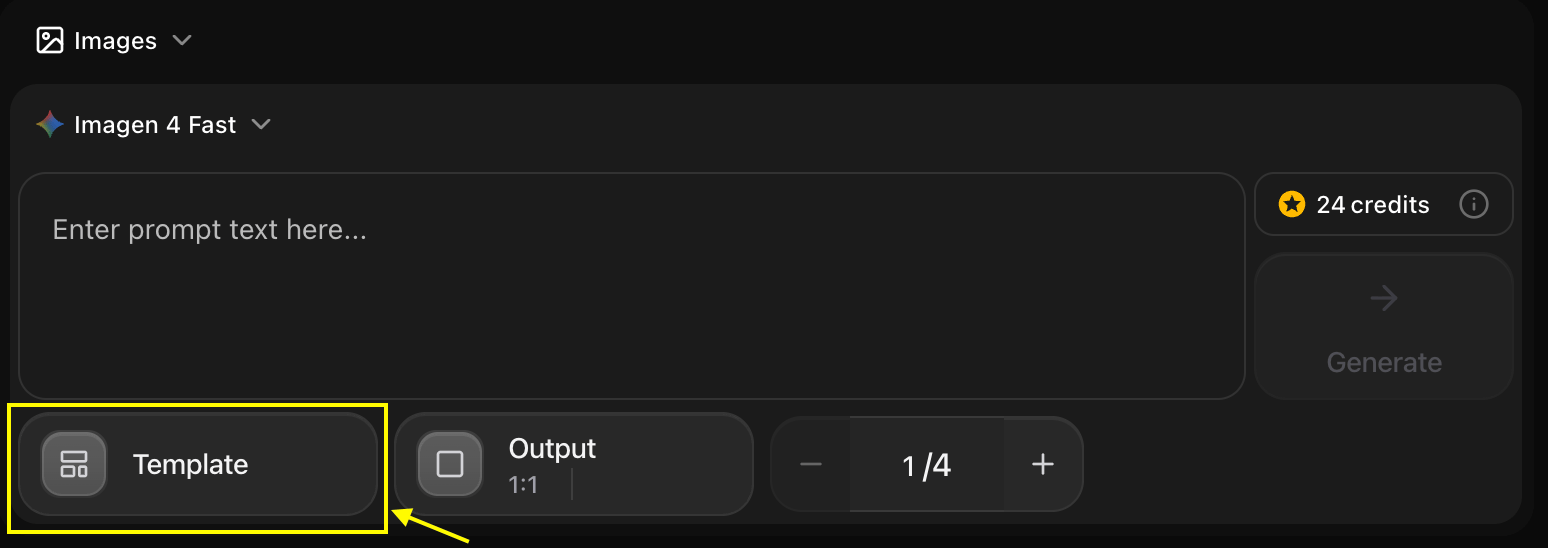 Select the template according to your needs.
 * Click on output to change the aspect ratio.
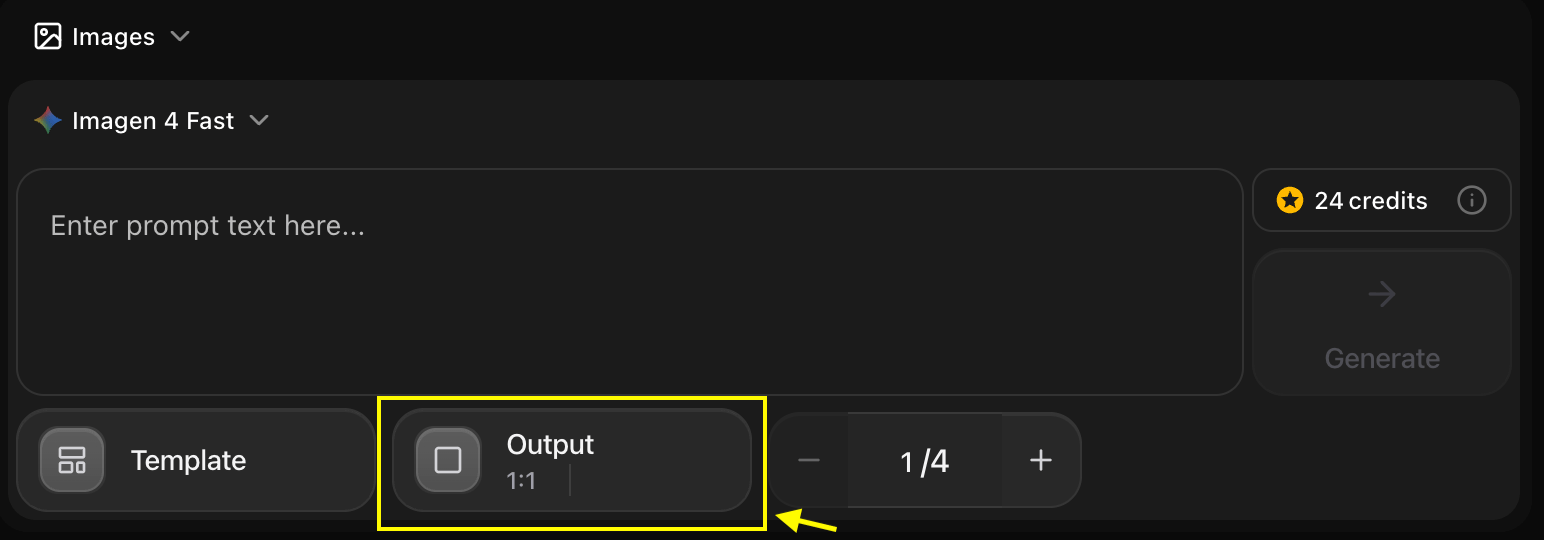 Select the output style like image aspect ratio, image qulity.
 * Click on counter to change the batch size.
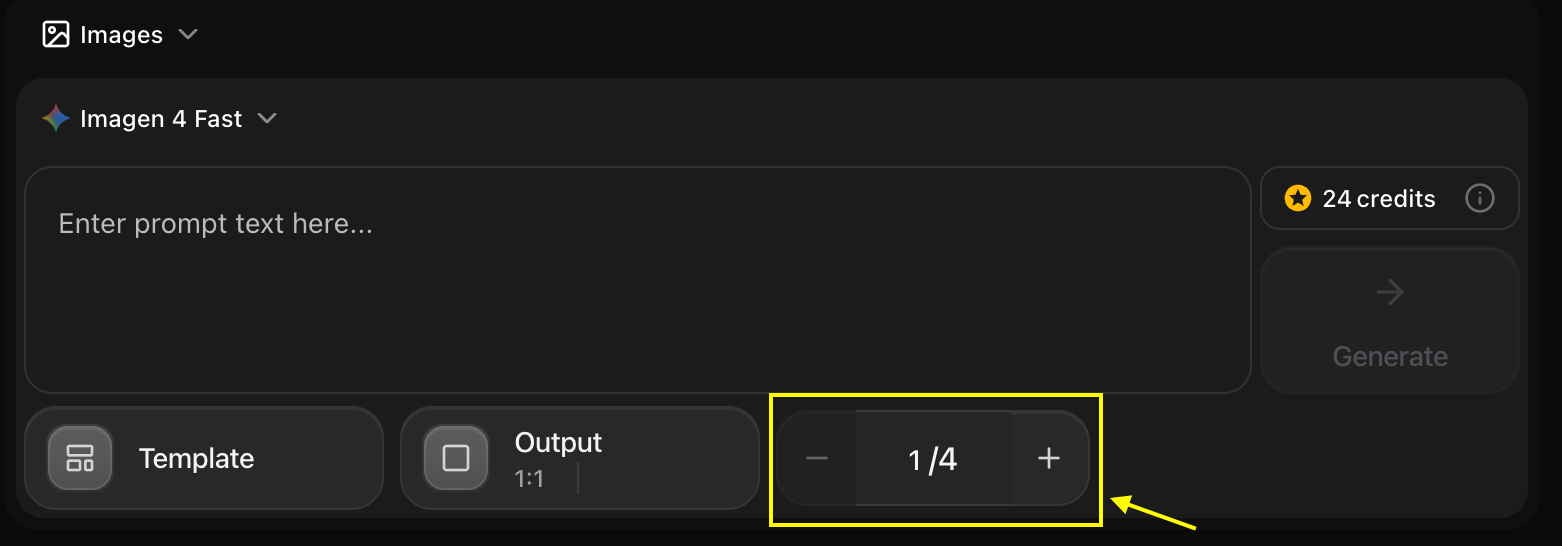 Select the number of images you want to generate according to your needs.
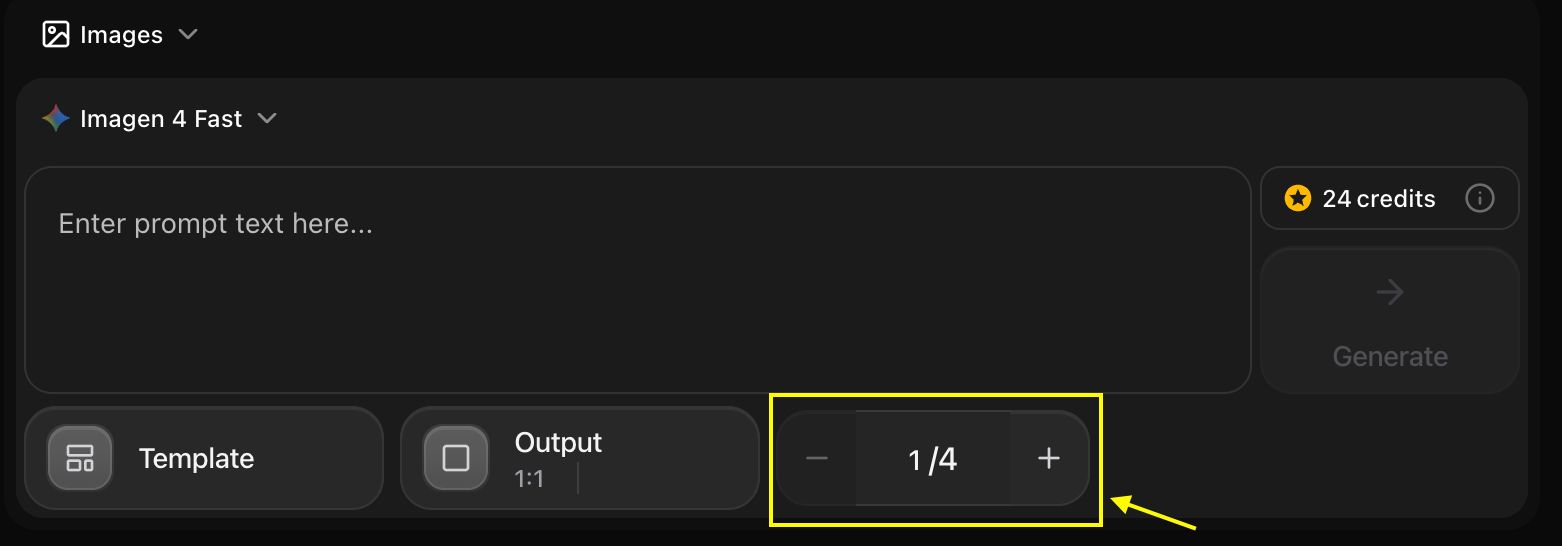 Write a detailed prompt in the text area, or click one of the suggested prompt cards above the generator panel to populate the prompt field automatically.
 Check the credit cost on the right side of the input panel and click the **Generate** button.
 Save your generated images to your device.
For best results, be specific in your prompts. Include details about style, colors, composition, and mood.
## Next Steps
Our fastest model for rapid prototyping and social media.
Professional photorealistic quality for marketing and print.
Detailed steps for generating images from text.
Master the art of writing effective AI prompts.
Save your generated images to your device.
For best results, be specific in your prompts. Include details about style, colors, composition, and mood.
## Next Steps
Our fastest model for rapid prototyping and social media.
Professional photorealistic quality for marketing and print.
Detailed steps for generating images from text.
Master the art of writing effective AI prompts.