> ## Documentation Index
> Fetch the complete documentation index at: https://docs.zoice.com/llms.txt
> Use this file to discover all available pages before exploring further.
# How to Make a Cartoon Character Talk Using AI
> Animate any cartoon character with realistic lip-sync and voice using Zoice's AI avatar tools.
## What Does "Make a Cartoon Character Talk" Mean?
With Zoice, you can take any cartoon or illustrated character image and bring it to life — giving it a realistic voice, expressive lip-sync, and animated facial movements. This is perfect for storytelling, educational content, YouTube animations, and branded mascot videos.
## Prerequisites
Before starting, ensure you have:
* A clear, front-facing cartoon character image (PNG or JPG).
* A script or pre-recorded audio you want the character to speak.
***
## Step-by-Step Guide
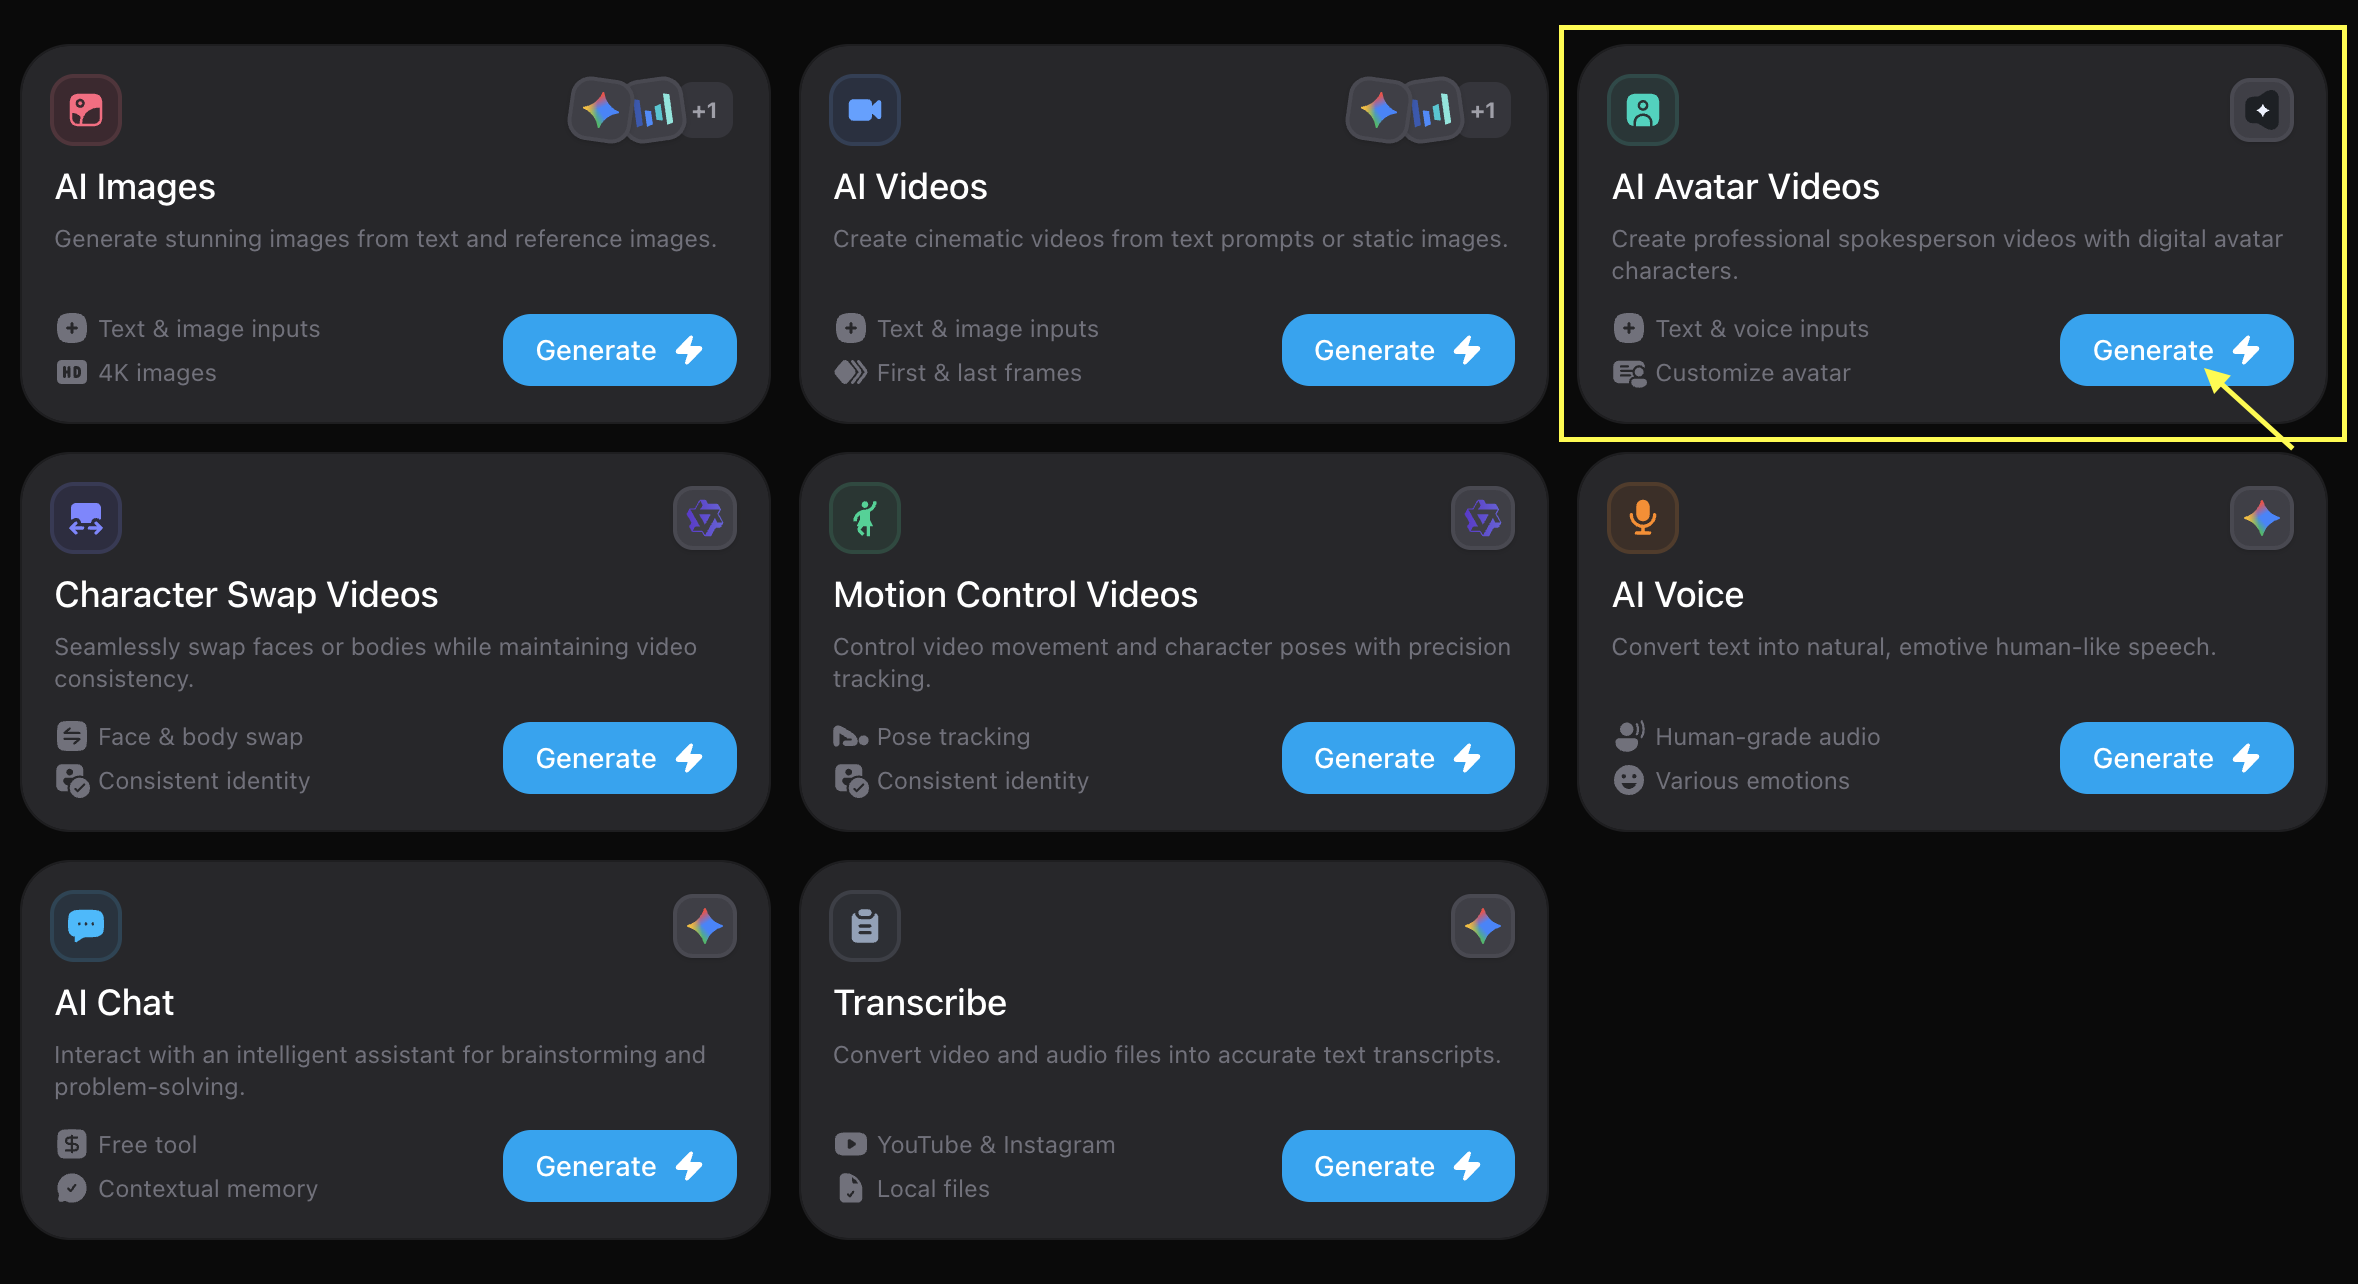
Log in to your [Zoice Dashboard](https://zoice.com) and click **See all tools**. Scroll down and locate **AI Avatar Videos**, then click **Generate**.
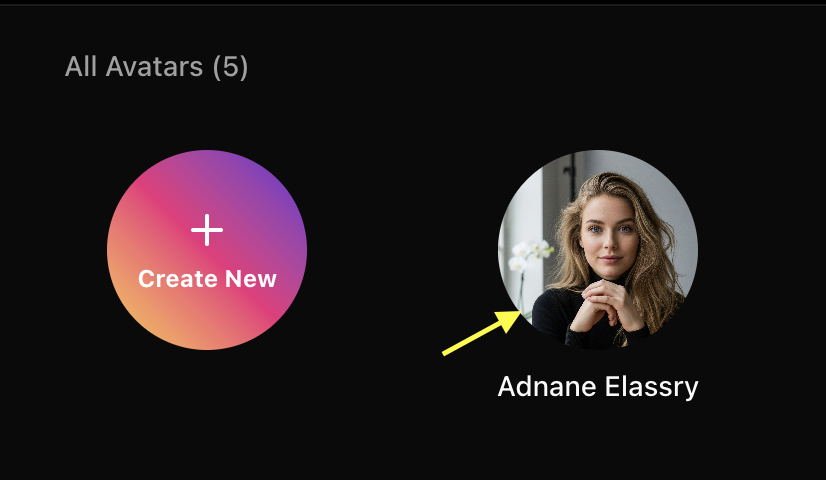
 Click on **Custom Avatar** and then **Upload Image**. Select your cartoon character file. Make sure the face is forward-facing and the mouth is closed for best lip-sync results.
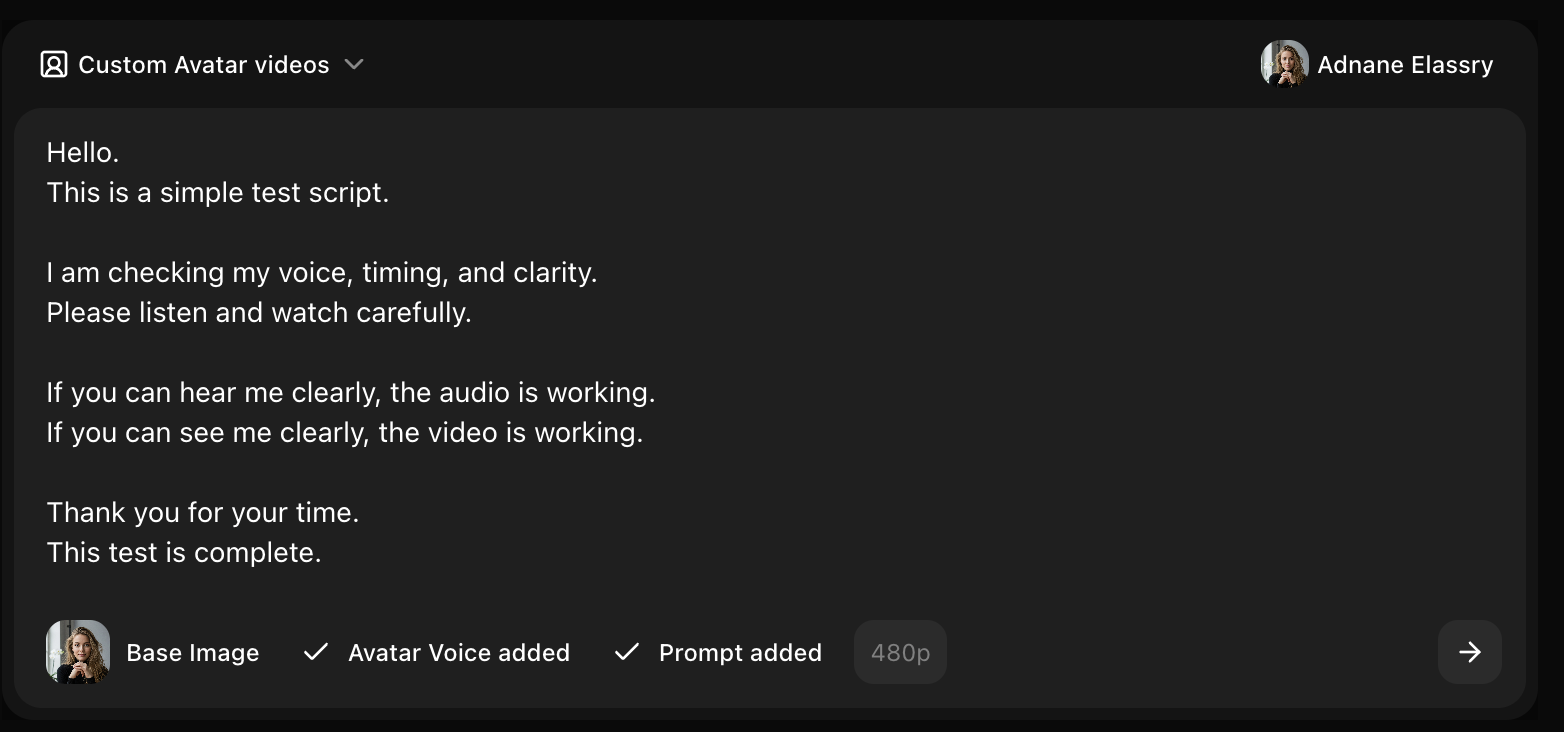
 Enter your script in the text field, or switch to **Audio Upload** to use a pre-recorded voiceover. Choose a voice from the Zoice voice library to match your character's personality.
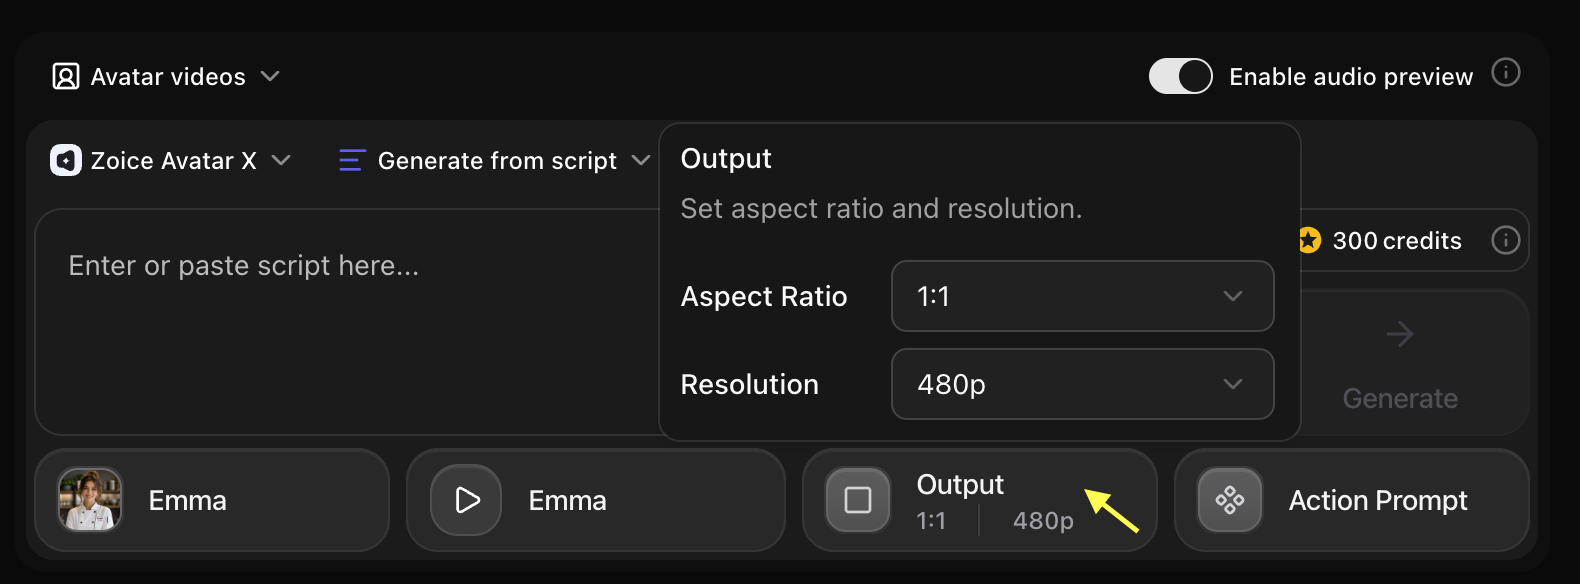
 Set the **Expression Intensity** to match the energy of your character — use **Expressive** for lively cartoon characters. Choose your video aspect ratio based on your target platform (16:9 for YouTube, 9:16 for Shorts/TikTok).
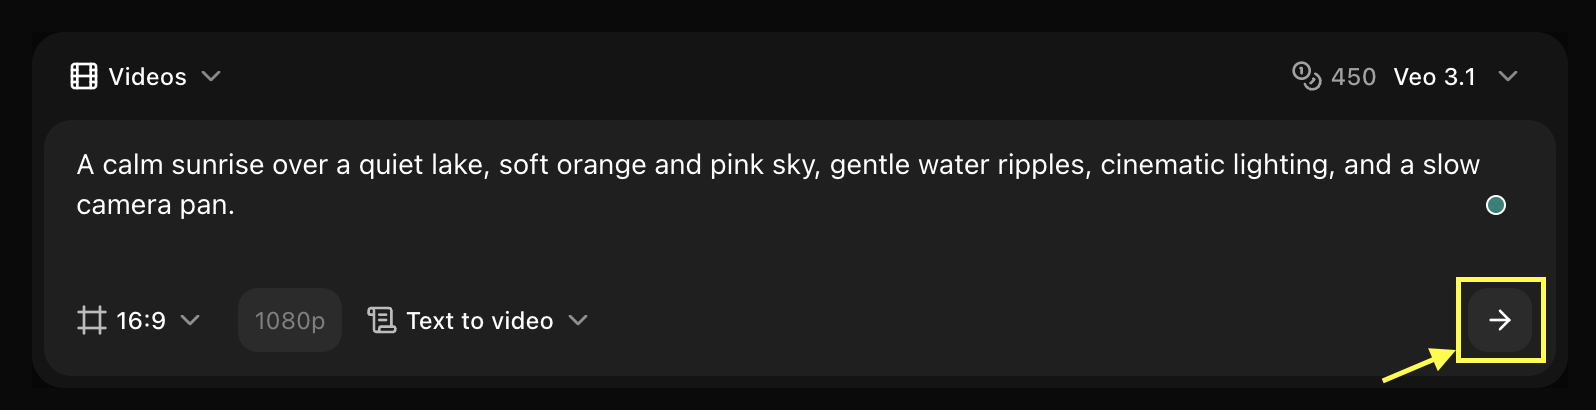
 Click **Generate**. Once processing completes, preview your animated cartoon character video. Download it or share directly from the dashboard.
 ***
## Best Practices for Cartoon Characters
* **High Resolution**: Use at least 512×512 pixel images for sharp animation results.
* **Clear Face**: Ensure the cartoon face is unobstructed, well-lit, and centered in the frame.
* **Closed Mouth**: Starting with a closed-mouth image produces the most natural lip movements.
* Choose a voice tone that matches your character's personality (e.g., playful for kids' content, authoritative for educational videos).
* Use **Voice Cloning** if you want a unique voice tailored specifically to your character.
* Cartoon characters often benefit from **High** or **Expressive** intensity settings.
* Match the emotion preset (Happy, Excited, Neutral) to the tone of your script.
***
## Next Steps
Animate your cartoon character to sing with a vocal track.
Learn more about creating and managing custom avatars.
***
## Best Practices for Cartoon Characters
* **High Resolution**: Use at least 512×512 pixel images for sharp animation results.
* **Clear Face**: Ensure the cartoon face is unobstructed, well-lit, and centered in the frame.
* **Closed Mouth**: Starting with a closed-mouth image produces the most natural lip movements.
* Choose a voice tone that matches your character's personality (e.g., playful for kids' content, authoritative for educational videos).
* Use **Voice Cloning** if you want a unique voice tailored specifically to your character.
* Cartoon characters often benefit from **High** or **Expressive** intensity settings.
* Match the emotion preset (Happy, Excited, Neutral) to the tone of your script.
***
## Next Steps
Animate your cartoon character to sing with a vocal track.
Learn more about creating and managing custom avatars.