

Benefits of Image to Avatar
Image to Avatar allows you to create AI-generated characters from your uploaded photos. These avatars maintain the likeness of the person in the photo while adding realistic animations, lip-sync, and expressions for video presentations.- Personal Branding: Use your own face or brand representatives
- Authenticity: Real people, AI-powered animation
- Brand Consistency: Maintain visual brand identity
- Professional Presence: Create polished video content
- Flexibility: Multiple team members as avatars
- Reusable: Create once, use for multiple videos
Getting Started
1
Navigate to New Avatar
Go to the New Avatar section in the left menu of your Zoice dashboard.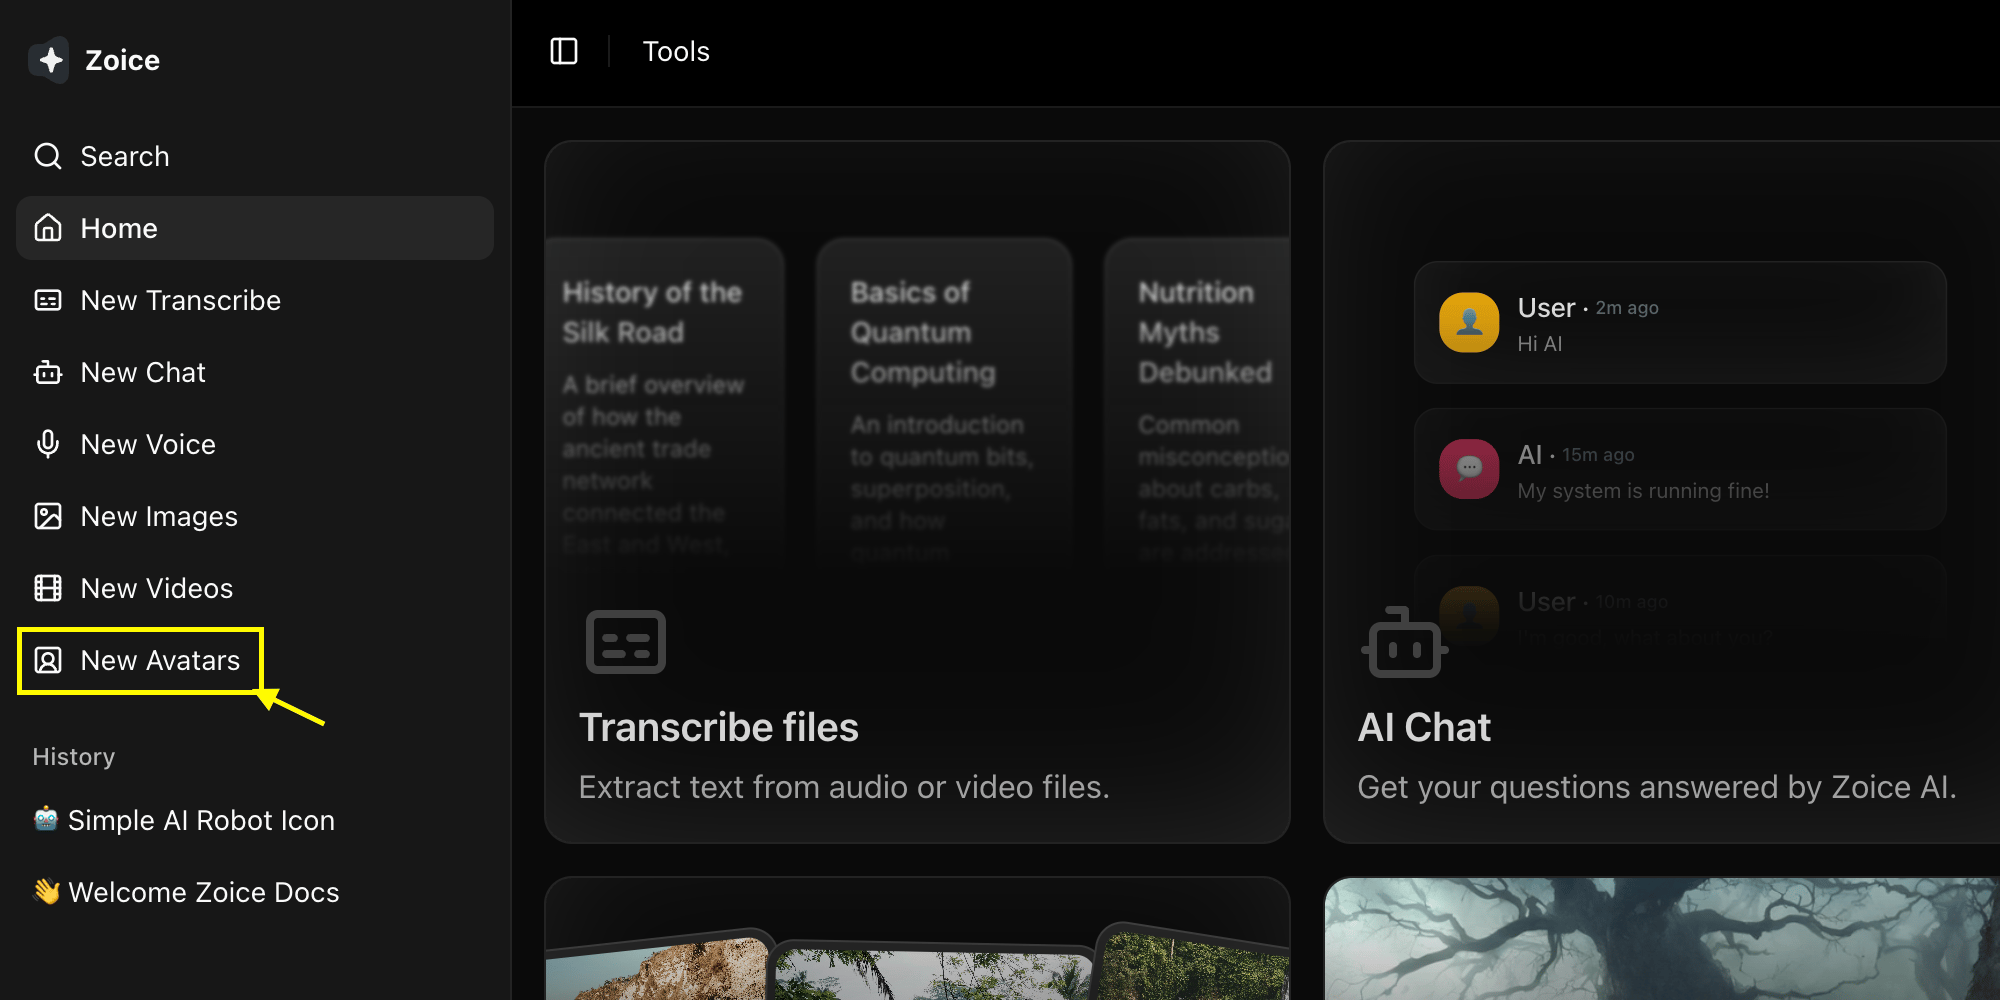
2
Manage Custom Avatar
Select the Manage Custom Avatar option to start creating your personalized character.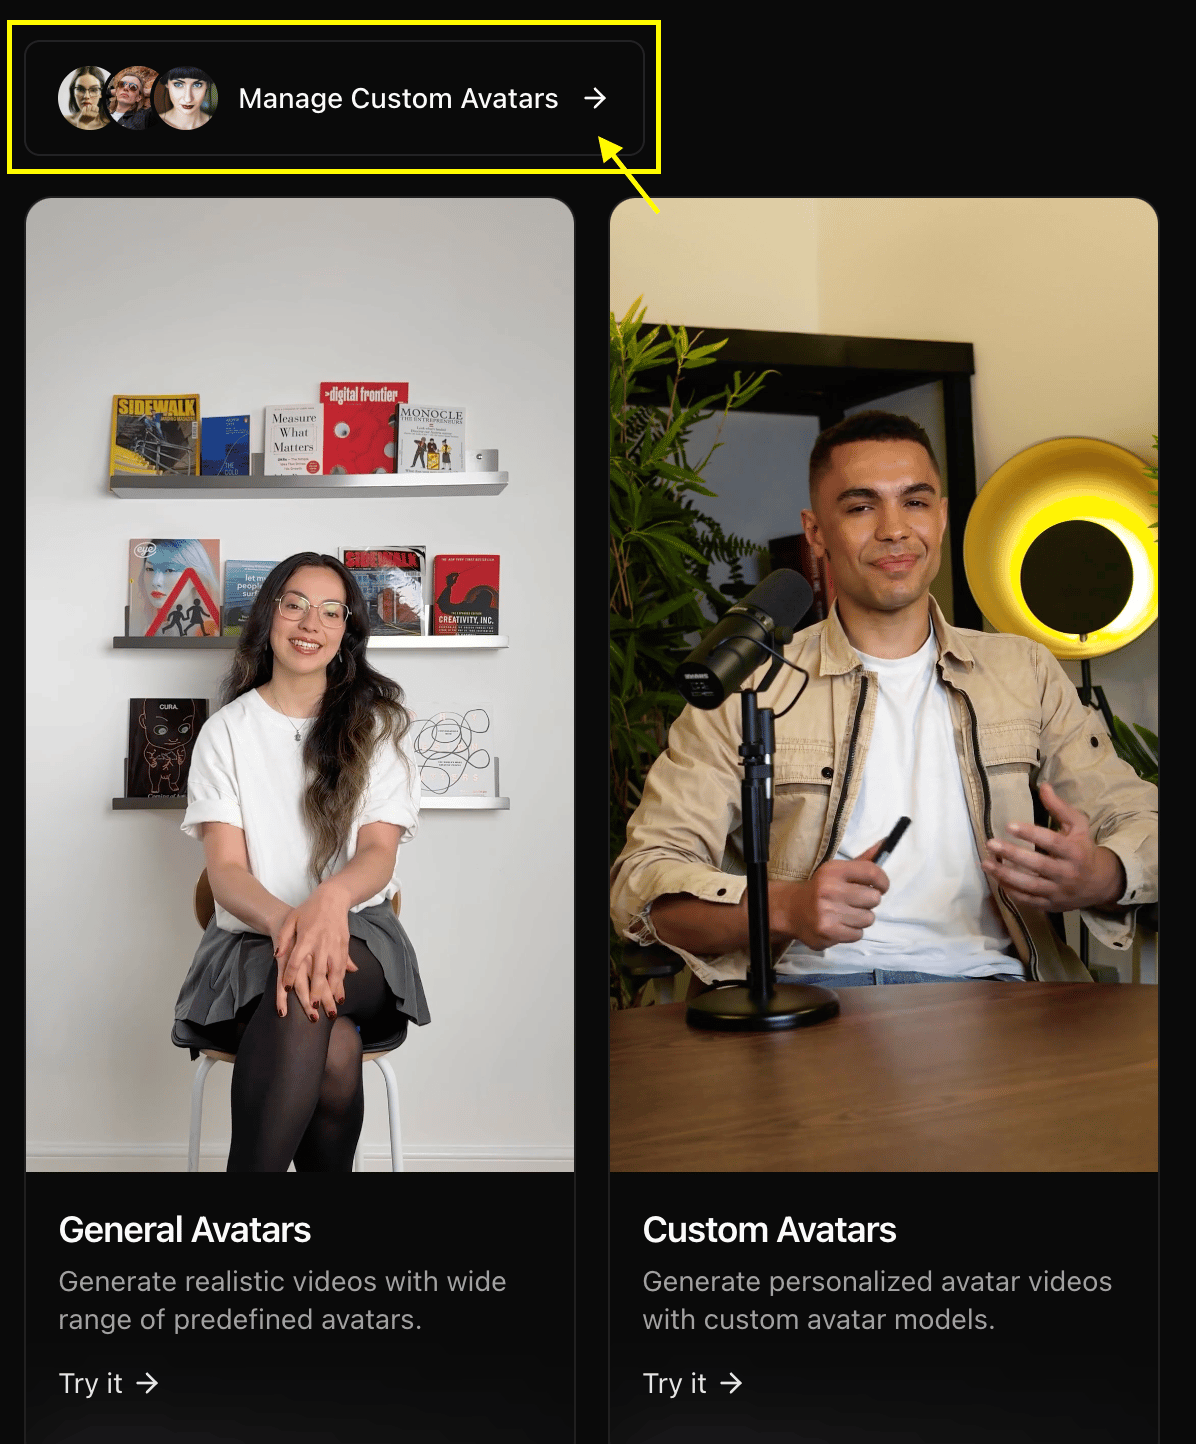
3
Create New
Click on the Create New button to begin the avatar creation process.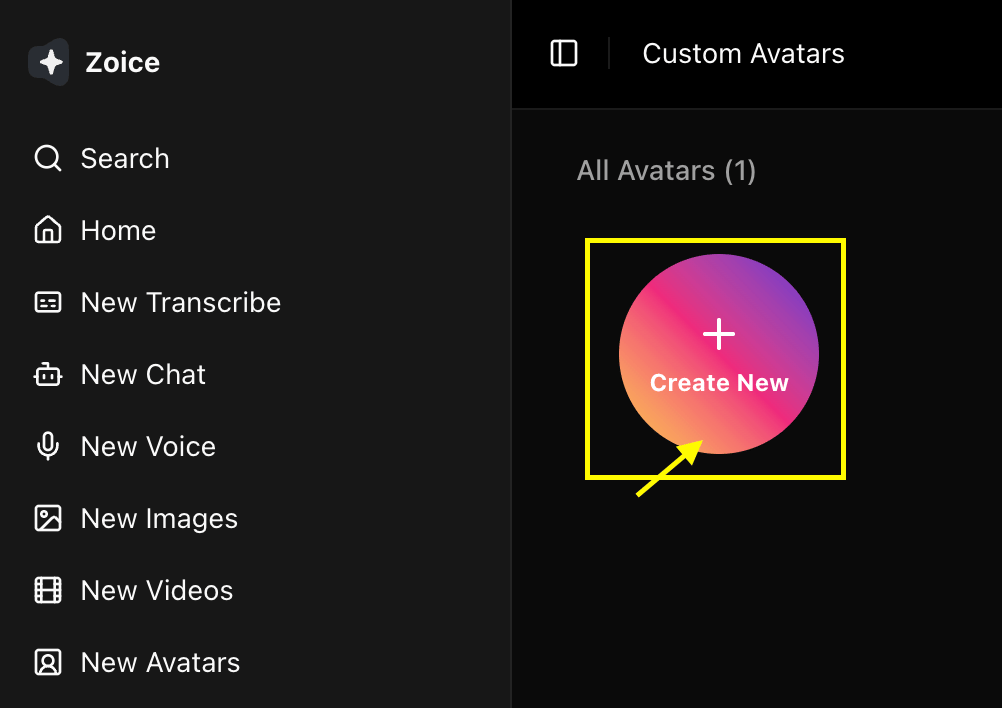
4
Select Upload Image
Select the Upload Image option to upload your own high-quality, front-facing photo to create your avatar’s base image.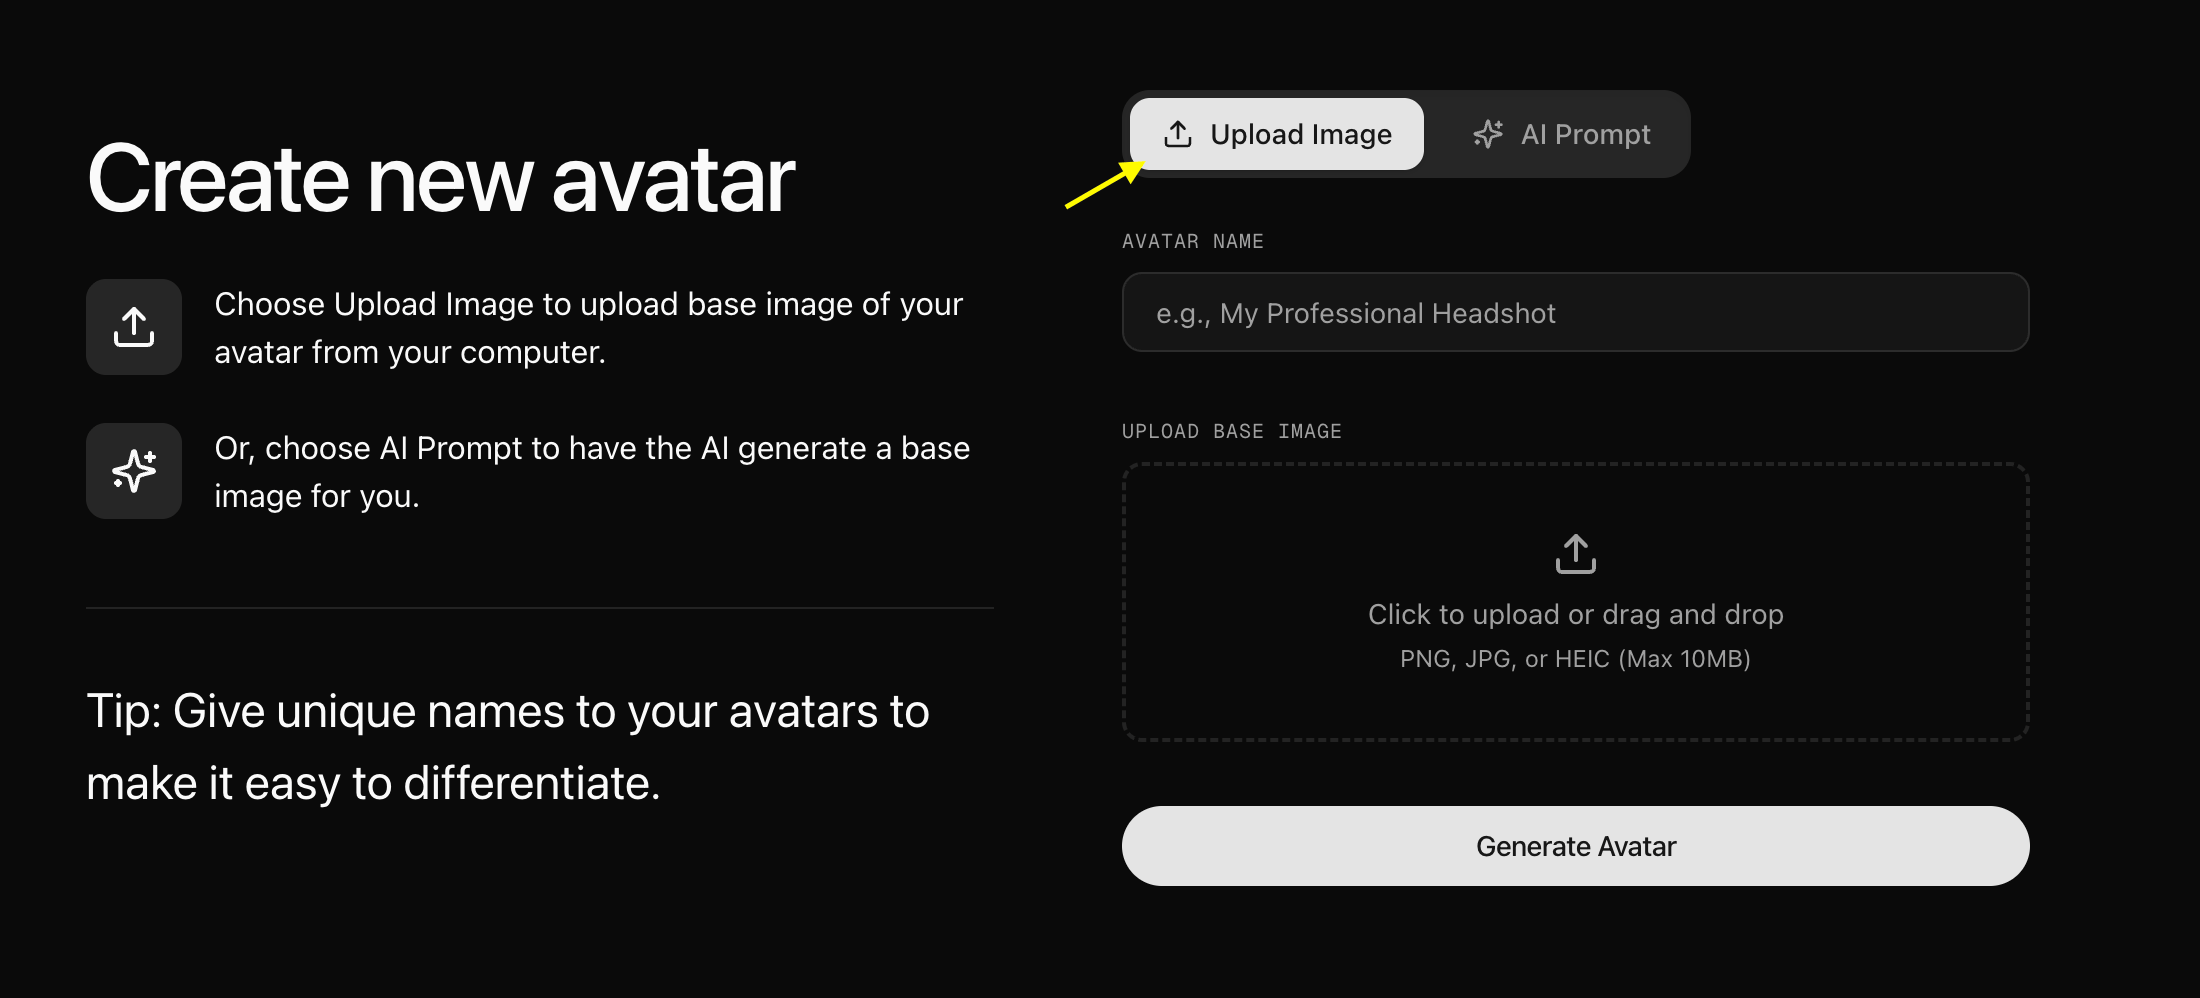
5
Name Your Avatar and Upload your Image
Enter a descriptive name for your avatar to easily identify it in your gallery later. and upload your image.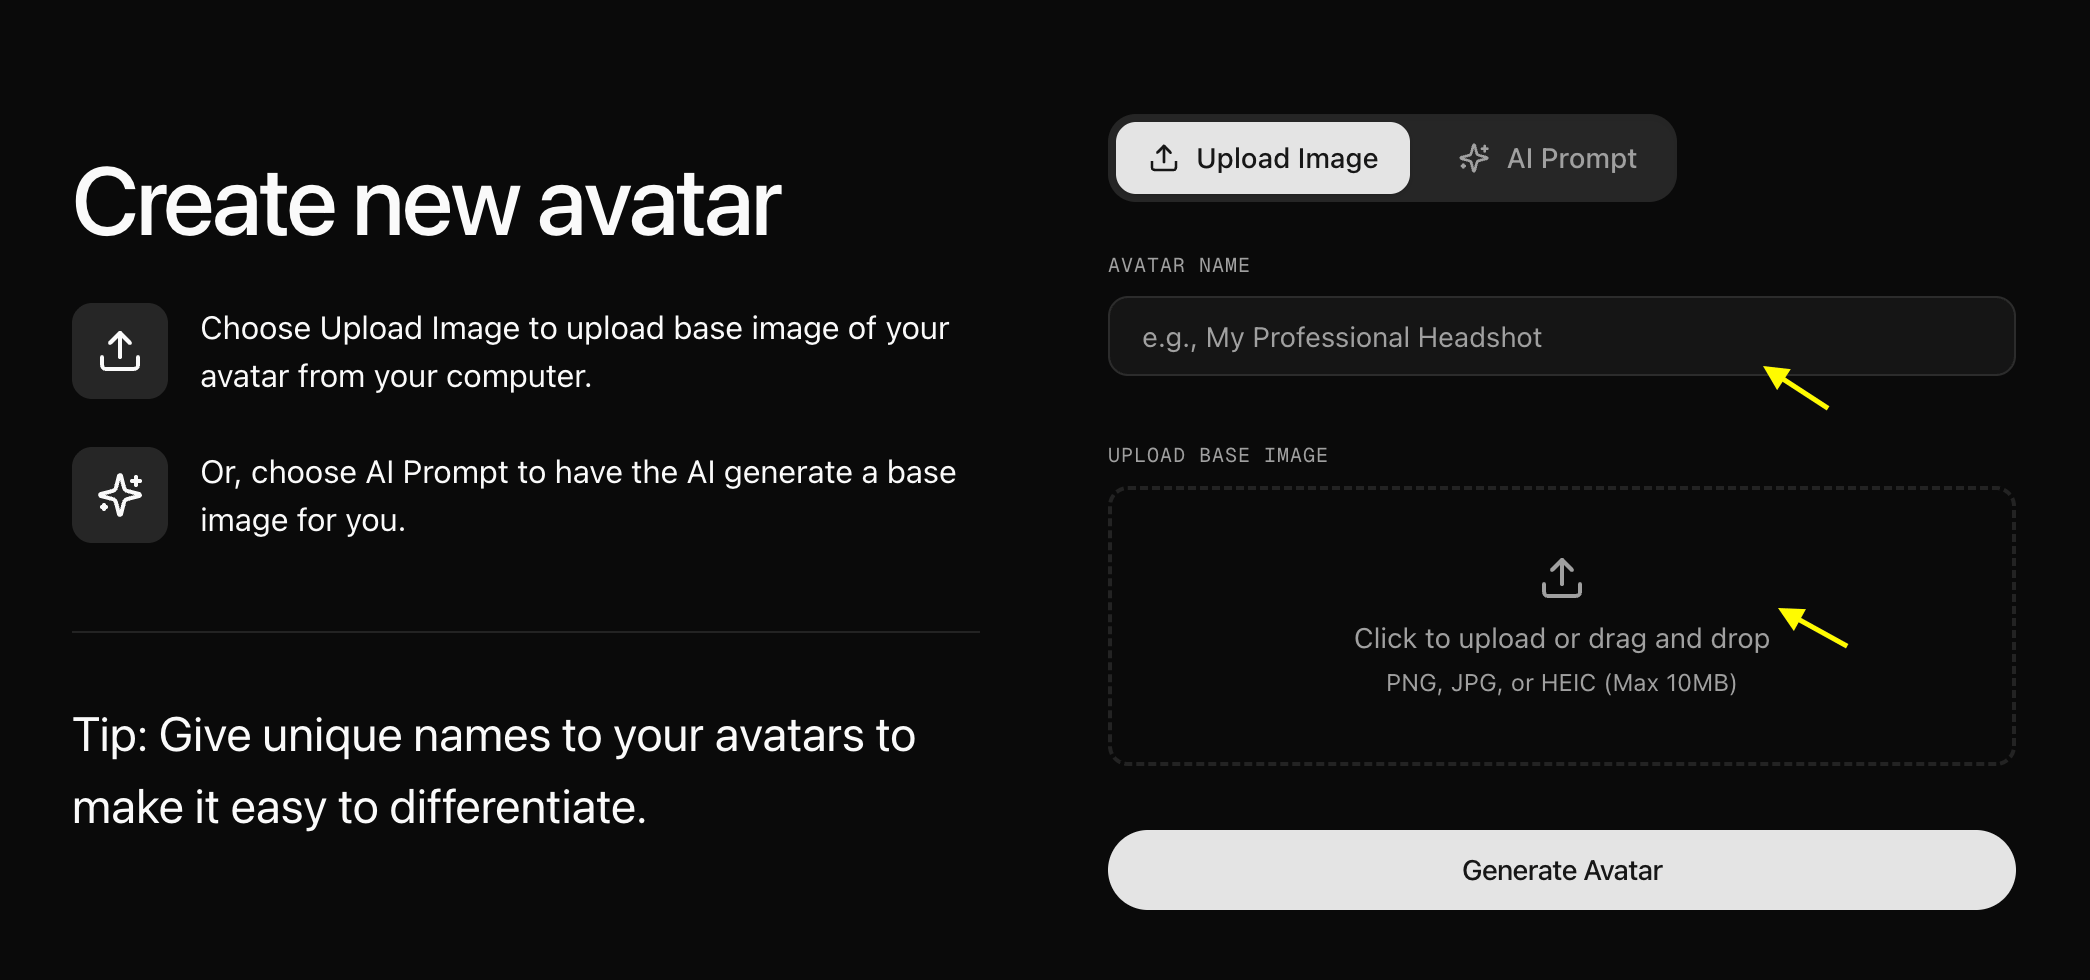
6
Click on Generate Avatar
Once you’ve added your image, click on Generate Avatar. You will now see your avatar saved in your gallery with that image.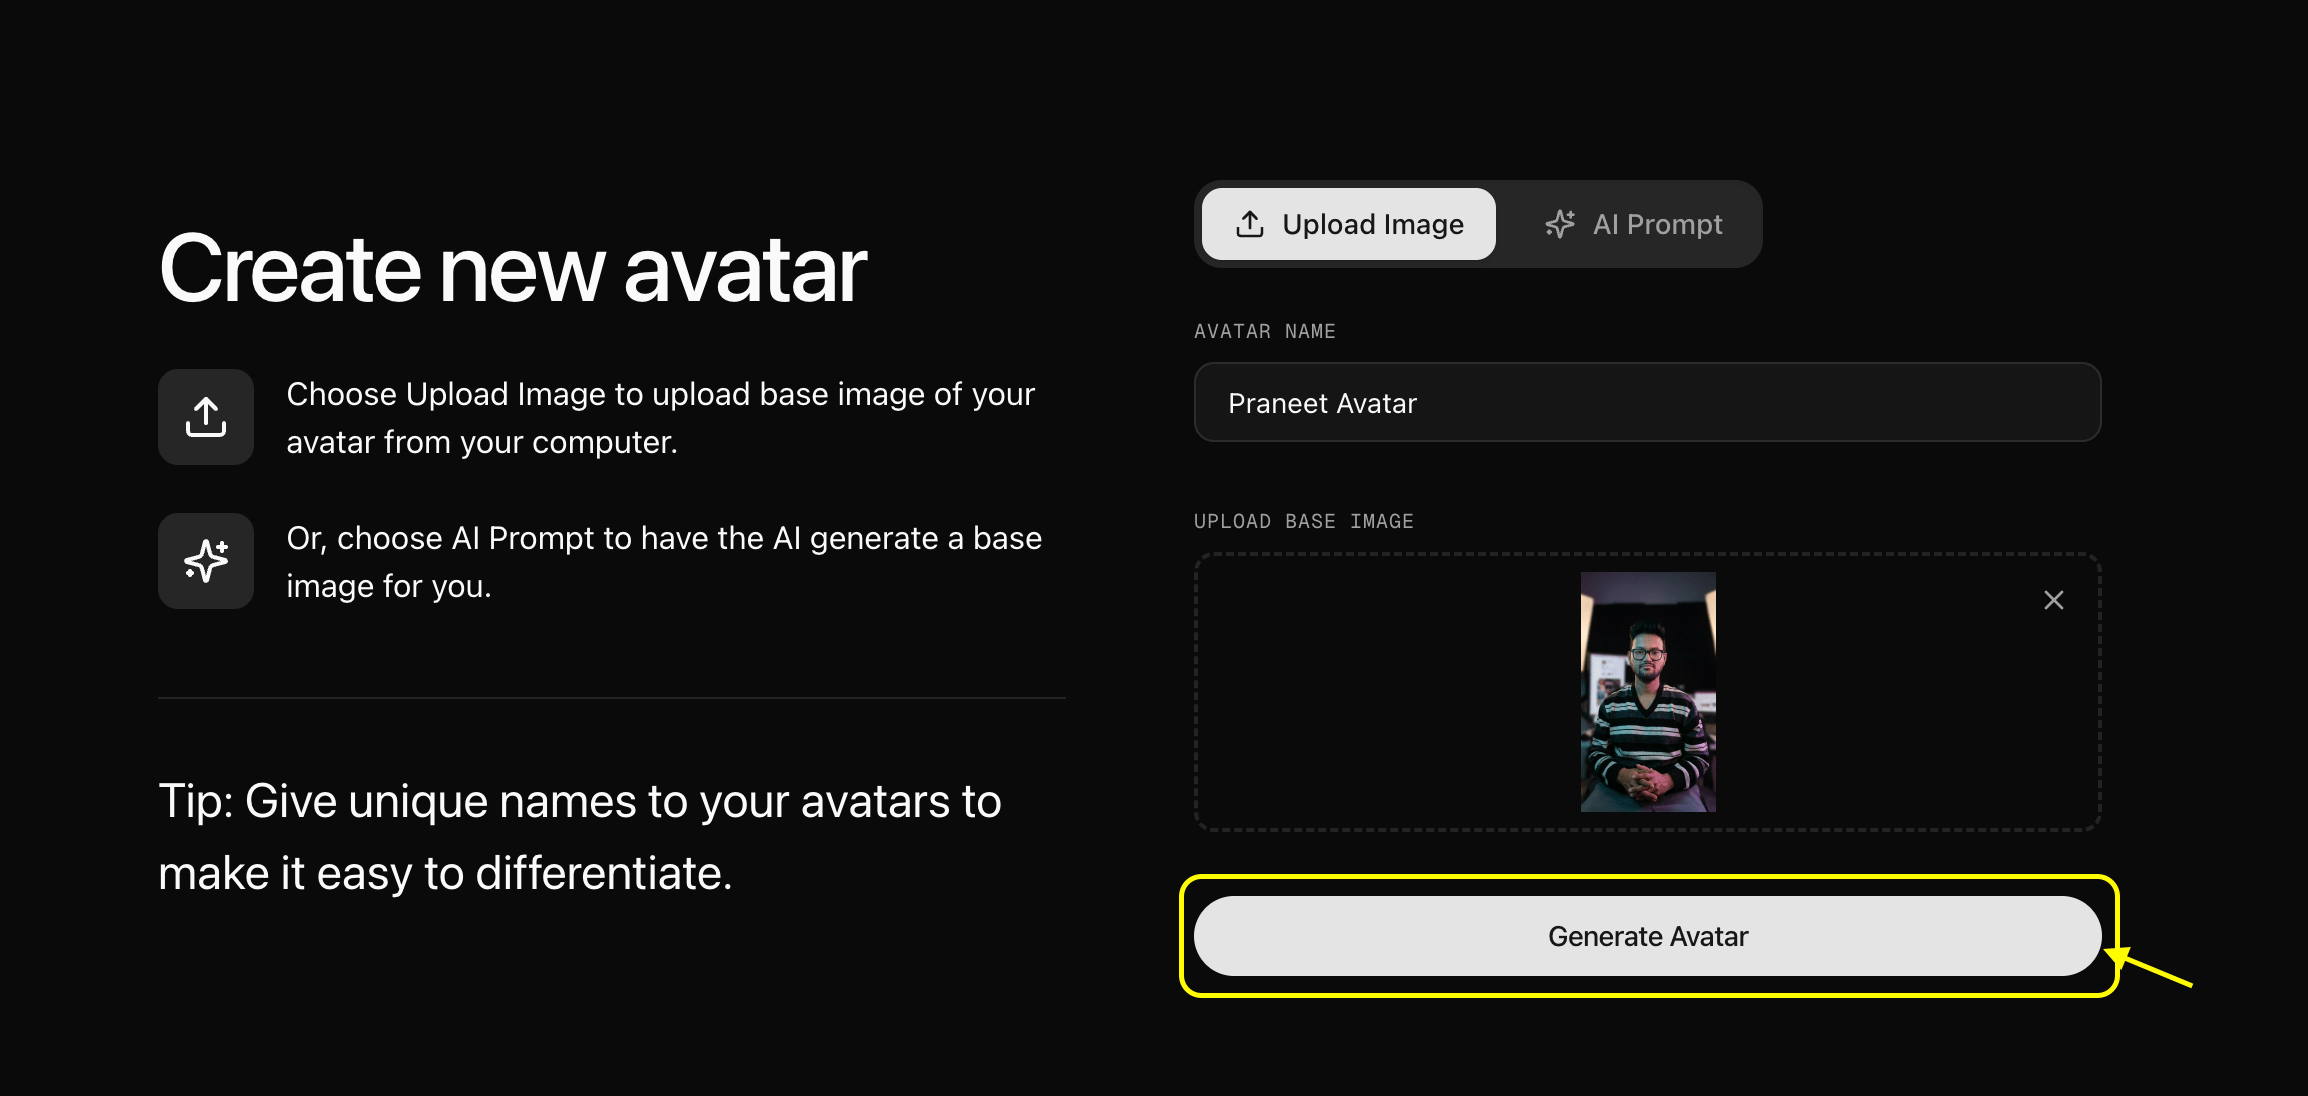
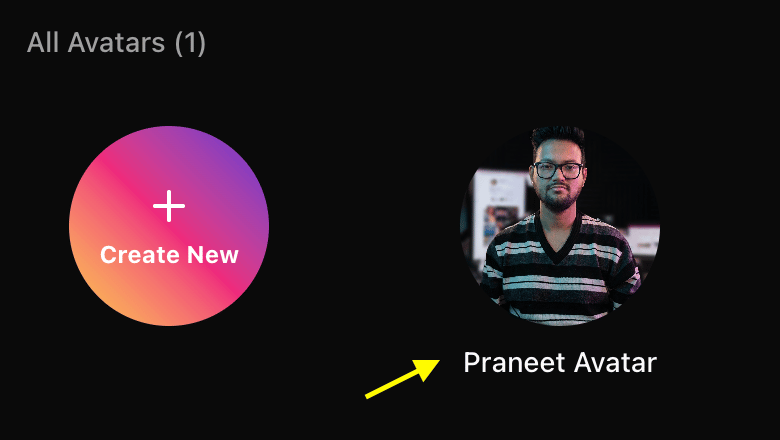
Praneet Avatar and uploaded the image.7
Select Saved Avatar and Navigate to Settings
Click on your saved avatar from the custom avatar gallery to select it and click on settings.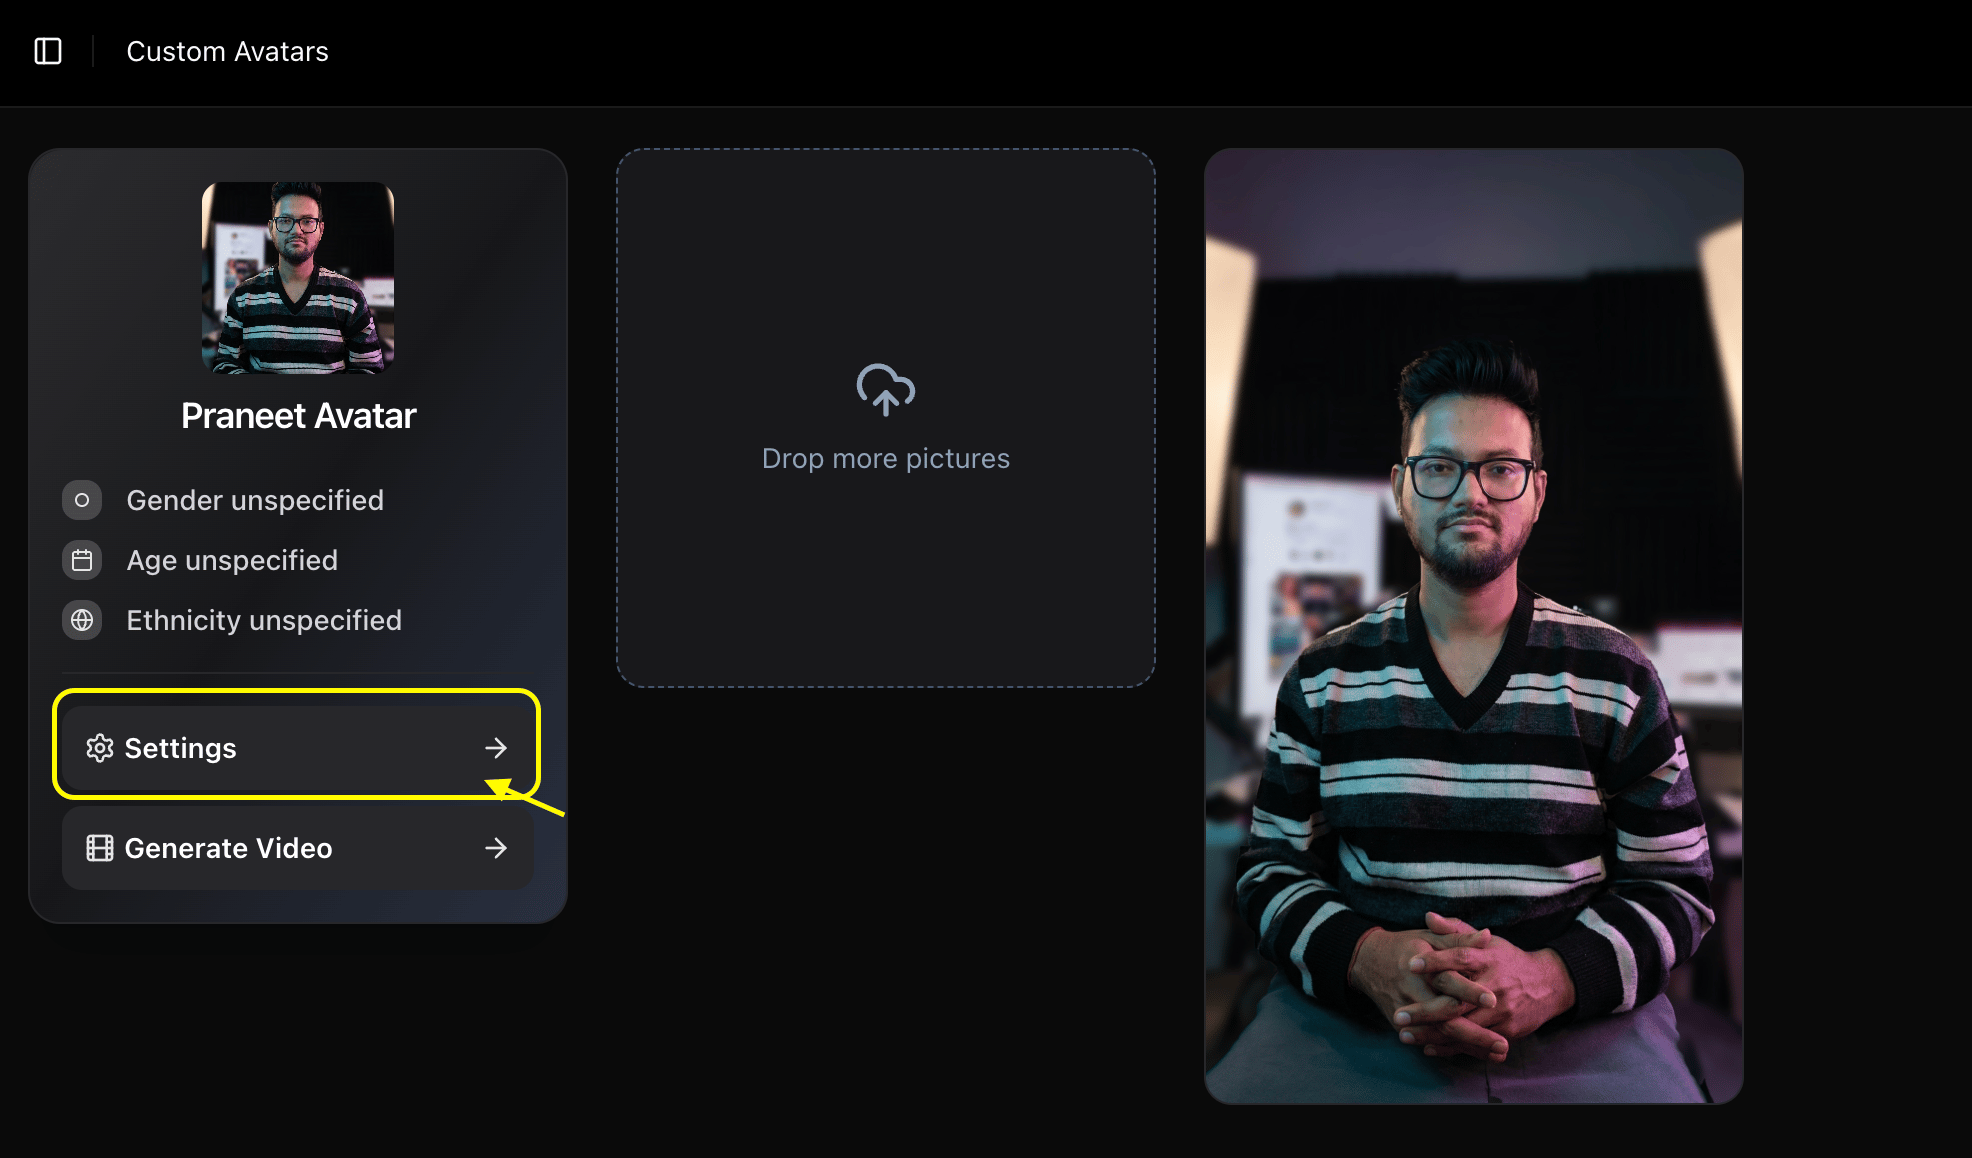
8
Fill Profile Details
Once selected, click on Settings and fine-tune your avatar’s profile by adjusting settings like Age, Ethnicity, and Gender to match your vision.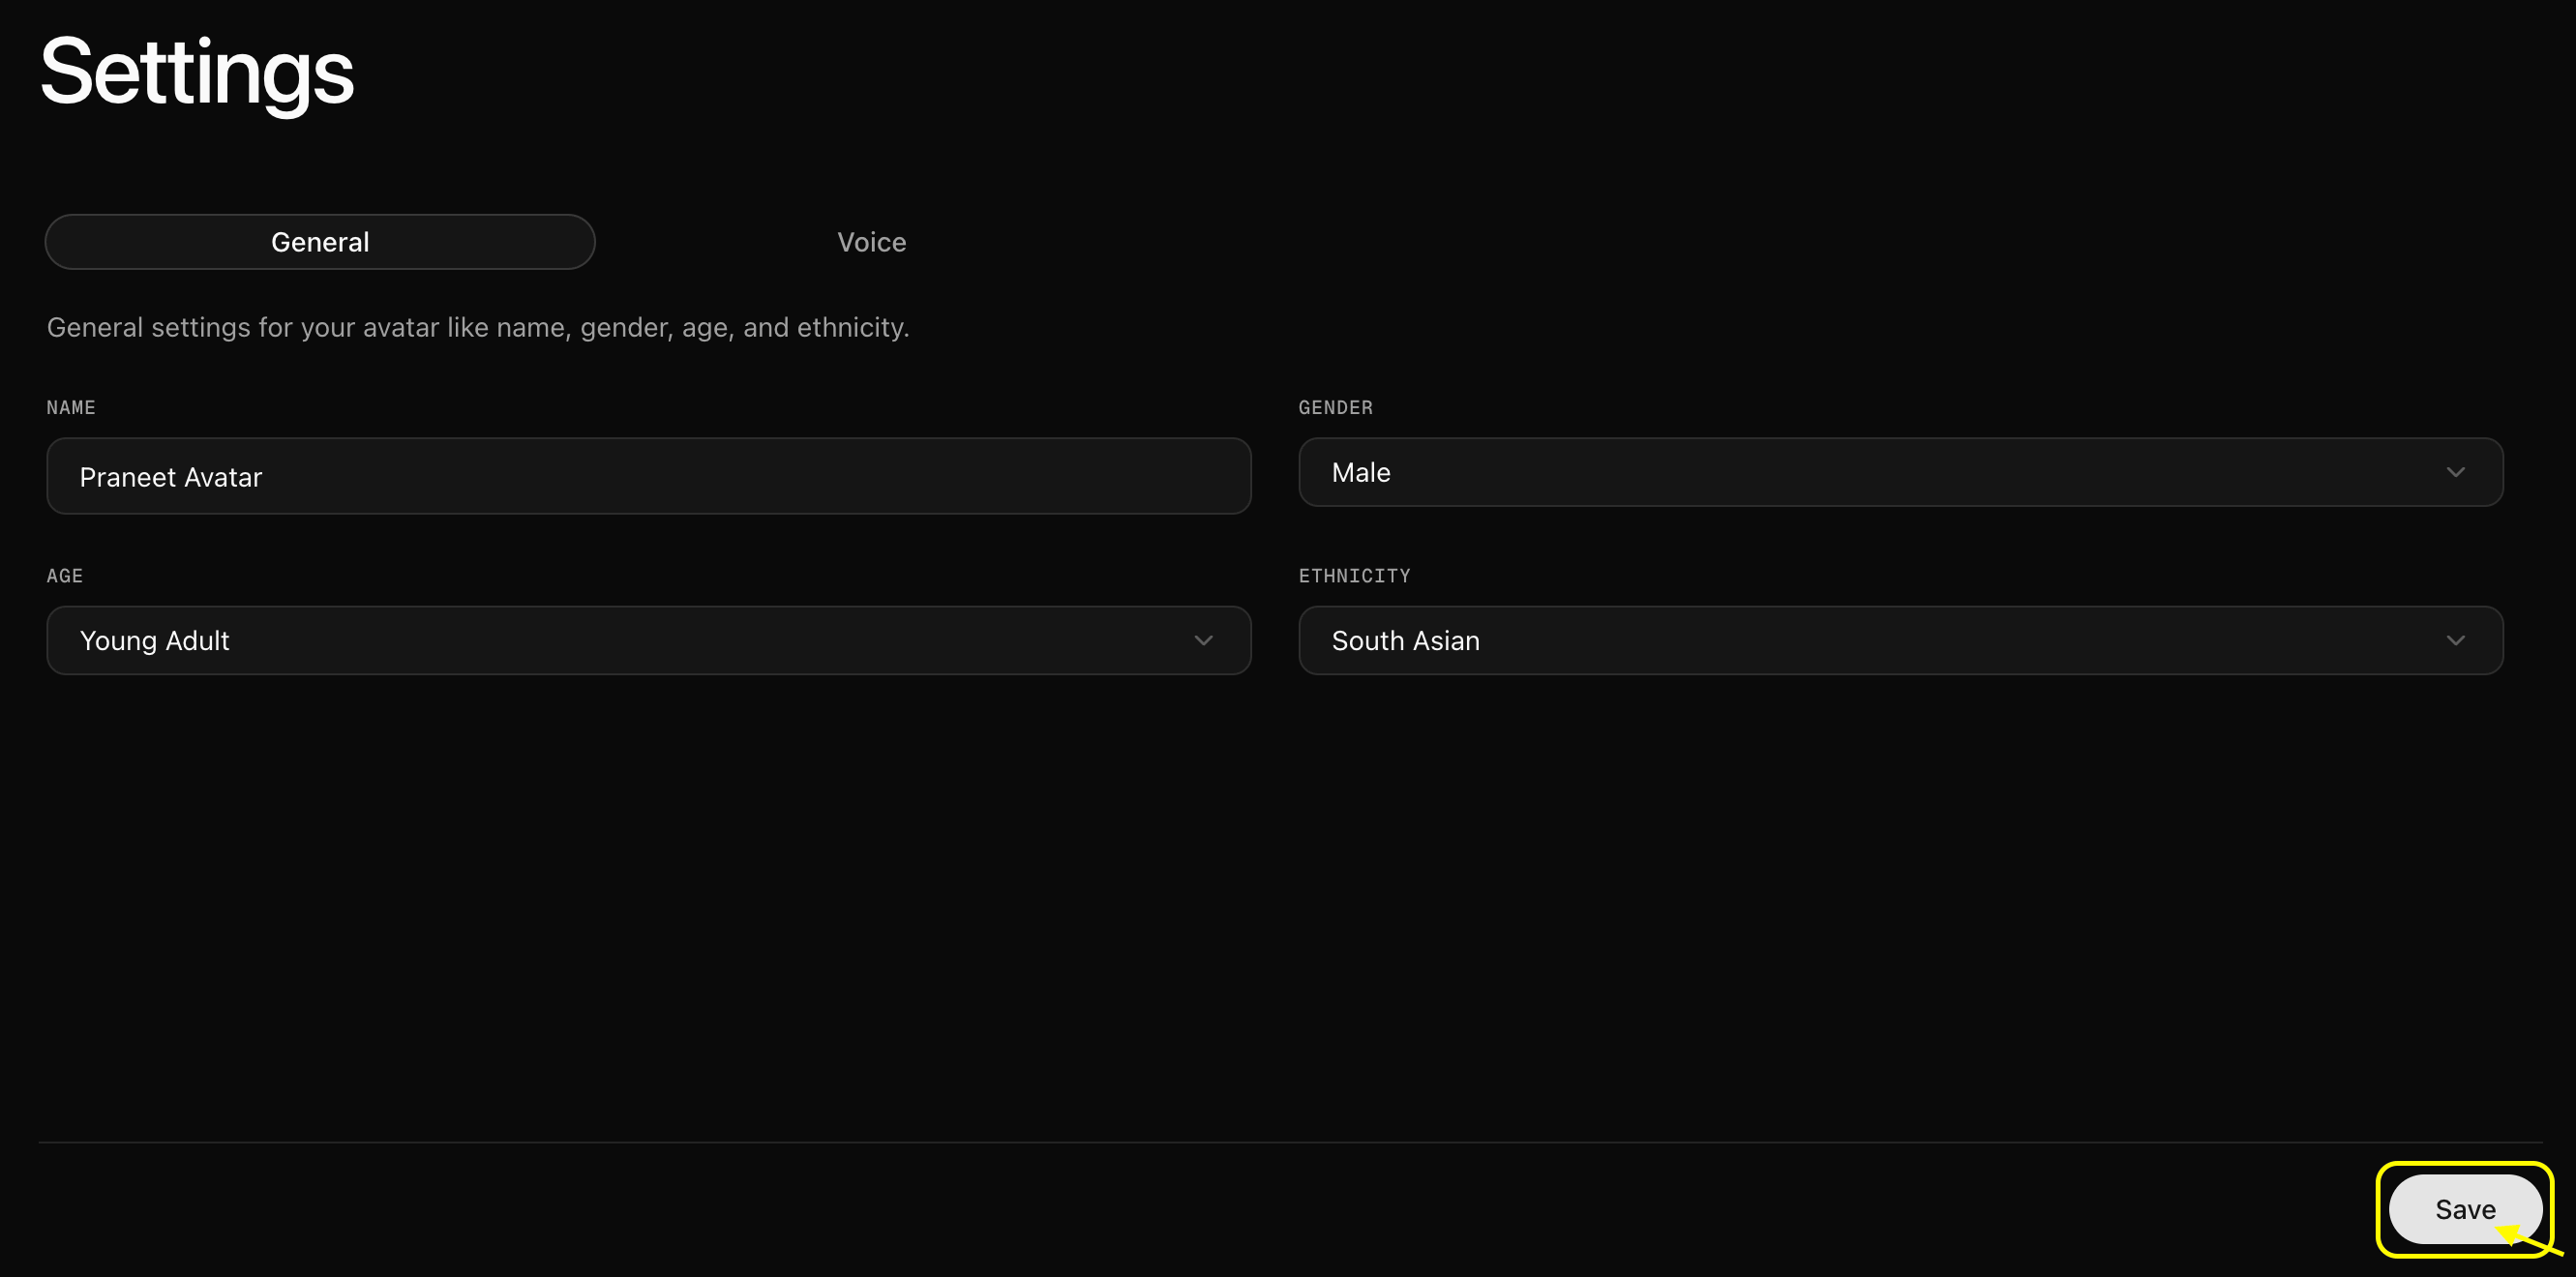
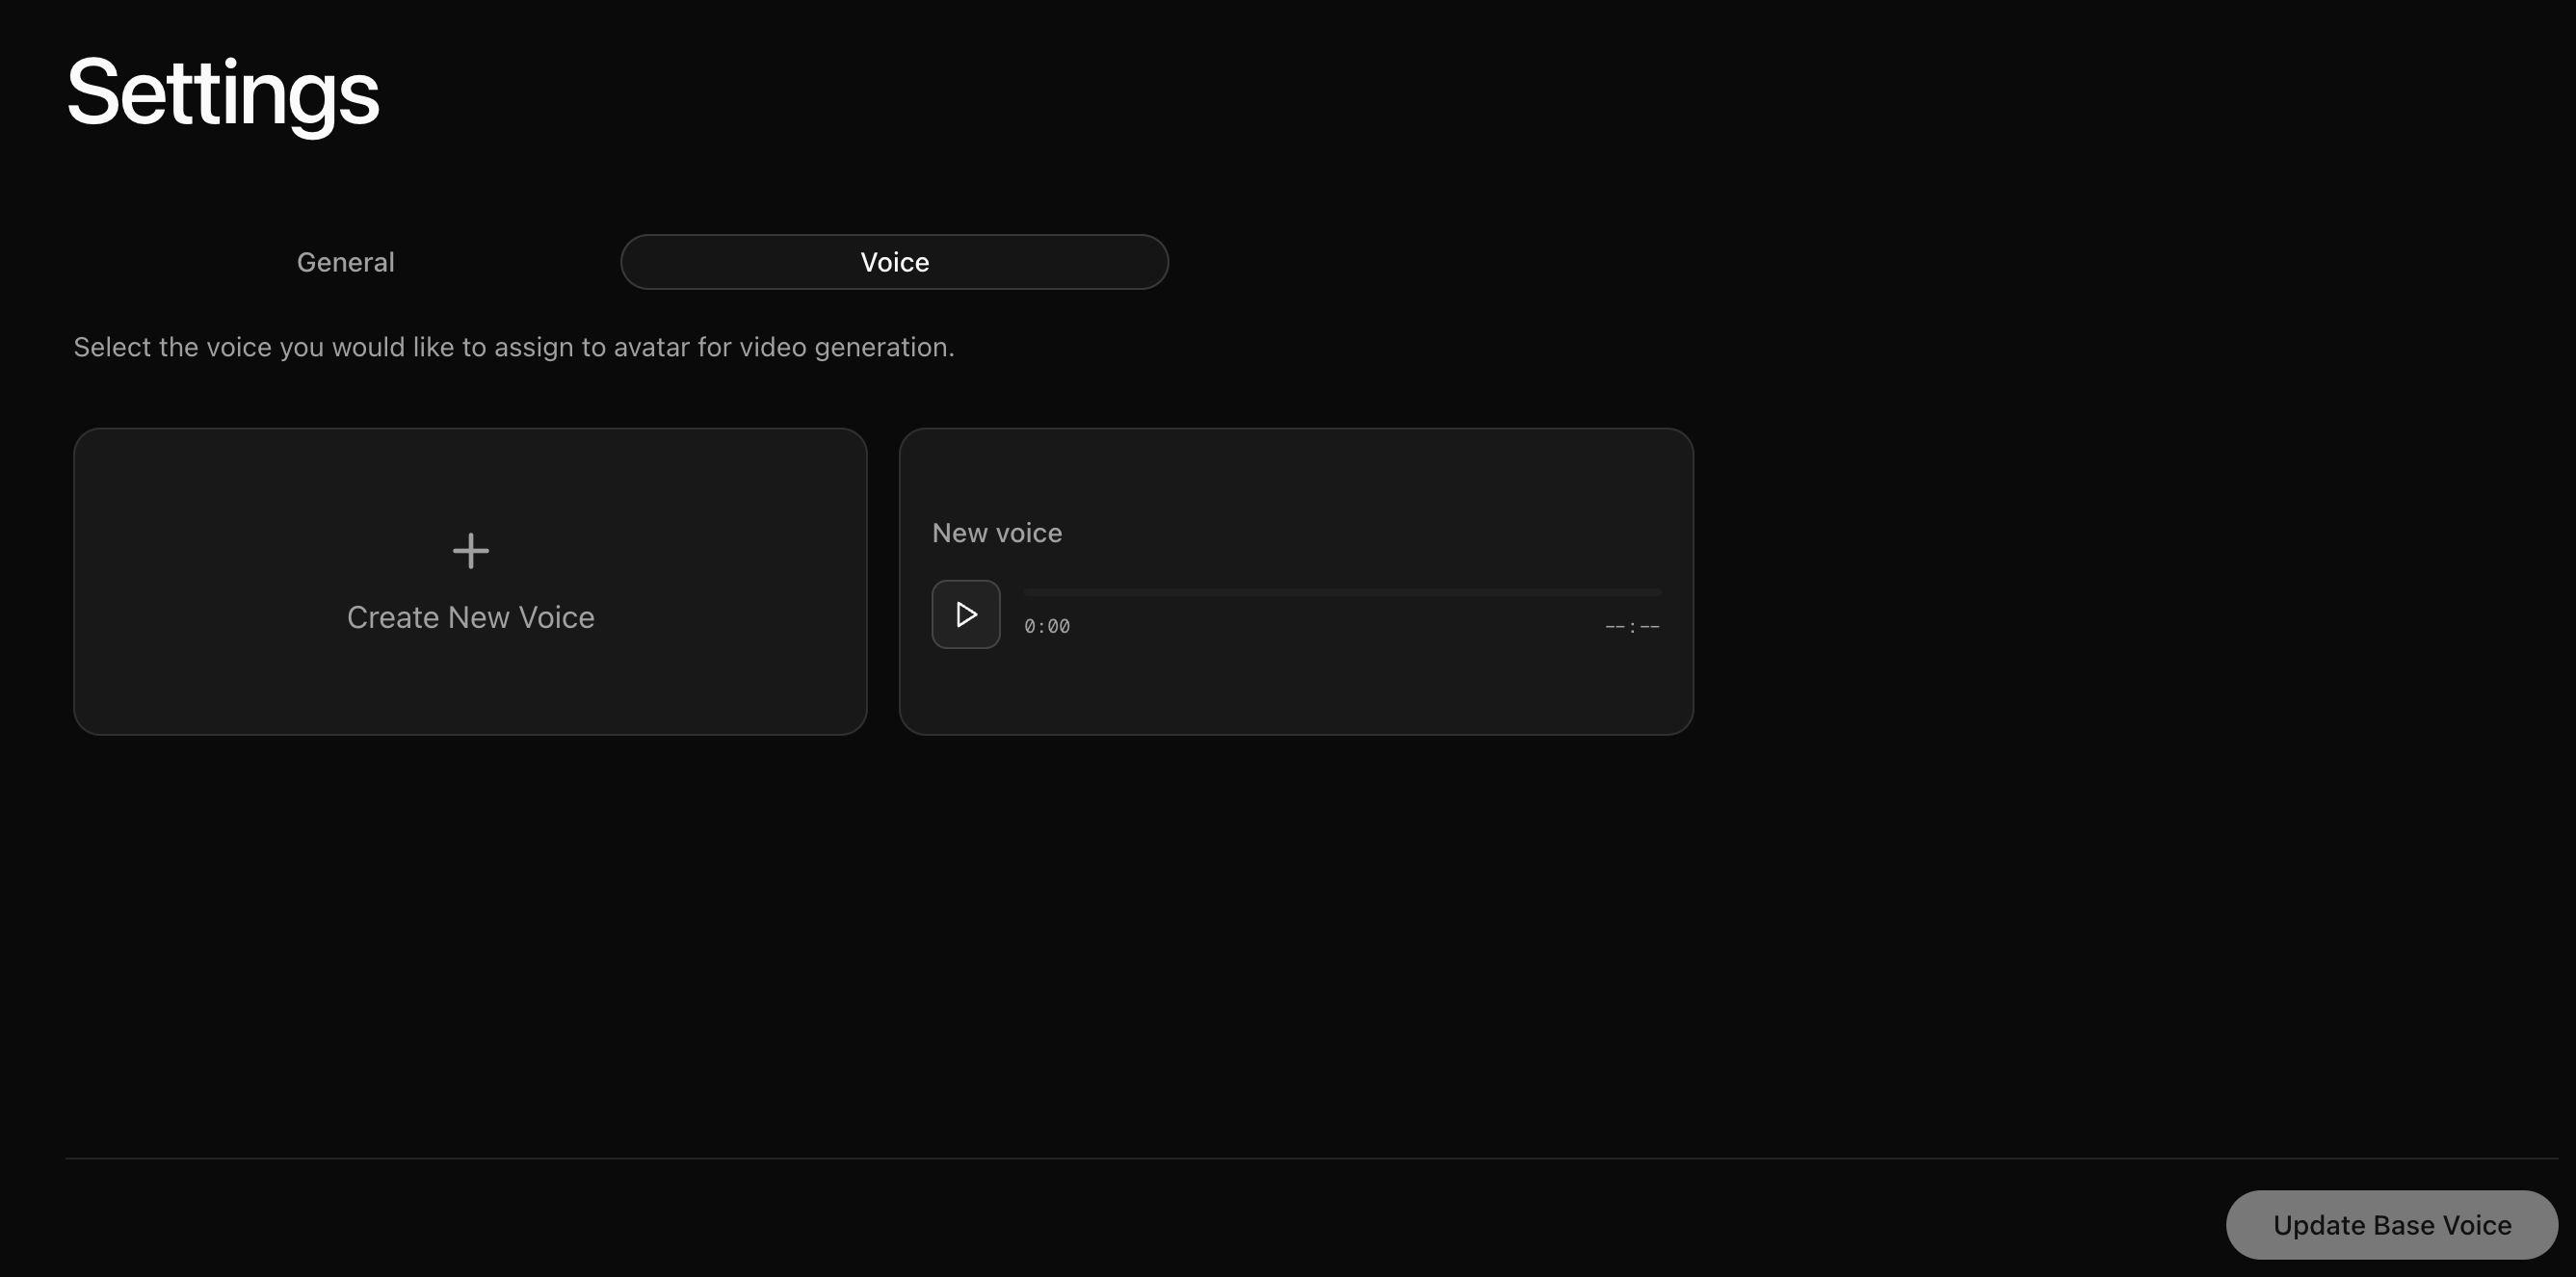
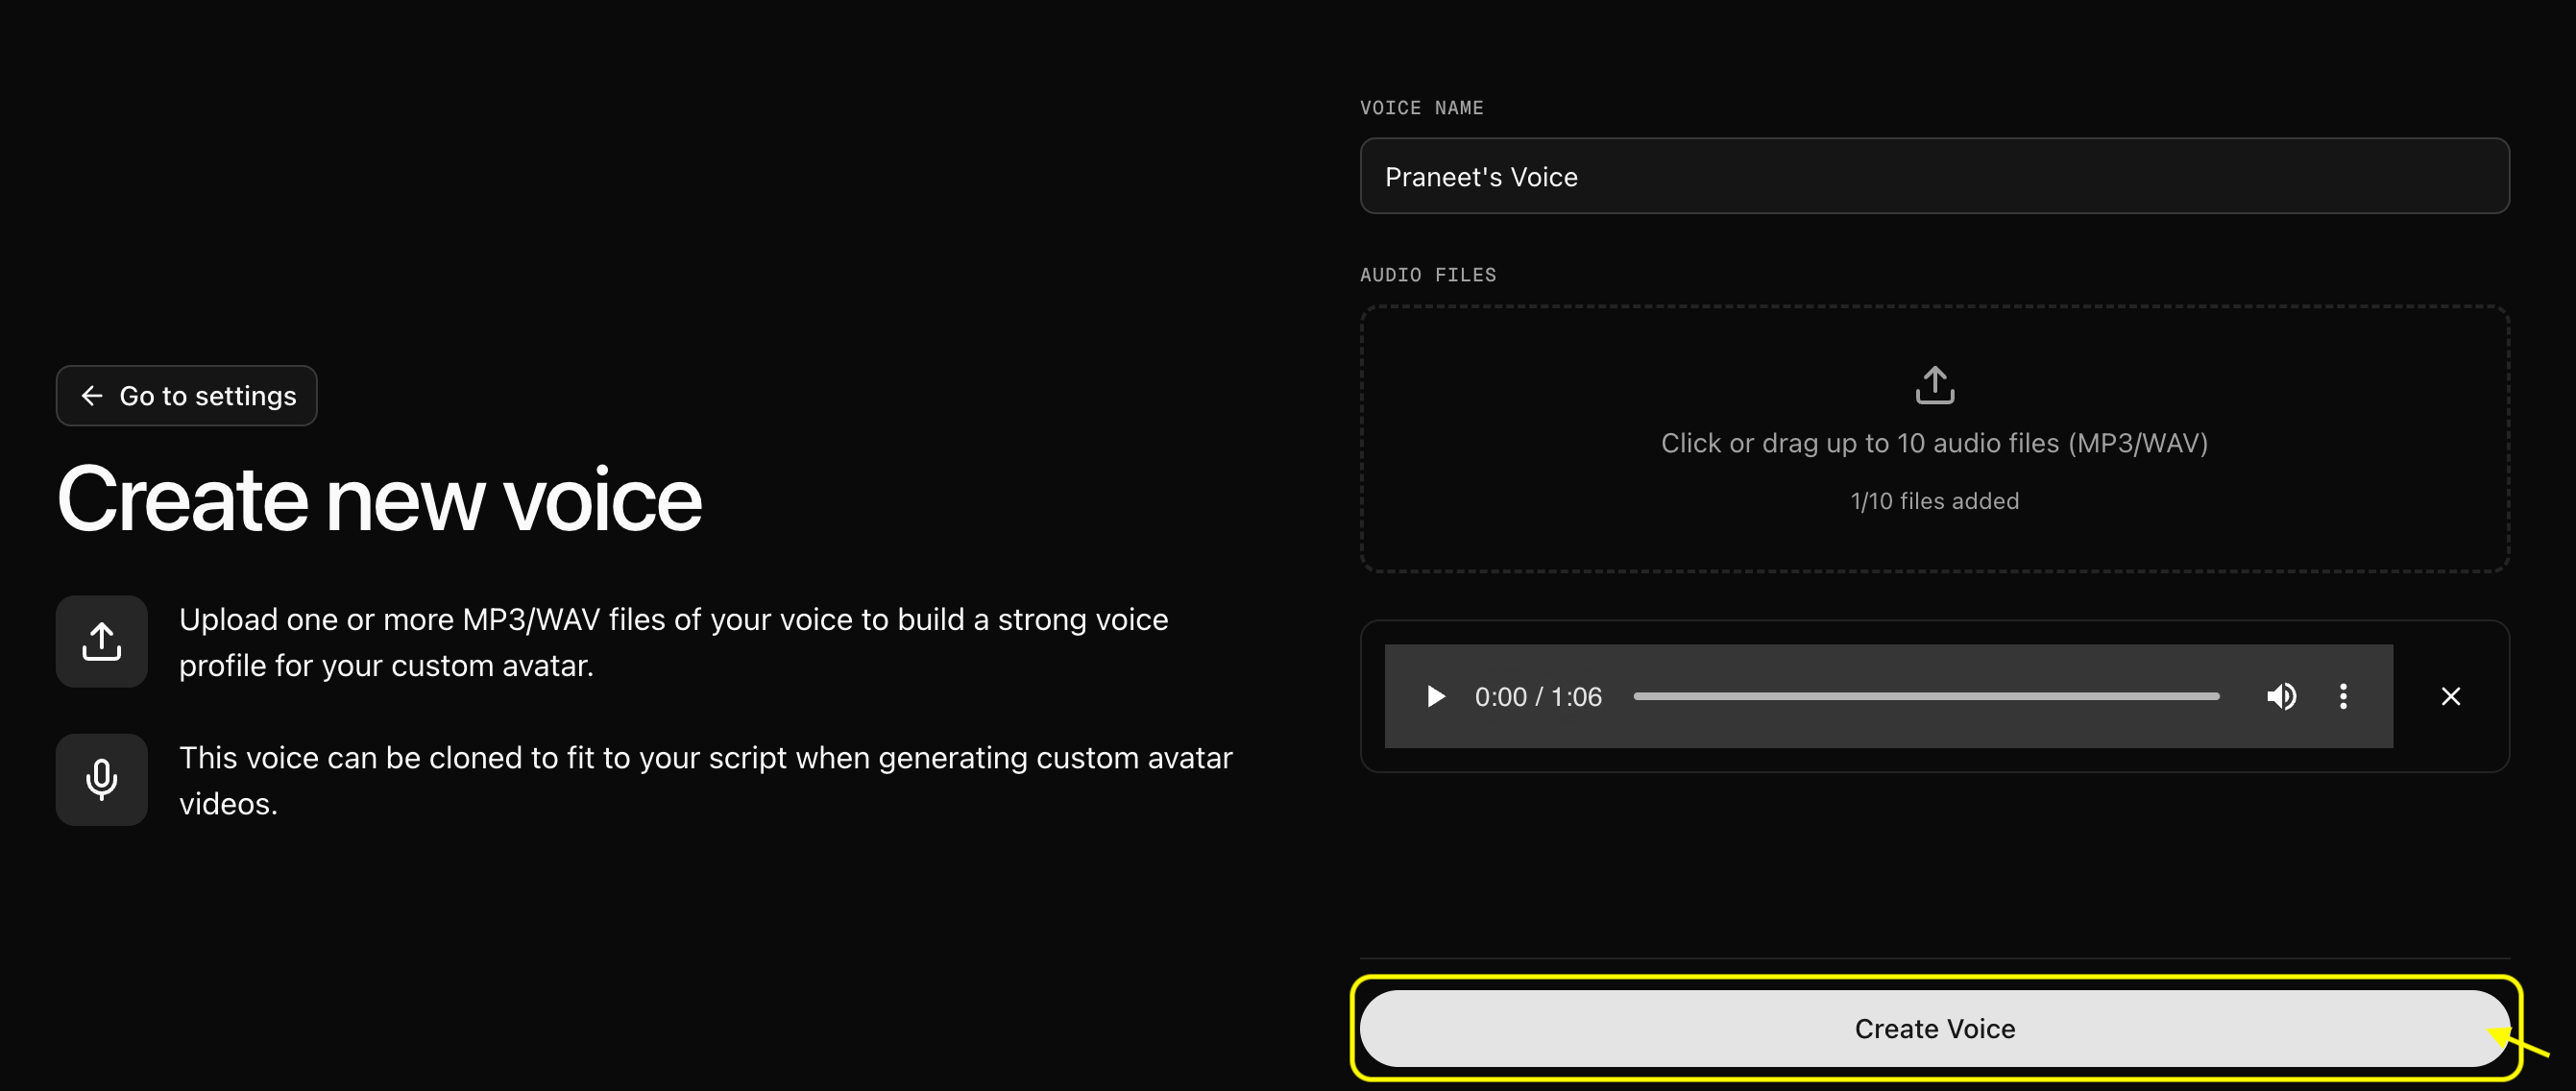
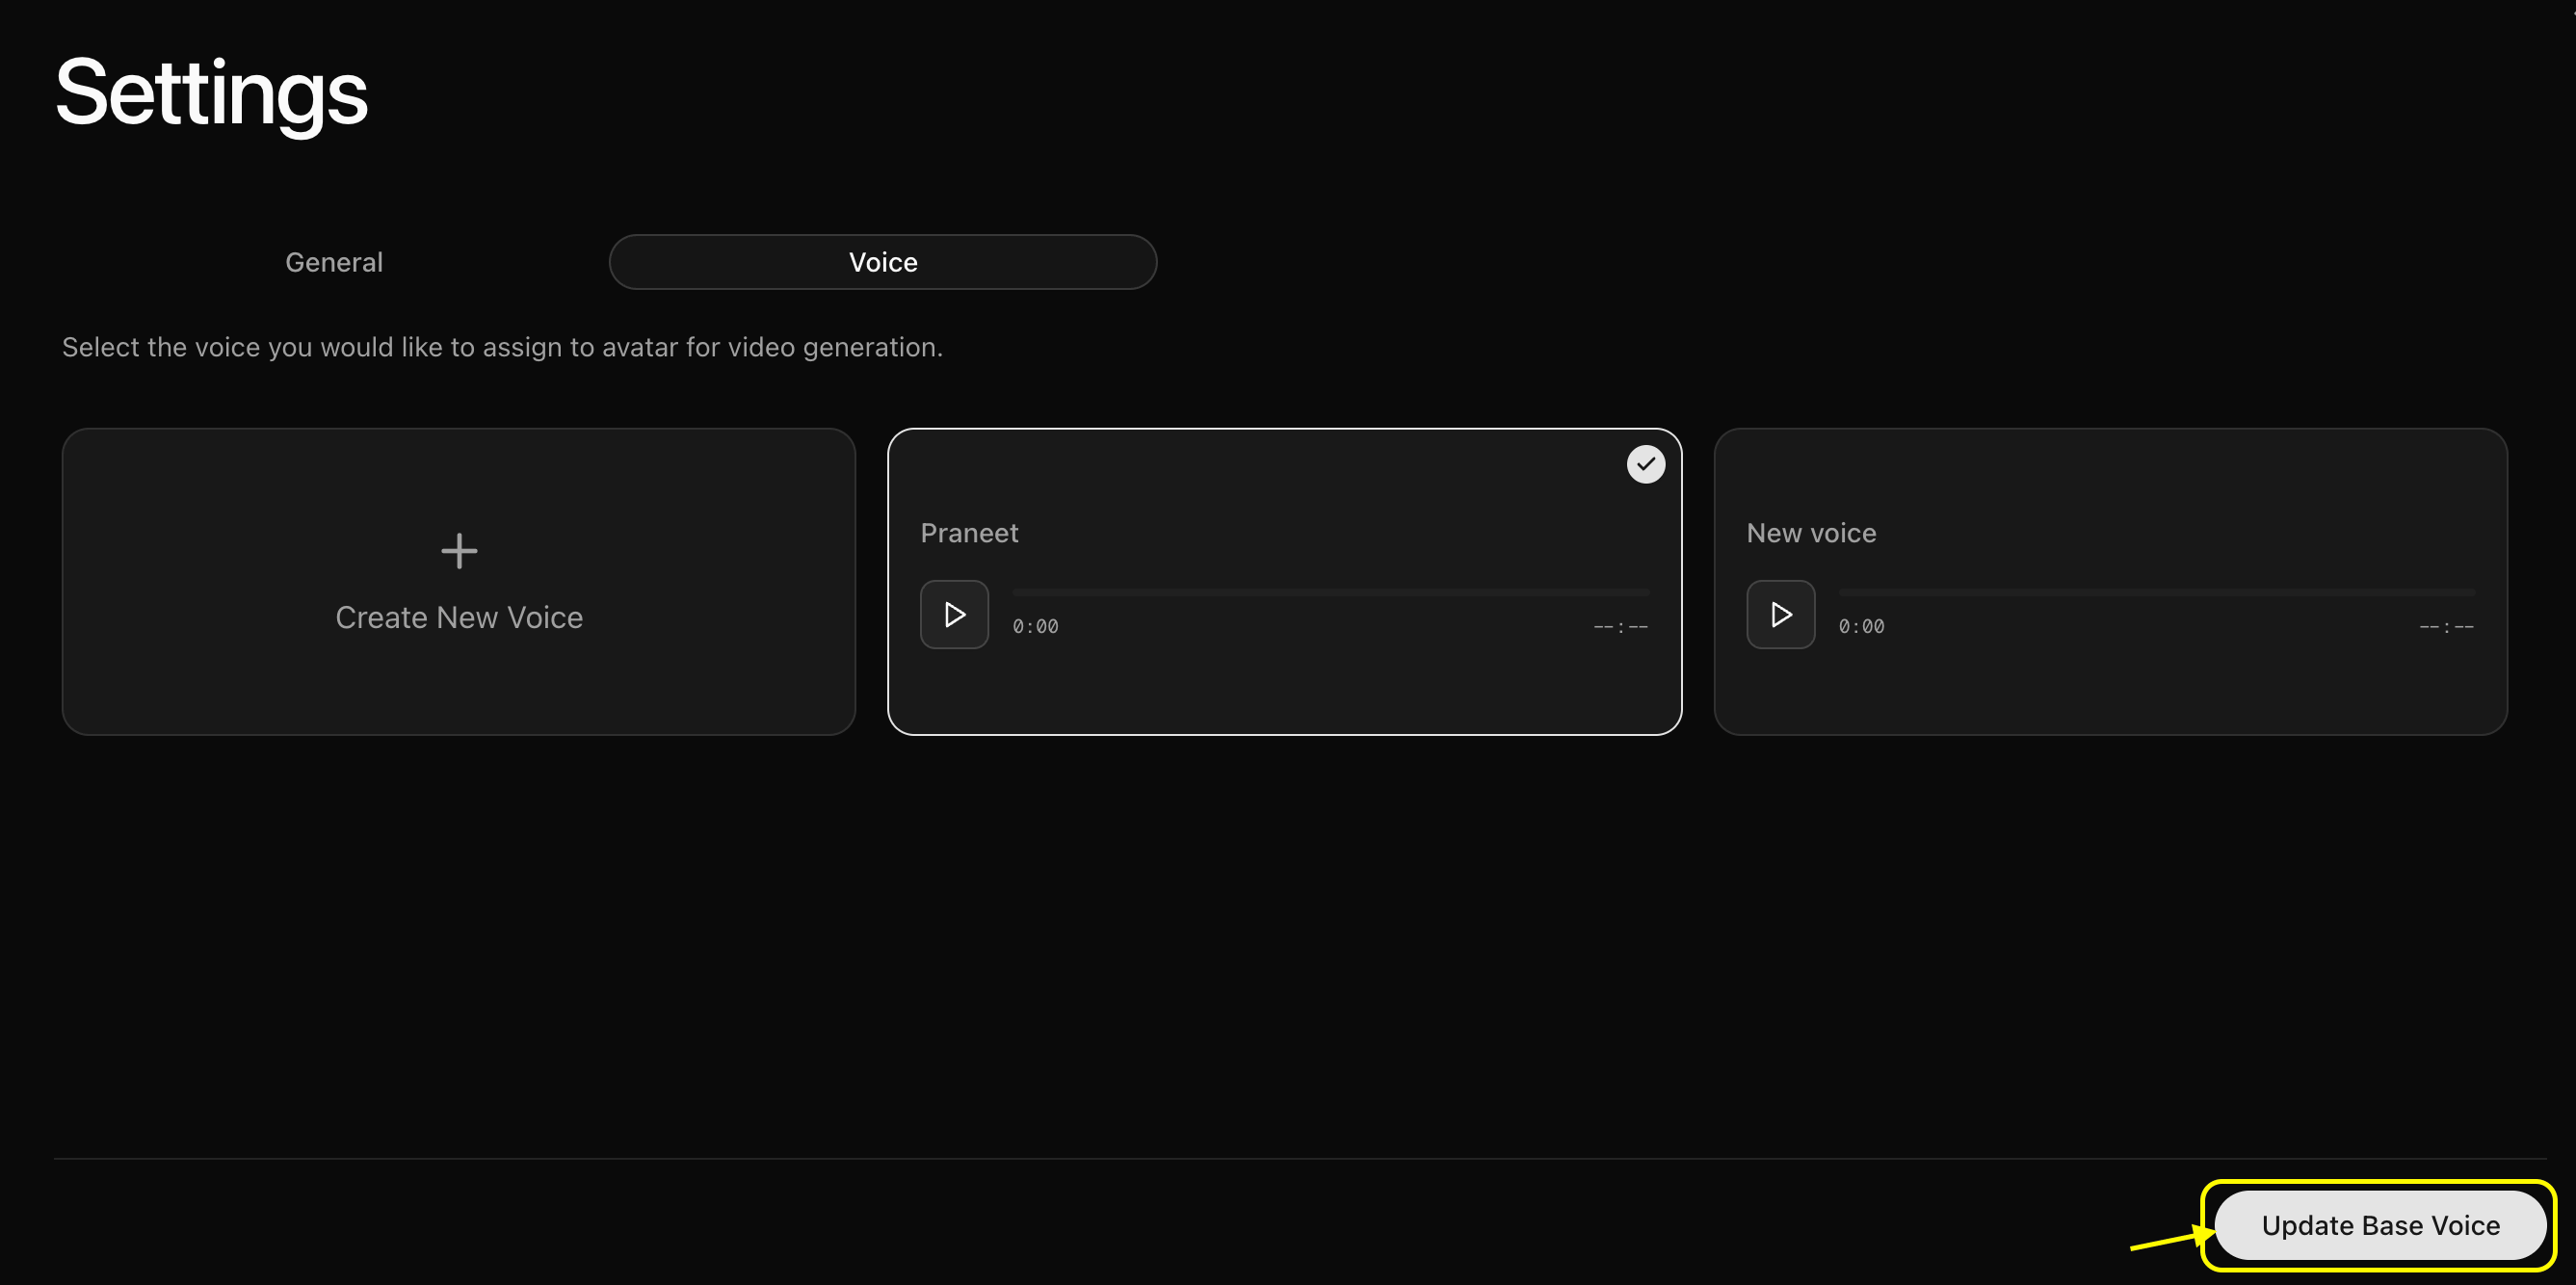
Create New Voice.Praneet voice. Once Uploded Click on Create VoiceUpdate Base Voice.9
Go Back to New Avatar Section and Select Custom Avatar
Go back to the New Avatar section and select Custom Avatar.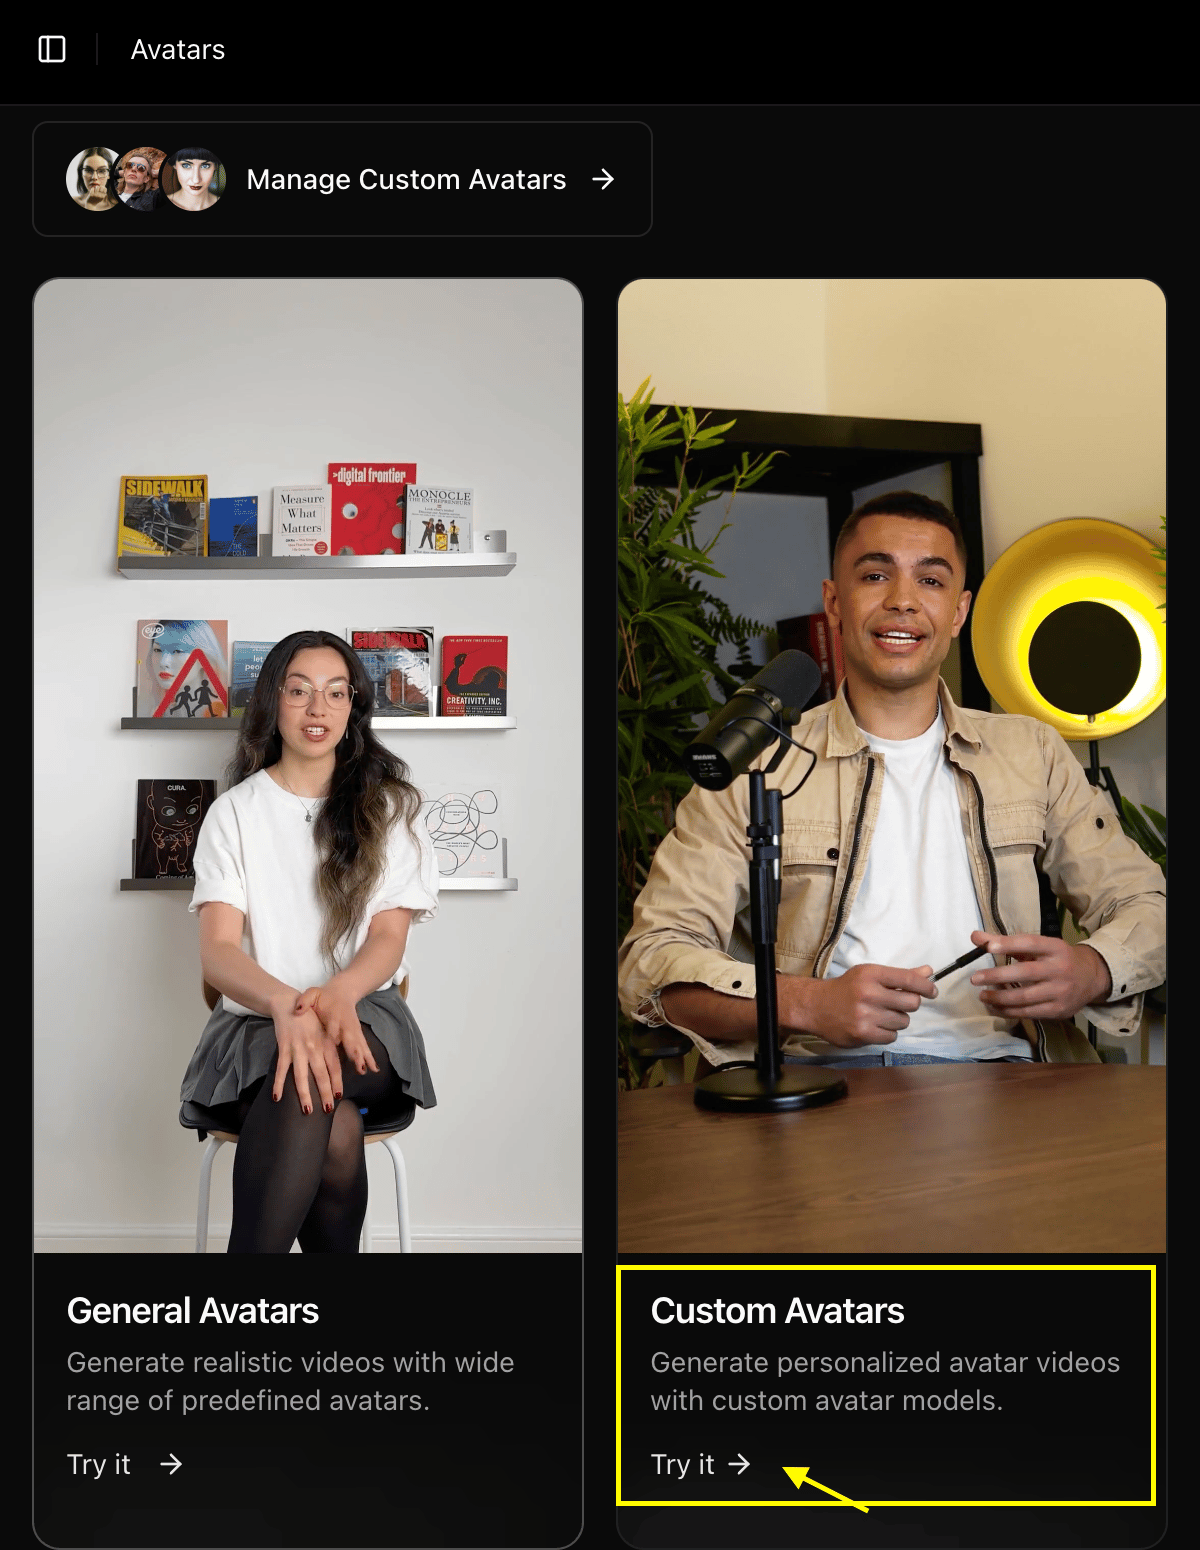
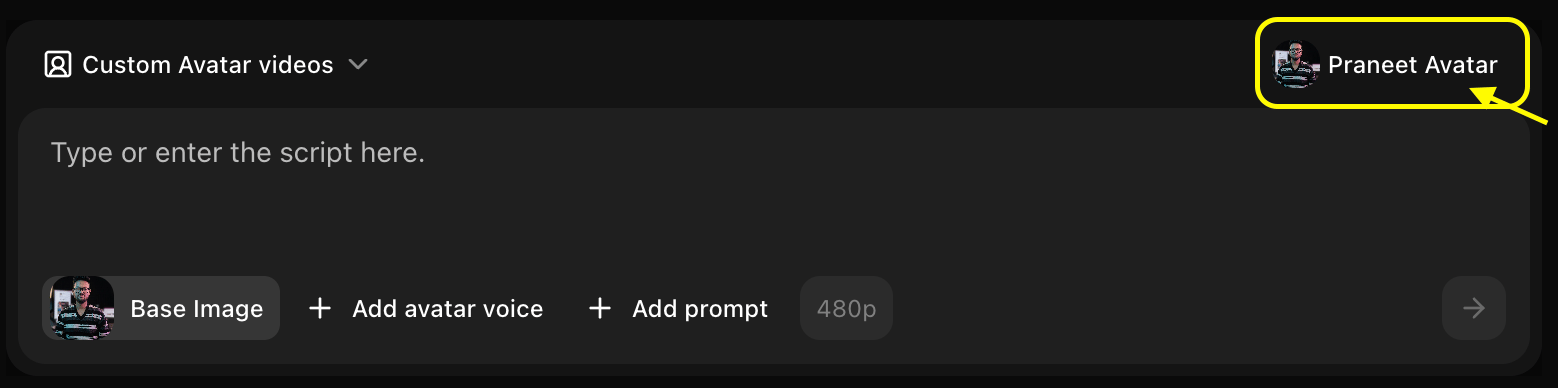
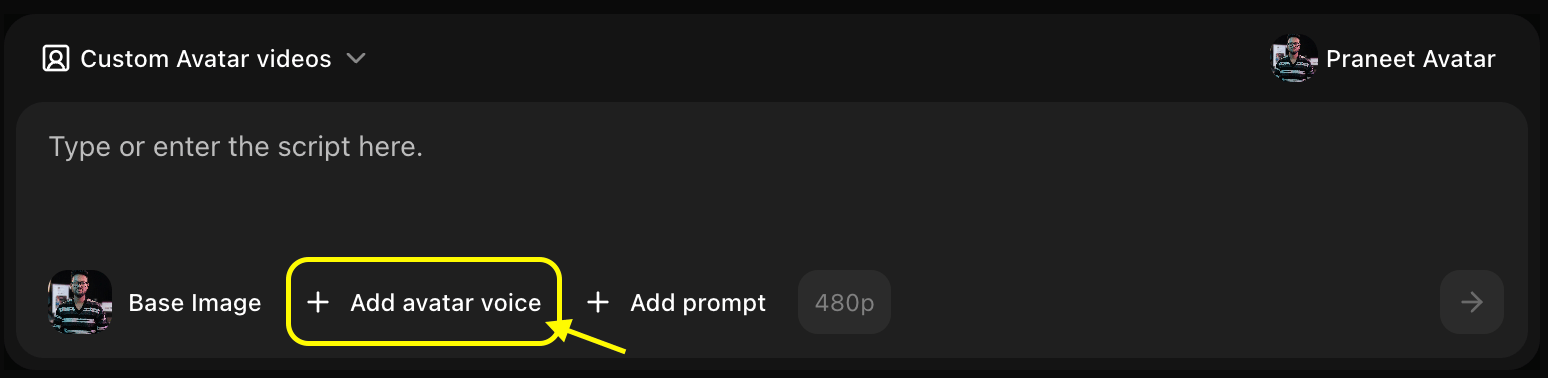
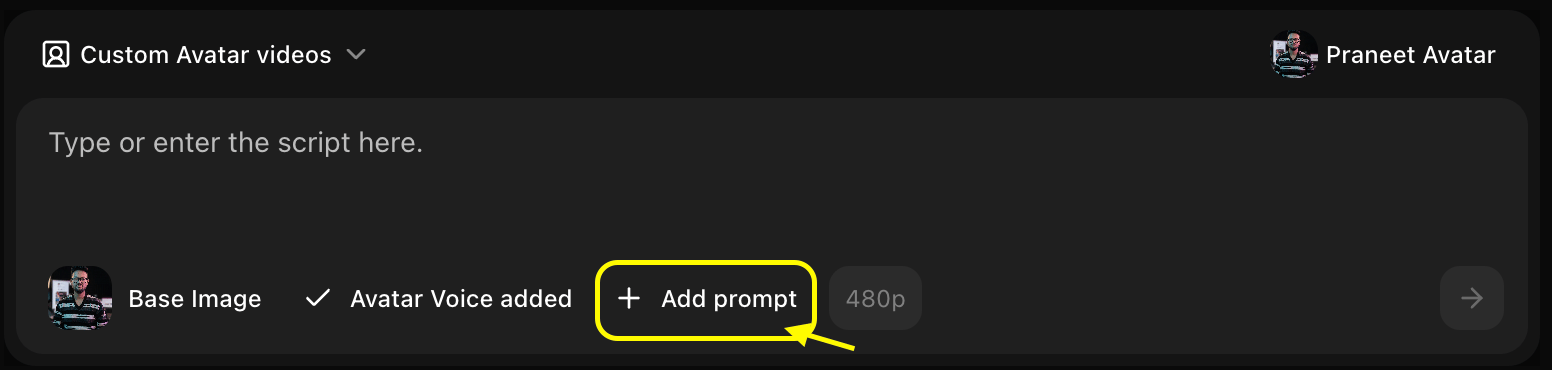
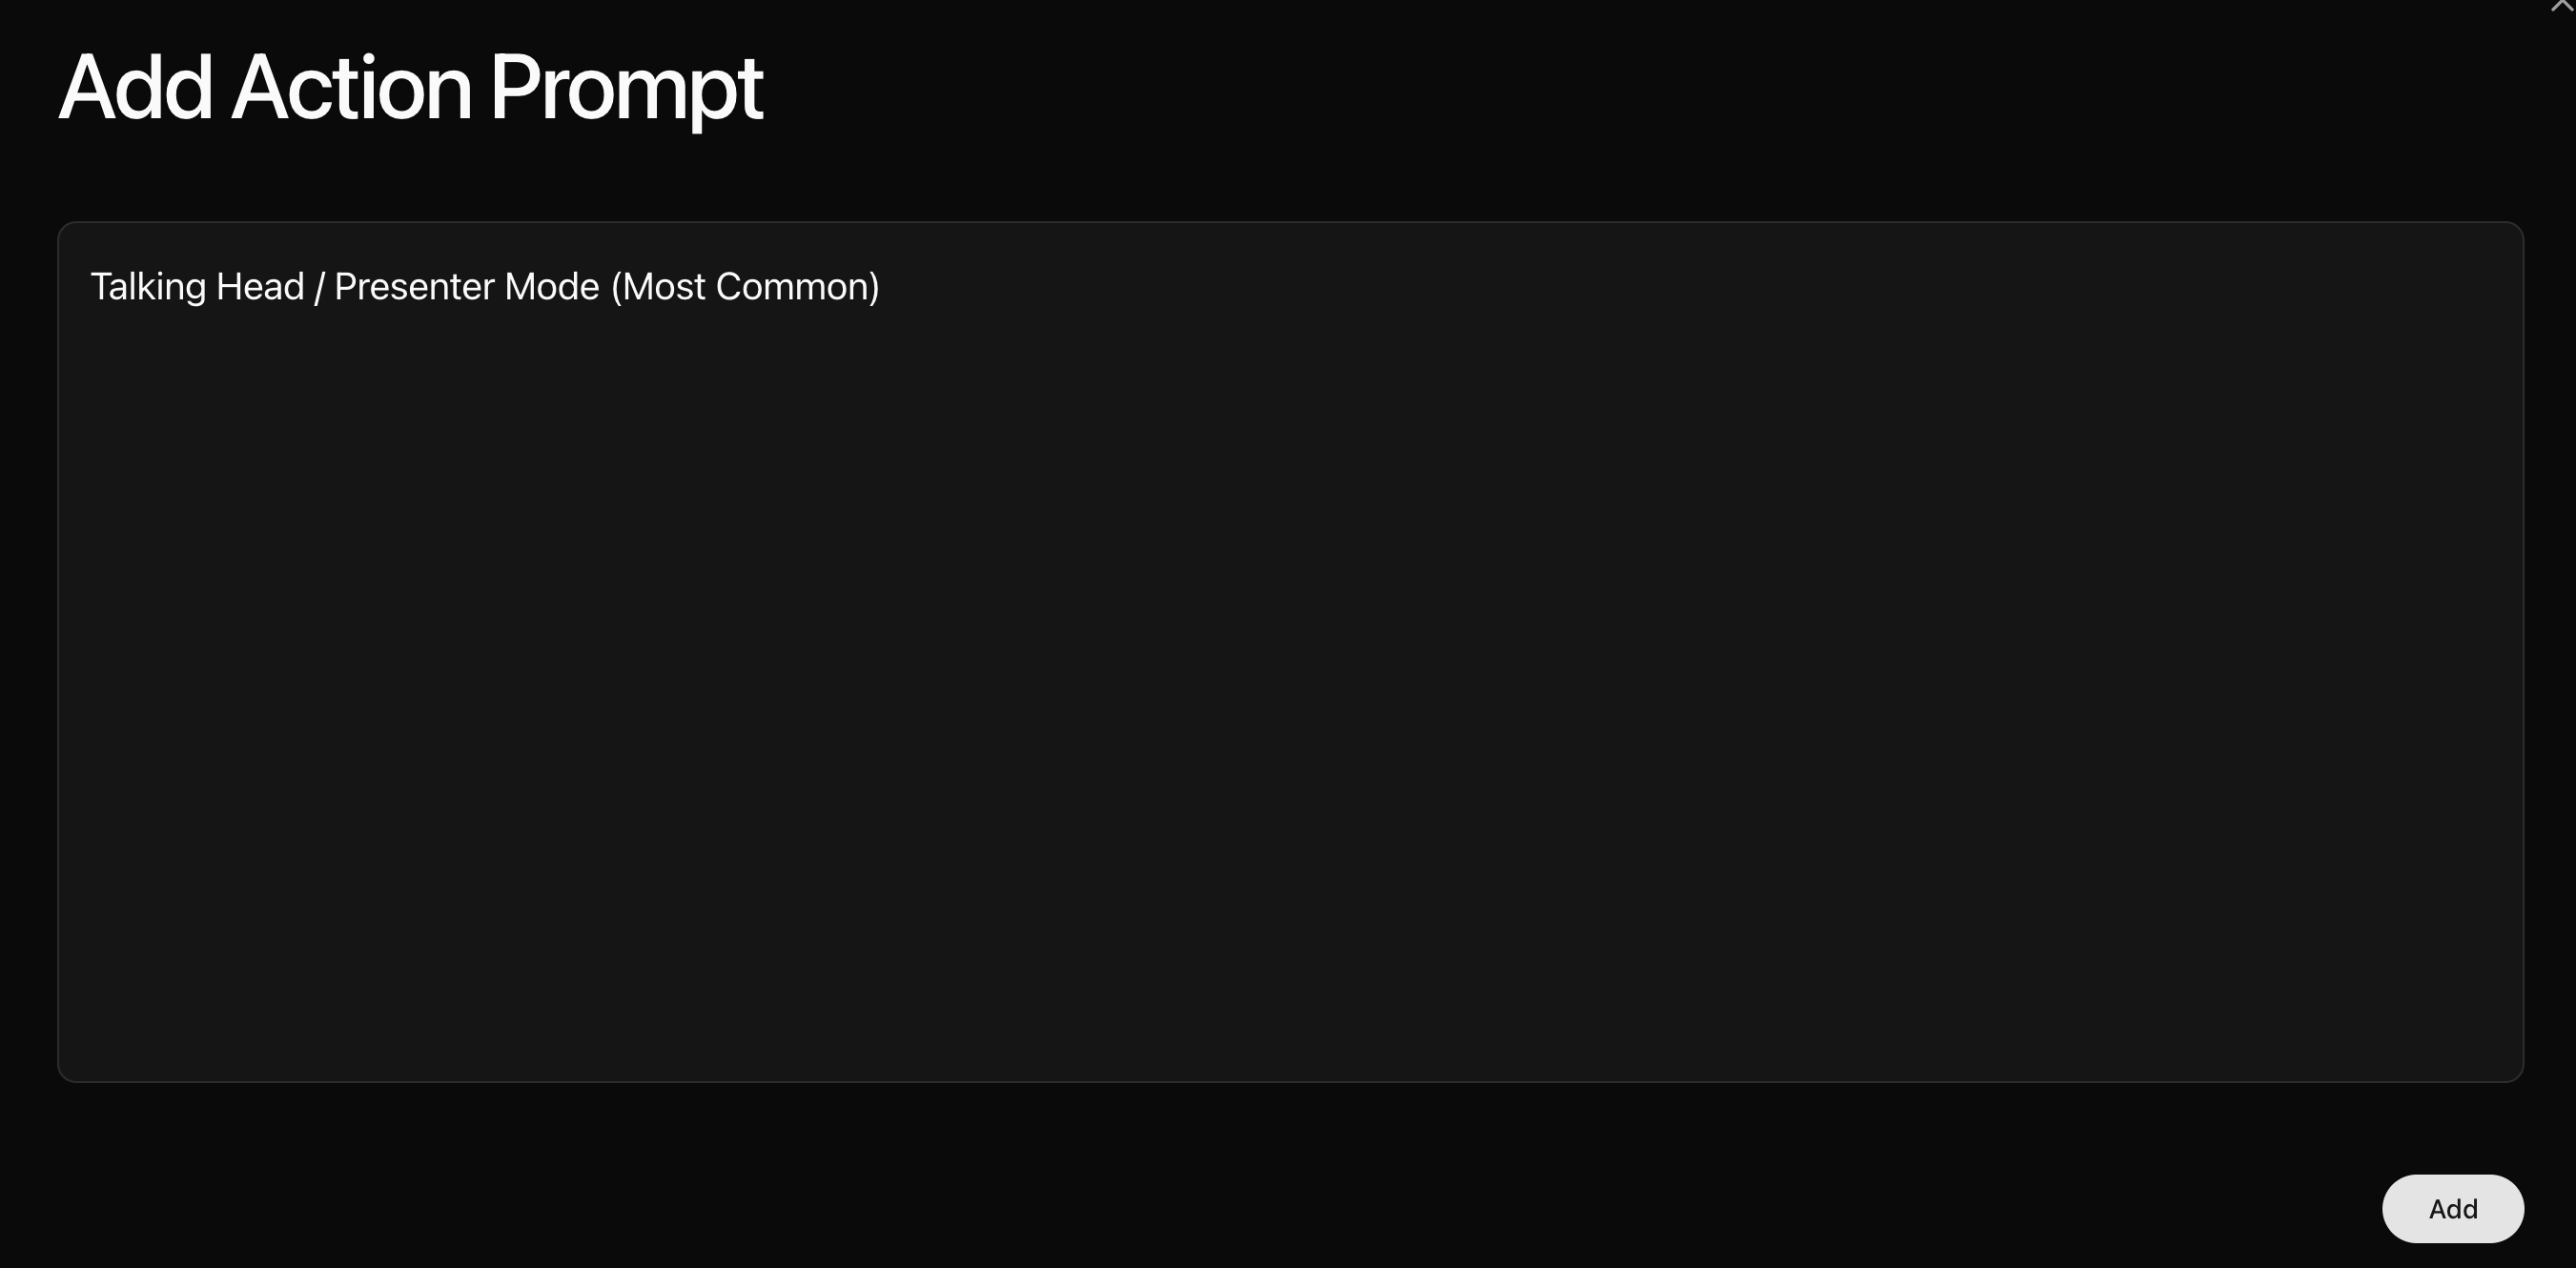
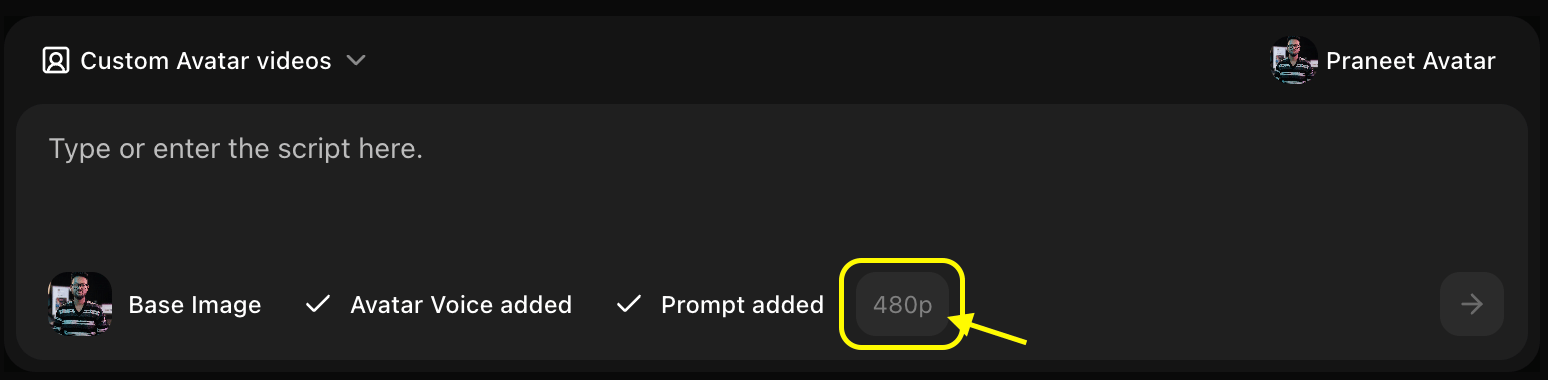
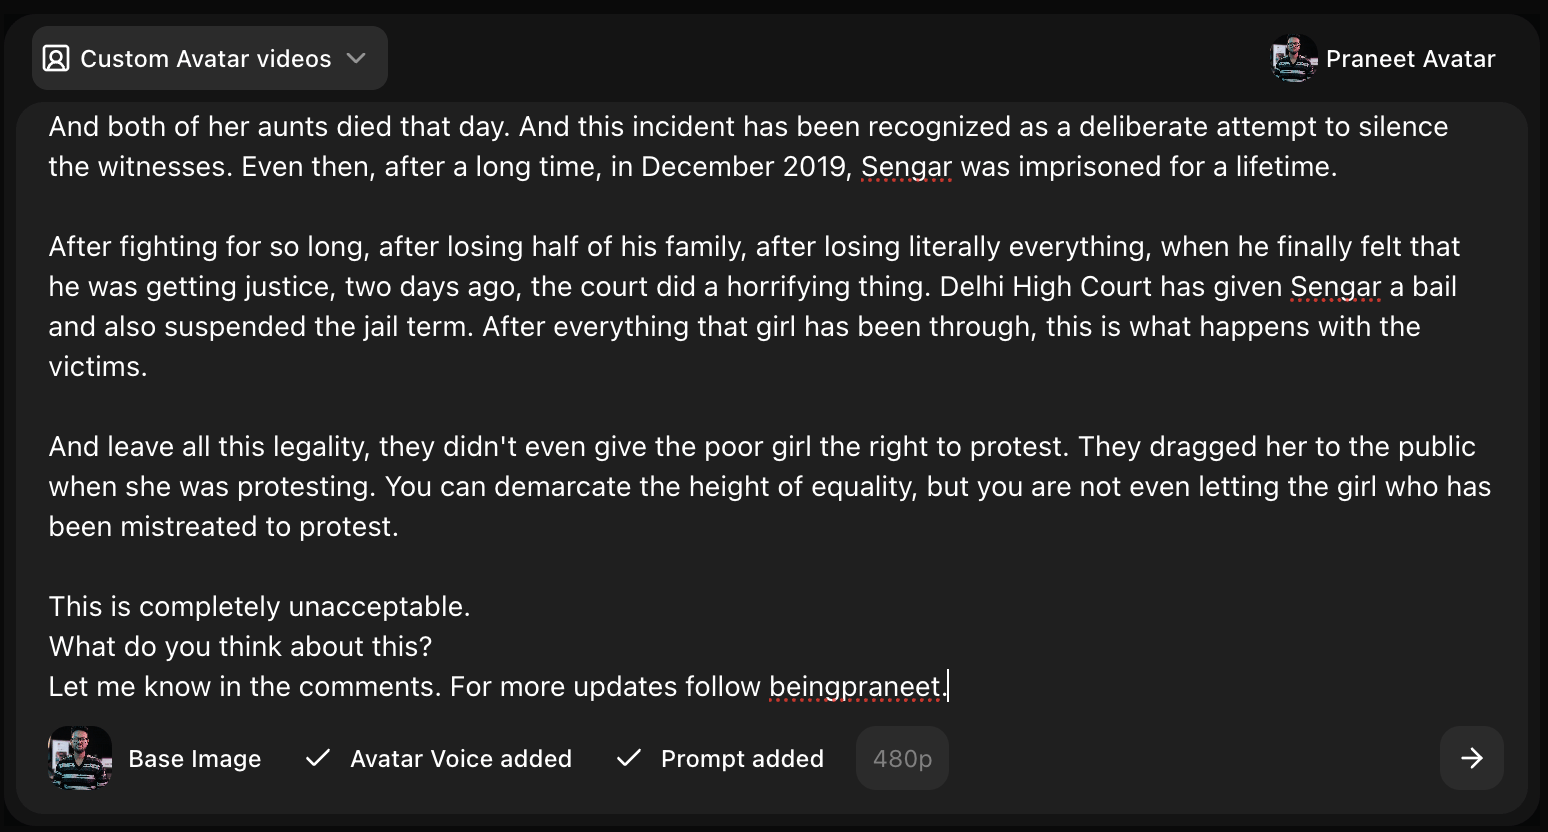
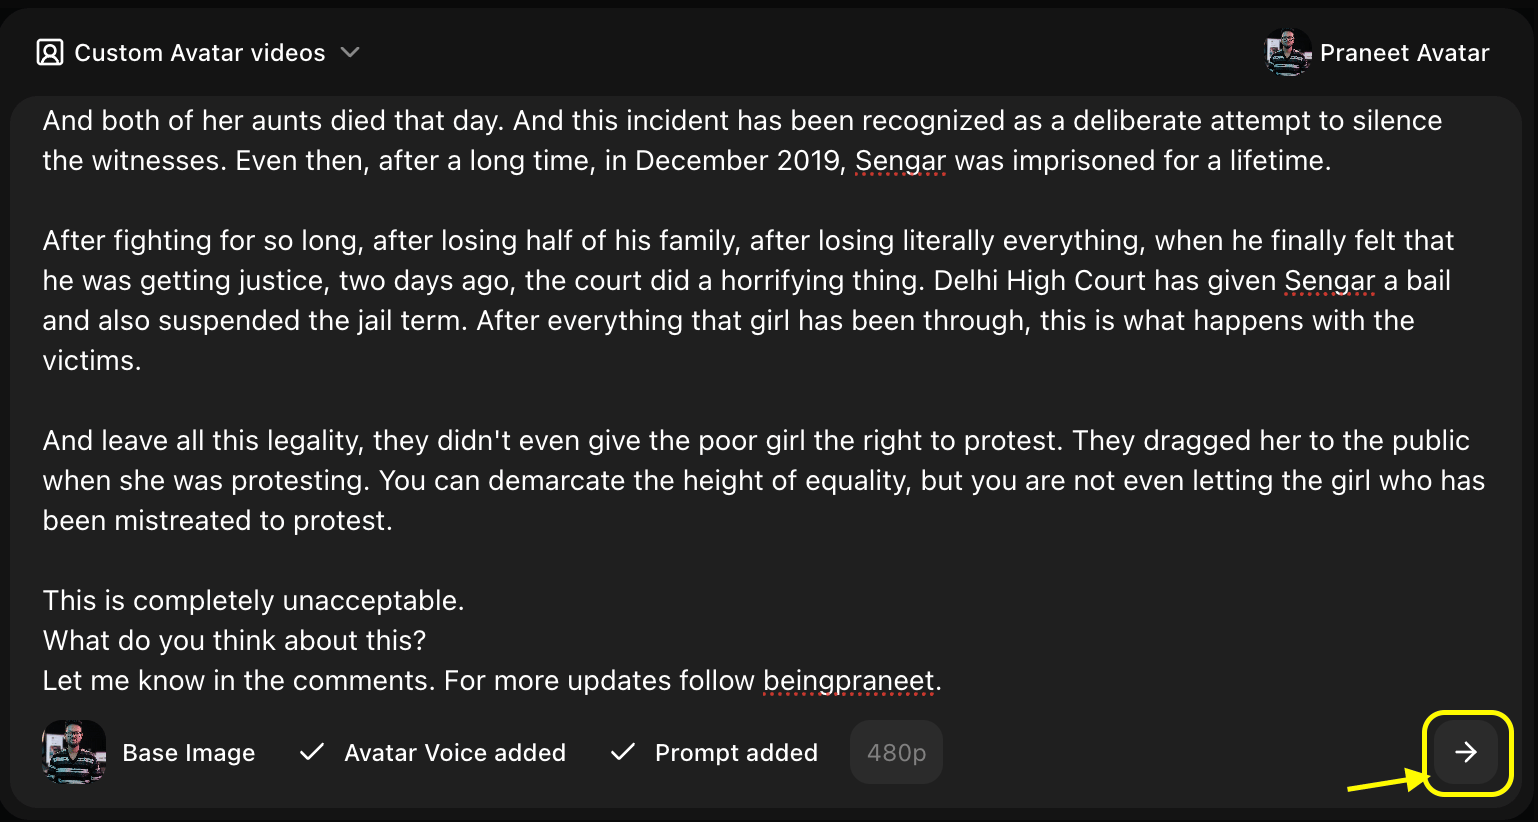
- Select Avatar: Select your avatar from the gallery and slect the base image as
Praneet Avatar.
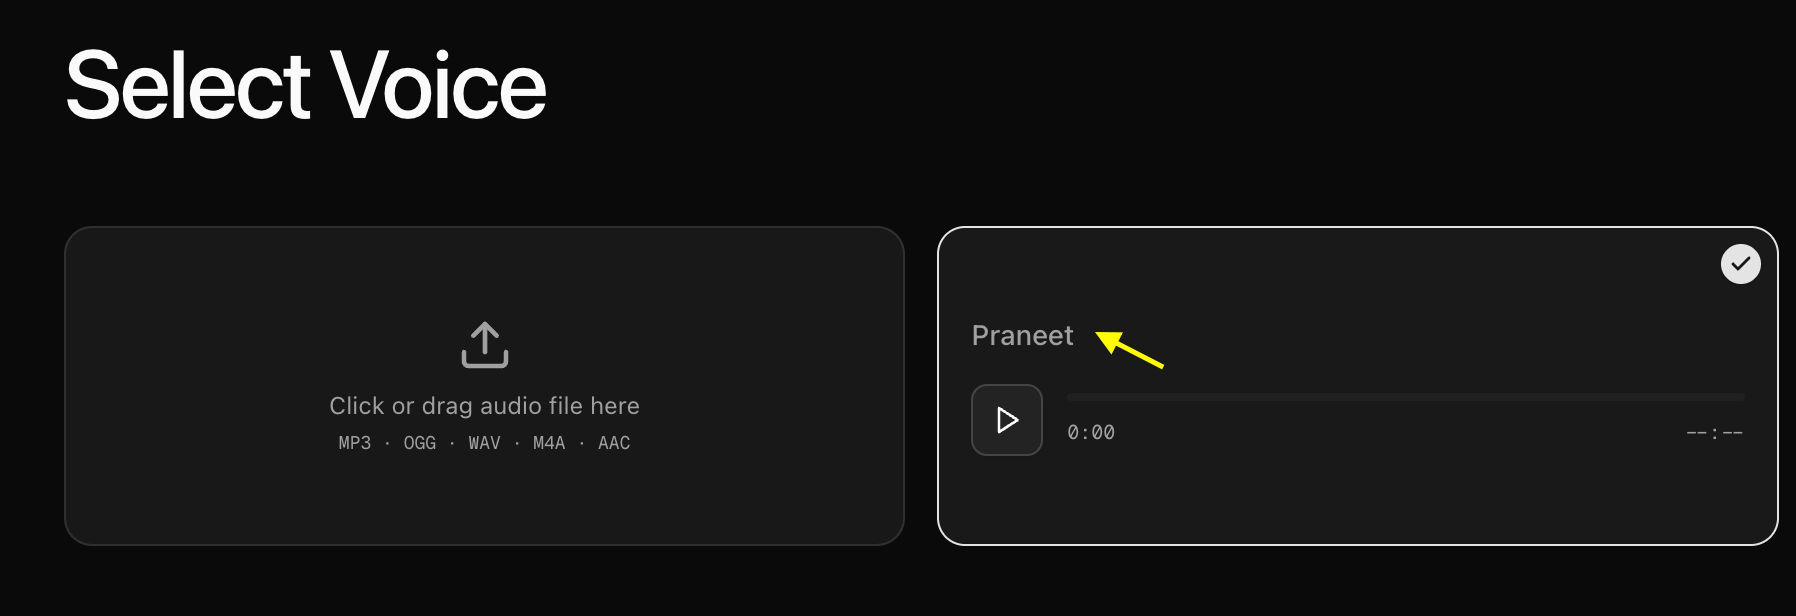
- Click Add Voice: Select a voice or upload your own voice sample.
- Upload Voice Sample: Upload your voice sample want use for avatar.
- Add Action: Define the action you want your avatar to perform like greeting, waving, etc. Click on
Add Prompts.
- Write the Action: Write the action you want your avatar to perform. We given
Talking Head / Presenter Mode (Most Common).
- Resolution: Choose your preferred video resolution.
- Write Script: Enter the text you want your avatar to speak in the script box.
- Generate: Click on Generate to create your final video.
Output
- This was the 4K resolution video generated from the image to avatar tool.
- This was the 1080p resolution video generated from the image to avatar tool.
Inputs
- Image
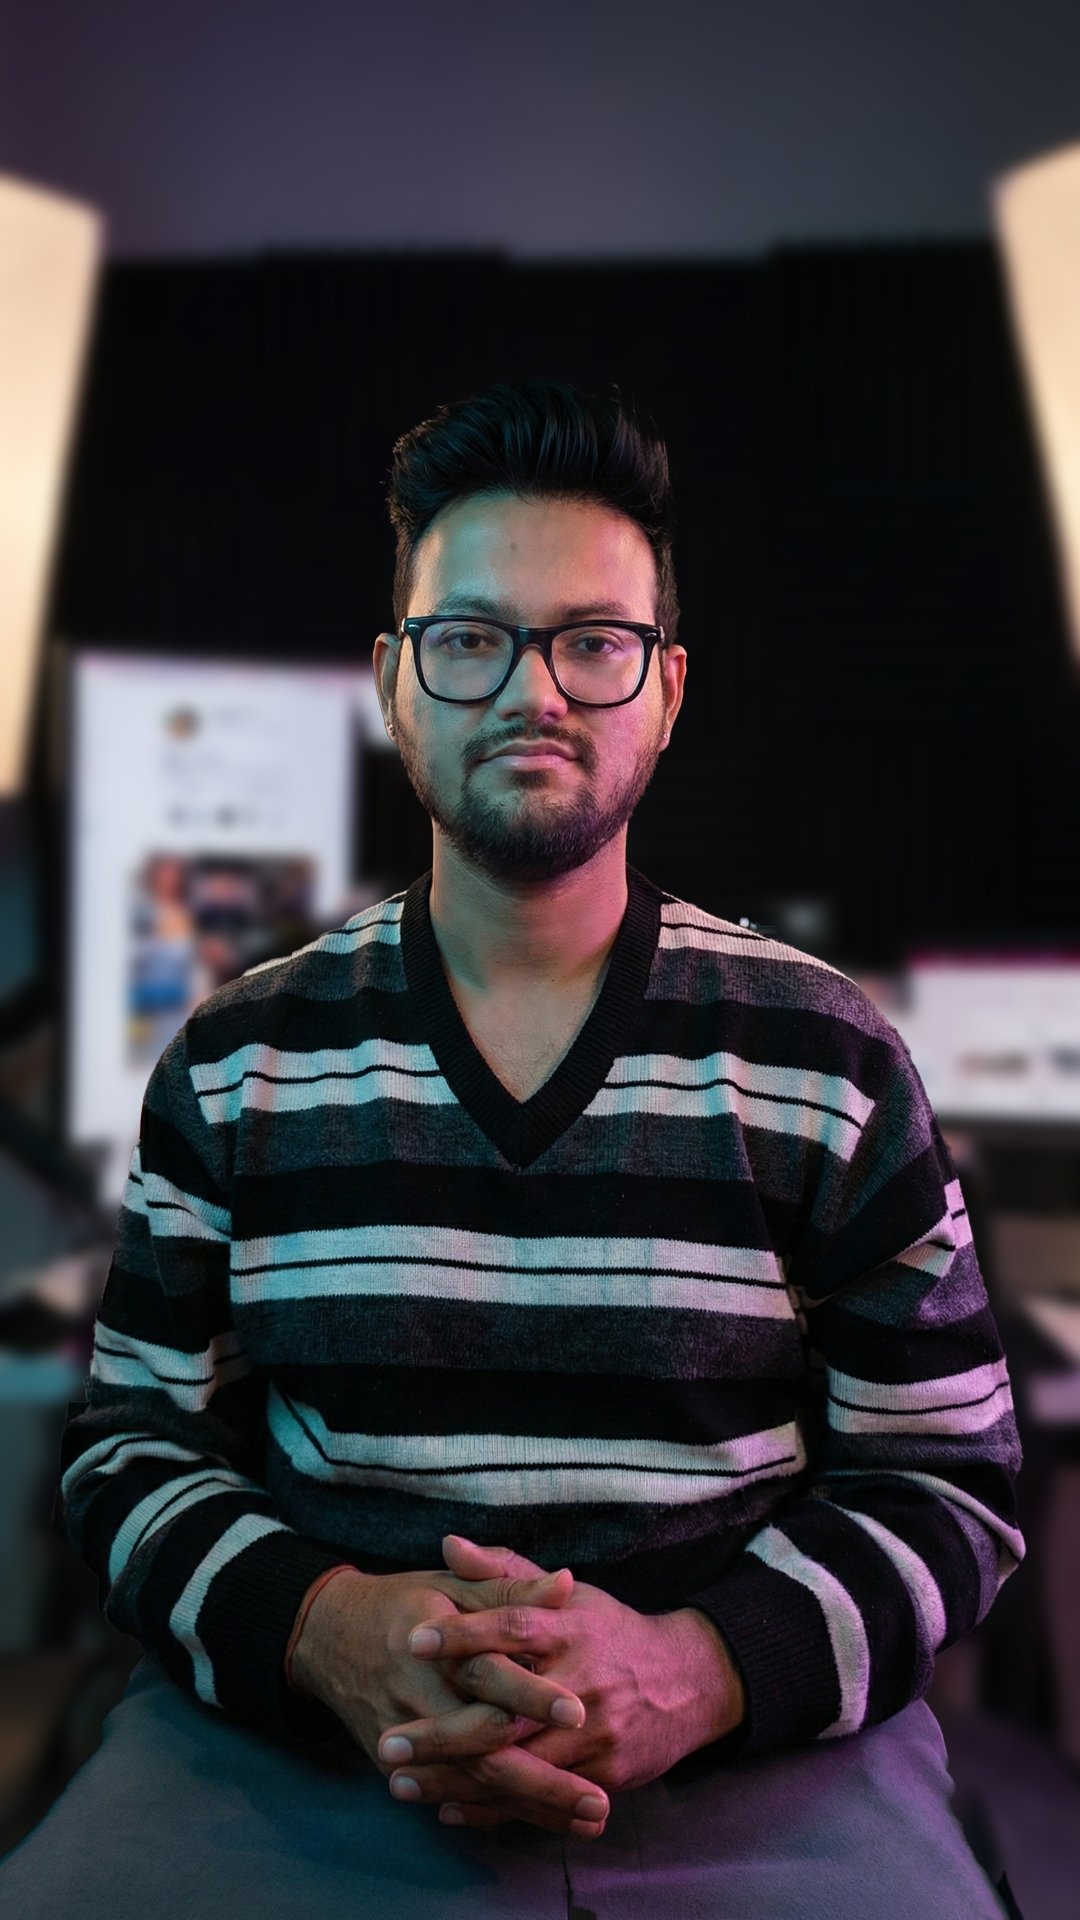
-
Voice:
Praneetvoice. (Listen to voice sample) -
Prompt: Write the action you want your avatar to perform. We given
Talking Head / Presenter Mode (Most Common). - Resolution: Choose your preferred video resolution.
- Script: Enter the text you want your avatar to speak in the script box.
Next Steps
Text to Avatar
Create avatars from text descriptions
Voice Generator
Add custom voices to your avatars
Prompt Guide
Master generation techniques