

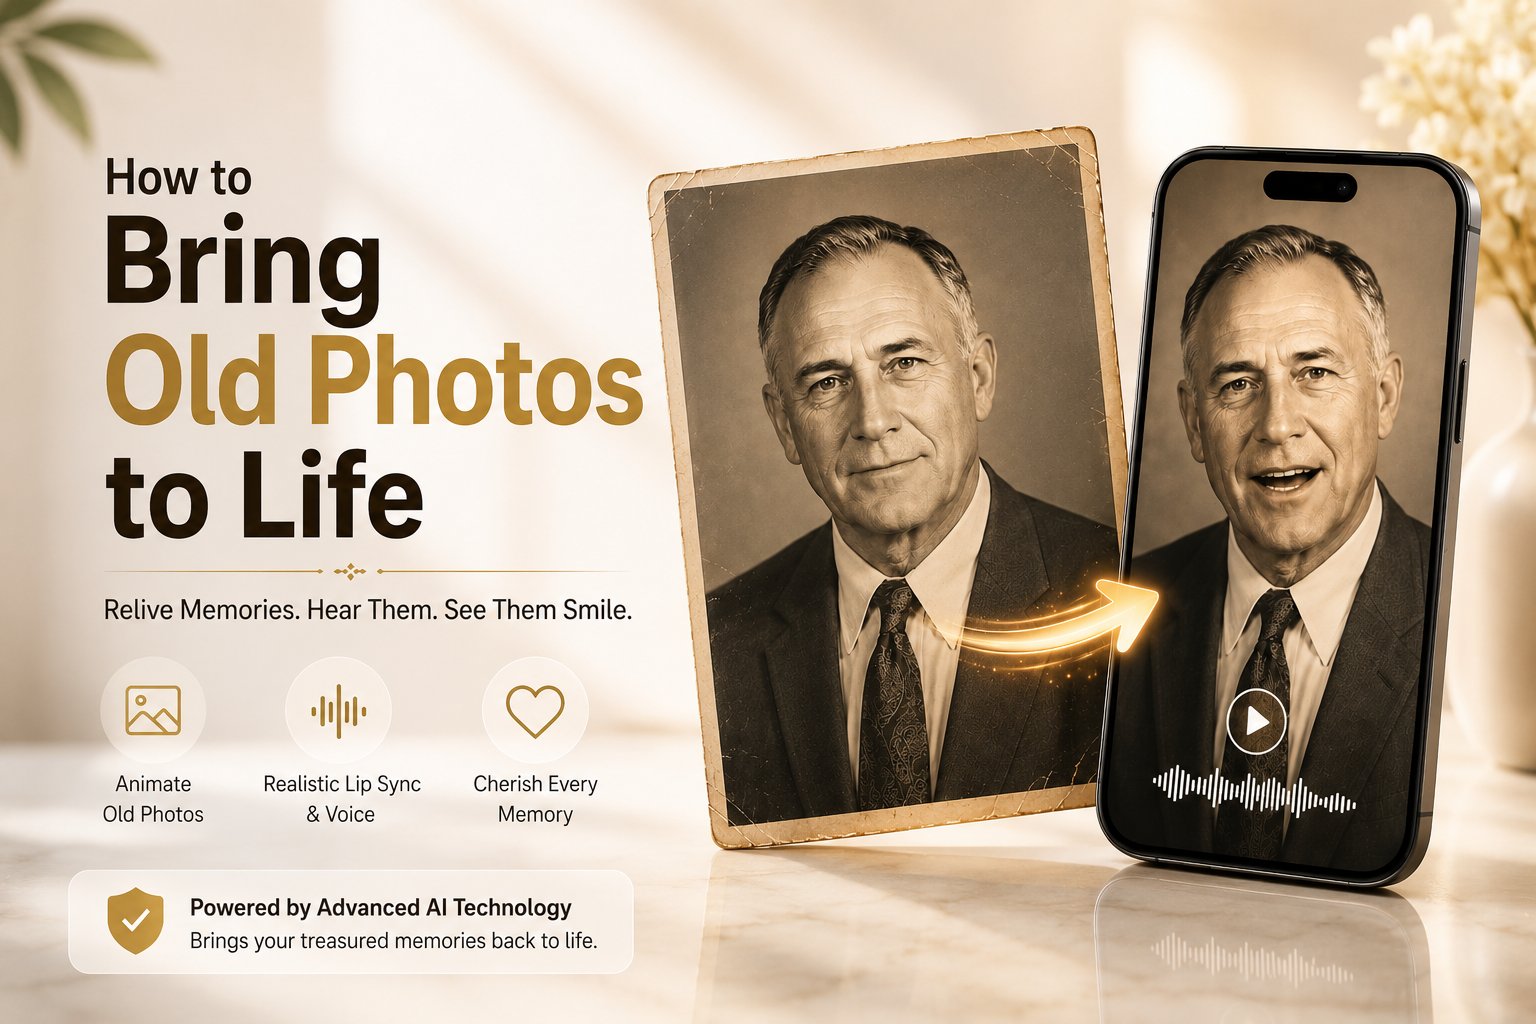
What Does Animate Old Photos Mean?
Animating old photos means taking a static, historic portrait and using neural networks to generate a realistic video representation. The AI model analyzes the positioning of eyes, nose, cheeks, and lips in the vintage photograph, generating natural blinking, sways, and lip-syncing that matches a typed script. This technology allows you to hear ancestors tell their own stories, recite family histories, or present historical timelines in a highly immersive format.How to Bring Old Photos to Life Using Zoice
Converting a vintage portrait into a talking video takes only a few minutes. Follow the detailed steps below to get started.Step 1: Open the Zoice Homepage
Launch your web browser, navigate to Zoice.com, and click Sign In in the top-right corner.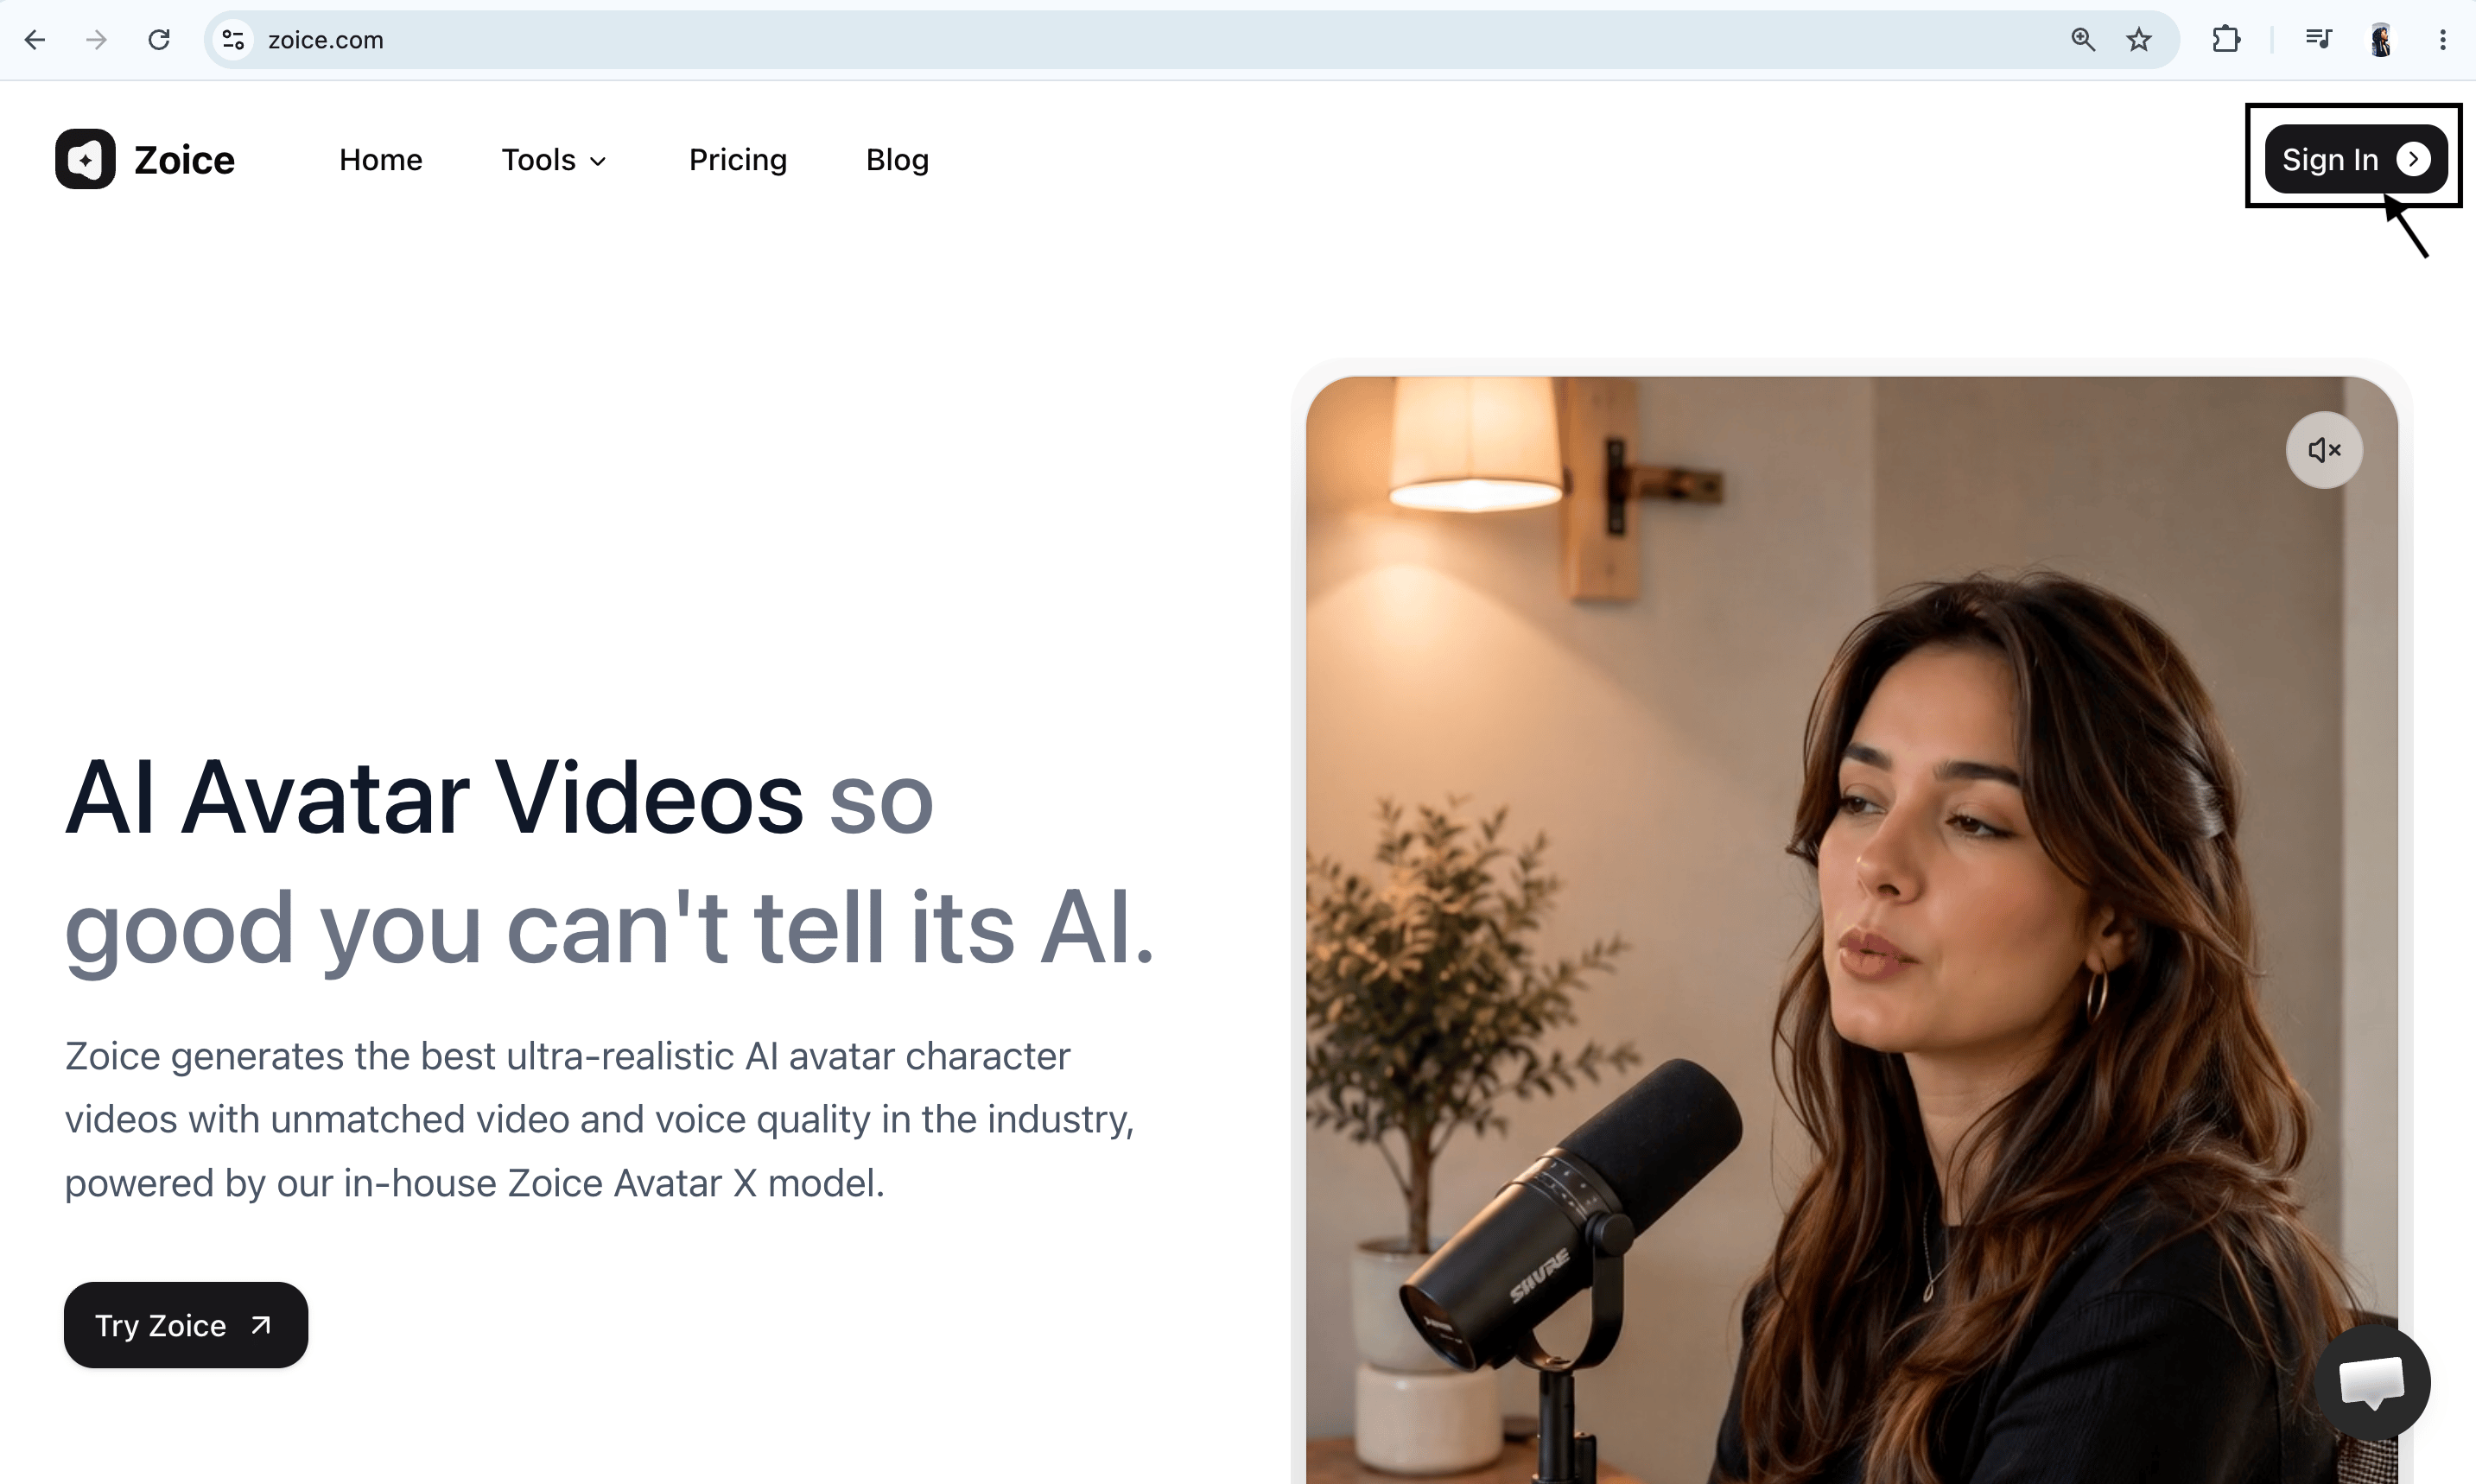
Step 2: Sign In to Your Dashboard Account
Enter your email and password, then click Sign In. Or select the Sign in with Google button for quick dashboard access.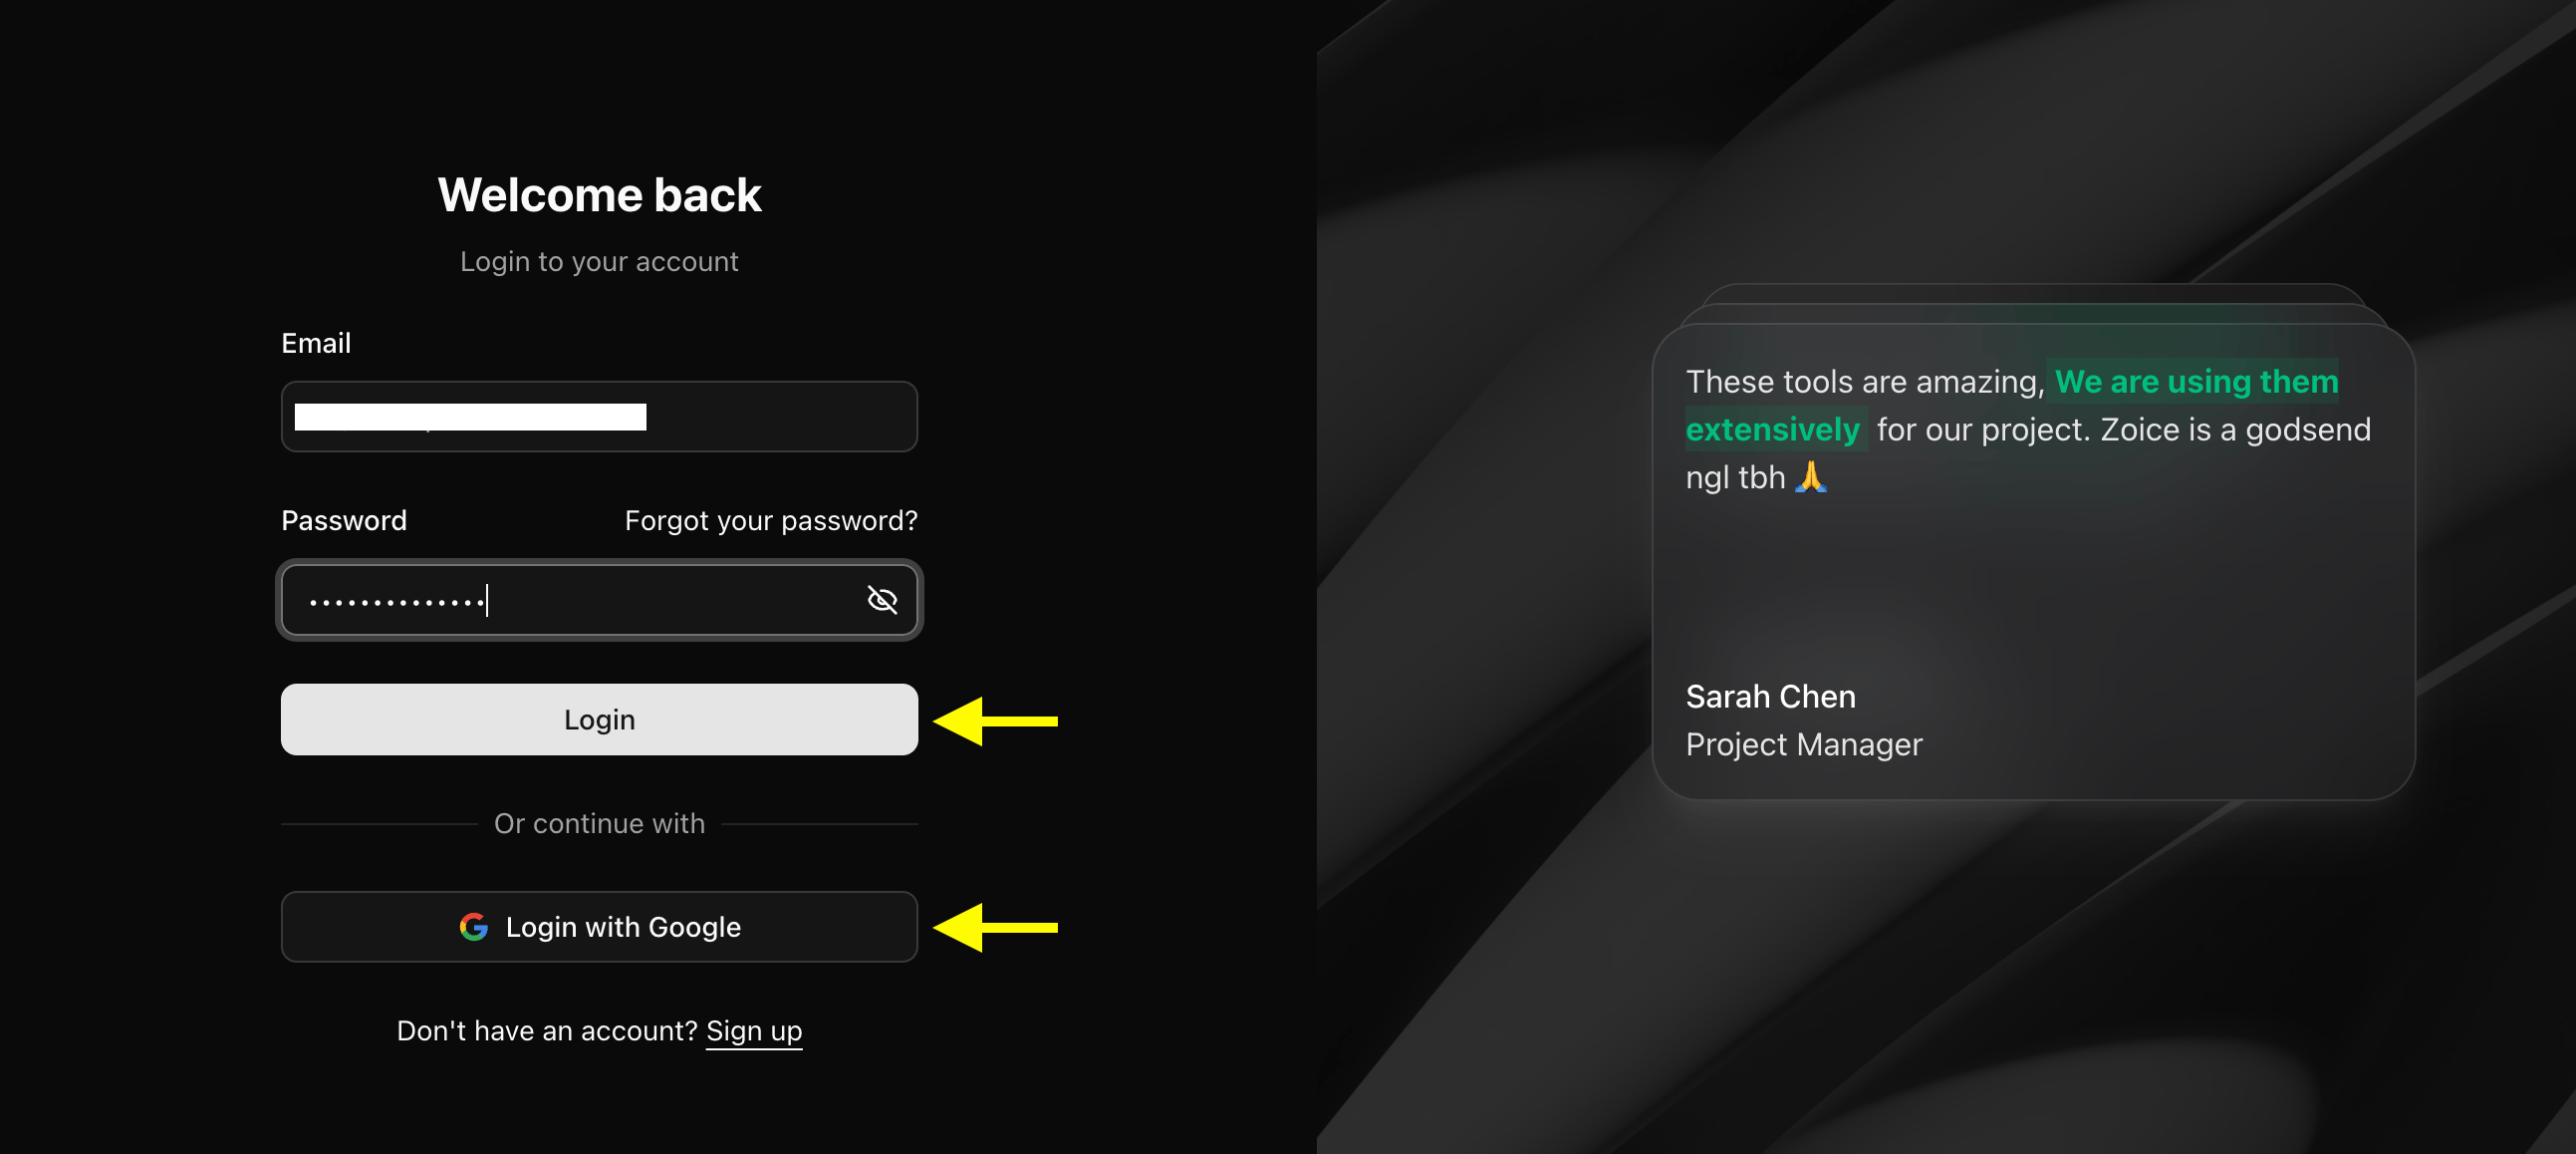
Step 3: Set Up a Free Creator Profile
If you are a first-time user, select Sign Up on the page to register your free workspace.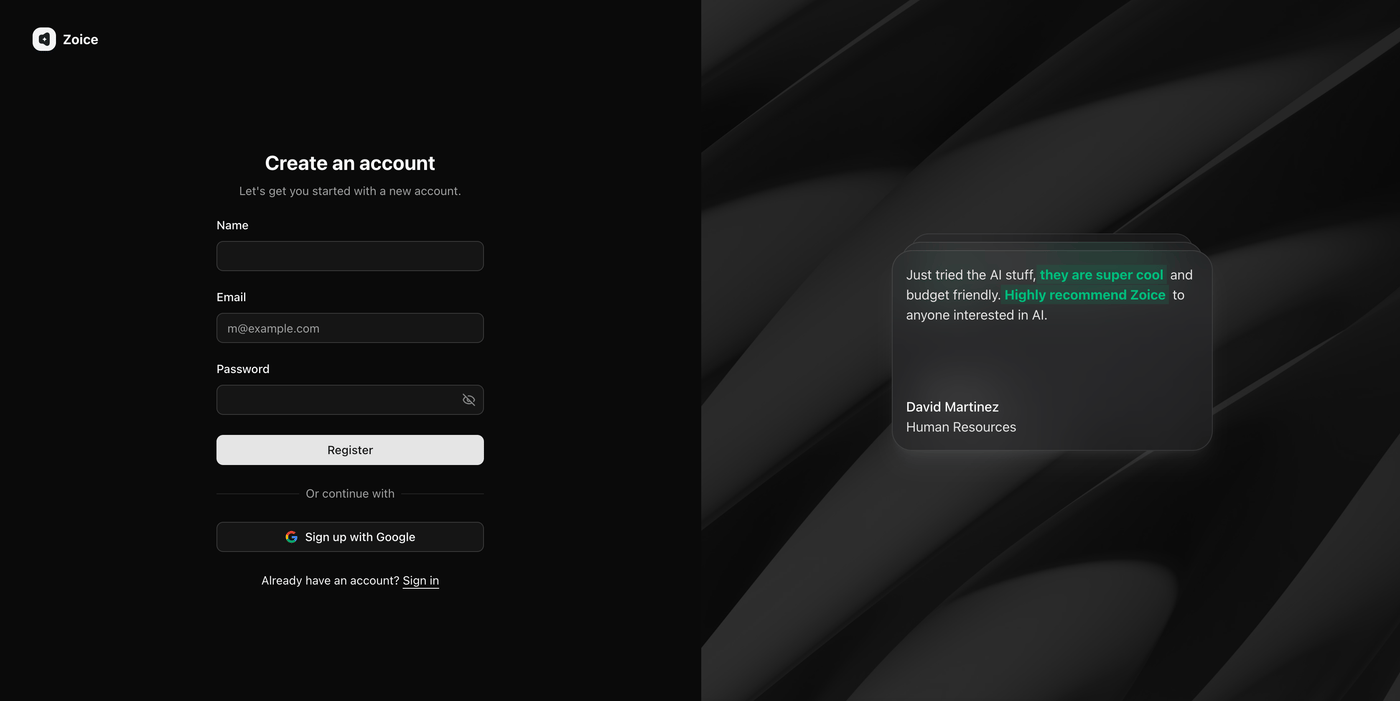
Step 4: Click Avatar Characters
Locate the left sidebar on the main dashboard page and select the Avatar Characters menu.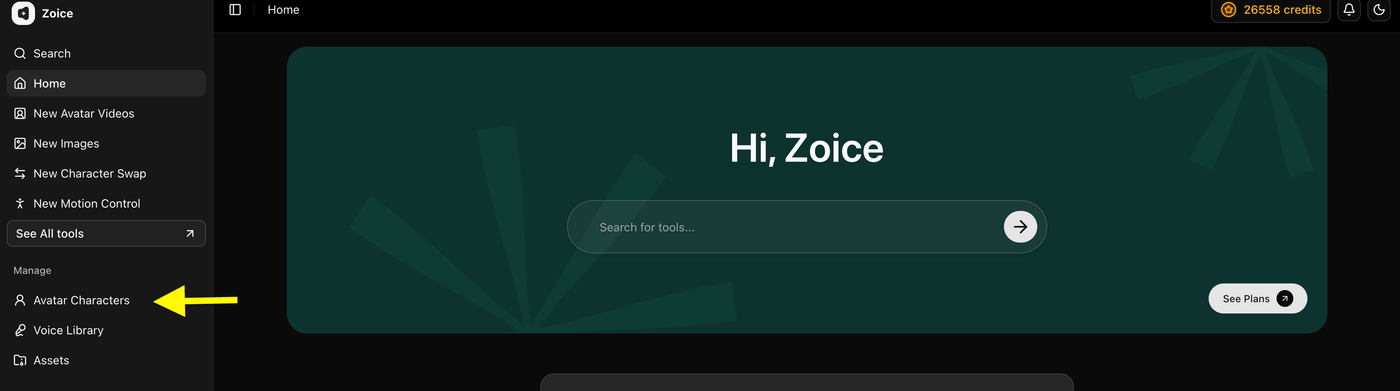
Step 5: Click Create New
On the presenter library page, click the Create New button to set up your relative’s avatar card.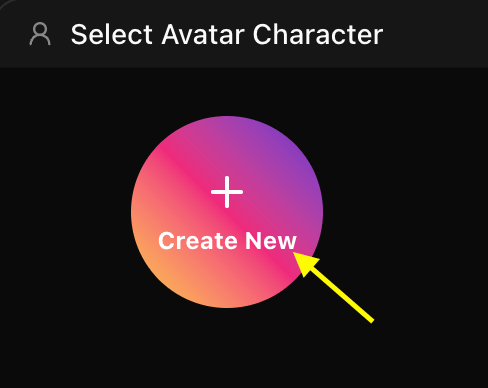
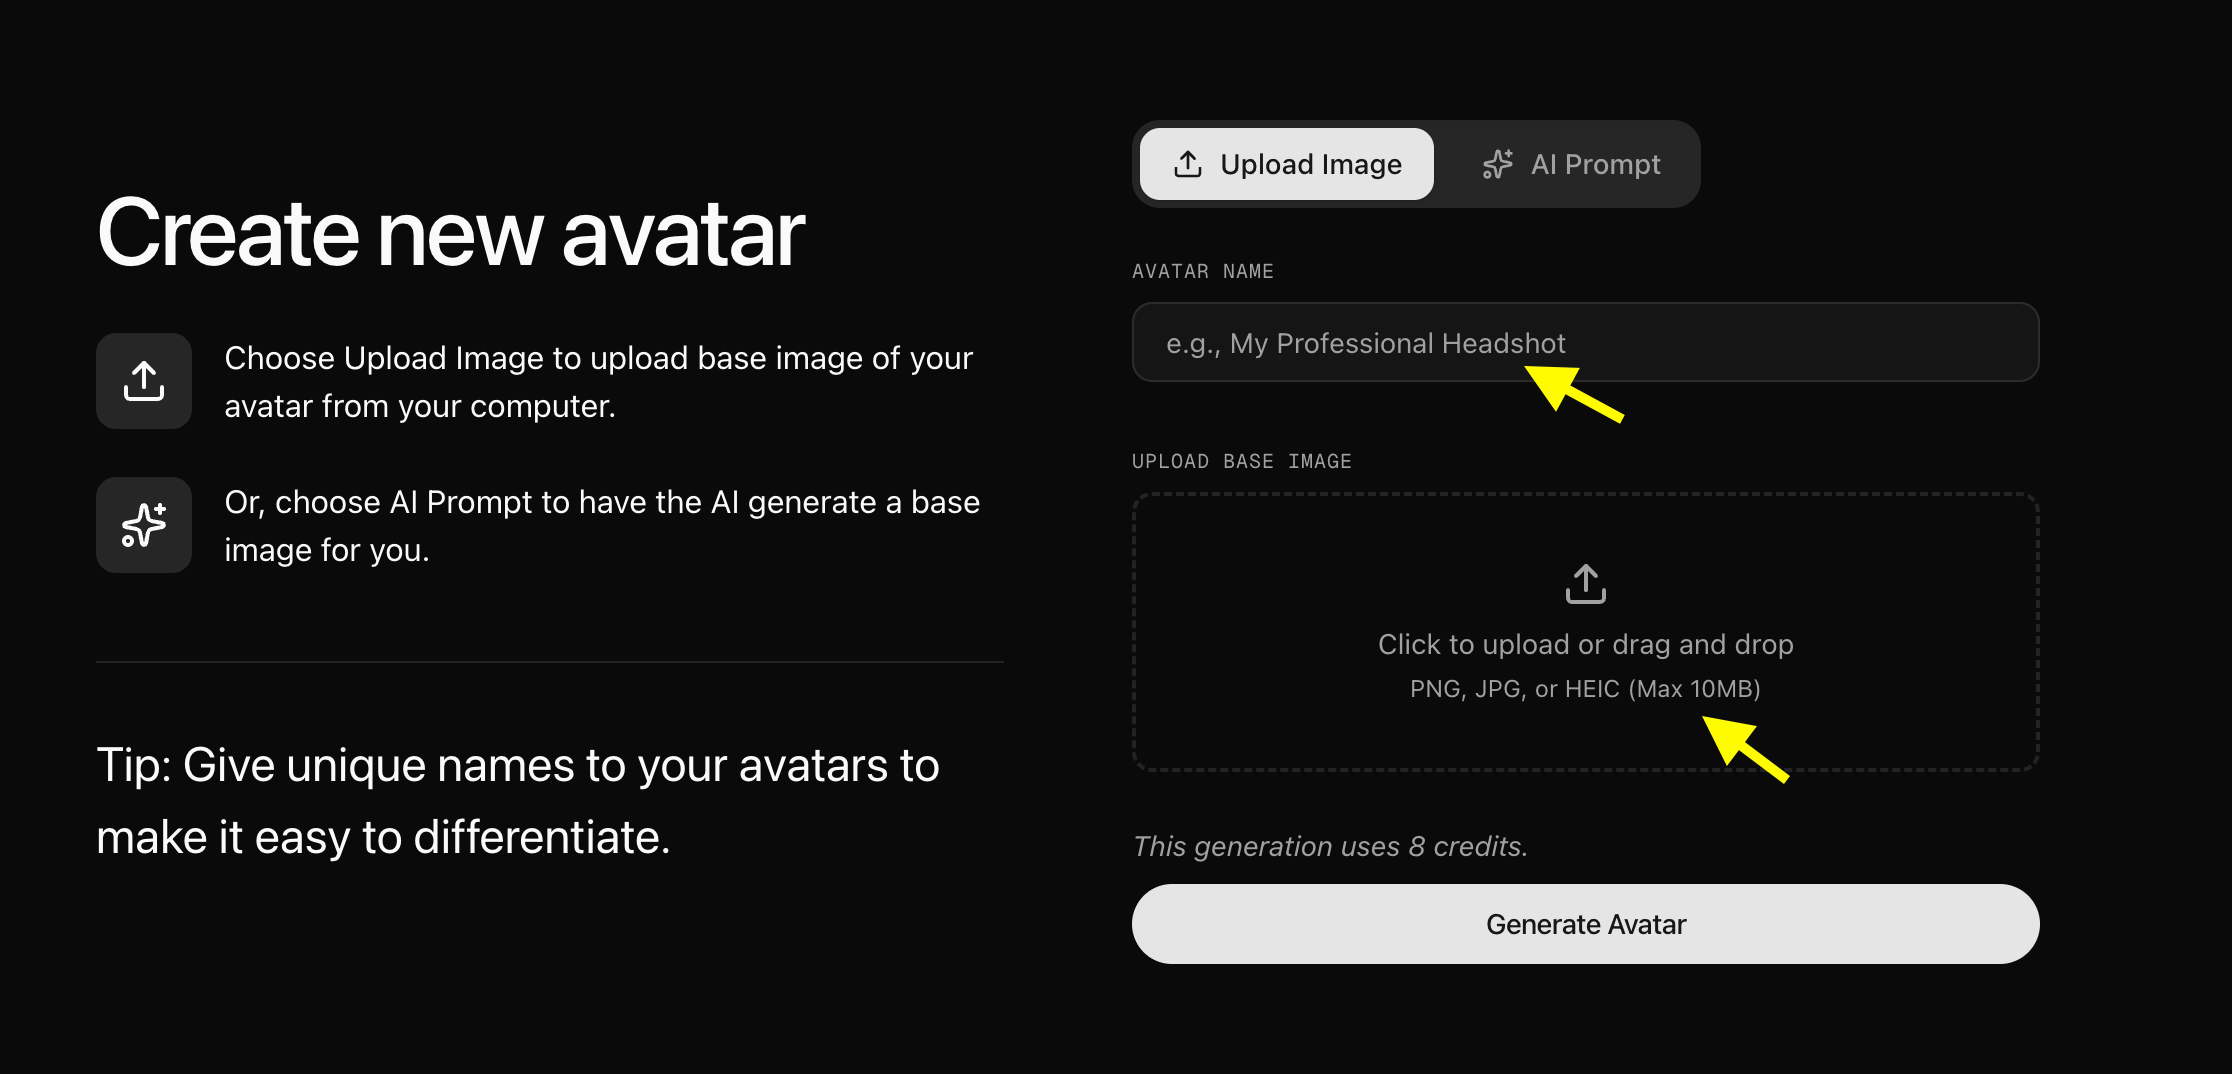
Step 6: Upload Your Relative’s Portrait Photo and Generate Avatar
- Upload a Photo: Select the Upload Image option on the creation page. Enter a name for your relative in the Avatar Name field (e.g., ‘Old Photo Talking’, pointed to by the yellow arrow), upload or drag-and-drop the face portrait in the Upload Base Image box, and click Generate Avatar at the bottom to build their AI profile.
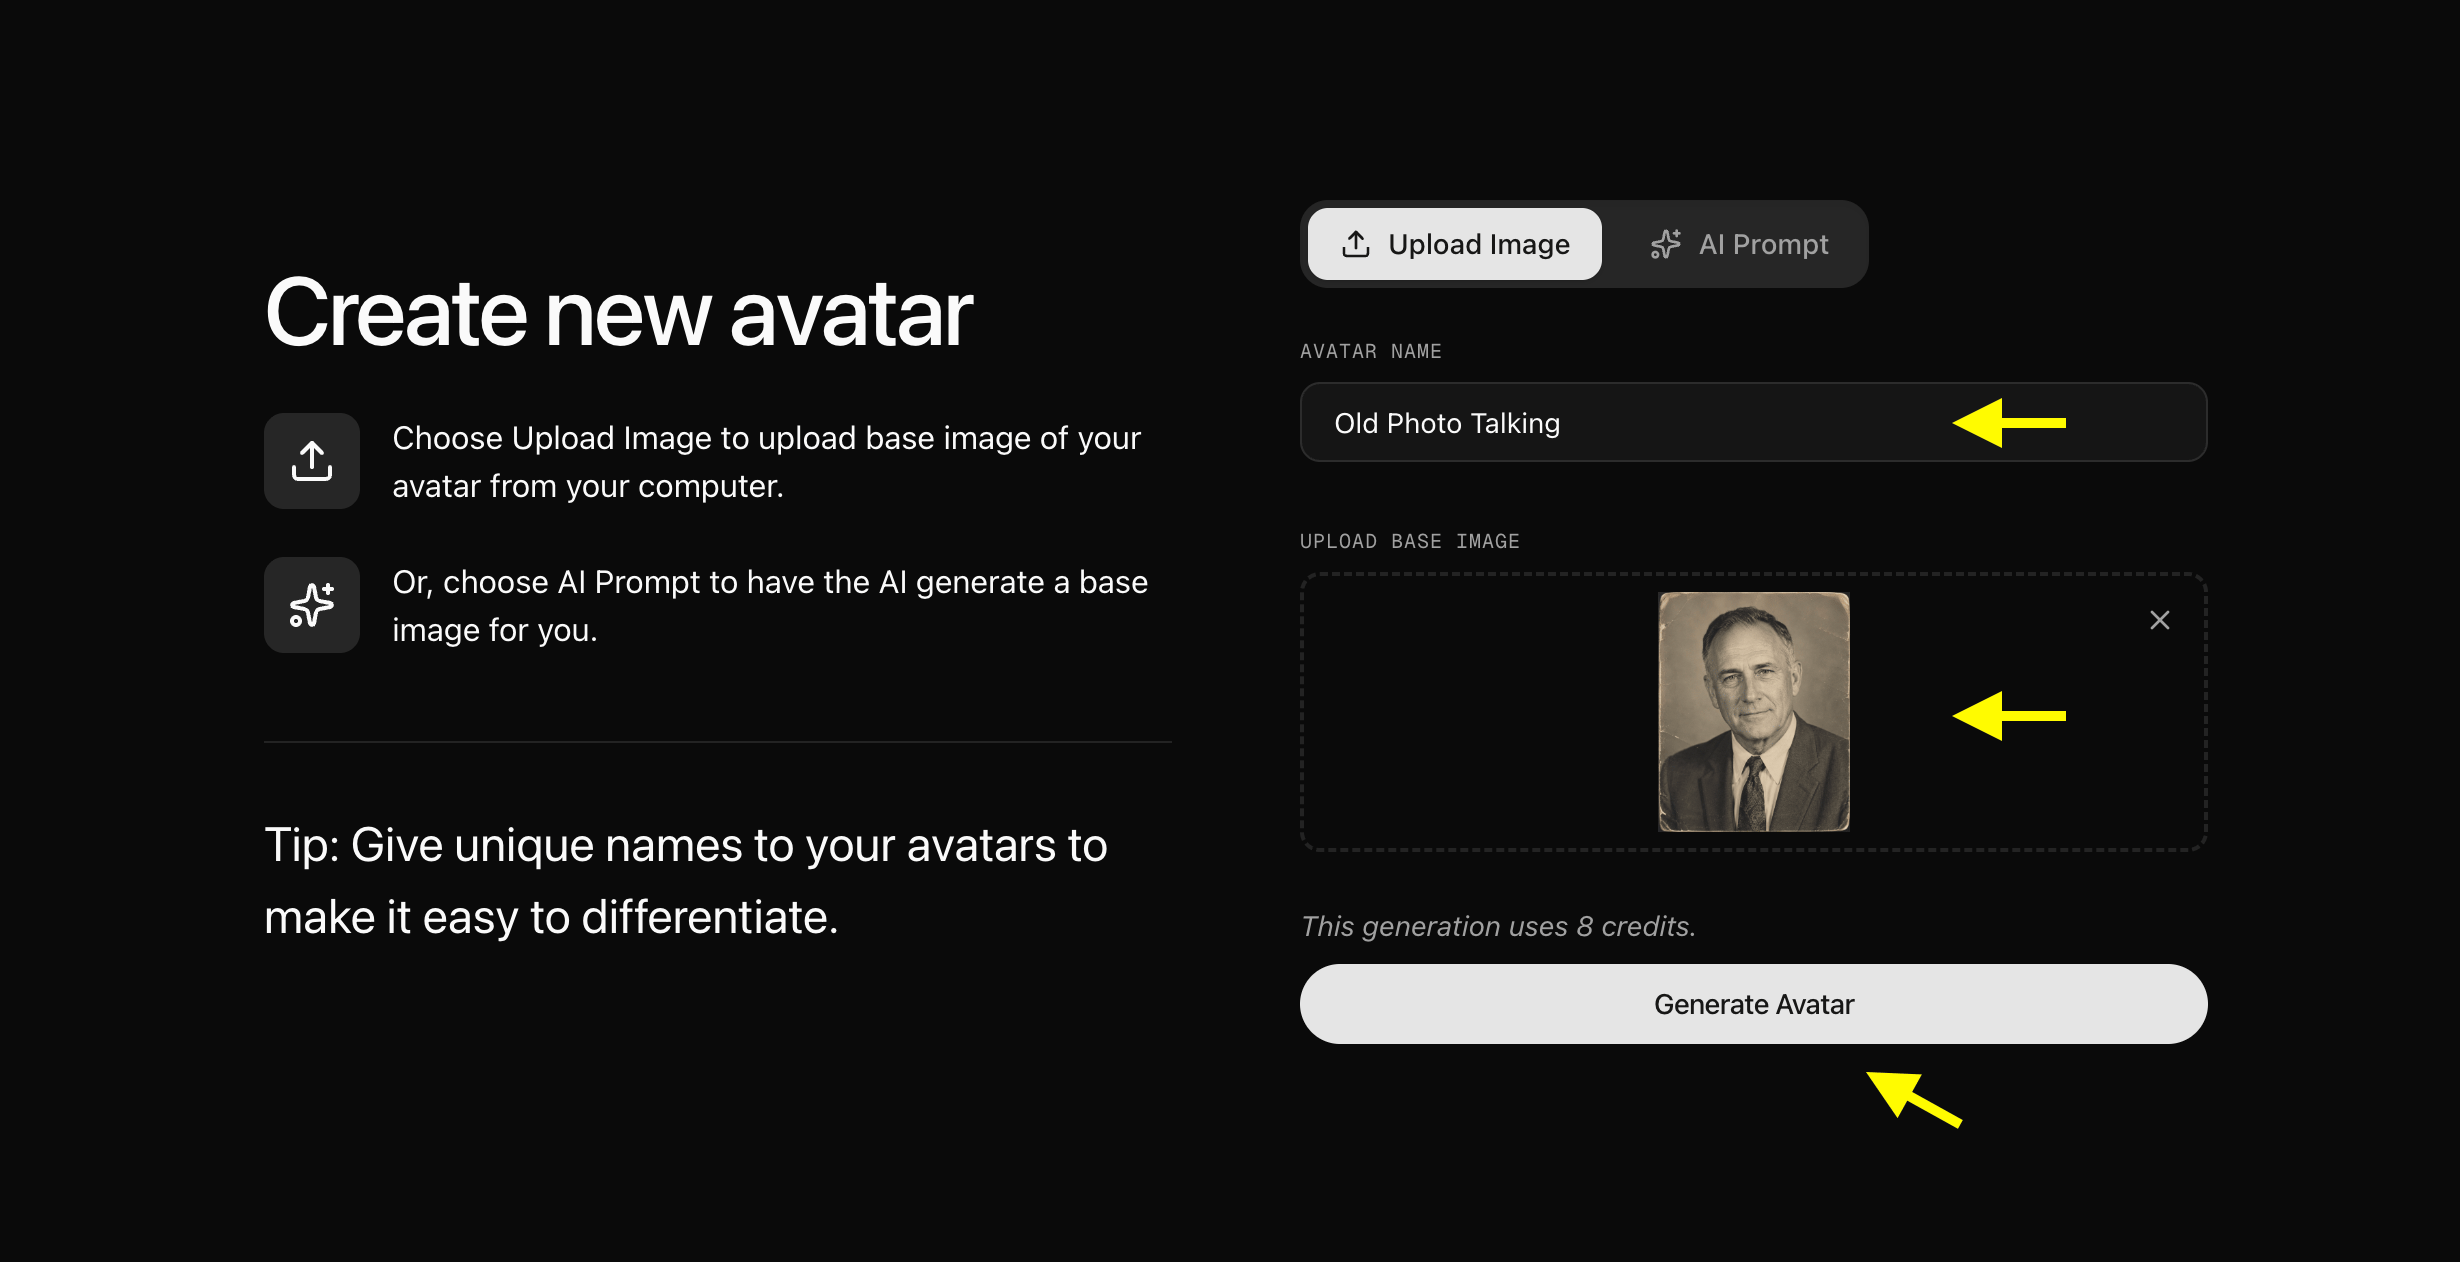
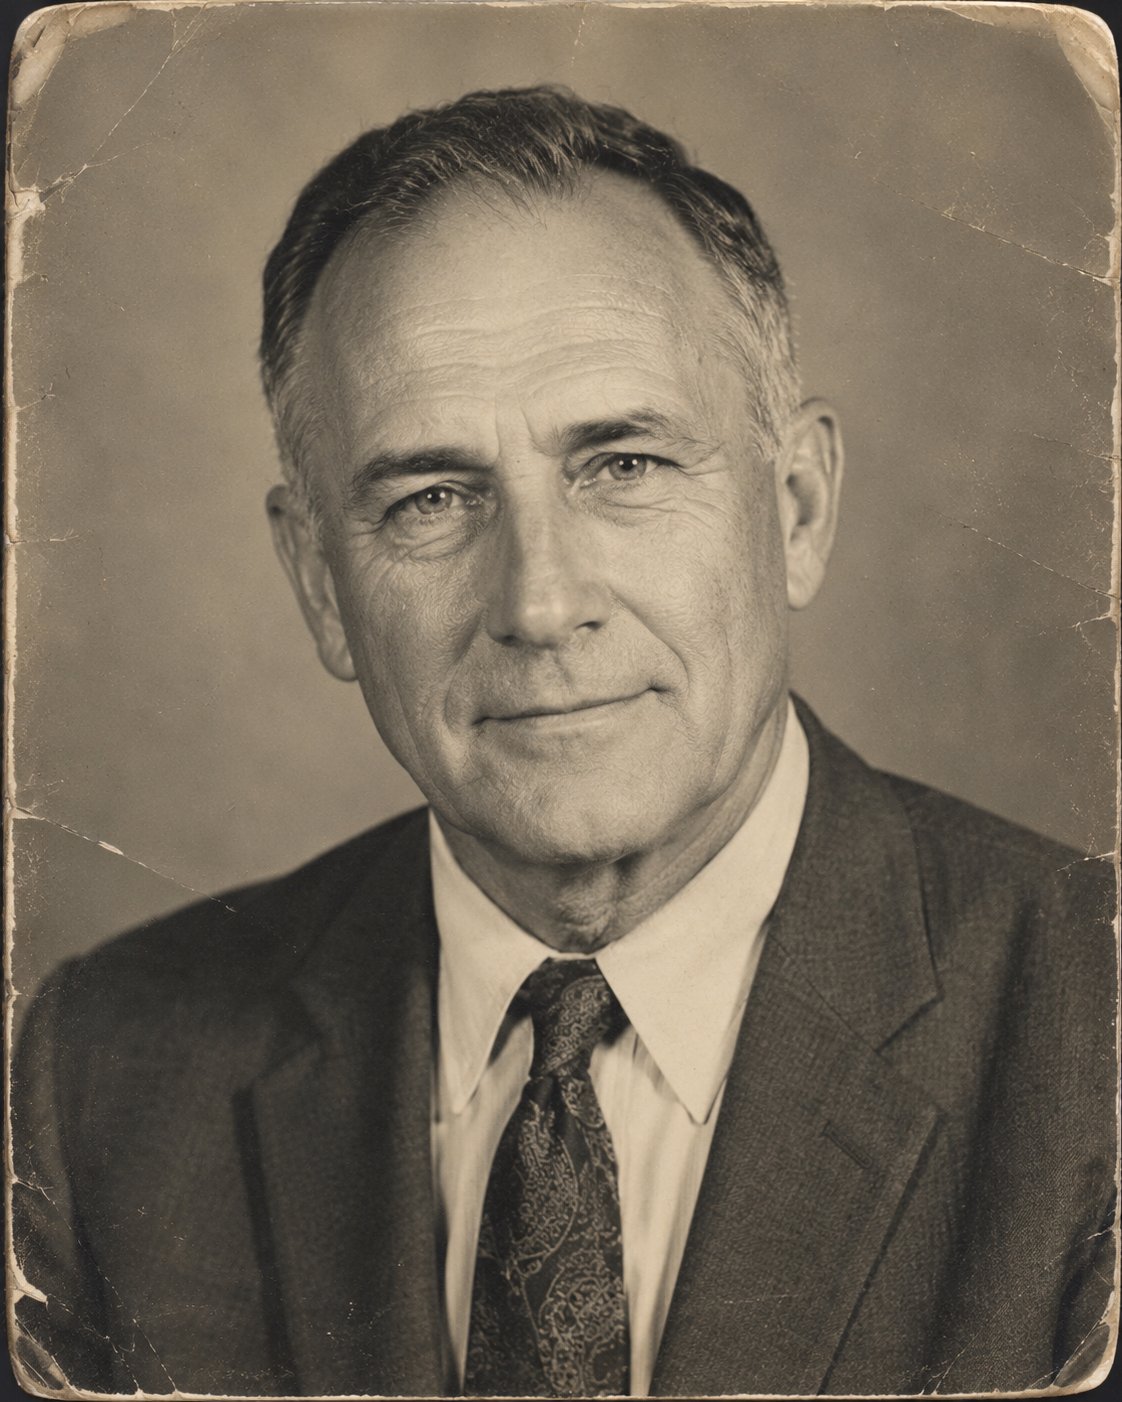
- We used this image for the relative portrait :
Step 7: Select Your Relatives Avatar from Avatar Characters List
Go back to the Avatar Characters menu. Your new card will appear in your library. Click on the card to select it.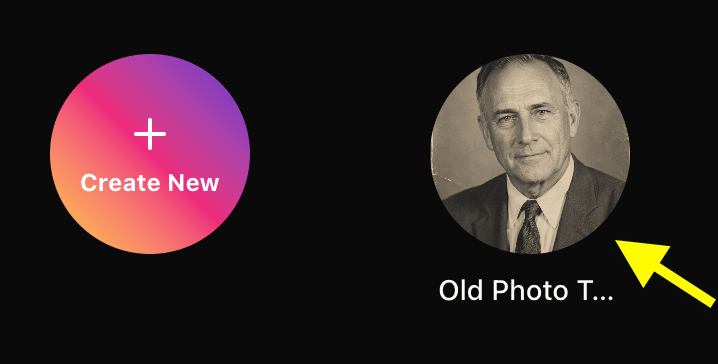
Step 8: Configure Avatar Settings
Click Avatar Setting next to Generate Video. Under the General settings, add the Name, Gender, Age, and Ethnicity of the relative to help the AI map natural expressions. Click Save when finished.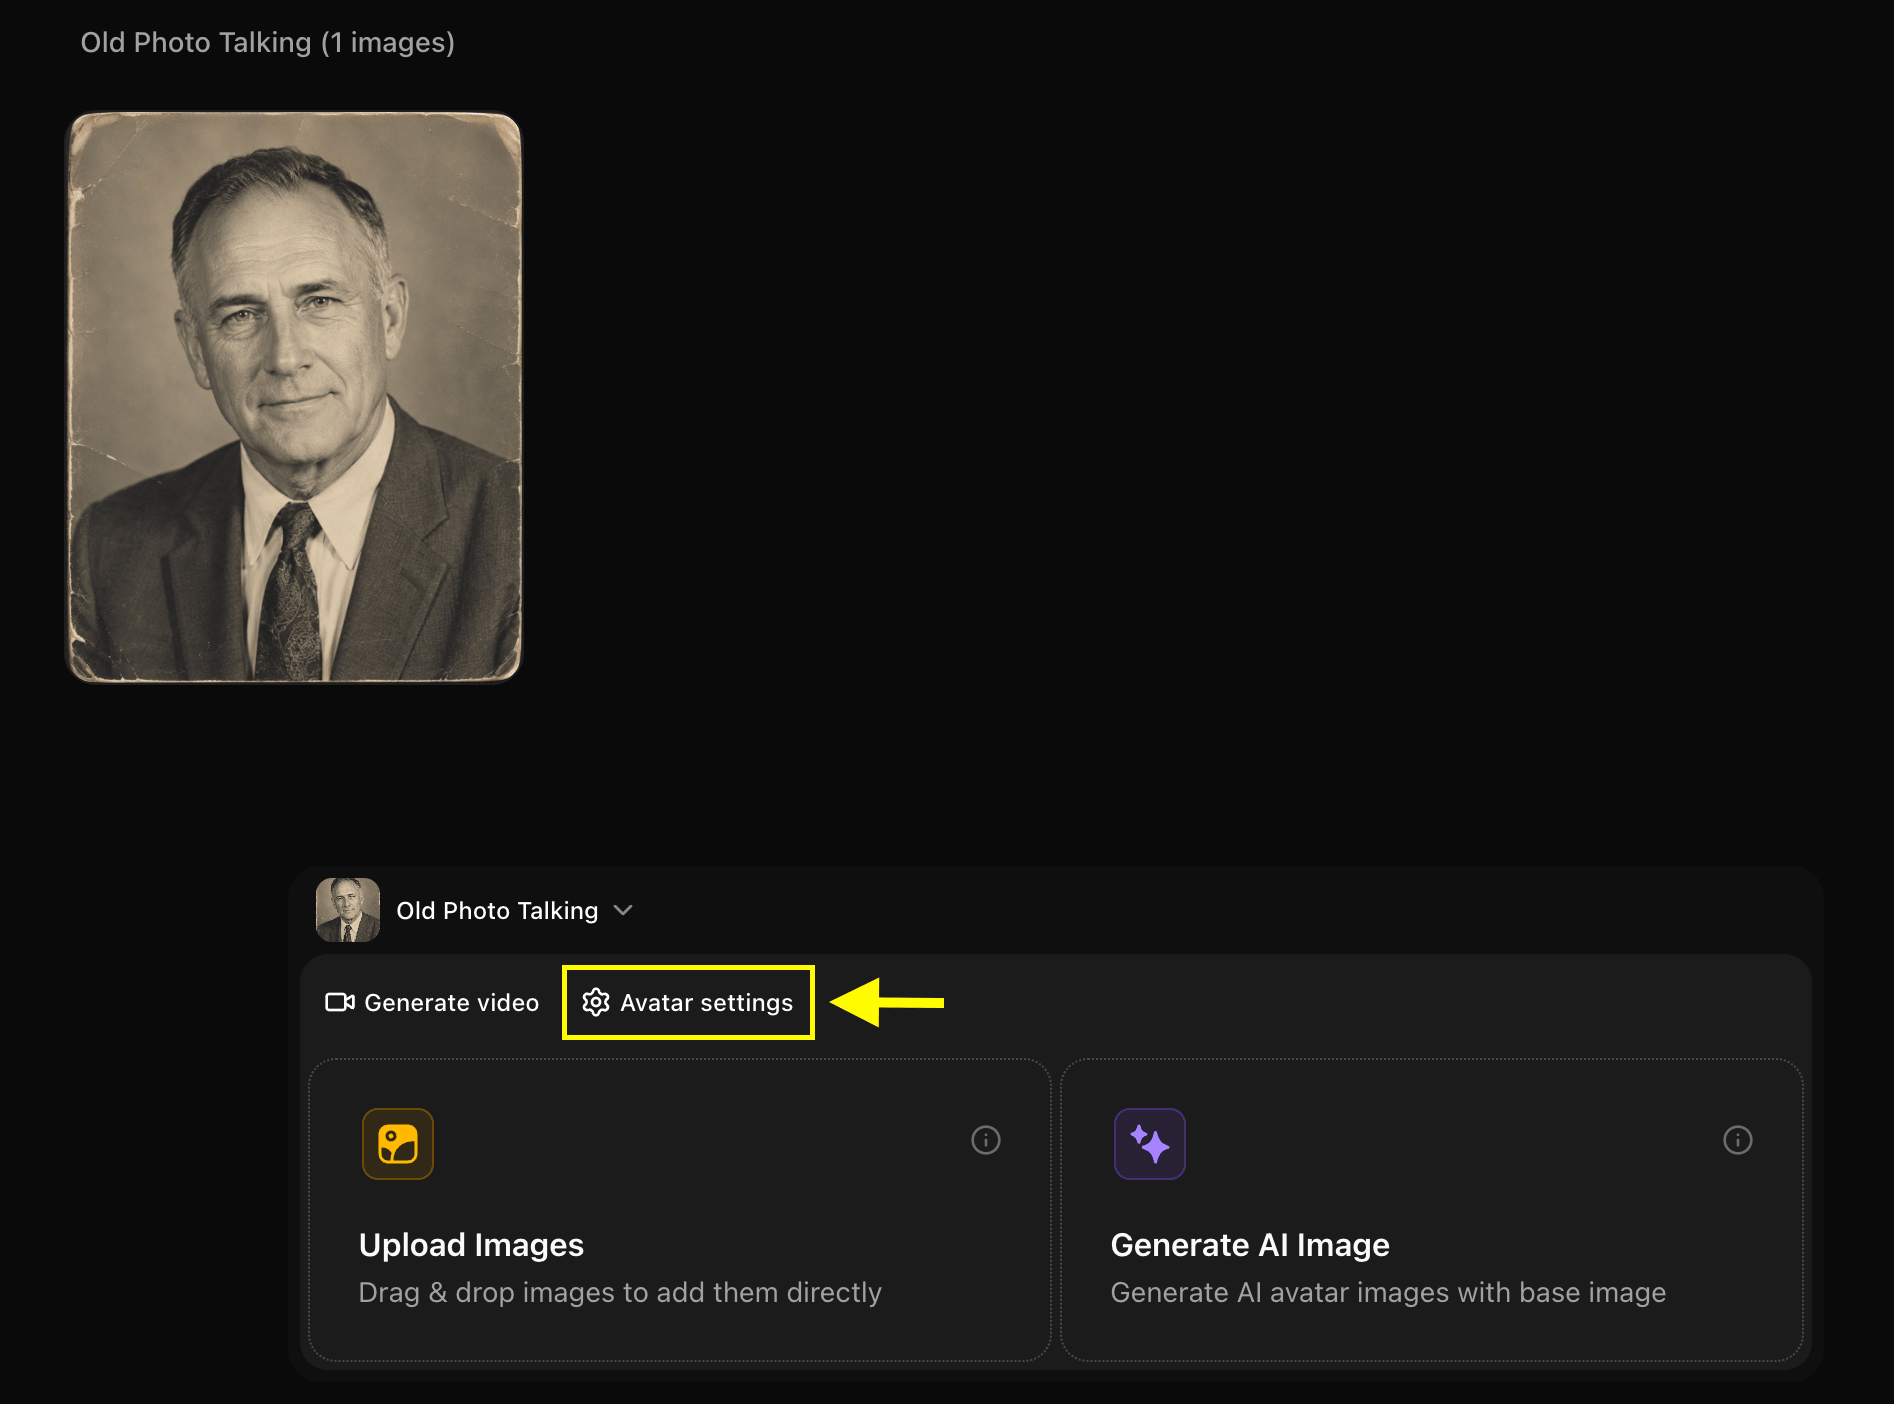
Step 9: Click Generate Video
With your character card active, click the Generate Video button to launch the avatar advance configuration.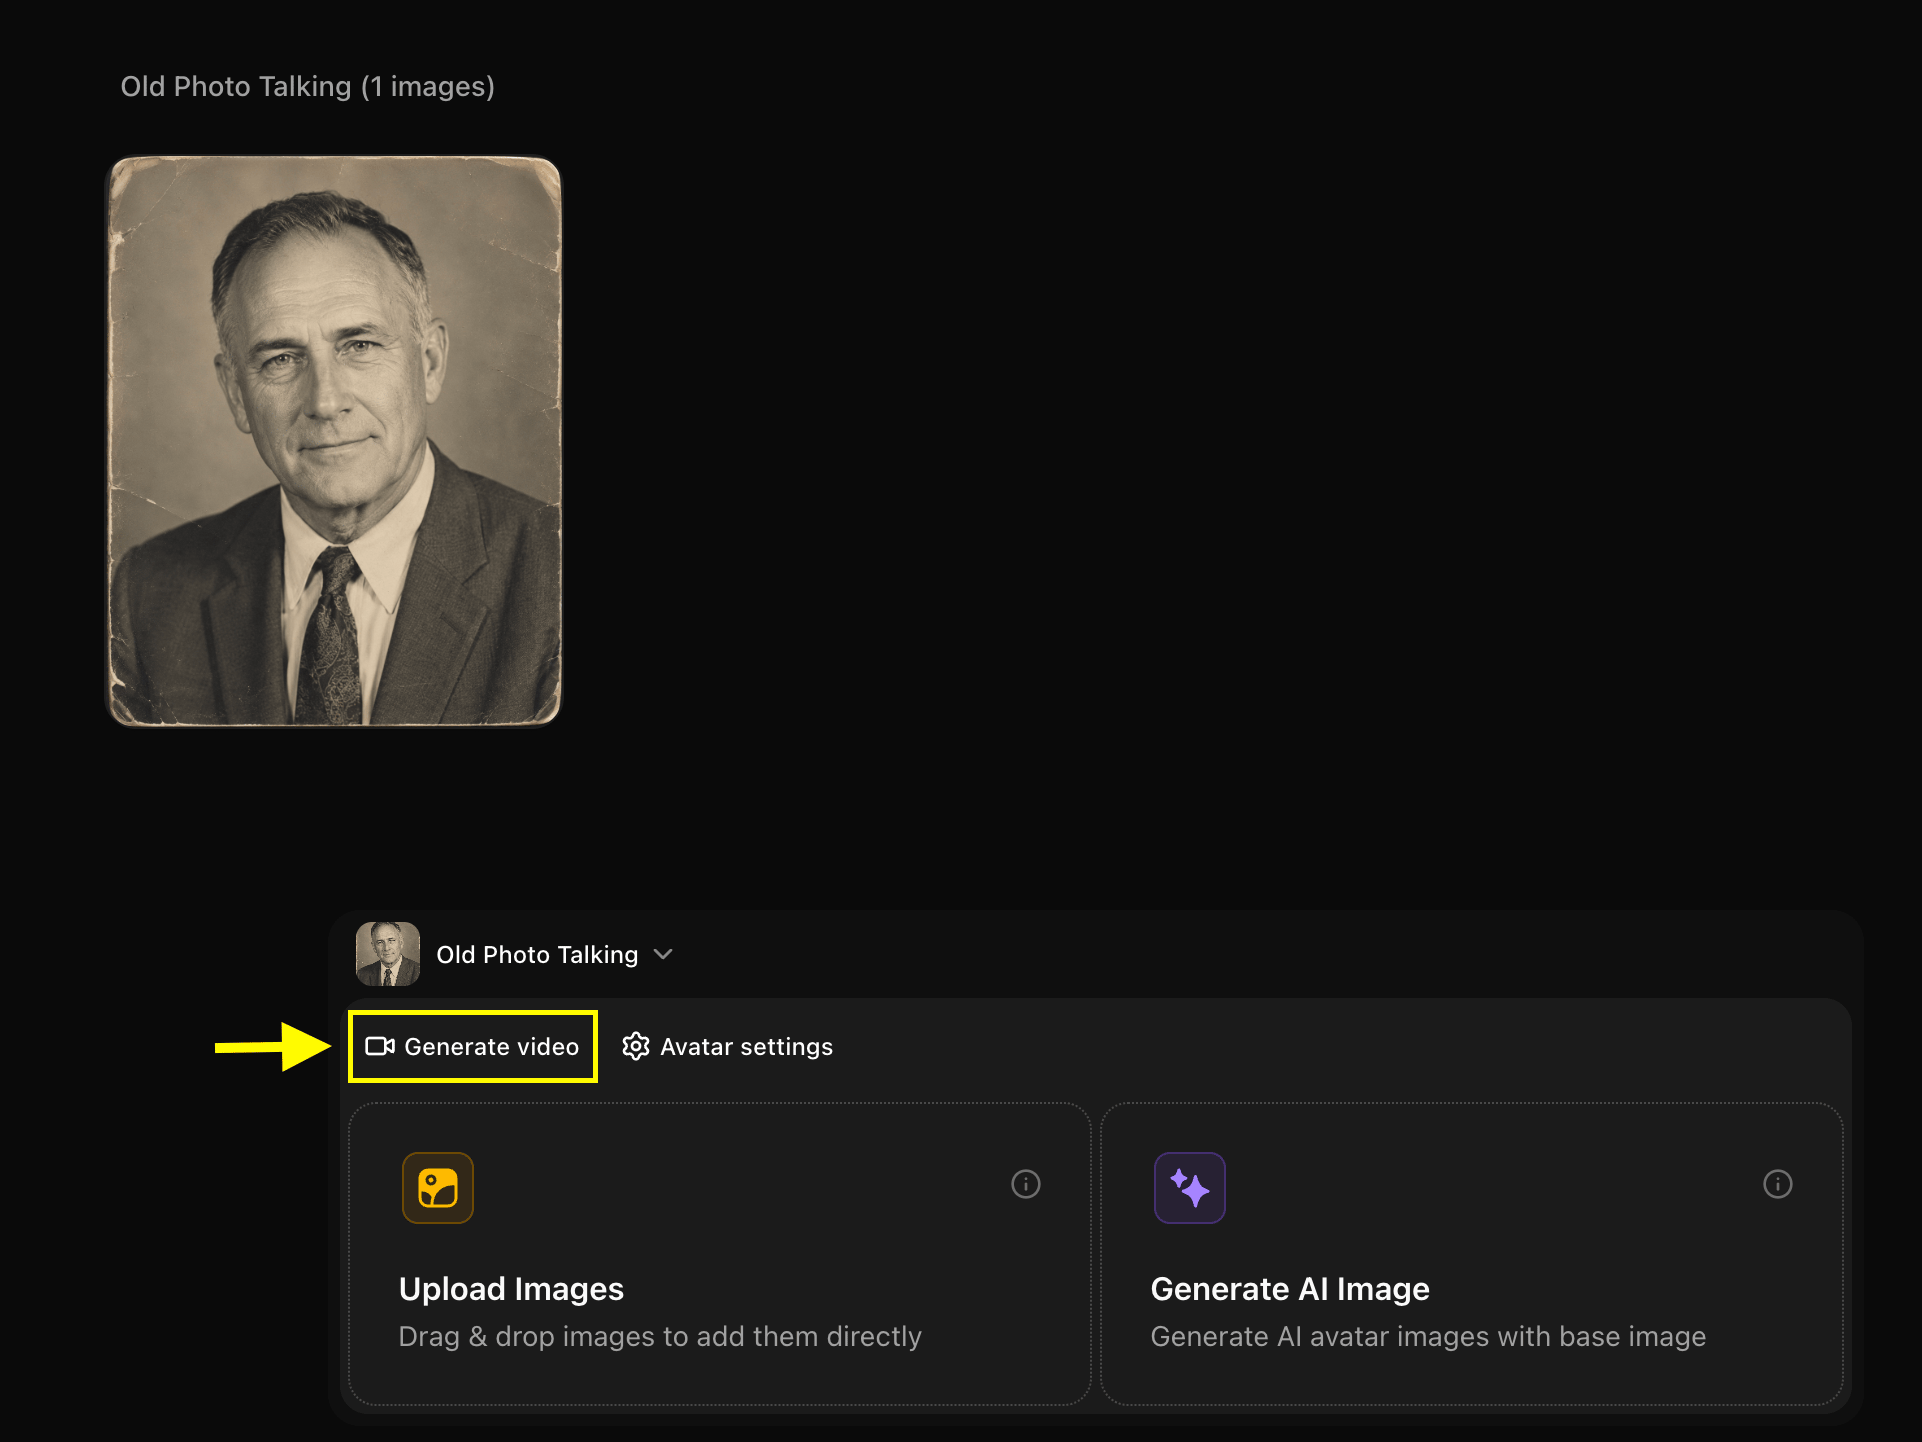
Step 10: Click on the Script Field
In the editor timeline, click on the Script tab to open the text editing panel.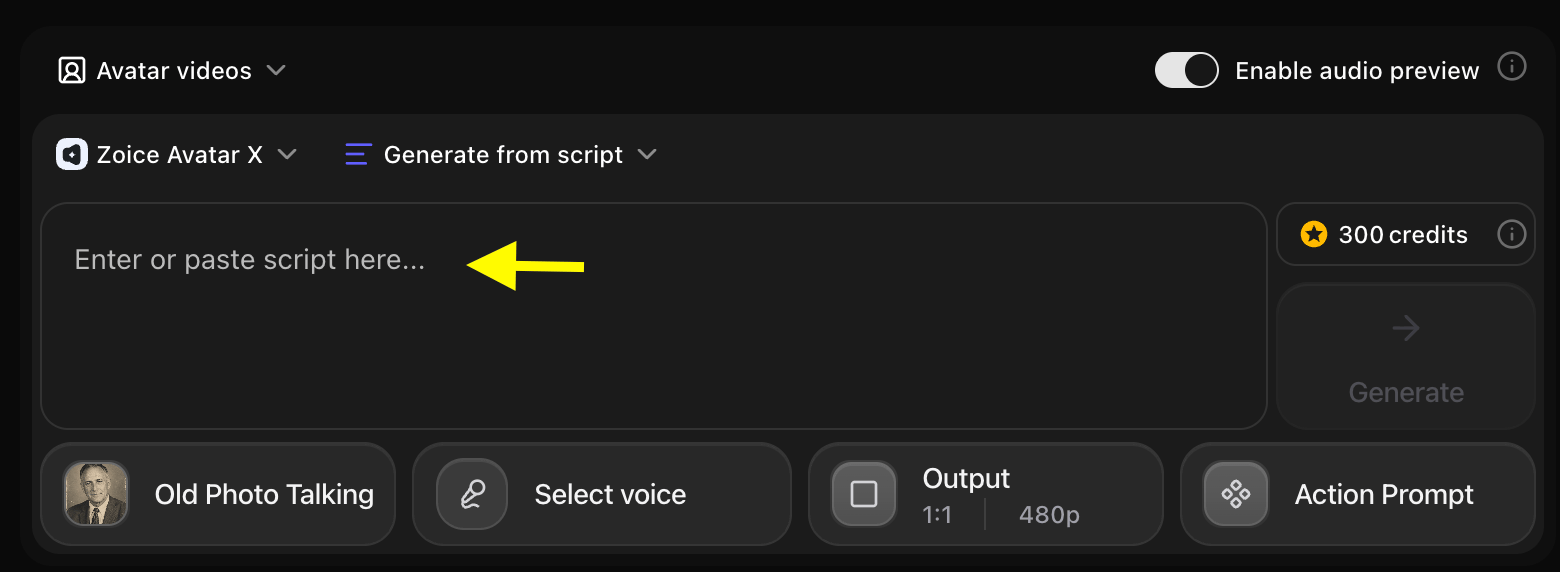
Step 11: Write Your Script
Type the exact message, advice, or family history you want them to speak.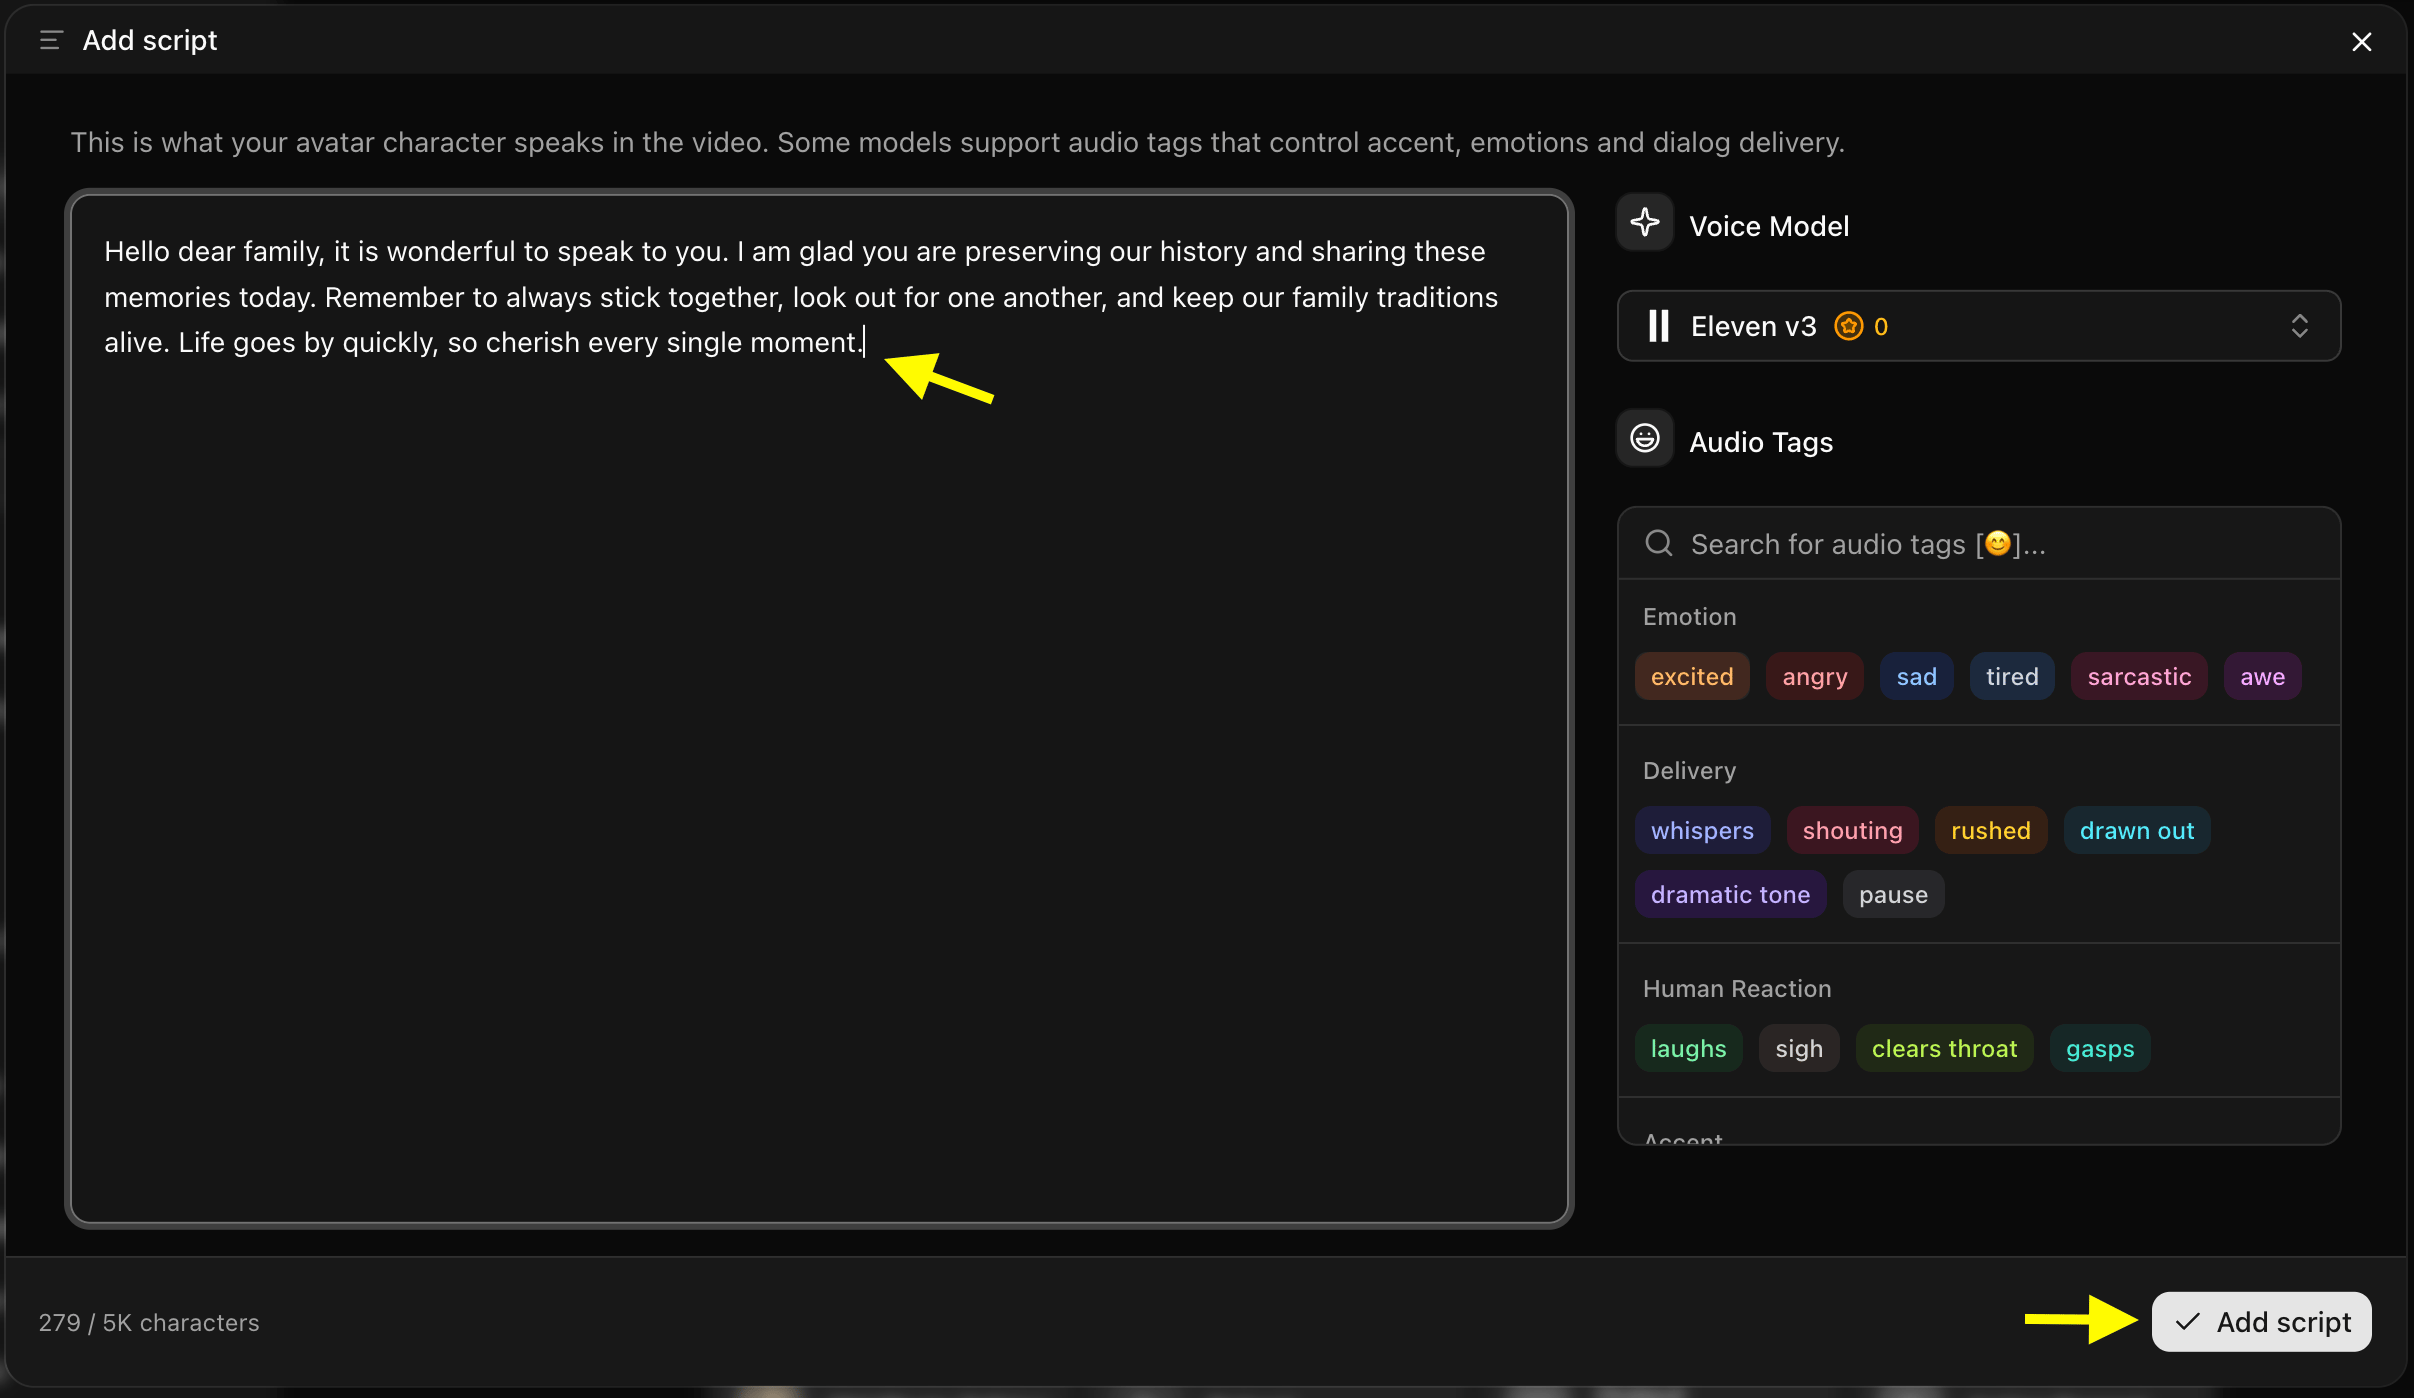
Step 12: Select a Voice Model
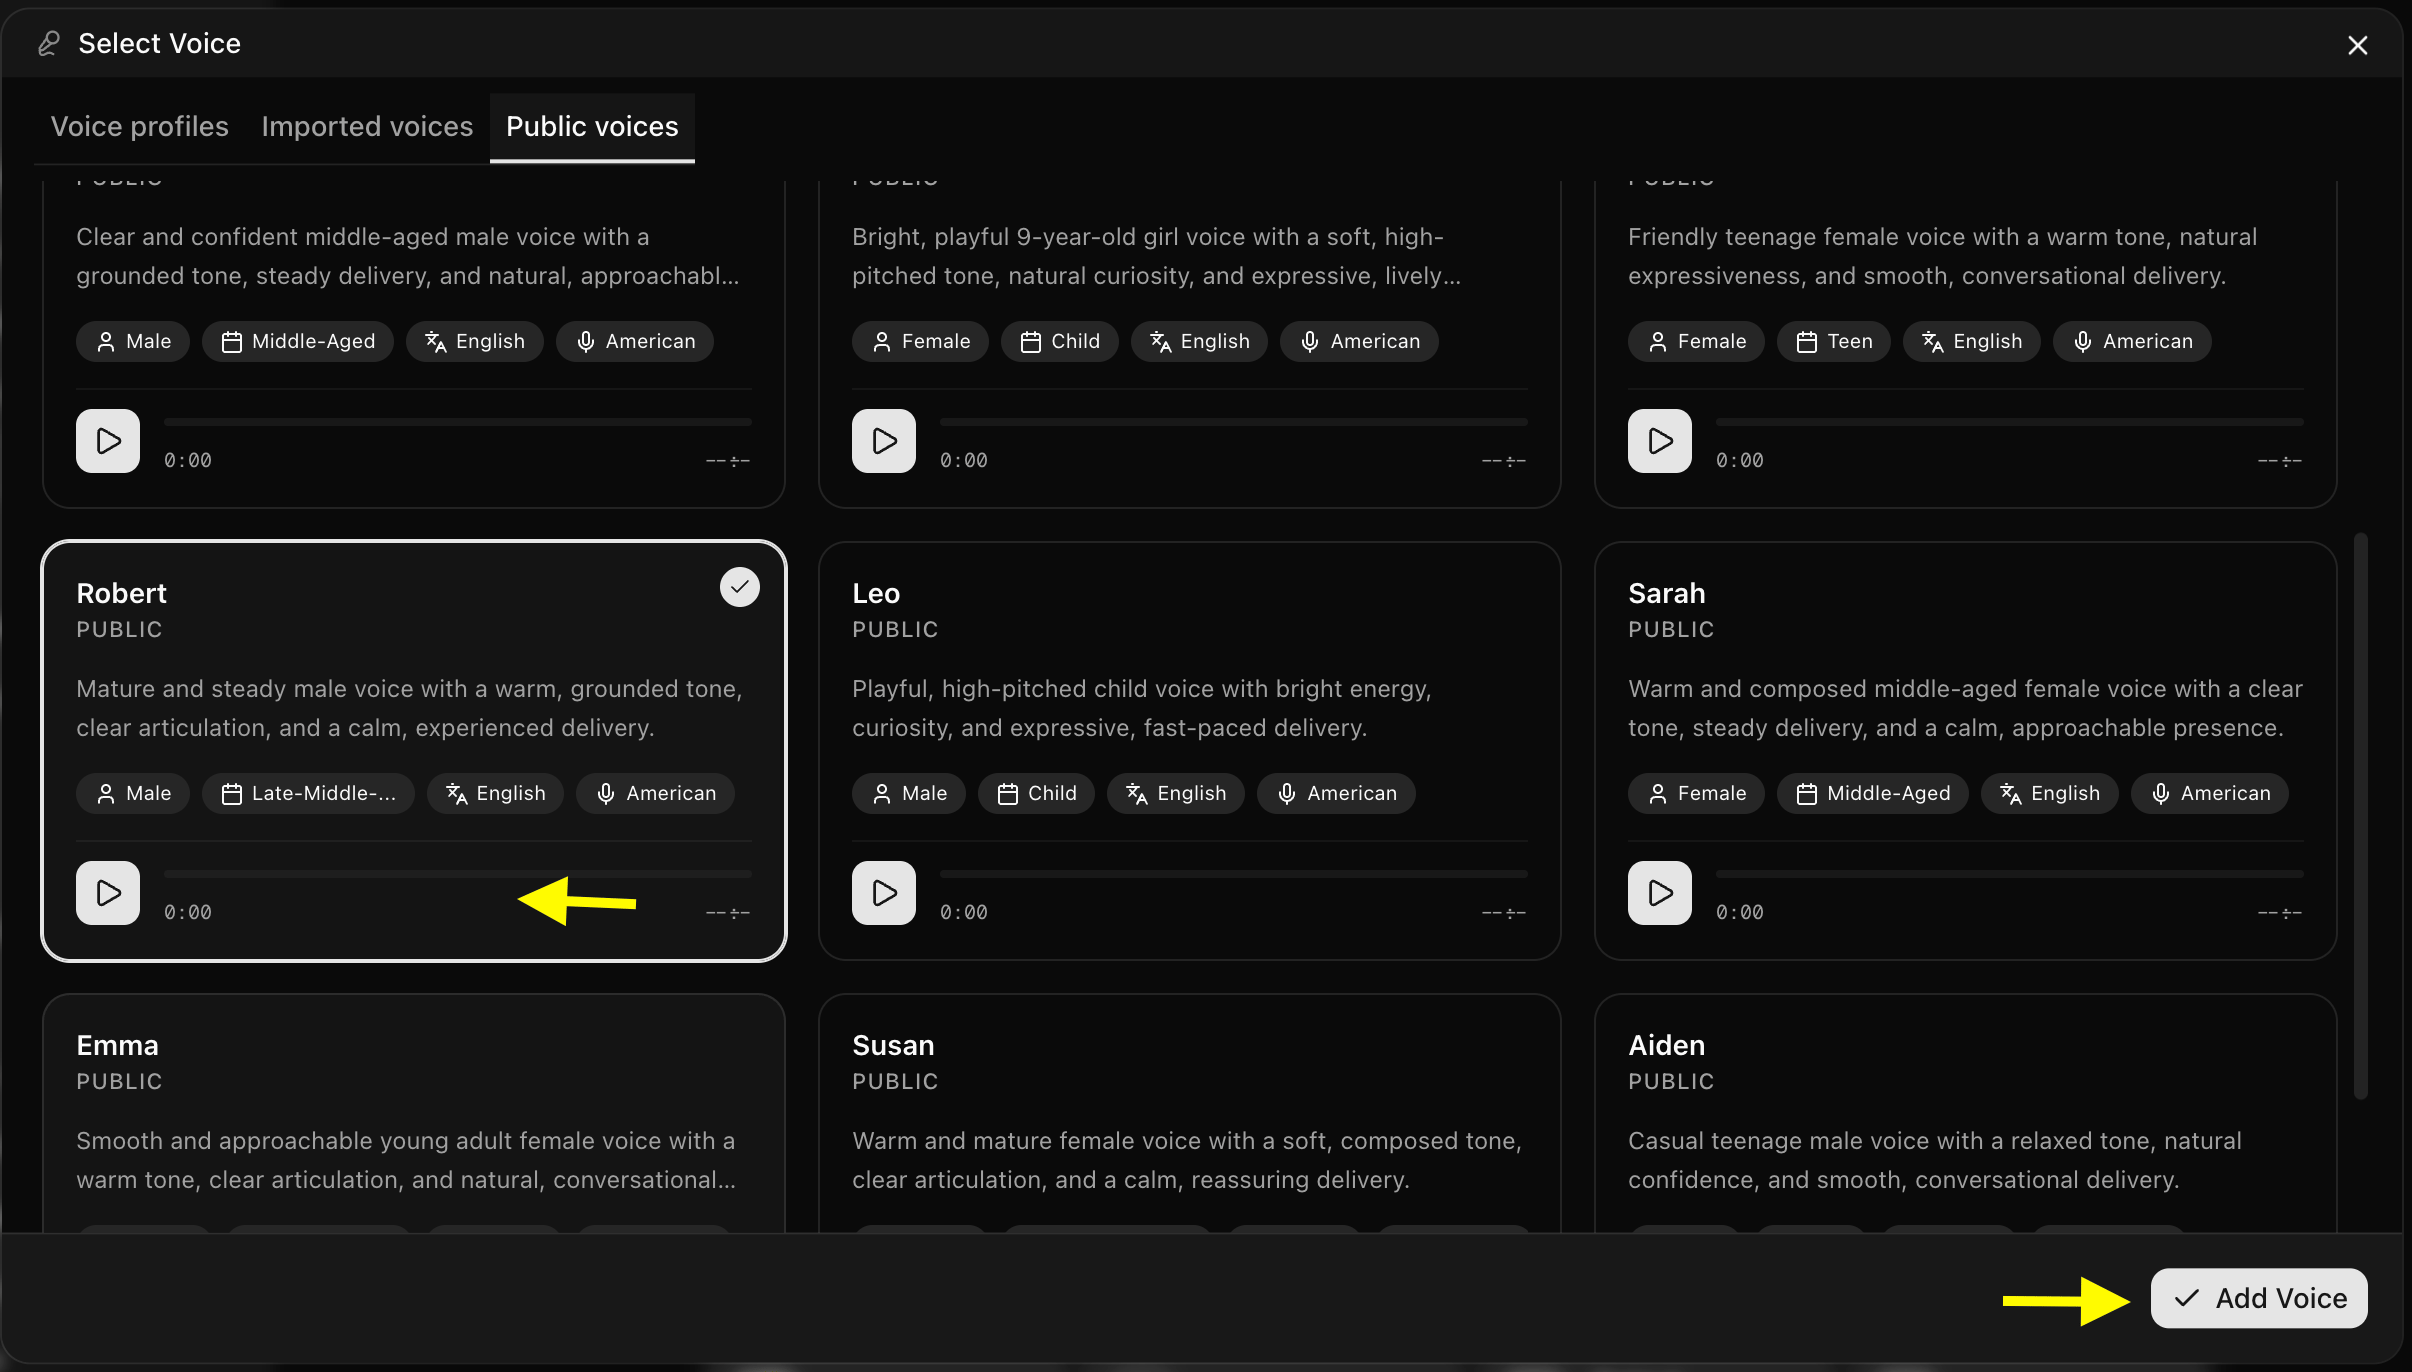
Click on Select Voice. Select a voice preset that matches the gender, age, and accent of your relative, or upload a custom voice sample.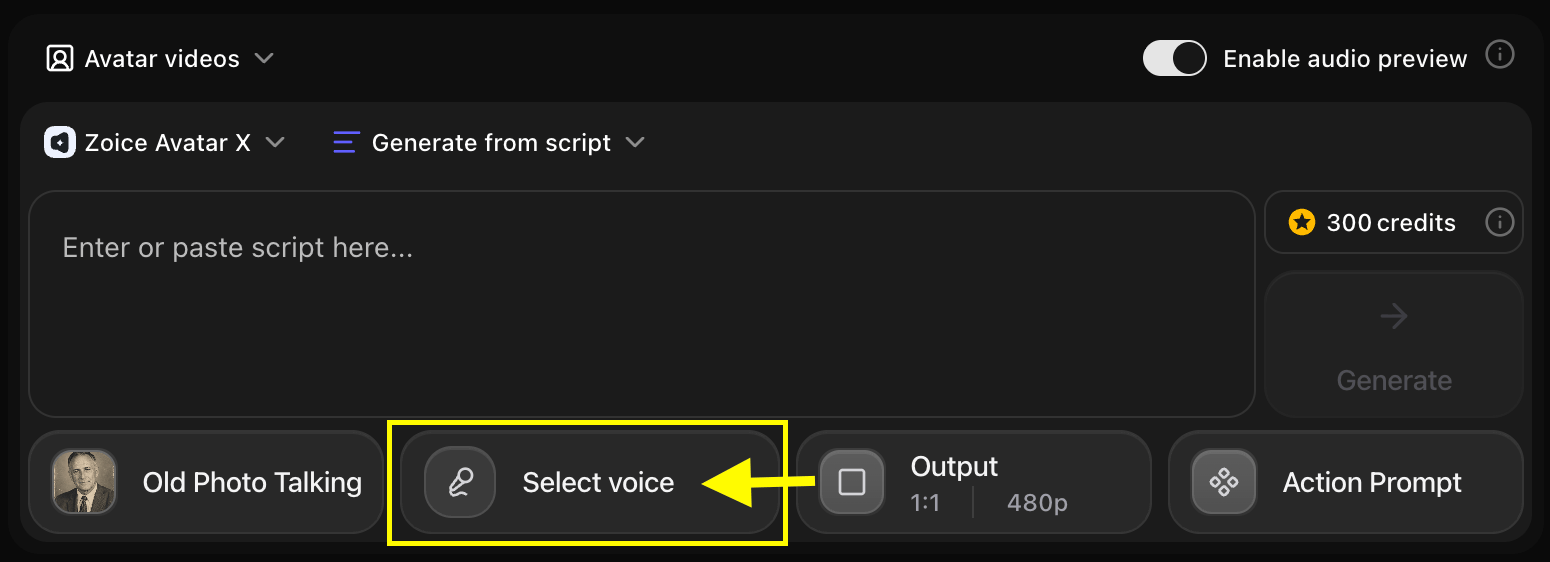
- We used the below voice for the relative in the example:
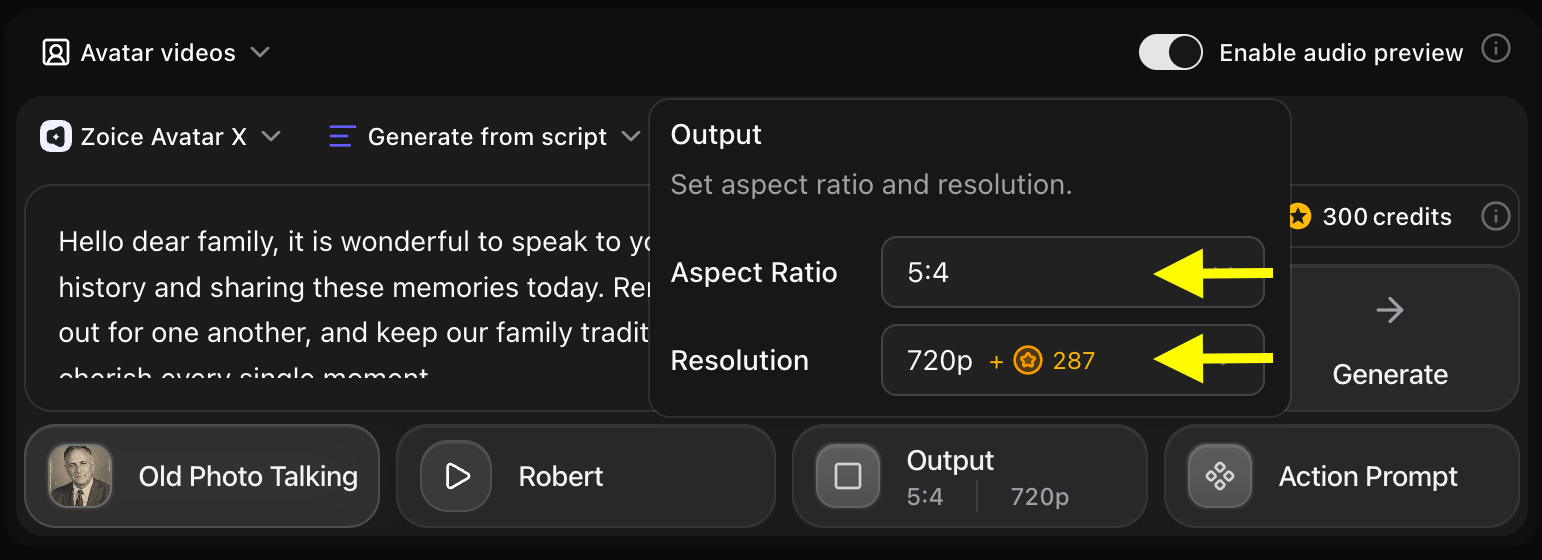
Step 13: Choose Output Formats
Under Output Settings, choose the aspect ratio:- Aspect Ratio: Select 9:16 for mobile phone cards (WhatsApp, Reels) or 16:9 for widescreen visualizers.
- Resolution: Choose 1080p or 4K to preserve the details of the original photo.
Step 14: Select Action Prompt
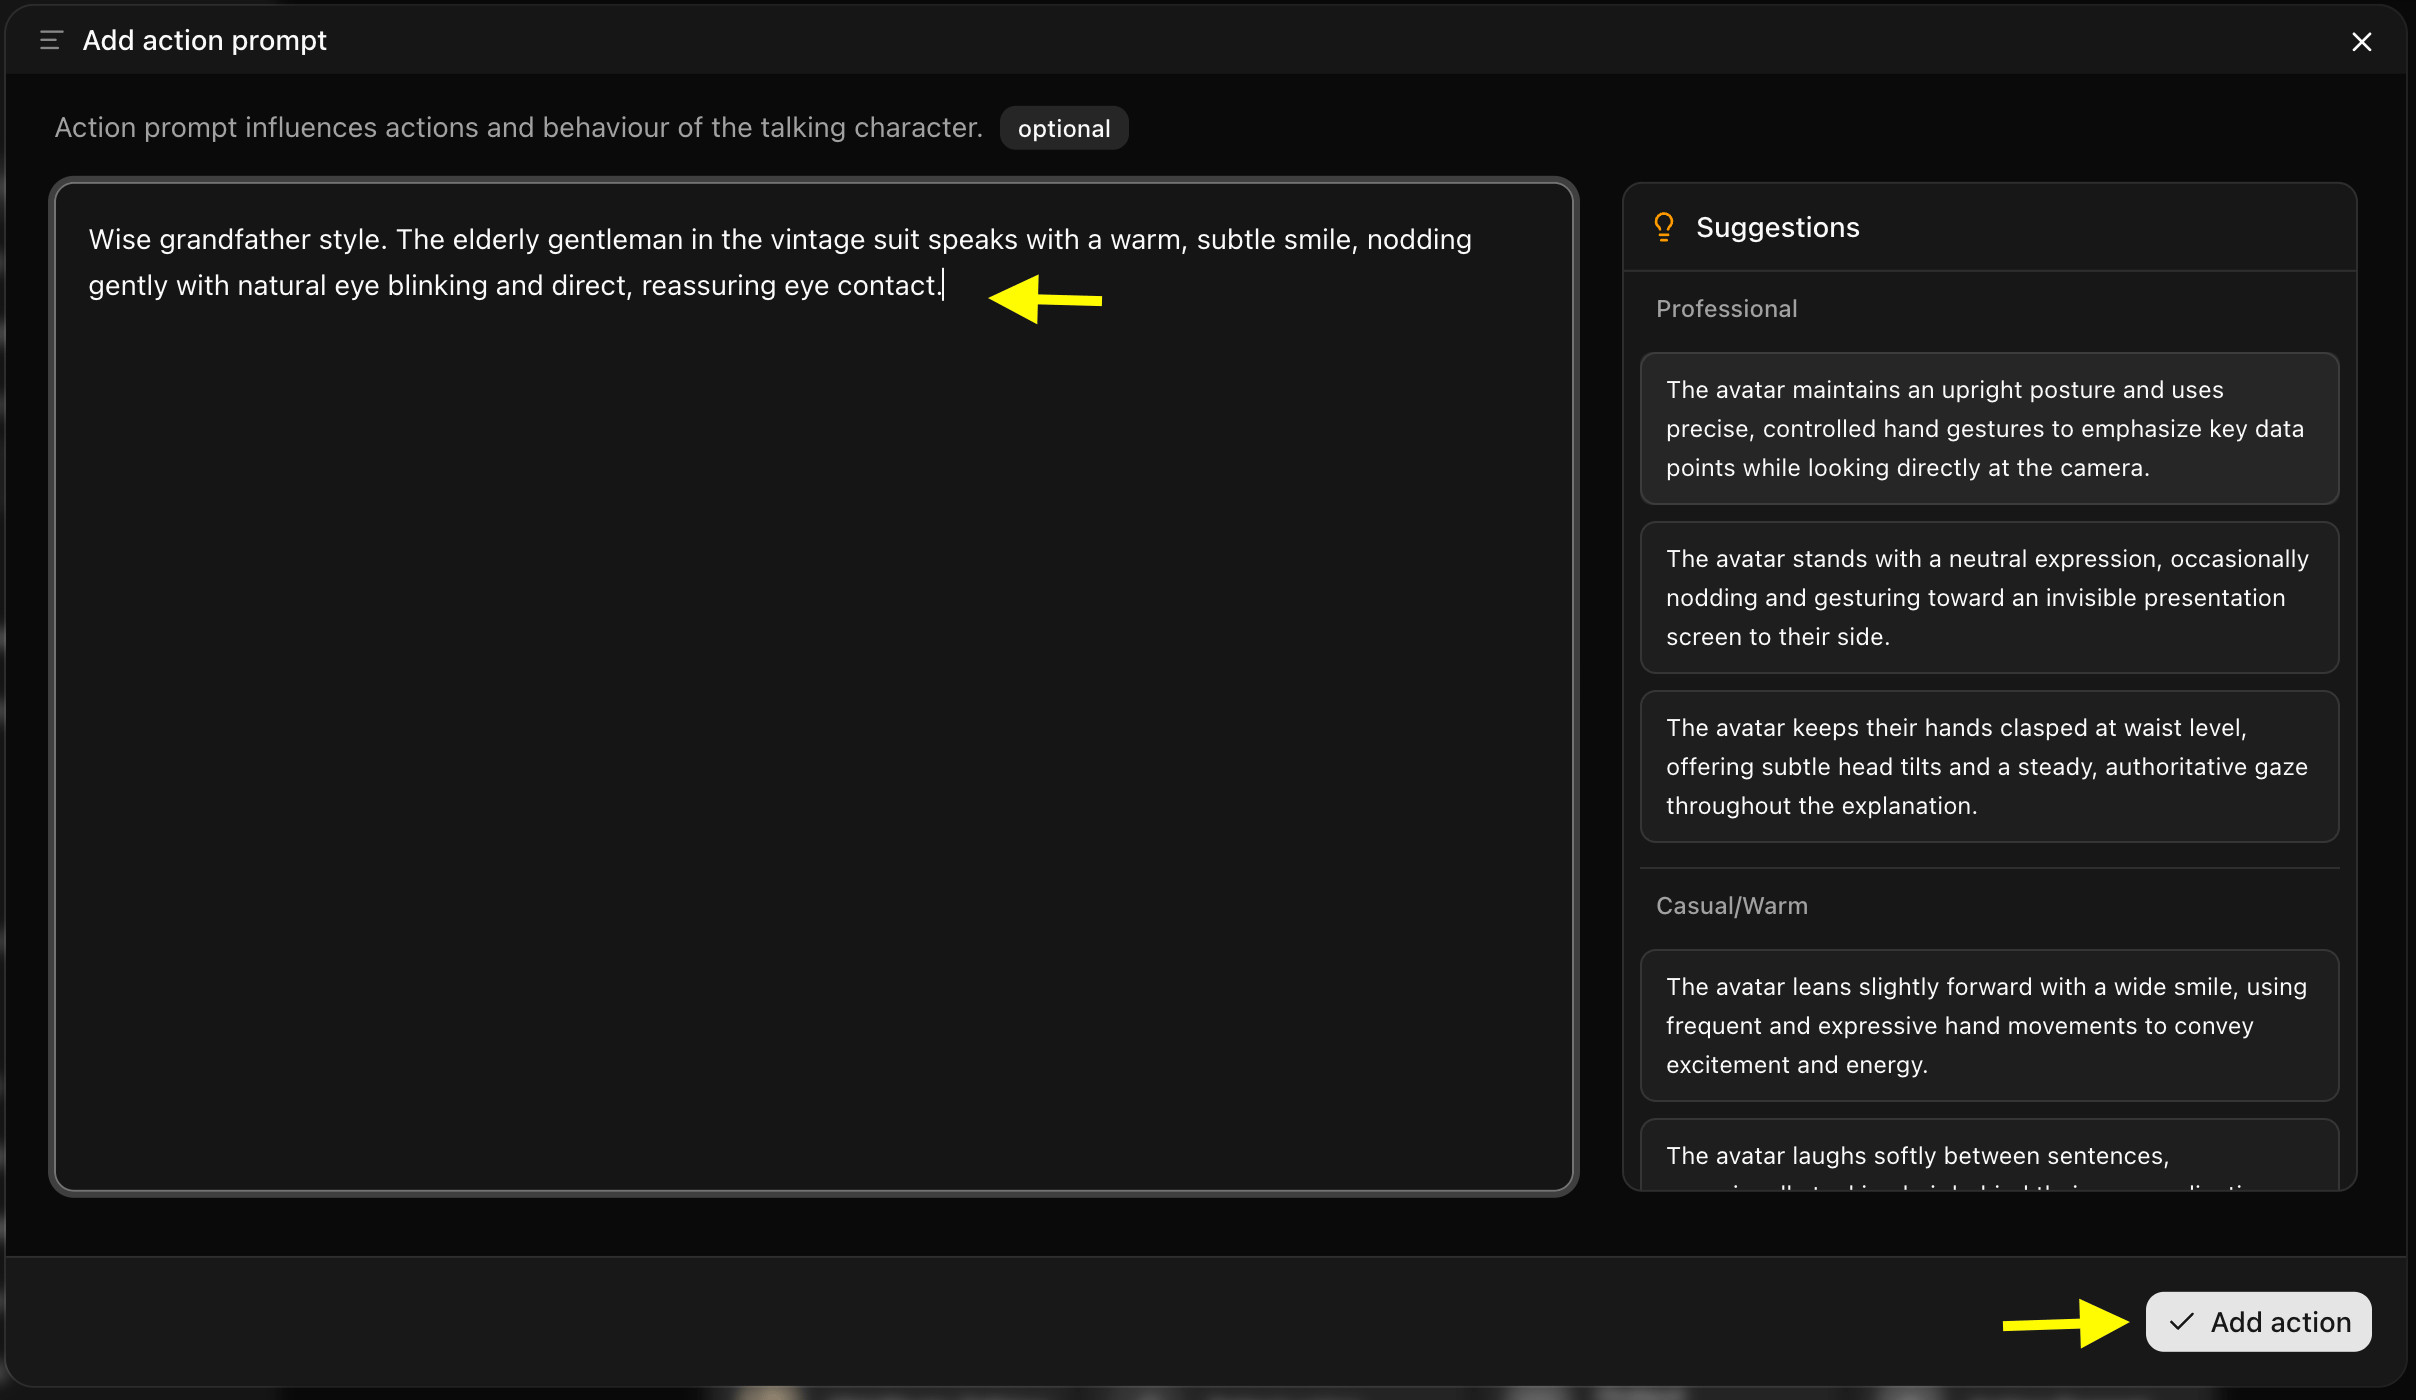
Click on Action Prompt to control the physical behaviors. Write custom instructions (e.g., “Gentle speaking style, nodding head slightly, warm gaze, smiling softly”).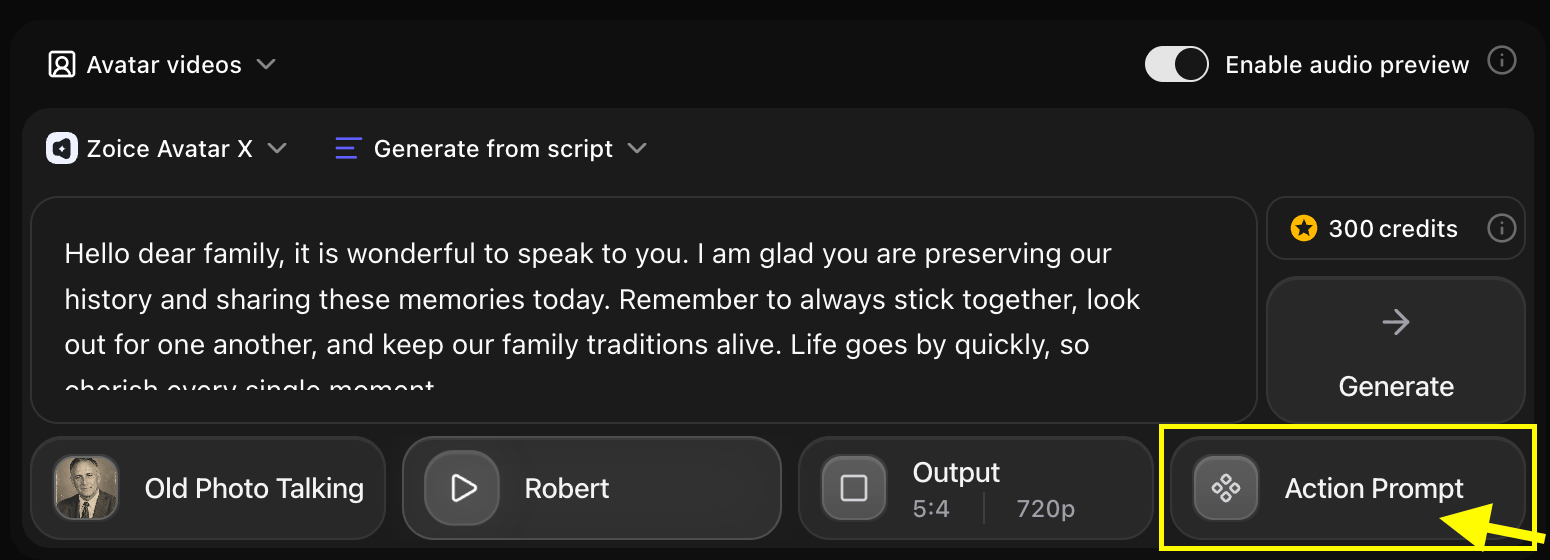
- We used the below action prompt for the relative in the example:
Step 15: Click on Generate for Video Generation
Verify your text script and configurations, and click Generate to start processing.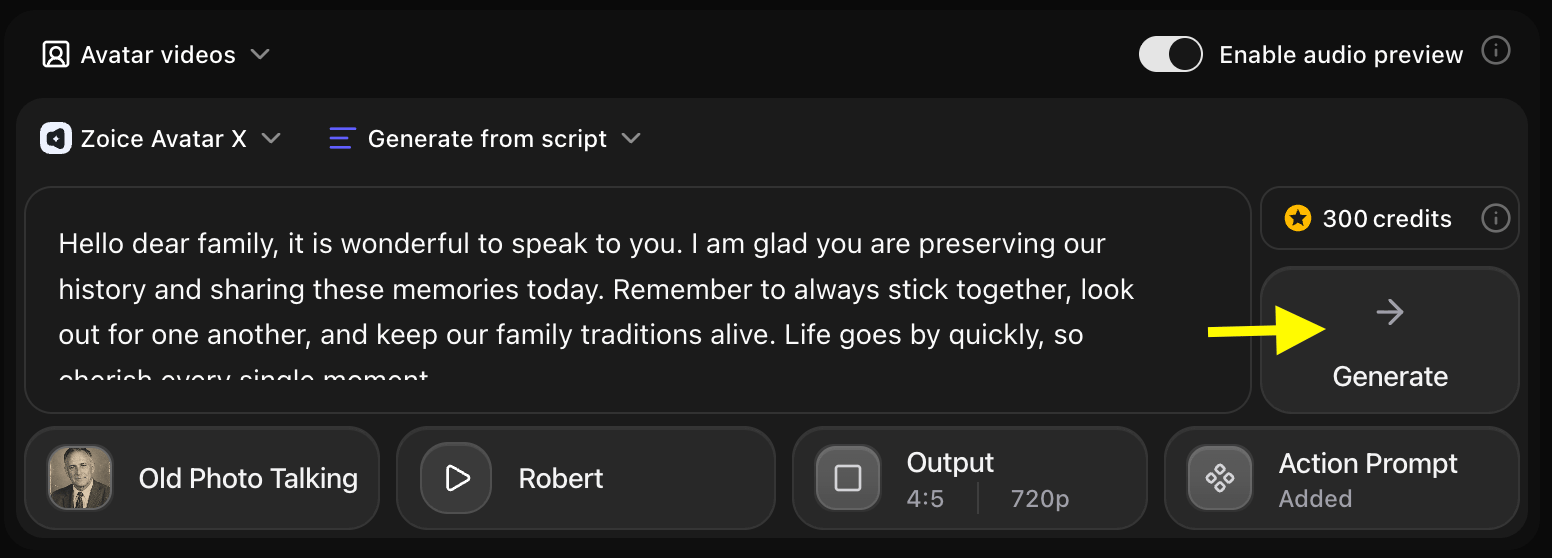
Step 16: Confirm the Audio Preview
Listen to the audio preview to check the pacing. If everything sounds correct, click Generate Avatar Video to compile the video clip.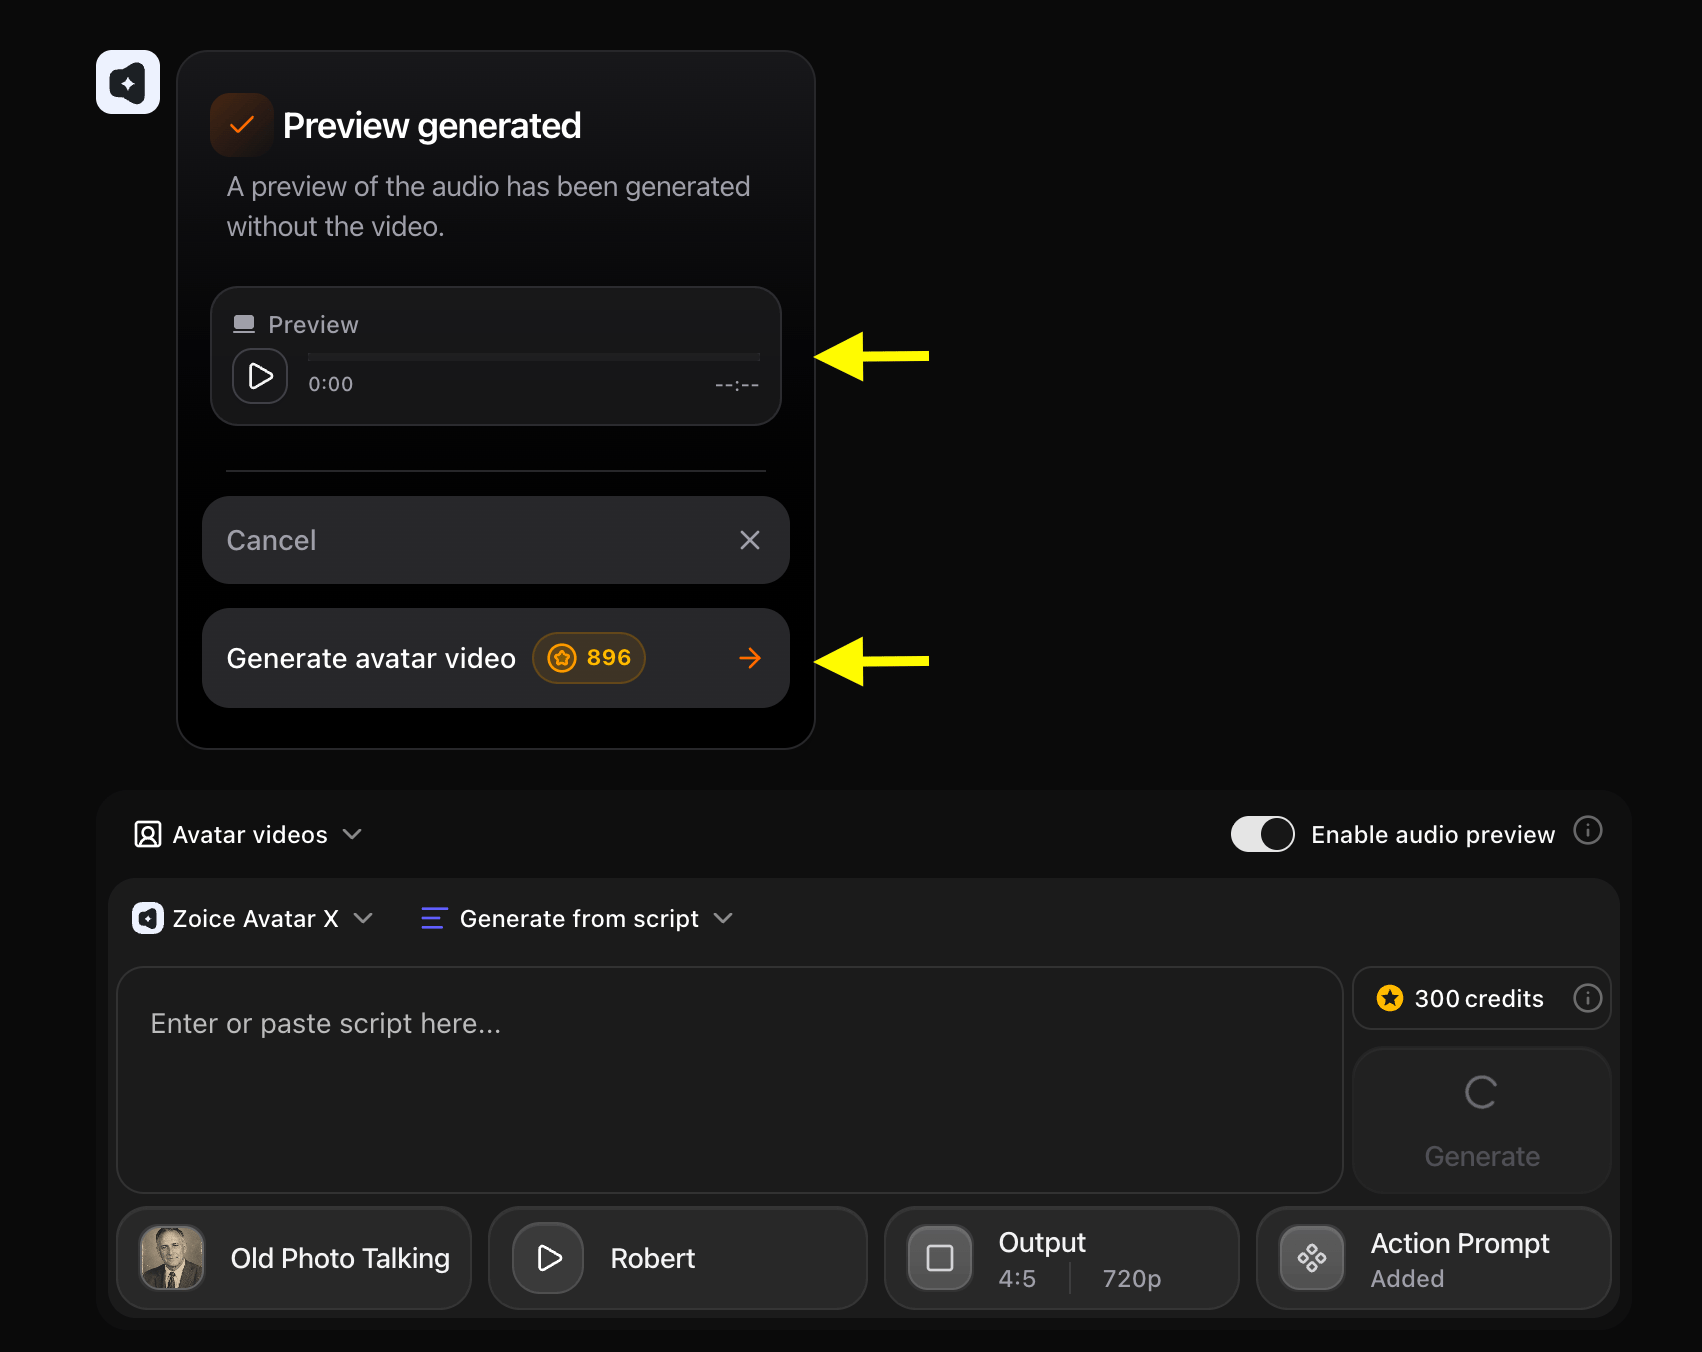
Step 17: Download the Video
Once processing is complete, check the animations. Click the Download button to save the MP4 video to your device.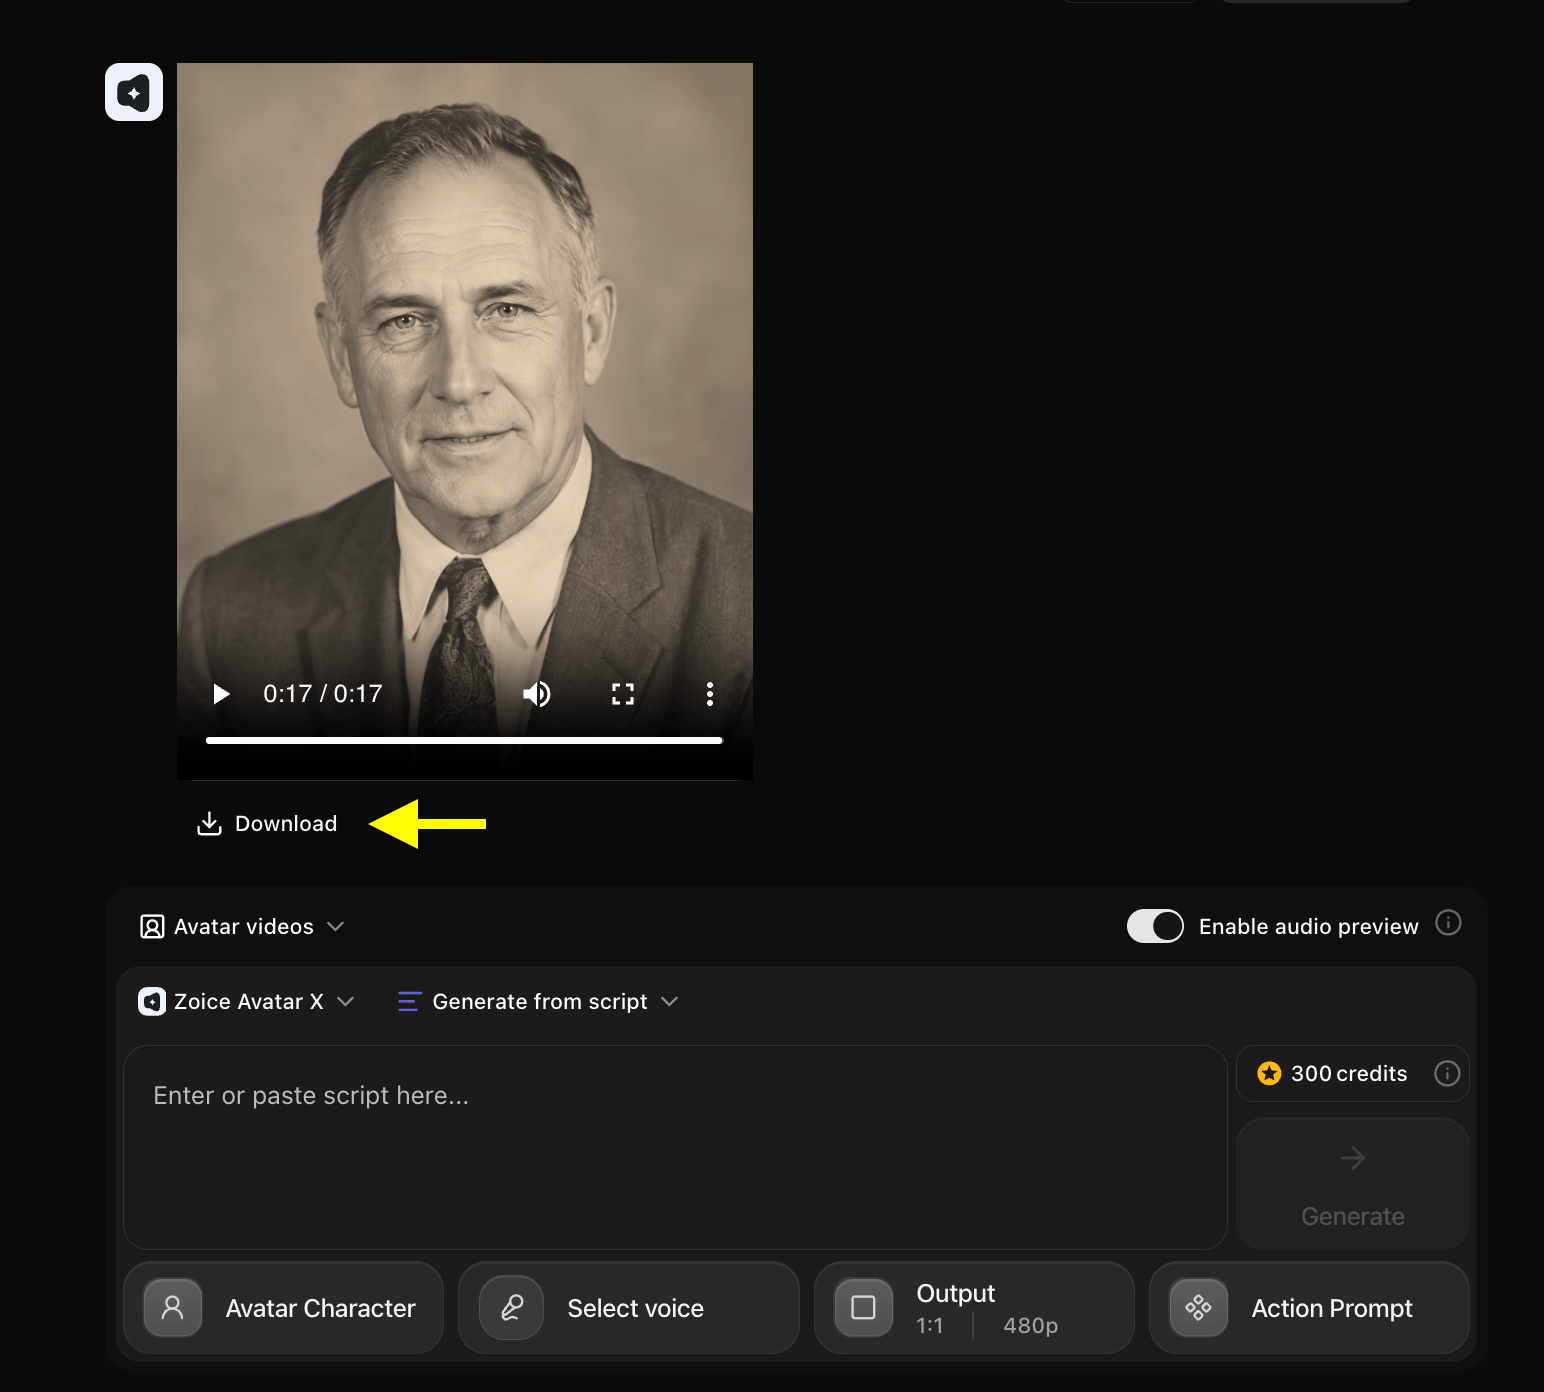
Example Inputs & Result
Here is an example setup showing how you can bring old photos to life:Used Photo
Used Script
Used Action Prompt
Output Result Video
Below is the rendered video:Tips for Creating Better Old Photo Animations
To ensure the best outcomes when you bring old photos to life, follow these best practices:- Restore Photo Quality First: If the original picture is faded or scratched, use an image restoration tool before uploading to ensure the AI detects facial landmarks accurately.
- Select Appropriate Voices: Choose older, warm, or classic voice styles from the library to preserve the historic feel.
- Add Contextual Backdrops: Render the avatar with a green screen, then place a vintage room or sepia background behind the speaker in post-production.
Bring Old Photos to Life Can Be Used For?
Animating vintage pictures is highly useful for:- Genealogy & Family History: Share stories of ancestors at family reunions or on ancestry profiles.
- Museum Displays: Create talking guides of historical figures for local exhibits.
- Digital Scrapbooking: Make interactive family legacy journals.
Where Animated Old Photo Videos Are Used?
- Ancestry blogs and heritage websites.
- YouTube history and educational channels.
- Family group chats (WhatsApp, Messenger) and reunions.