

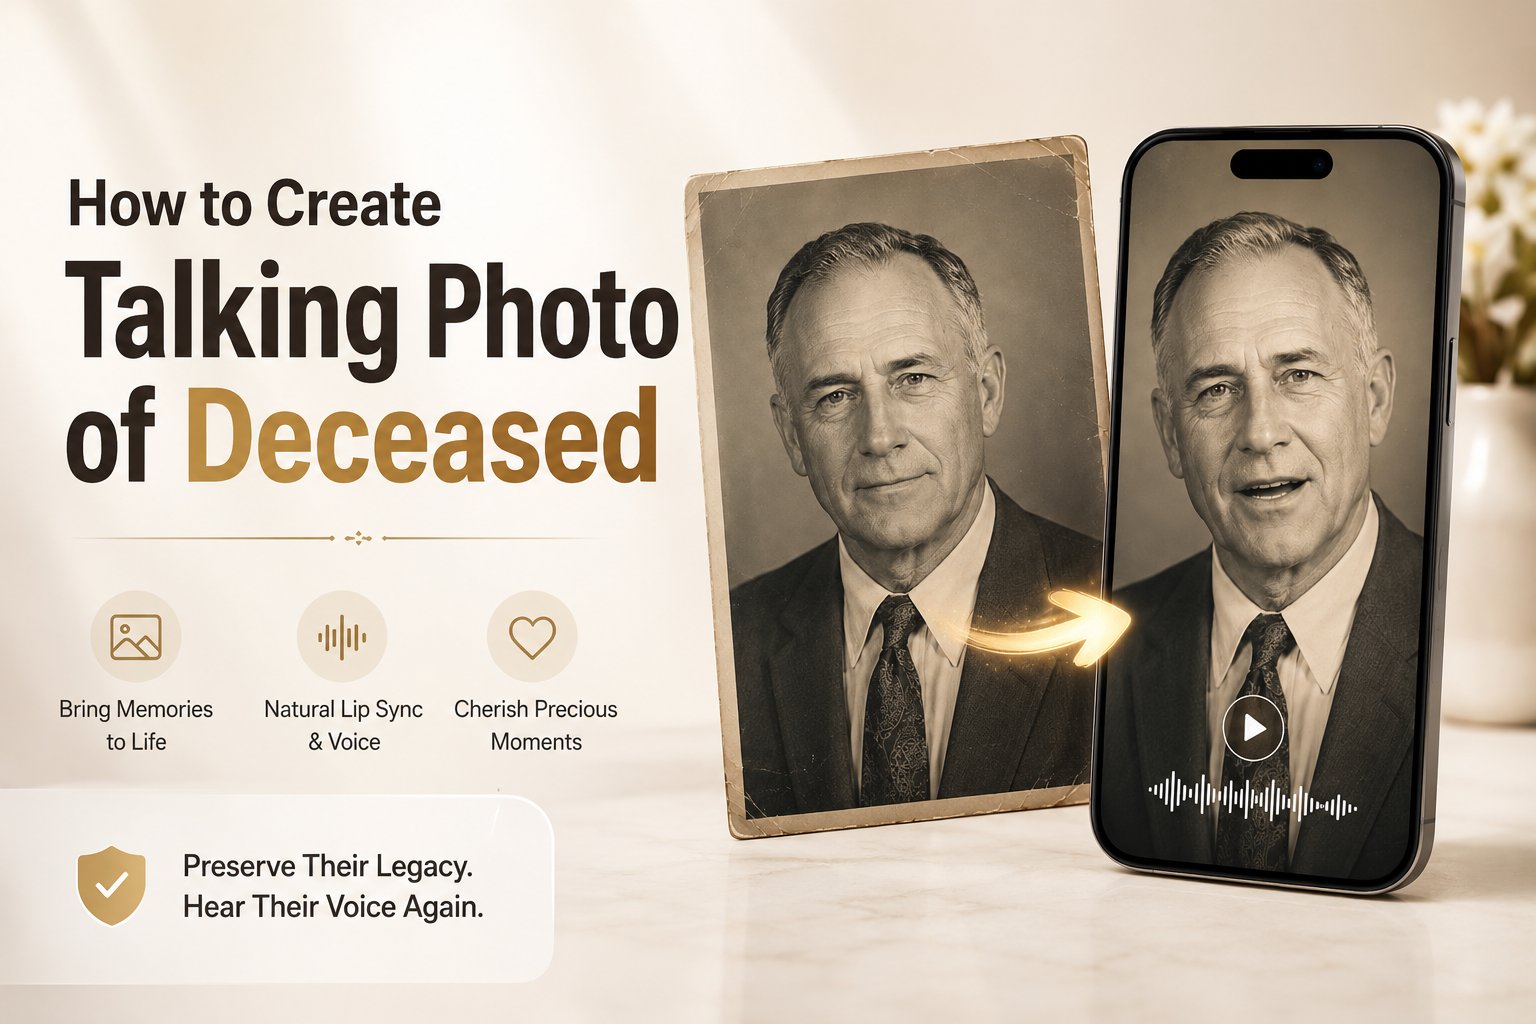
What is a Deceased Person Talking Photo?
A deceased person talking photo is a deep-learning animation where a vintage or modern portrait is brought to life using an audio script. The AI program analyzes the subject’s face—mapping coordinates for the eyes, lips, jaw, and neck—and generates natural movements that correspond to the phonetic changes in the spoken words. This allows families to hear historical letters read aloud or create personal legacy recordings to share at gatherings.How to Create Talking Photo of Deceased Using Zoice
Animate your family photographs in minutes. Follow these detailed steps to get started.Step 1: Open the Zoice Homepage
Launch your web browser, navigate to Zoice.com, and click Sign In in the top-right corner.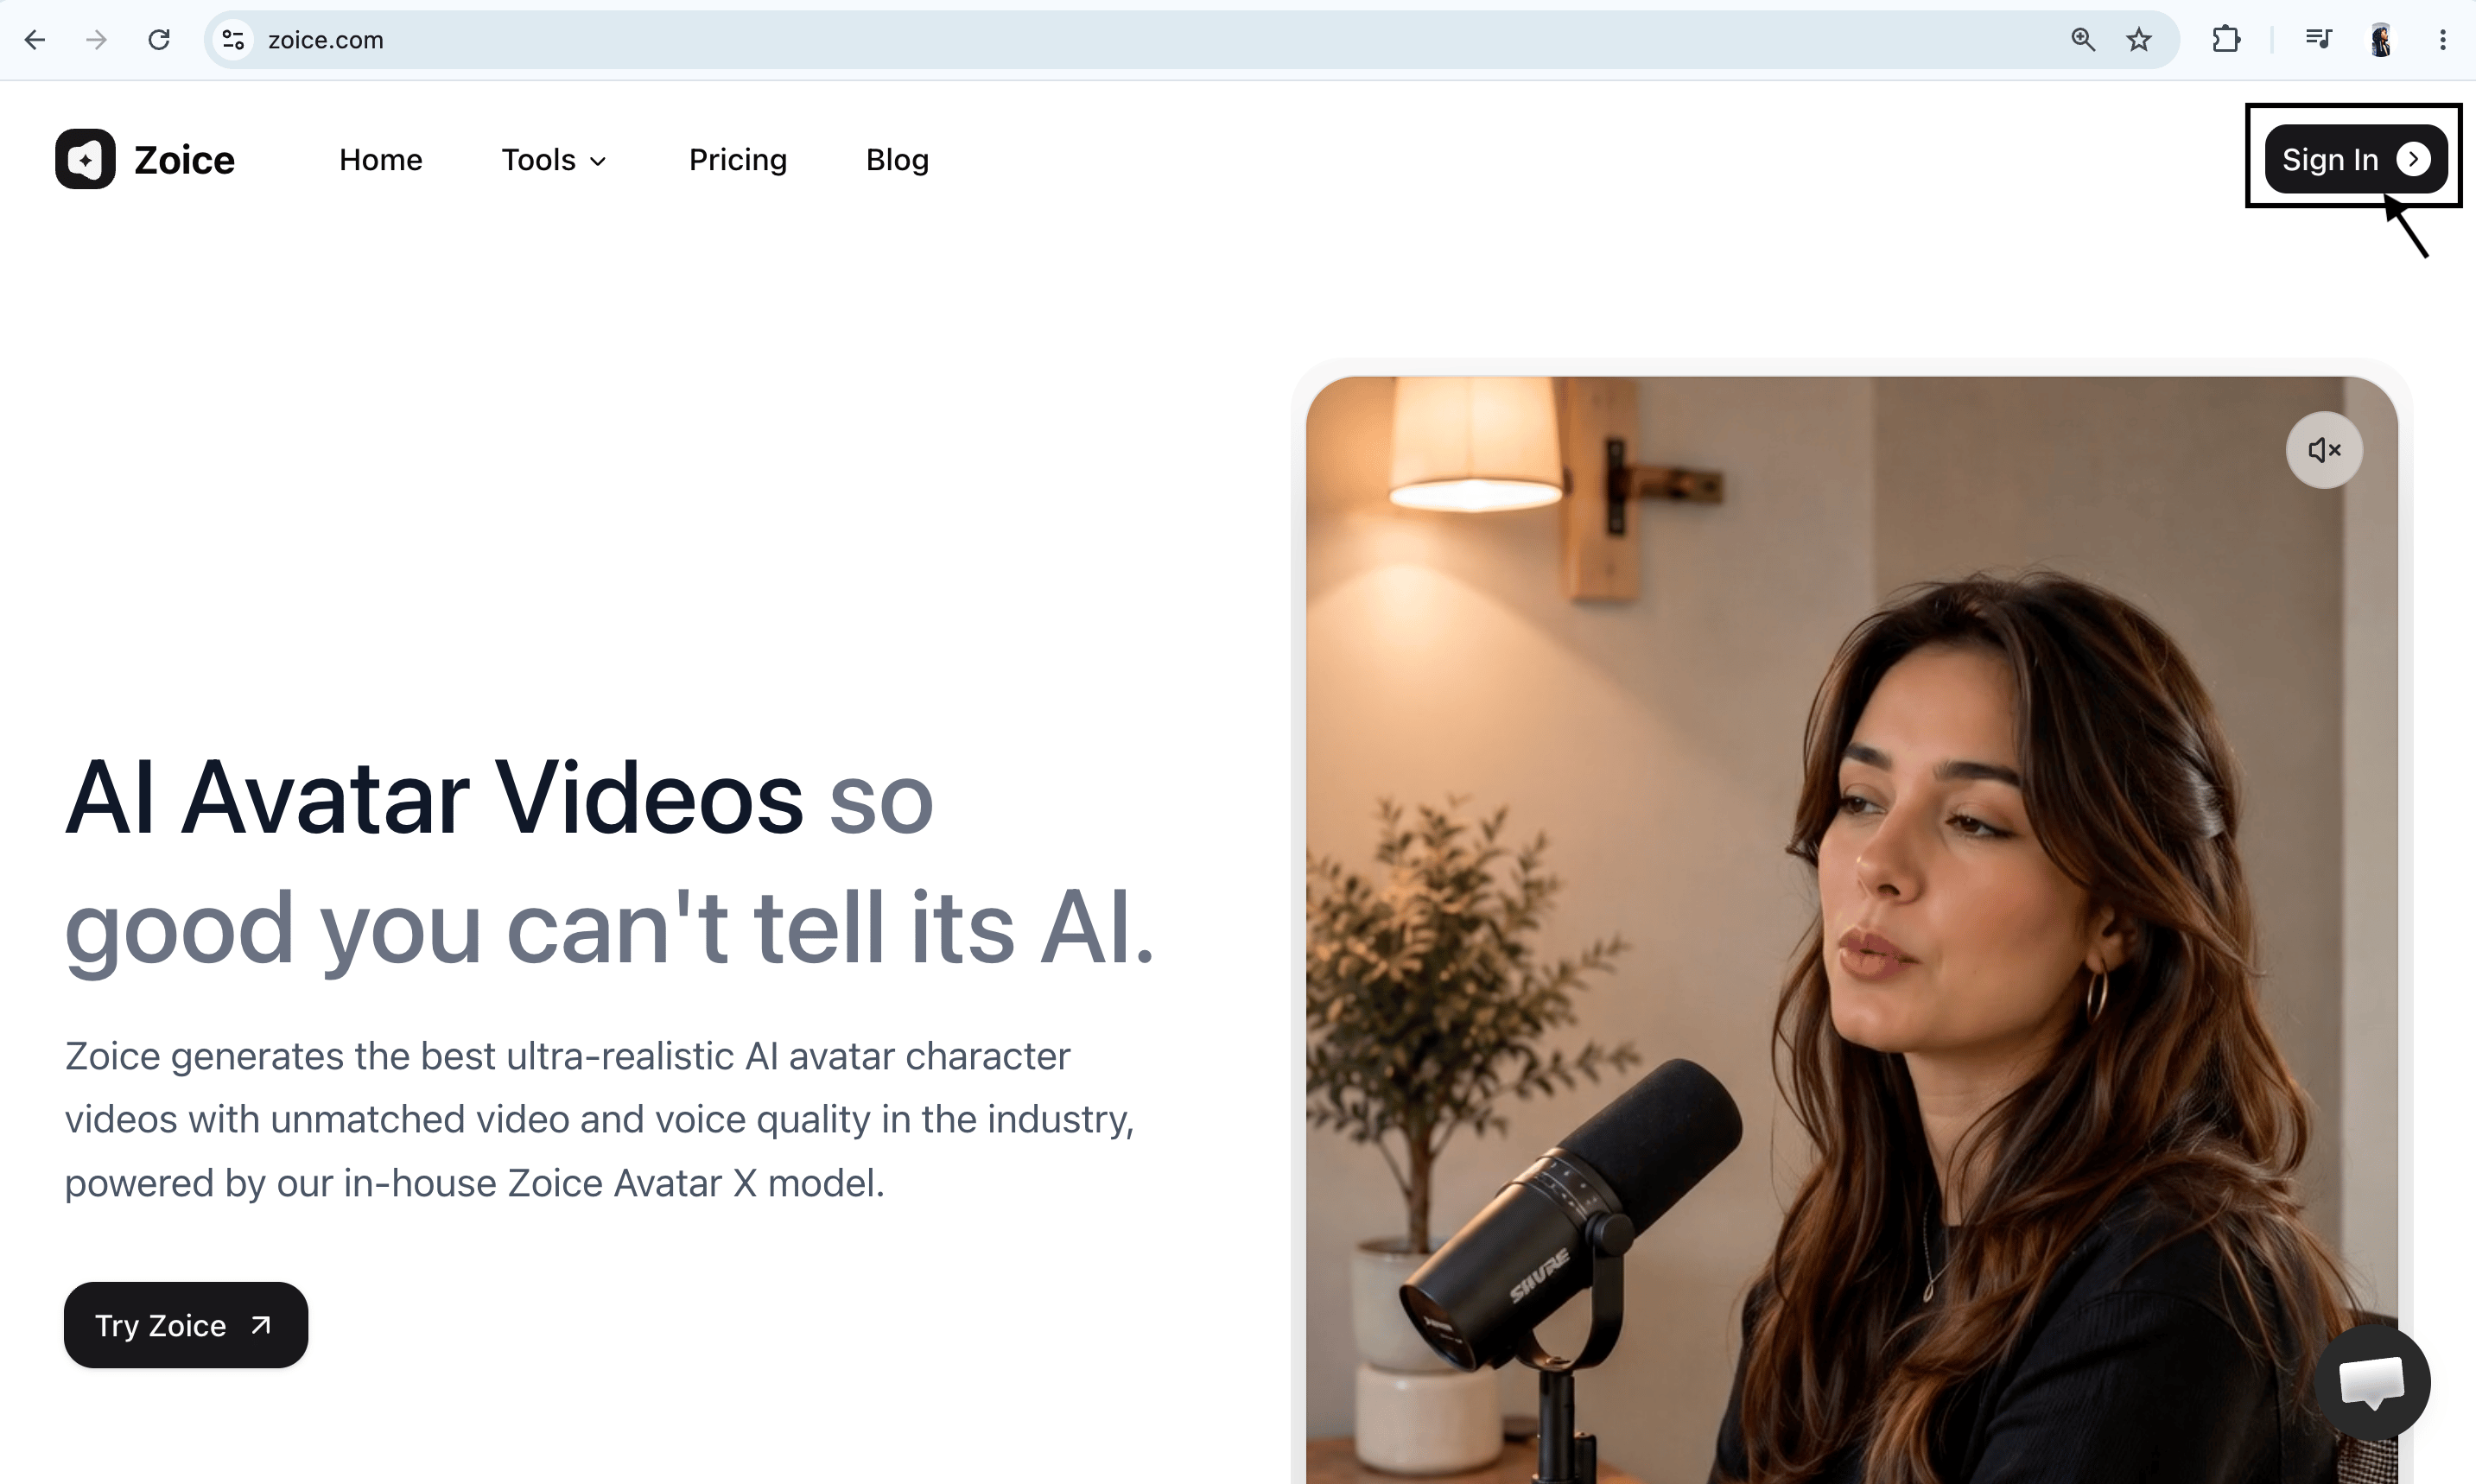
Step 2: Sign In to Your Dashboard Account
Enter your email and password, then click Sign In. Or select the Sign in with Google button for quick dashboard access.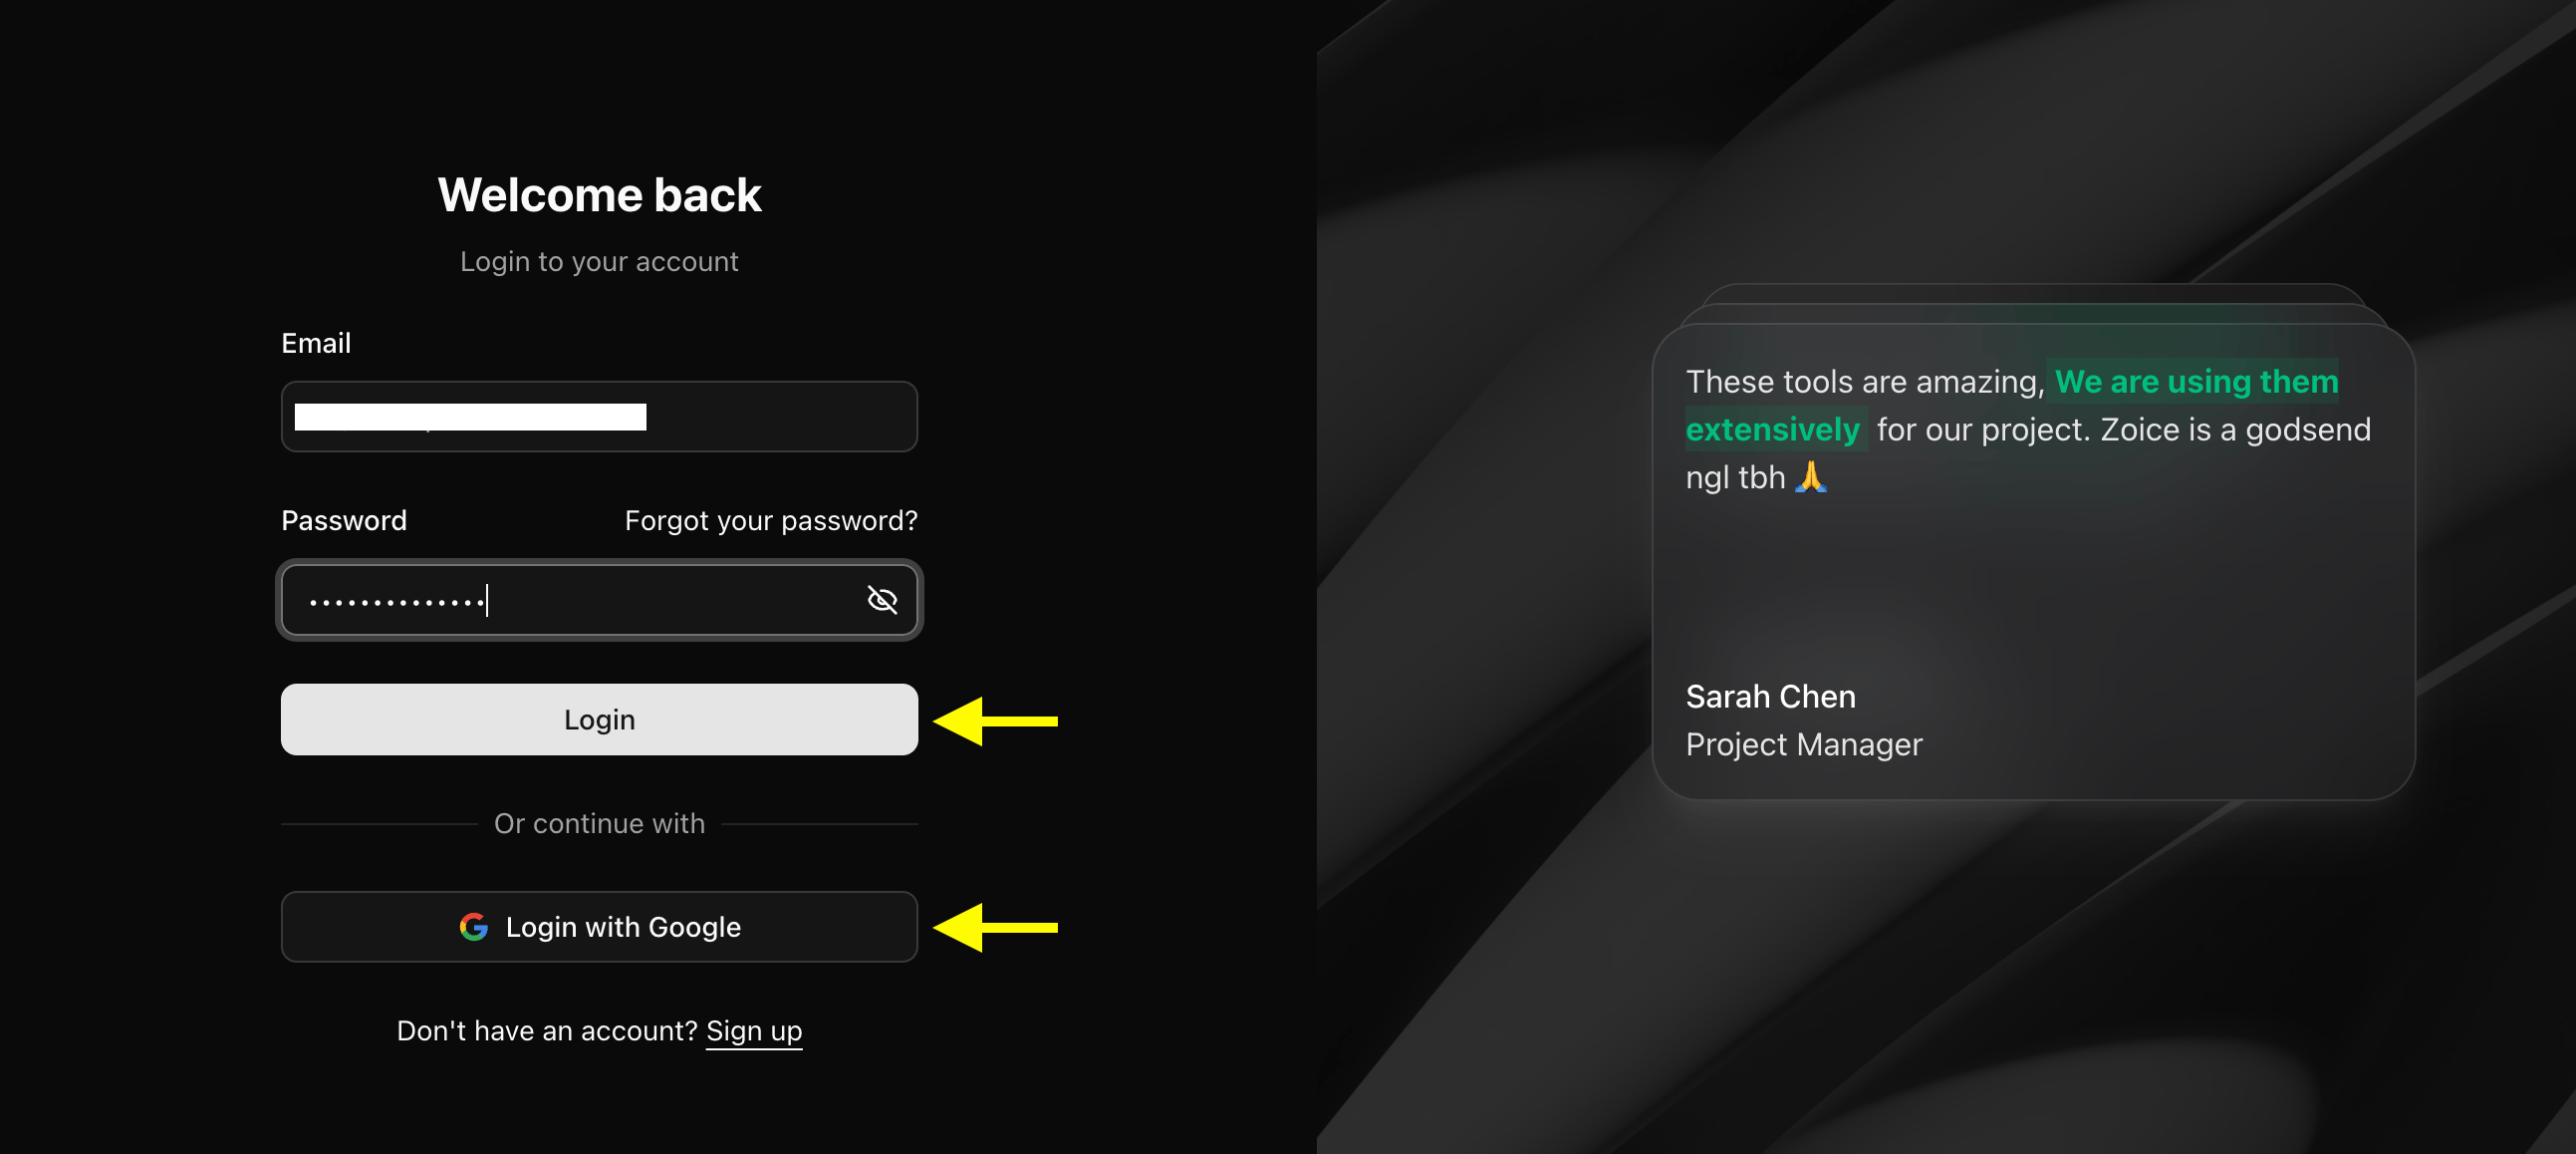
Step 3: Set Up a Free Creator Profile
If you are a first-time user, select Sign Up on the page to register your free workspace.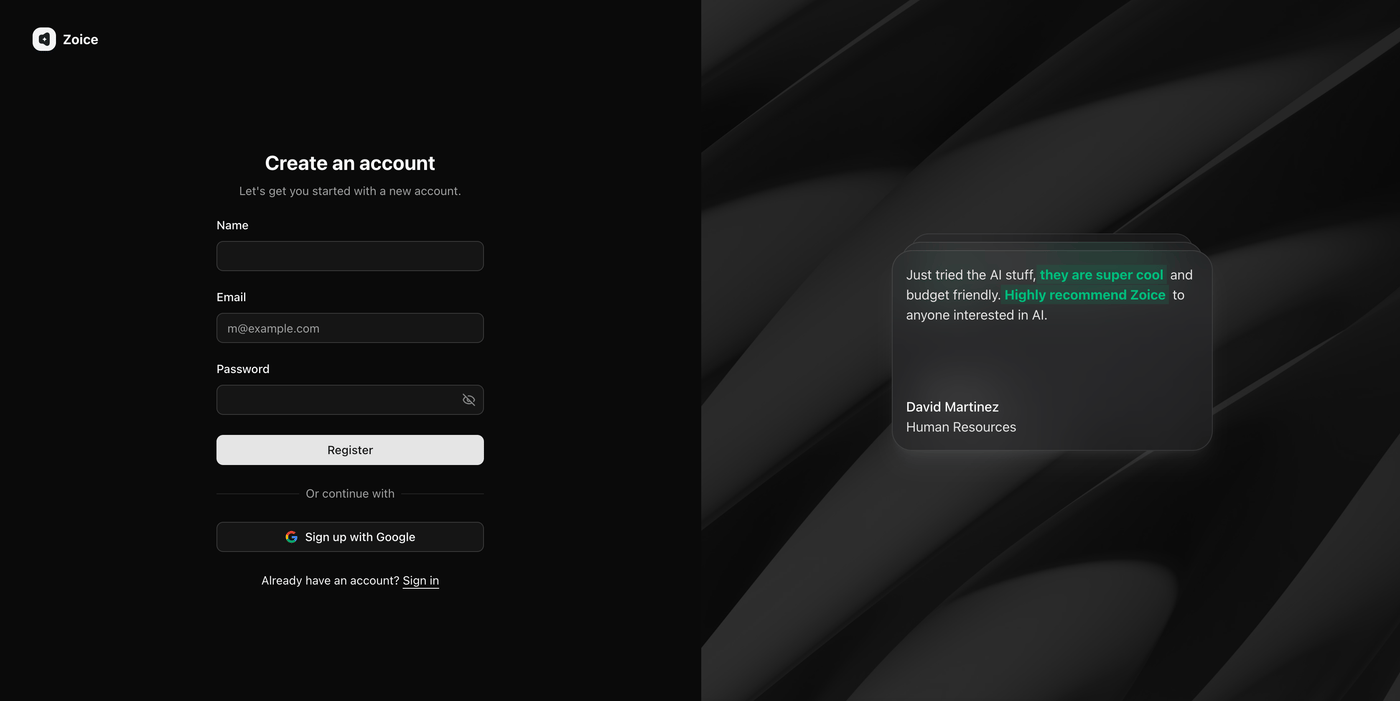
Step 4: Click Avatar Characters
Locate the left sidebar on the main dashboard page and select the Avatar Characters menu.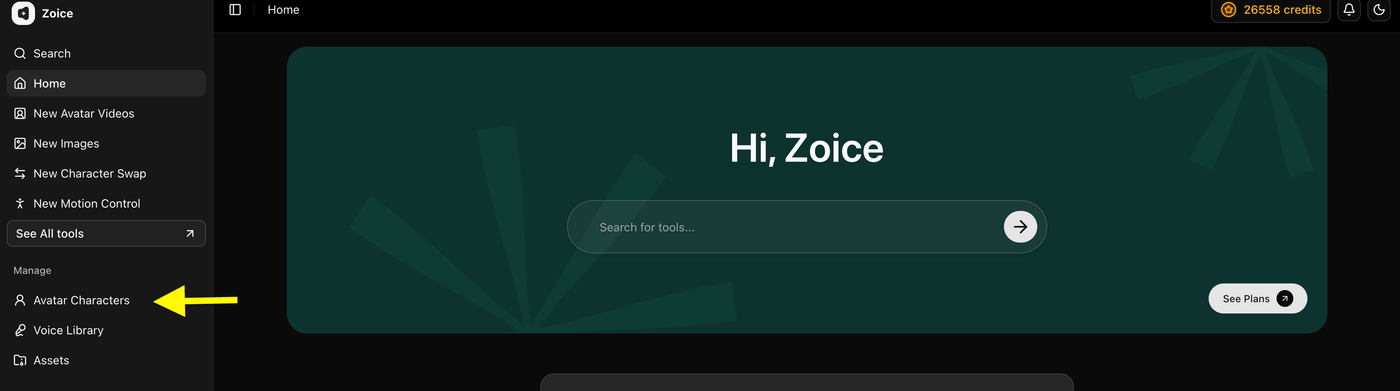
Step 5: Click Create New
On the presenter library page, click the Create New button to set up your relative’s avatar card.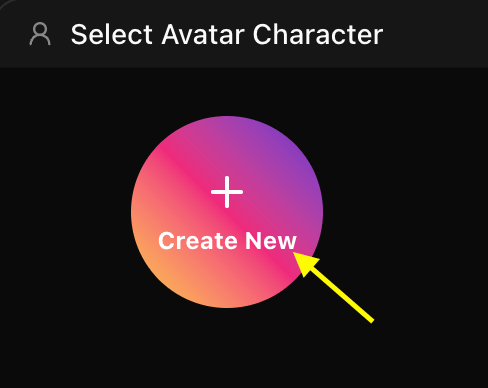
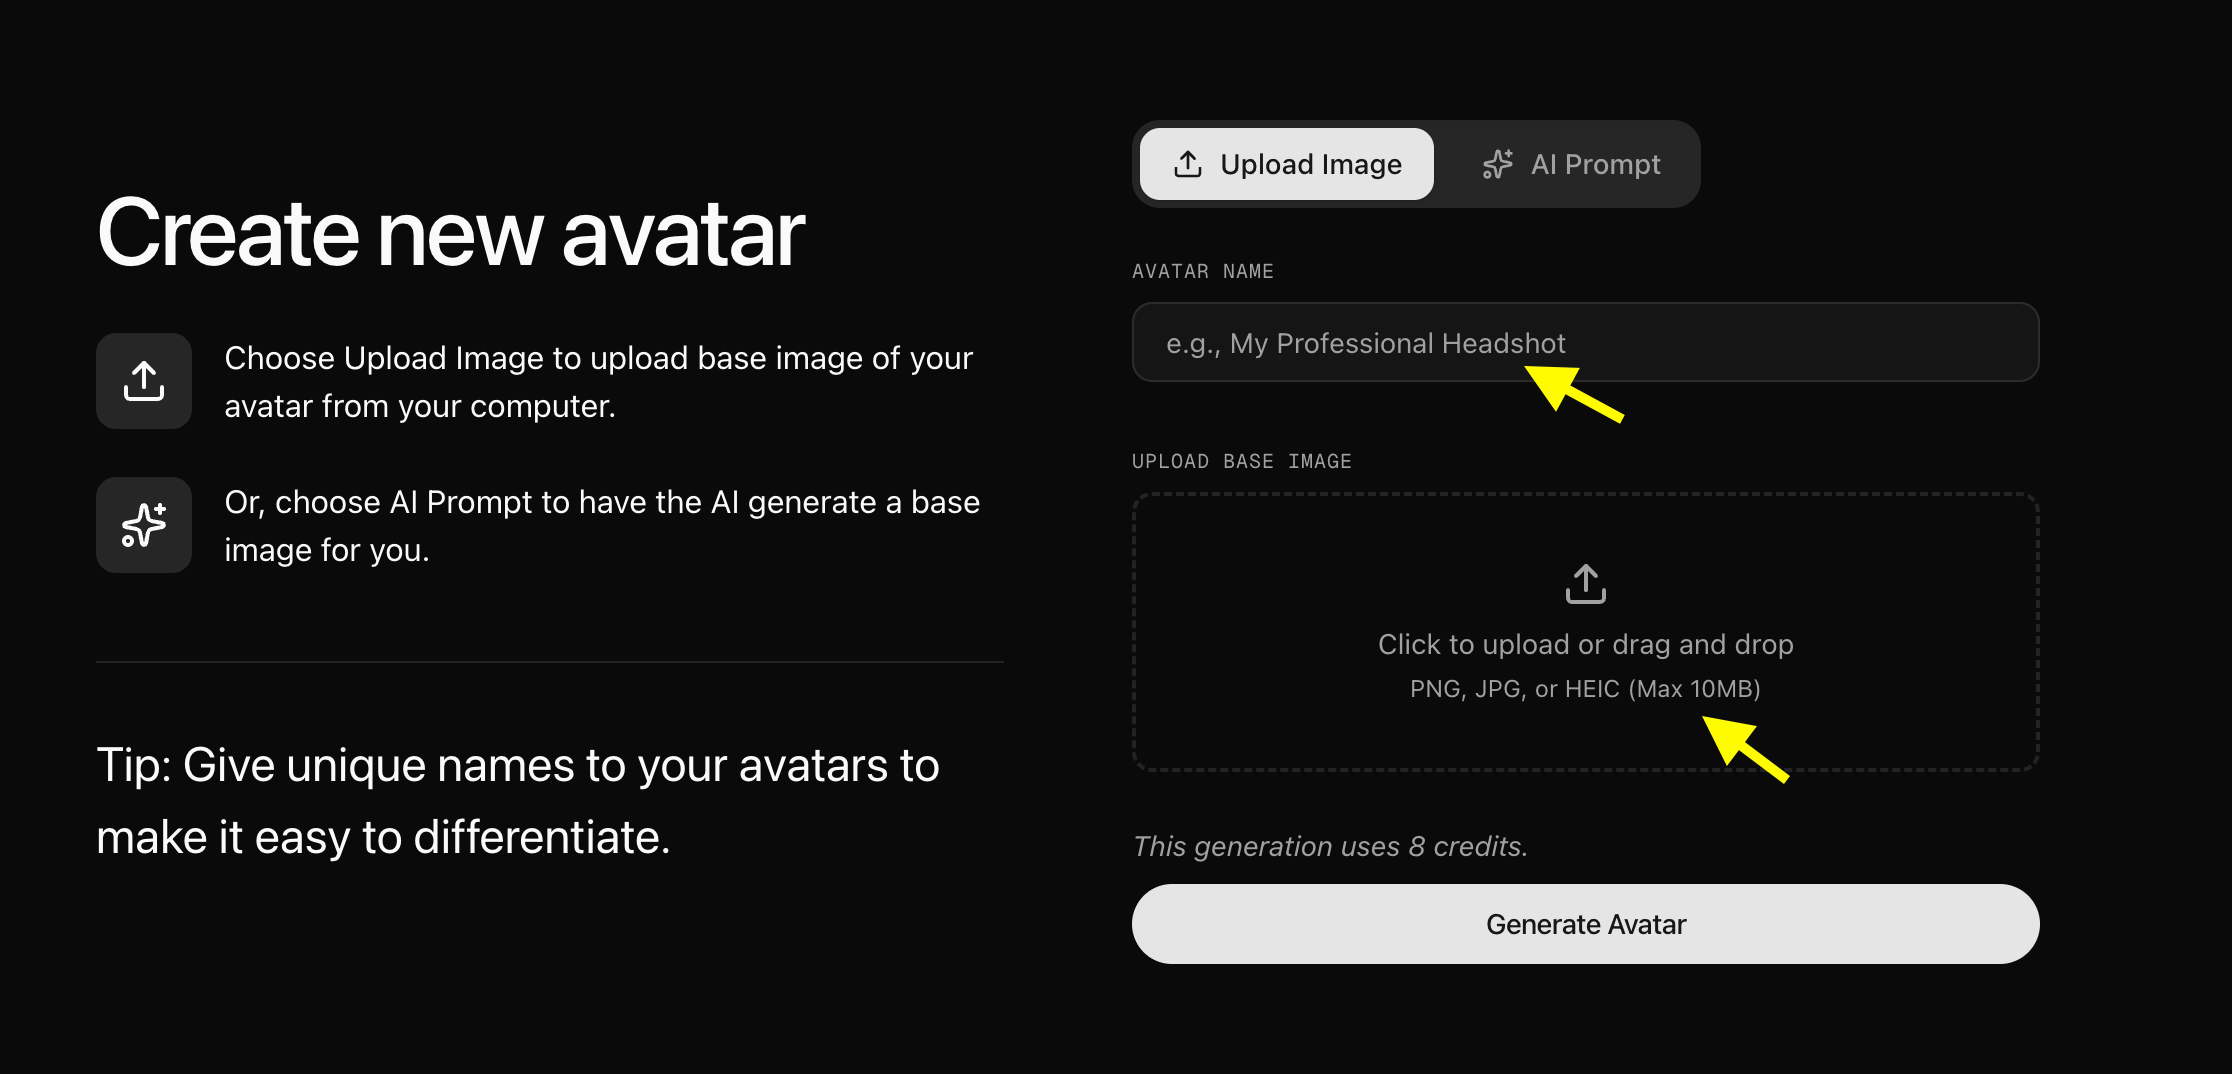
Step 6: Upload Your Relative’s Portrait Photo and Generate Avatar
- Upload a Photo: Select the Upload Image option on the creation page. Enter a name for your relative in the Avatar Name field (e.g., ‘Old Photo Talking’, pointed to by the yellow arrow), upload or drag-and-drop the face portrait in the Upload Base Image box, and click Generate Avatar at the bottom to build their AI profile.
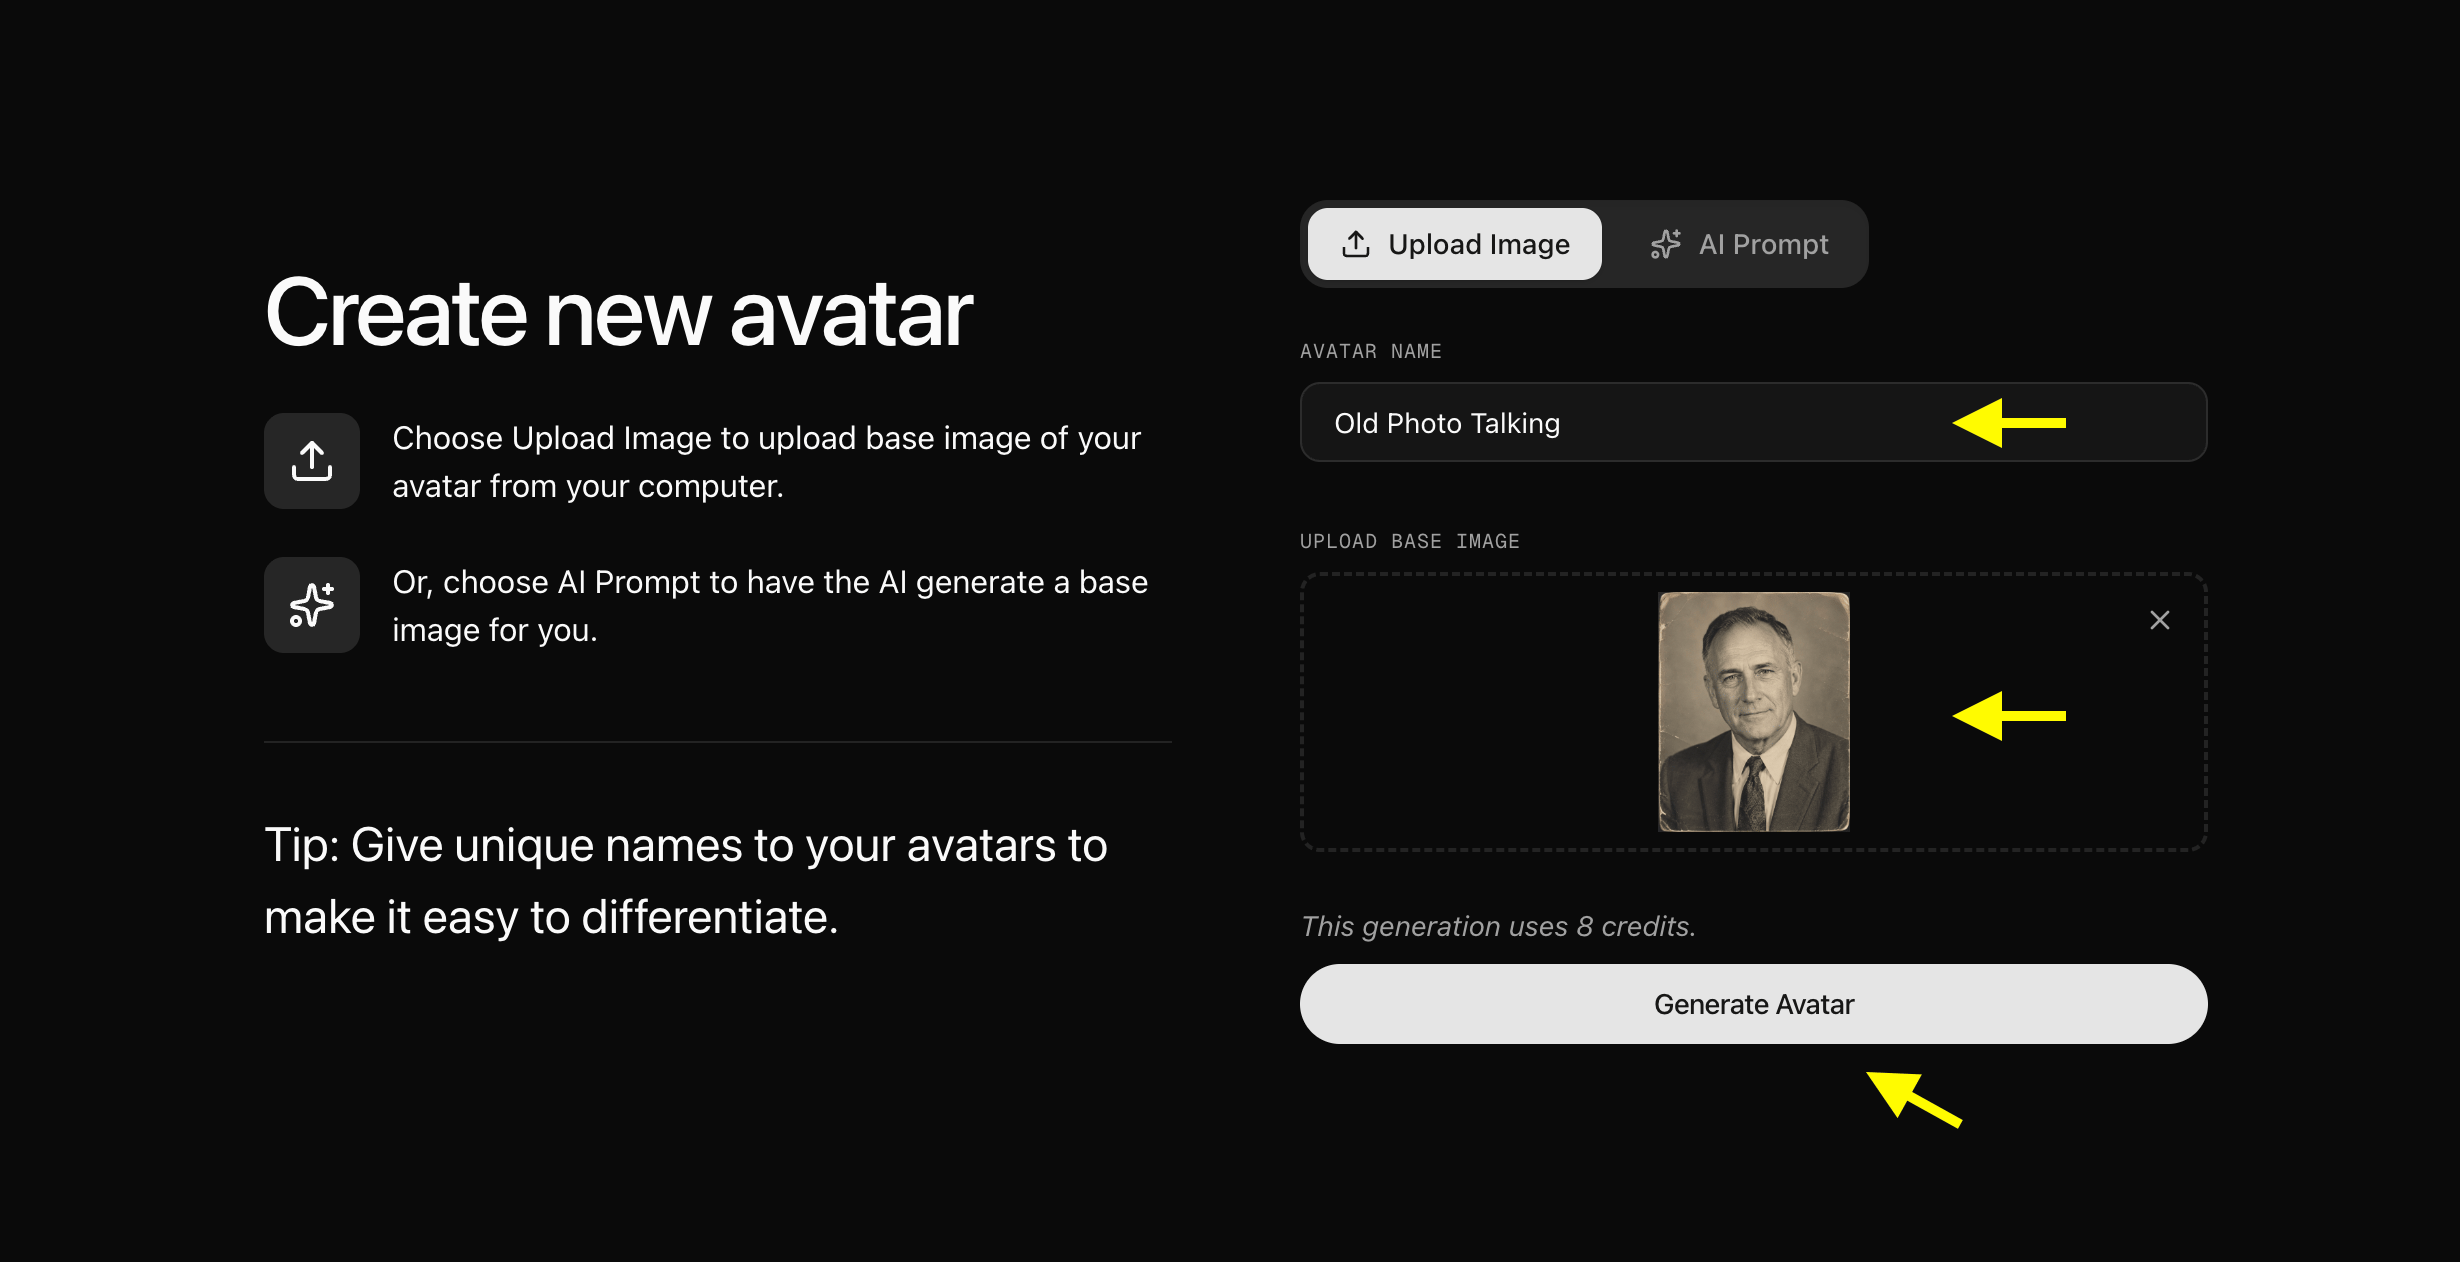
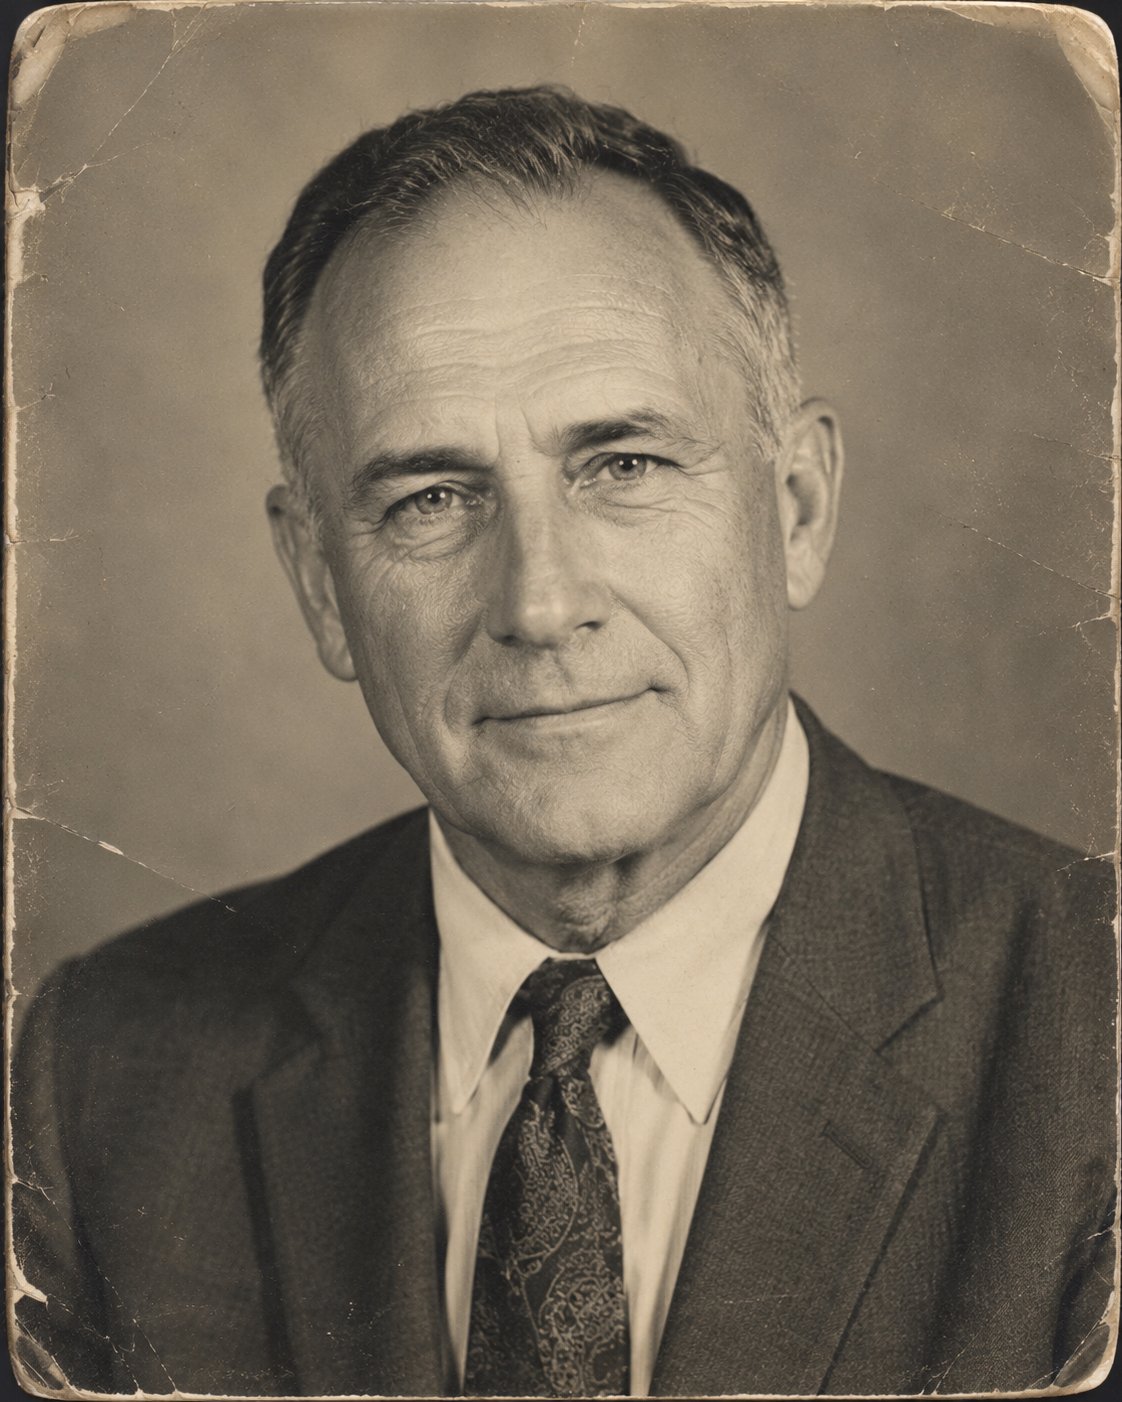
- We used this image for the relative portrait :
Step 7: Select Your Relatives Avatar from Avatar Characters List
Go back to the Avatar Characters menu. Your new card will appear in your library. Click on the card to select it.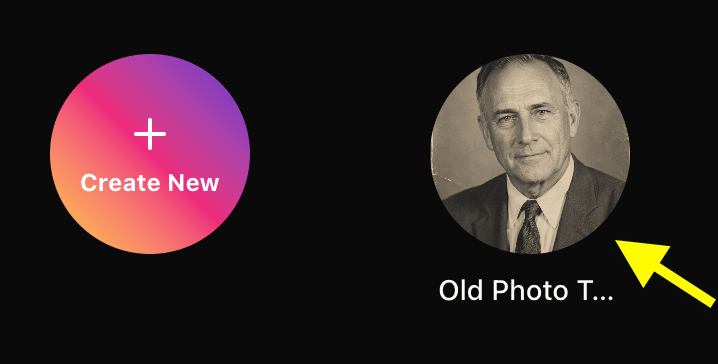
Step 8: Configure Avatar Settings
Click Avatar Setting next to Generate Video. Under the General settings, add the Name, Gender, Age, and Ethnicity of the relative to help the AI map natural expressions. Click Save when finished.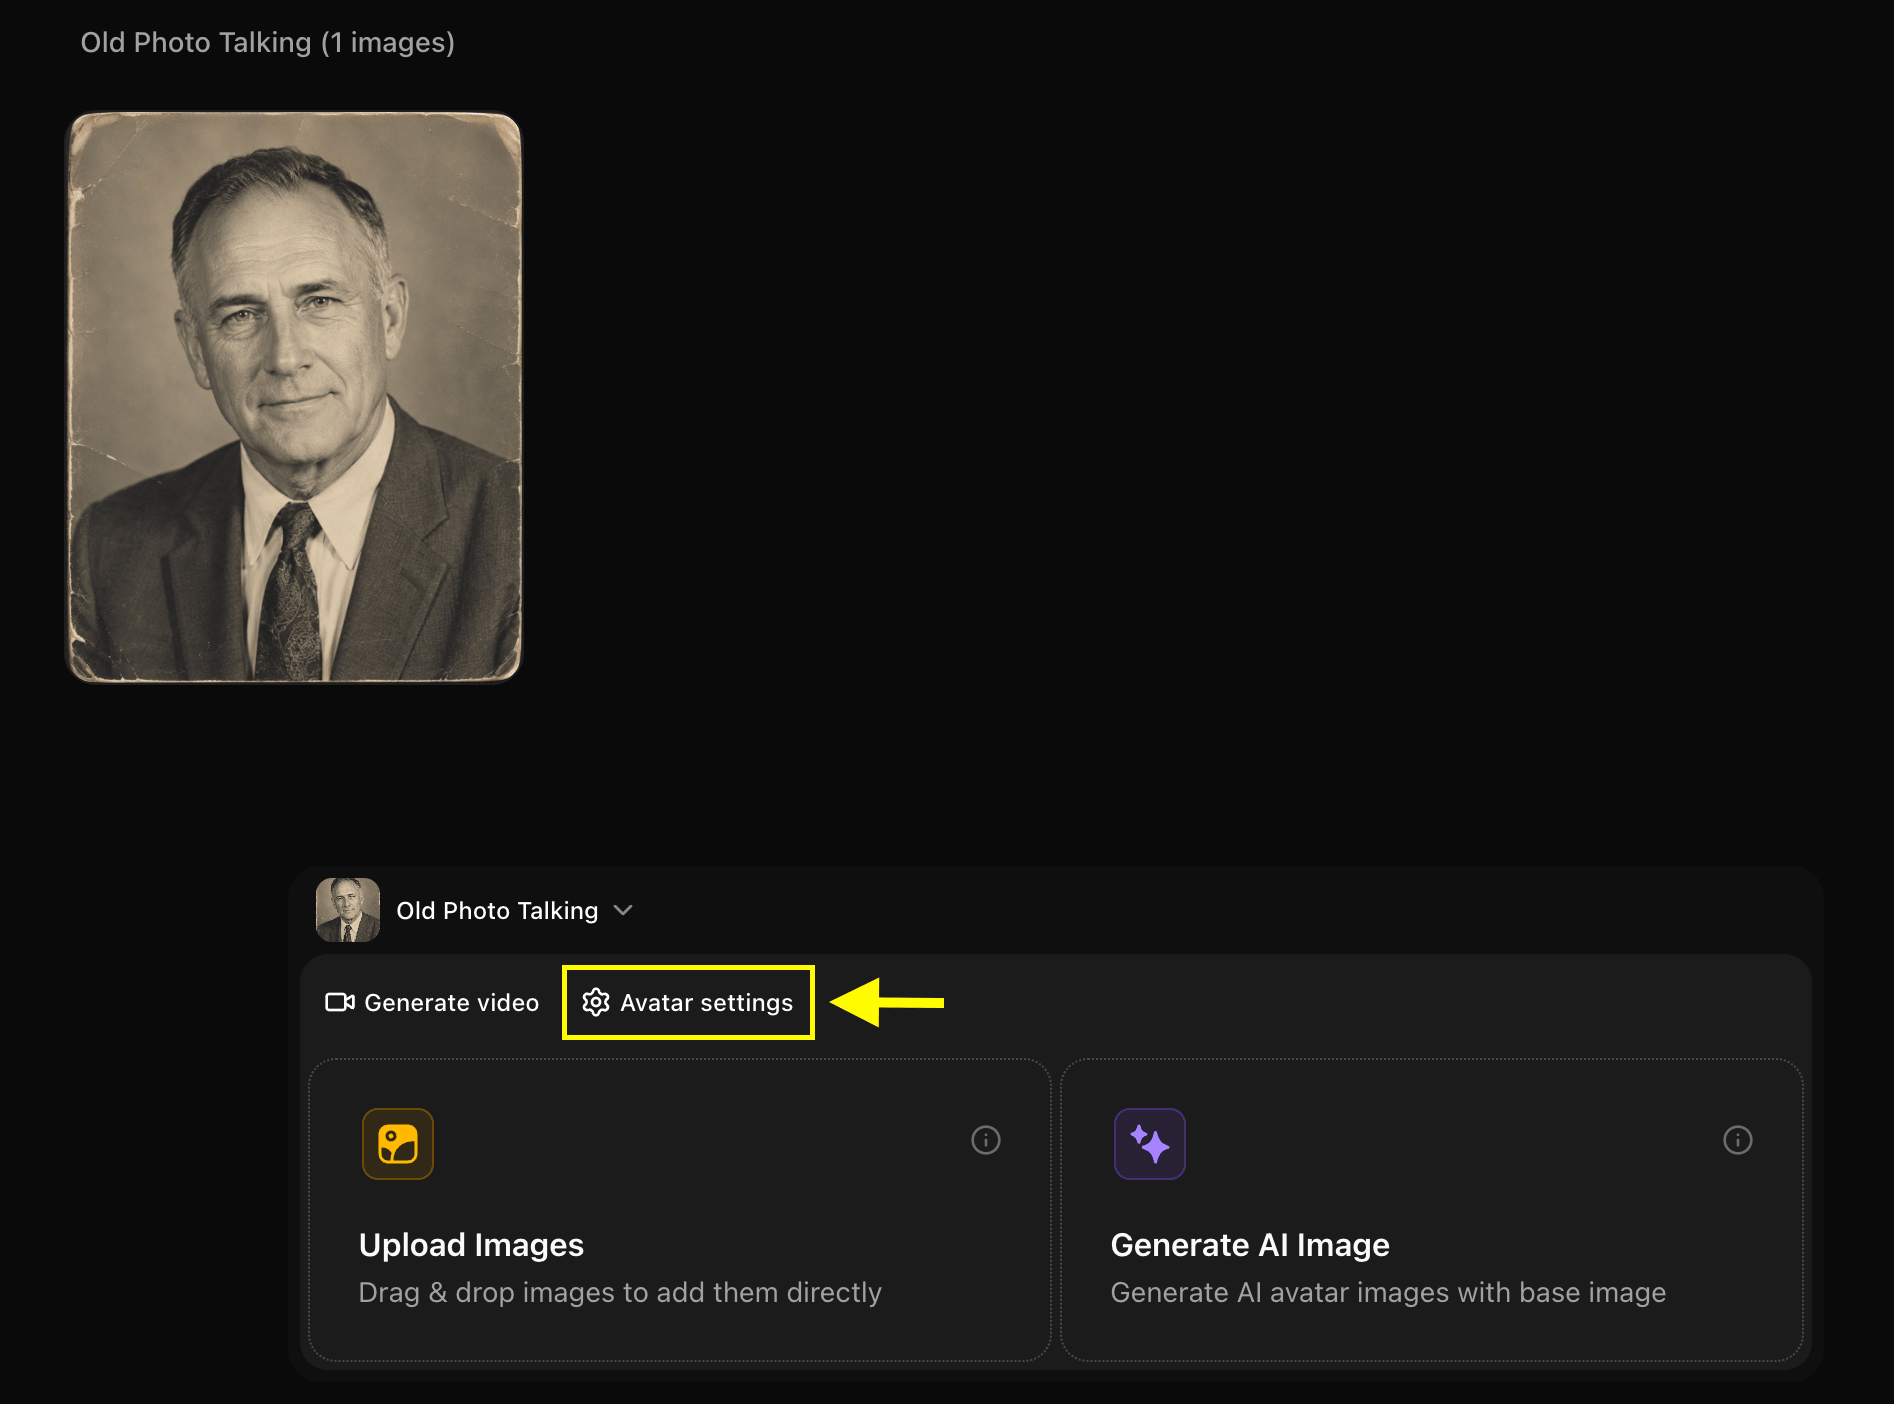
Step 9: Click Generate Video
With your character card active, click the Generate Video button to launch the avatar advance configuration.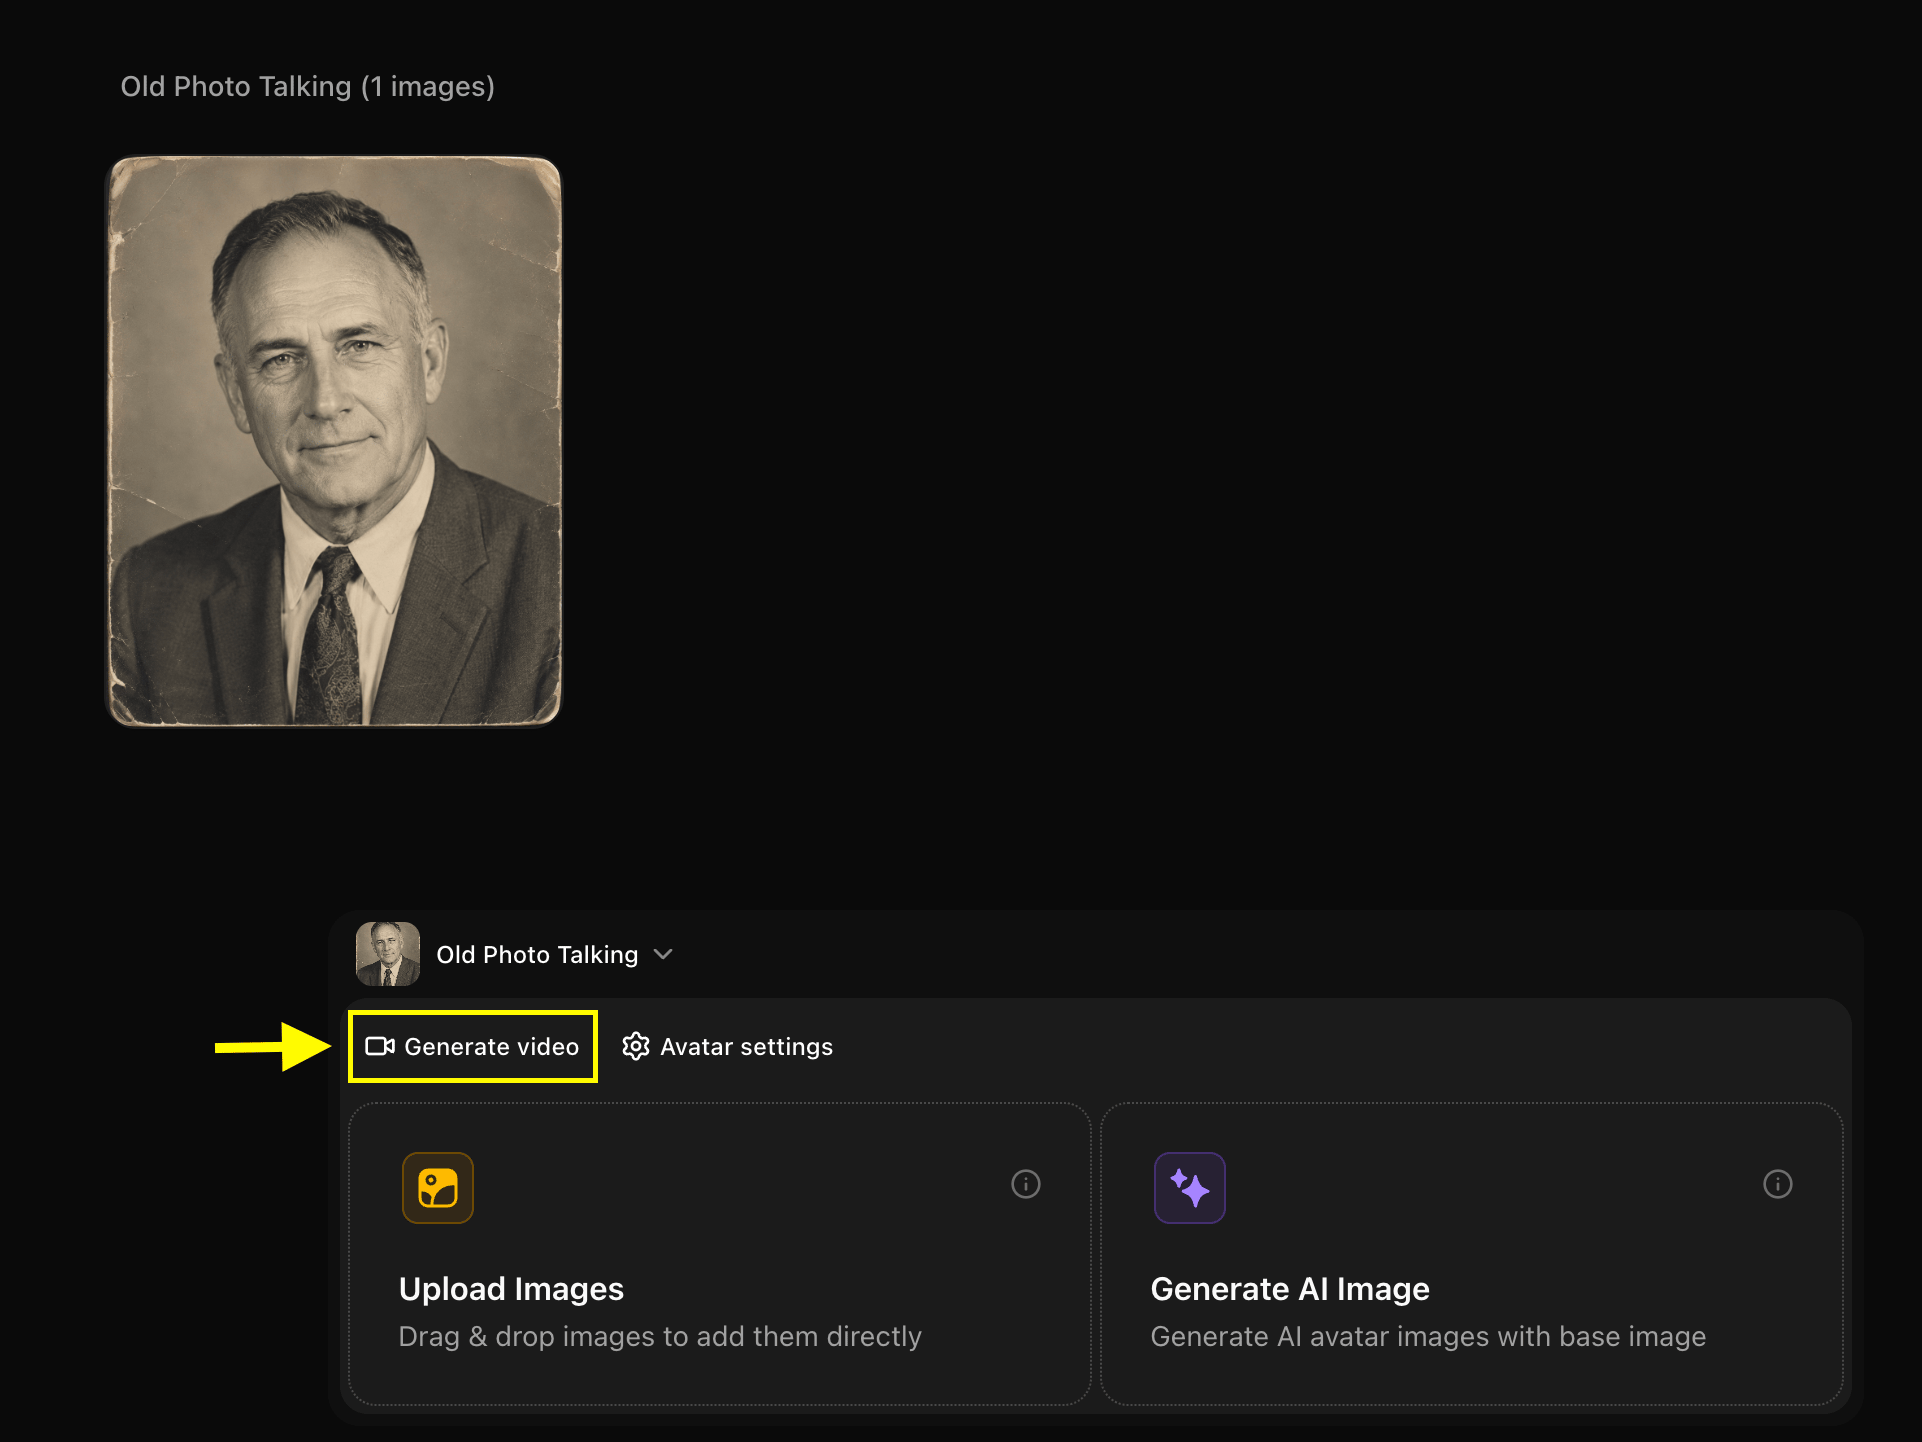
Step 10: Click on the Script Field
In the editor timeline, click on the Script tab to open the text editing panel.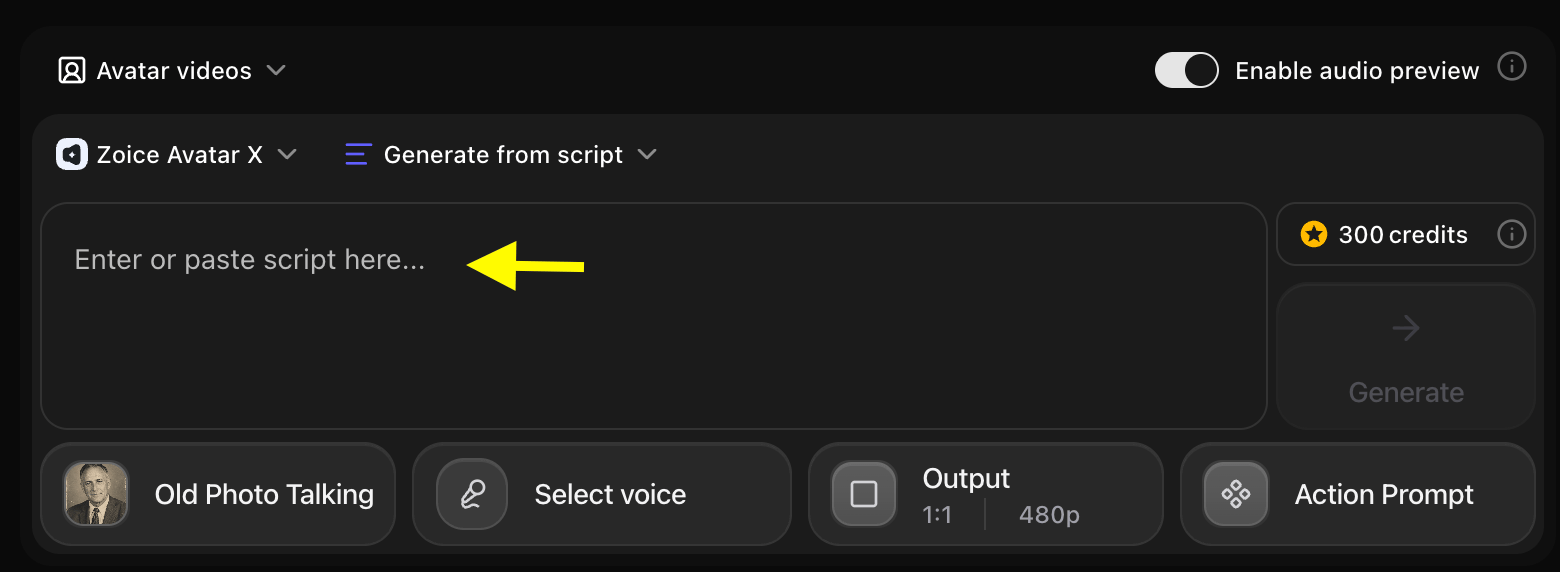
Step 11: Write Your Script
Type the exact message, advice, or family history you want them to speak.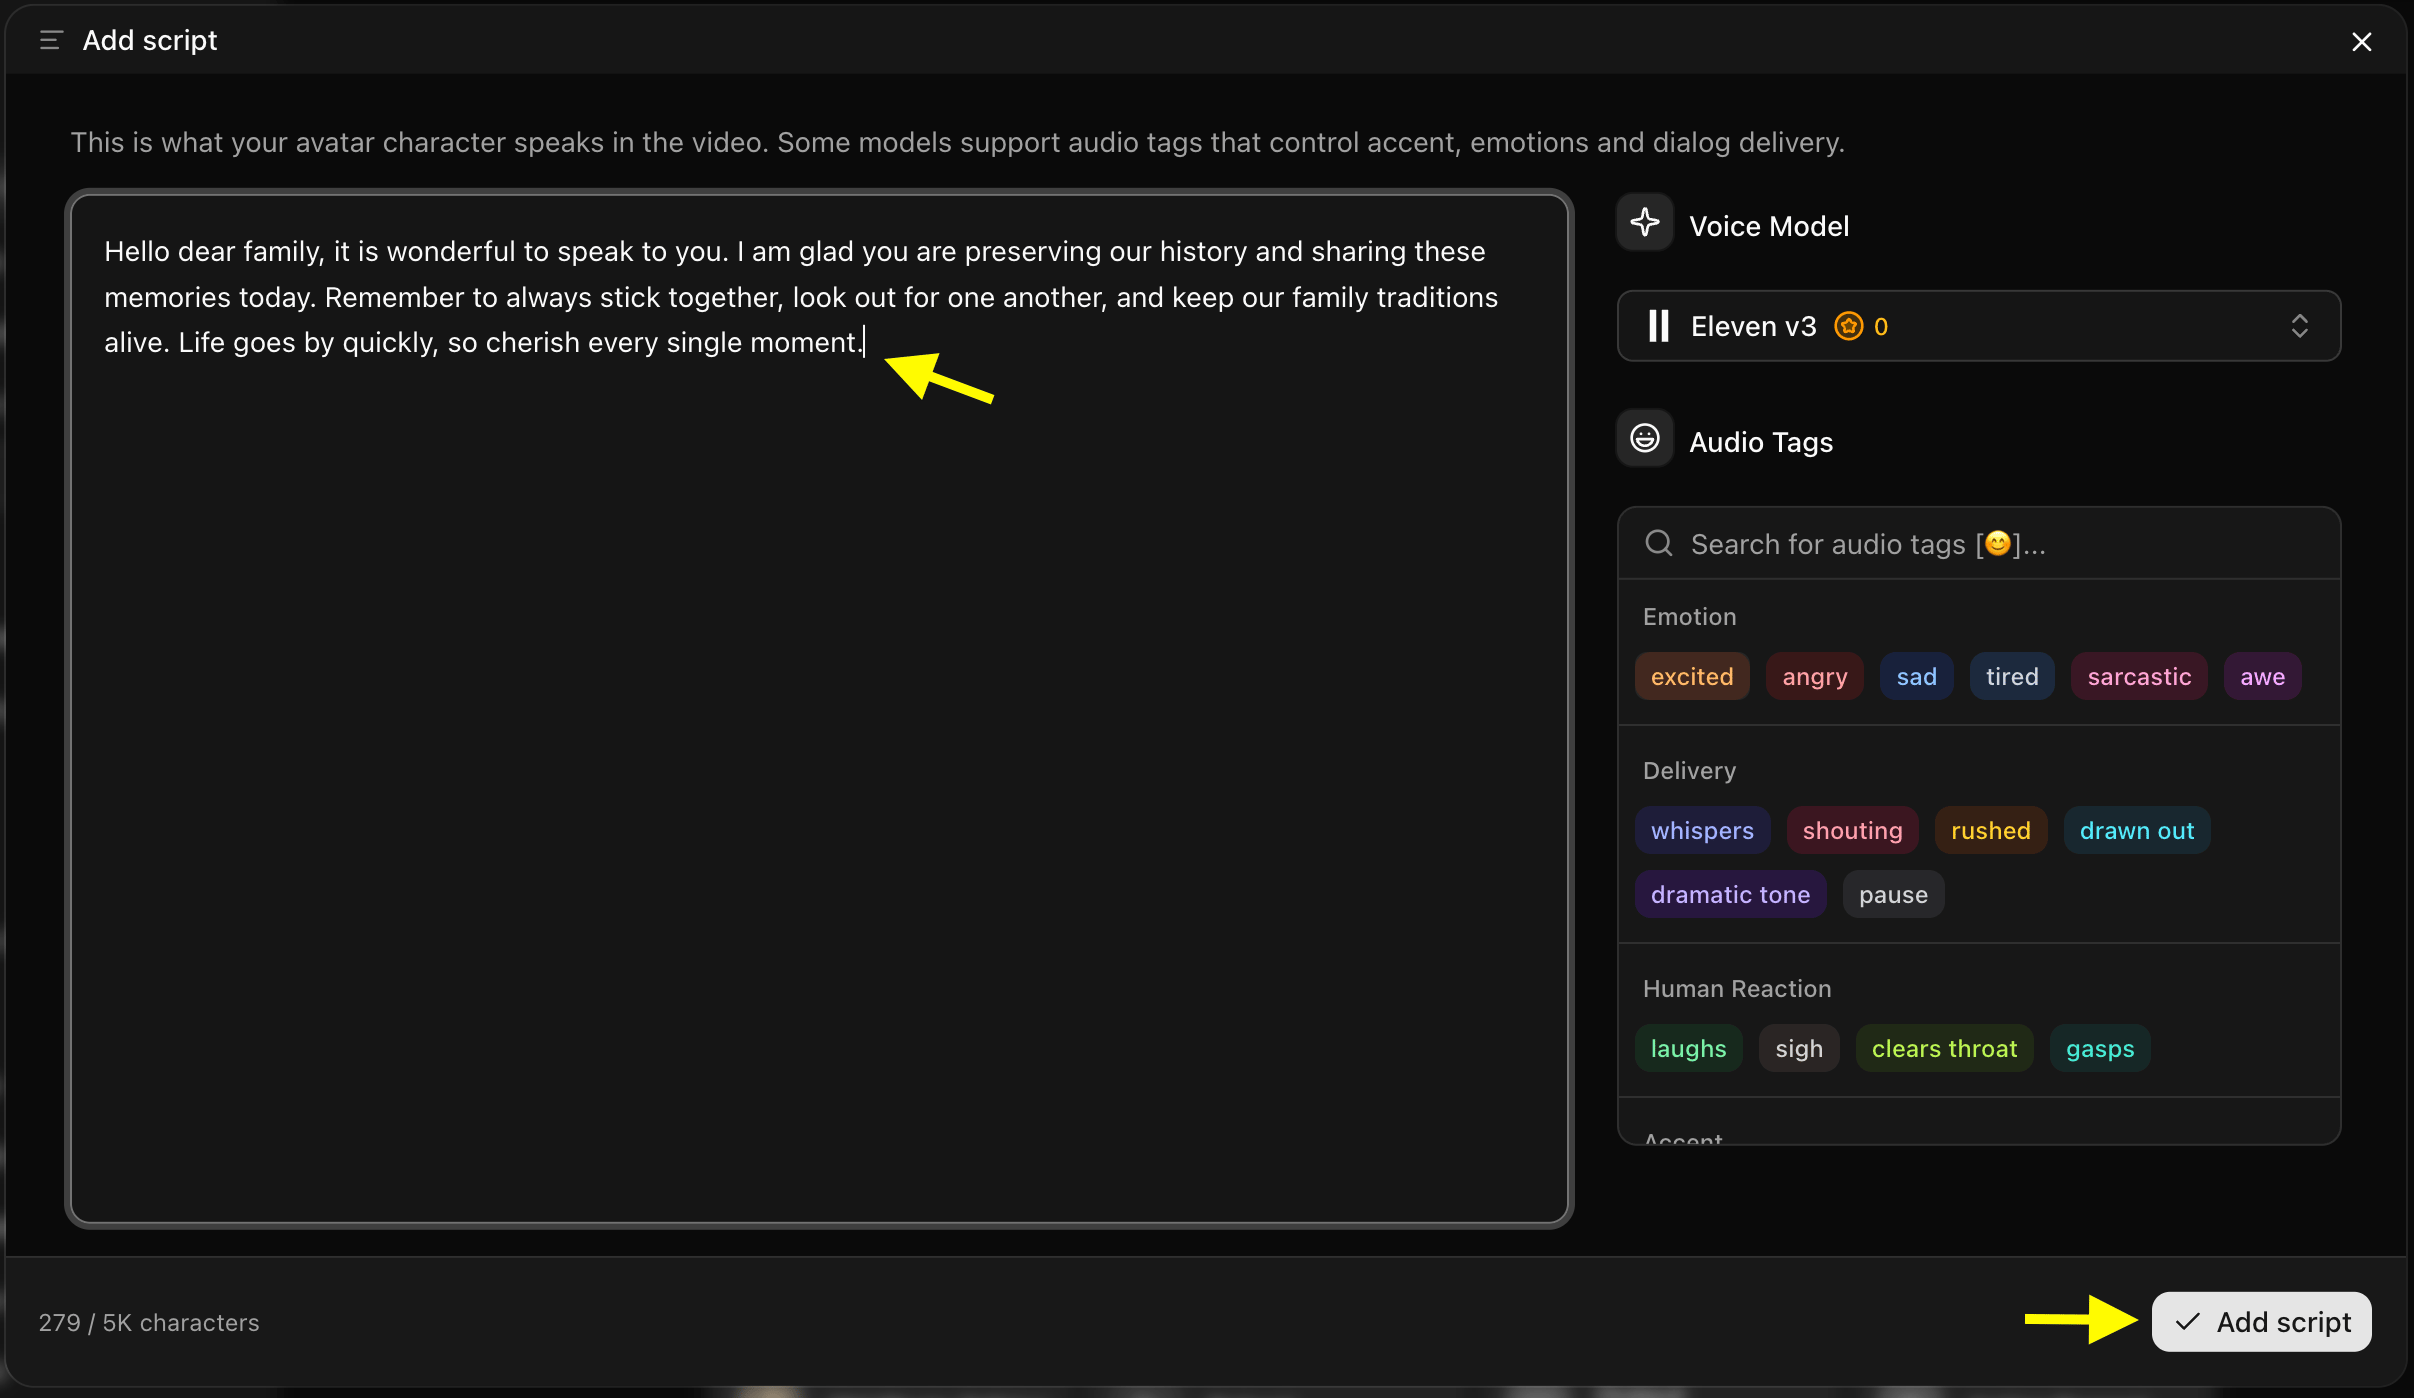
Step 12: Select a Voice Model
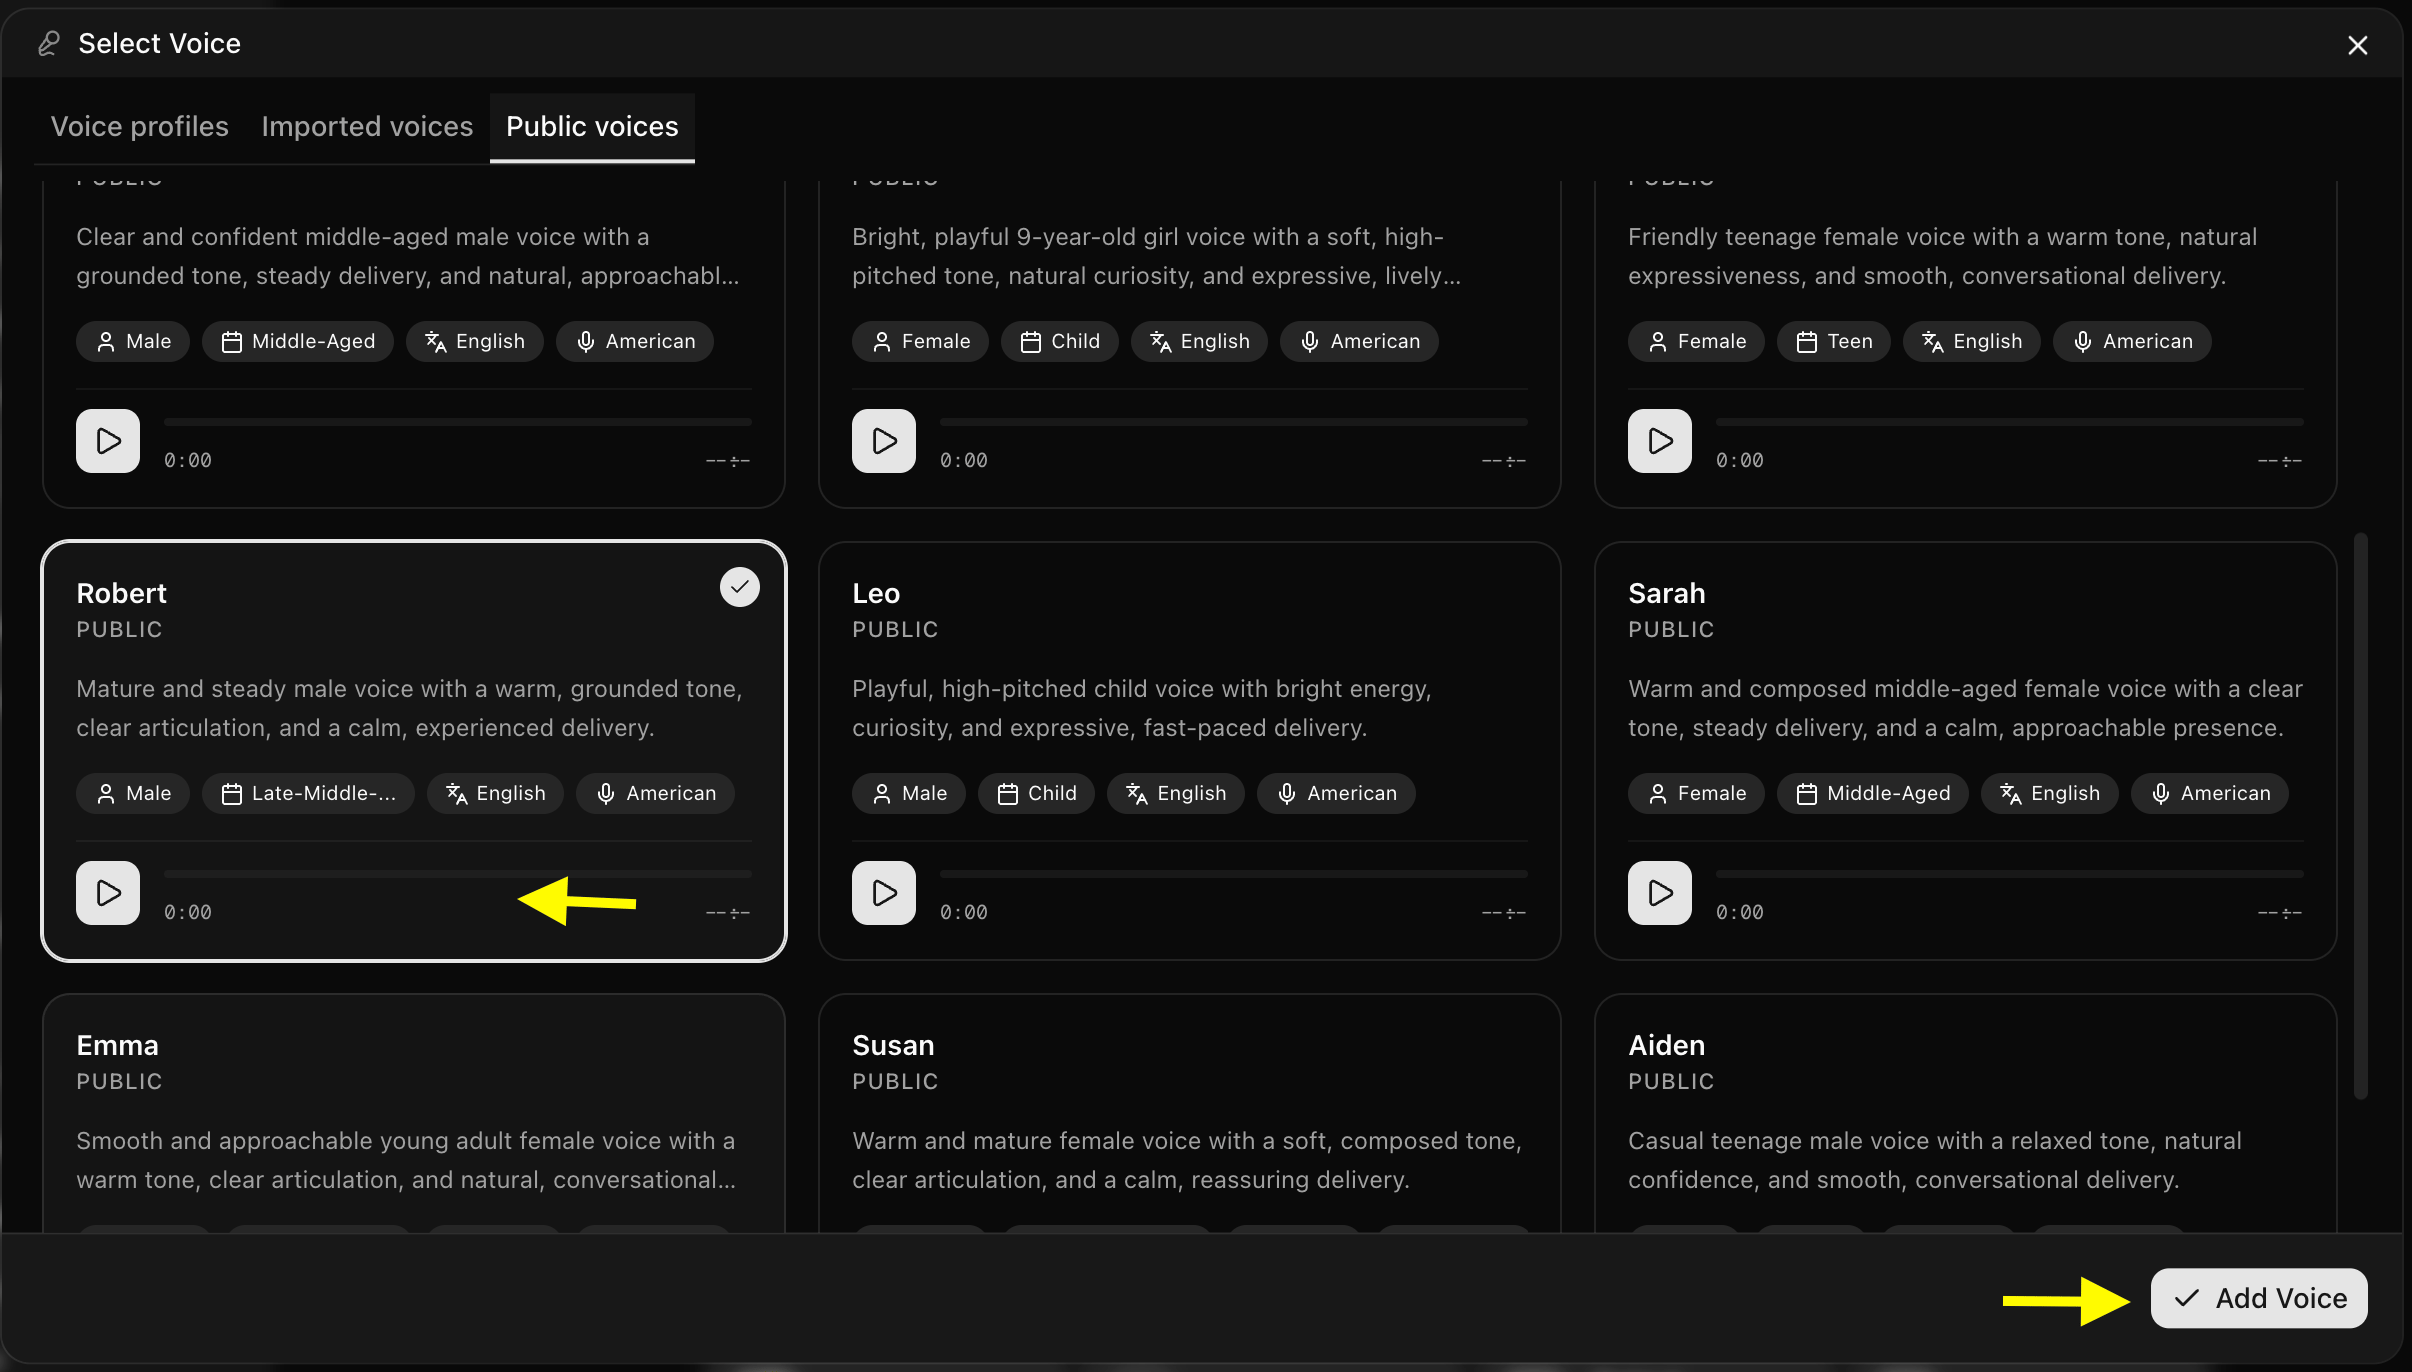
Click on Select Voice. Select a voice preset that matches the gender, age, and accent of your relative, or upload a custom voice sample.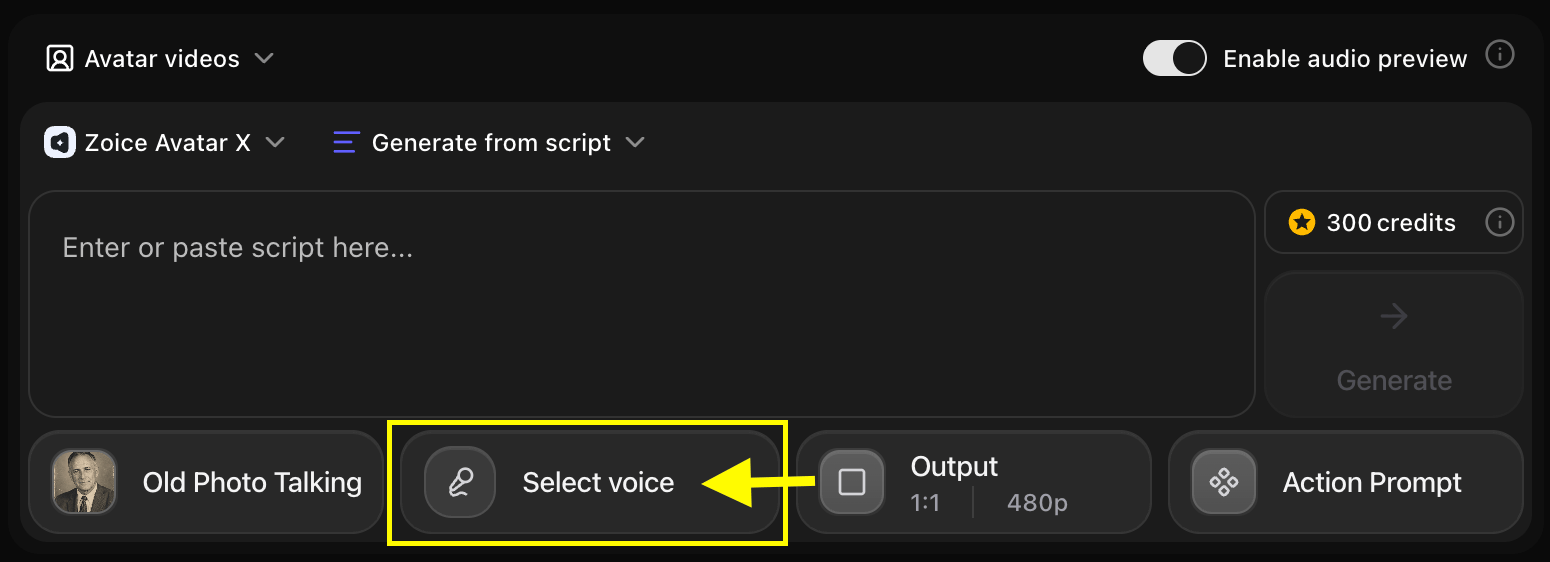
- We used the below voice for the relative in the example:
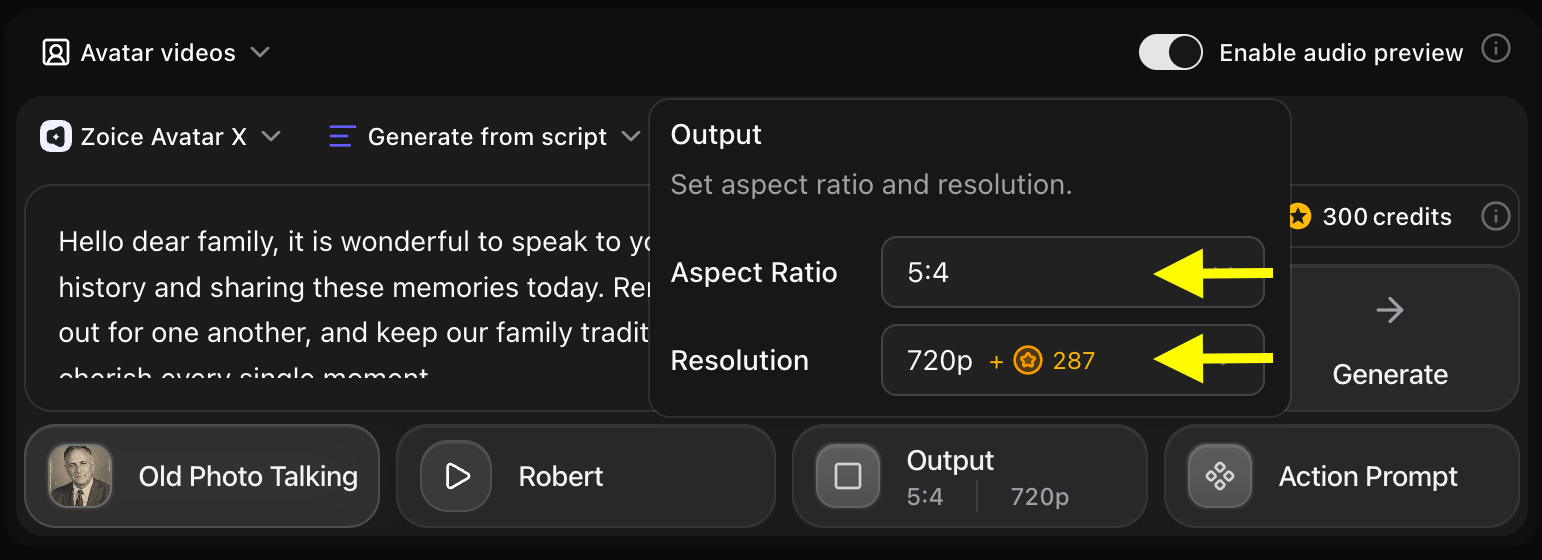
Step 13: Choose Output Formats
Under Output Settings, choose the aspect ratio:- Aspect Ratio: Select 9:16 for mobile phone cards (WhatsApp, Reels) or 16:9 for widescreen visualizers.
- Resolution: Choose 1080p or 4K to preserve the details of the original photo.
Step 14: Select Action Prompt
Click on Action Prompt to control the physical behaviors. Write custom instructions (e.g., “Gentle speaking style, nodding head slightly, warm gaze, smiling softly”).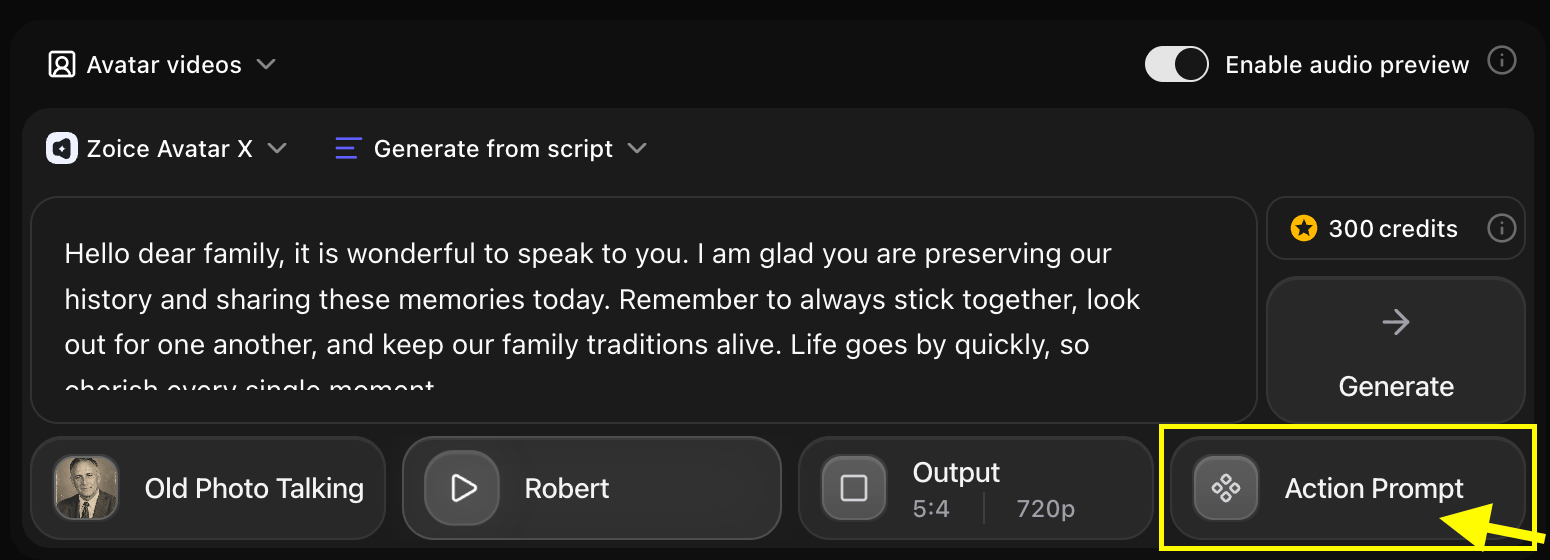
- We used the below action prompt for the relative in the example:
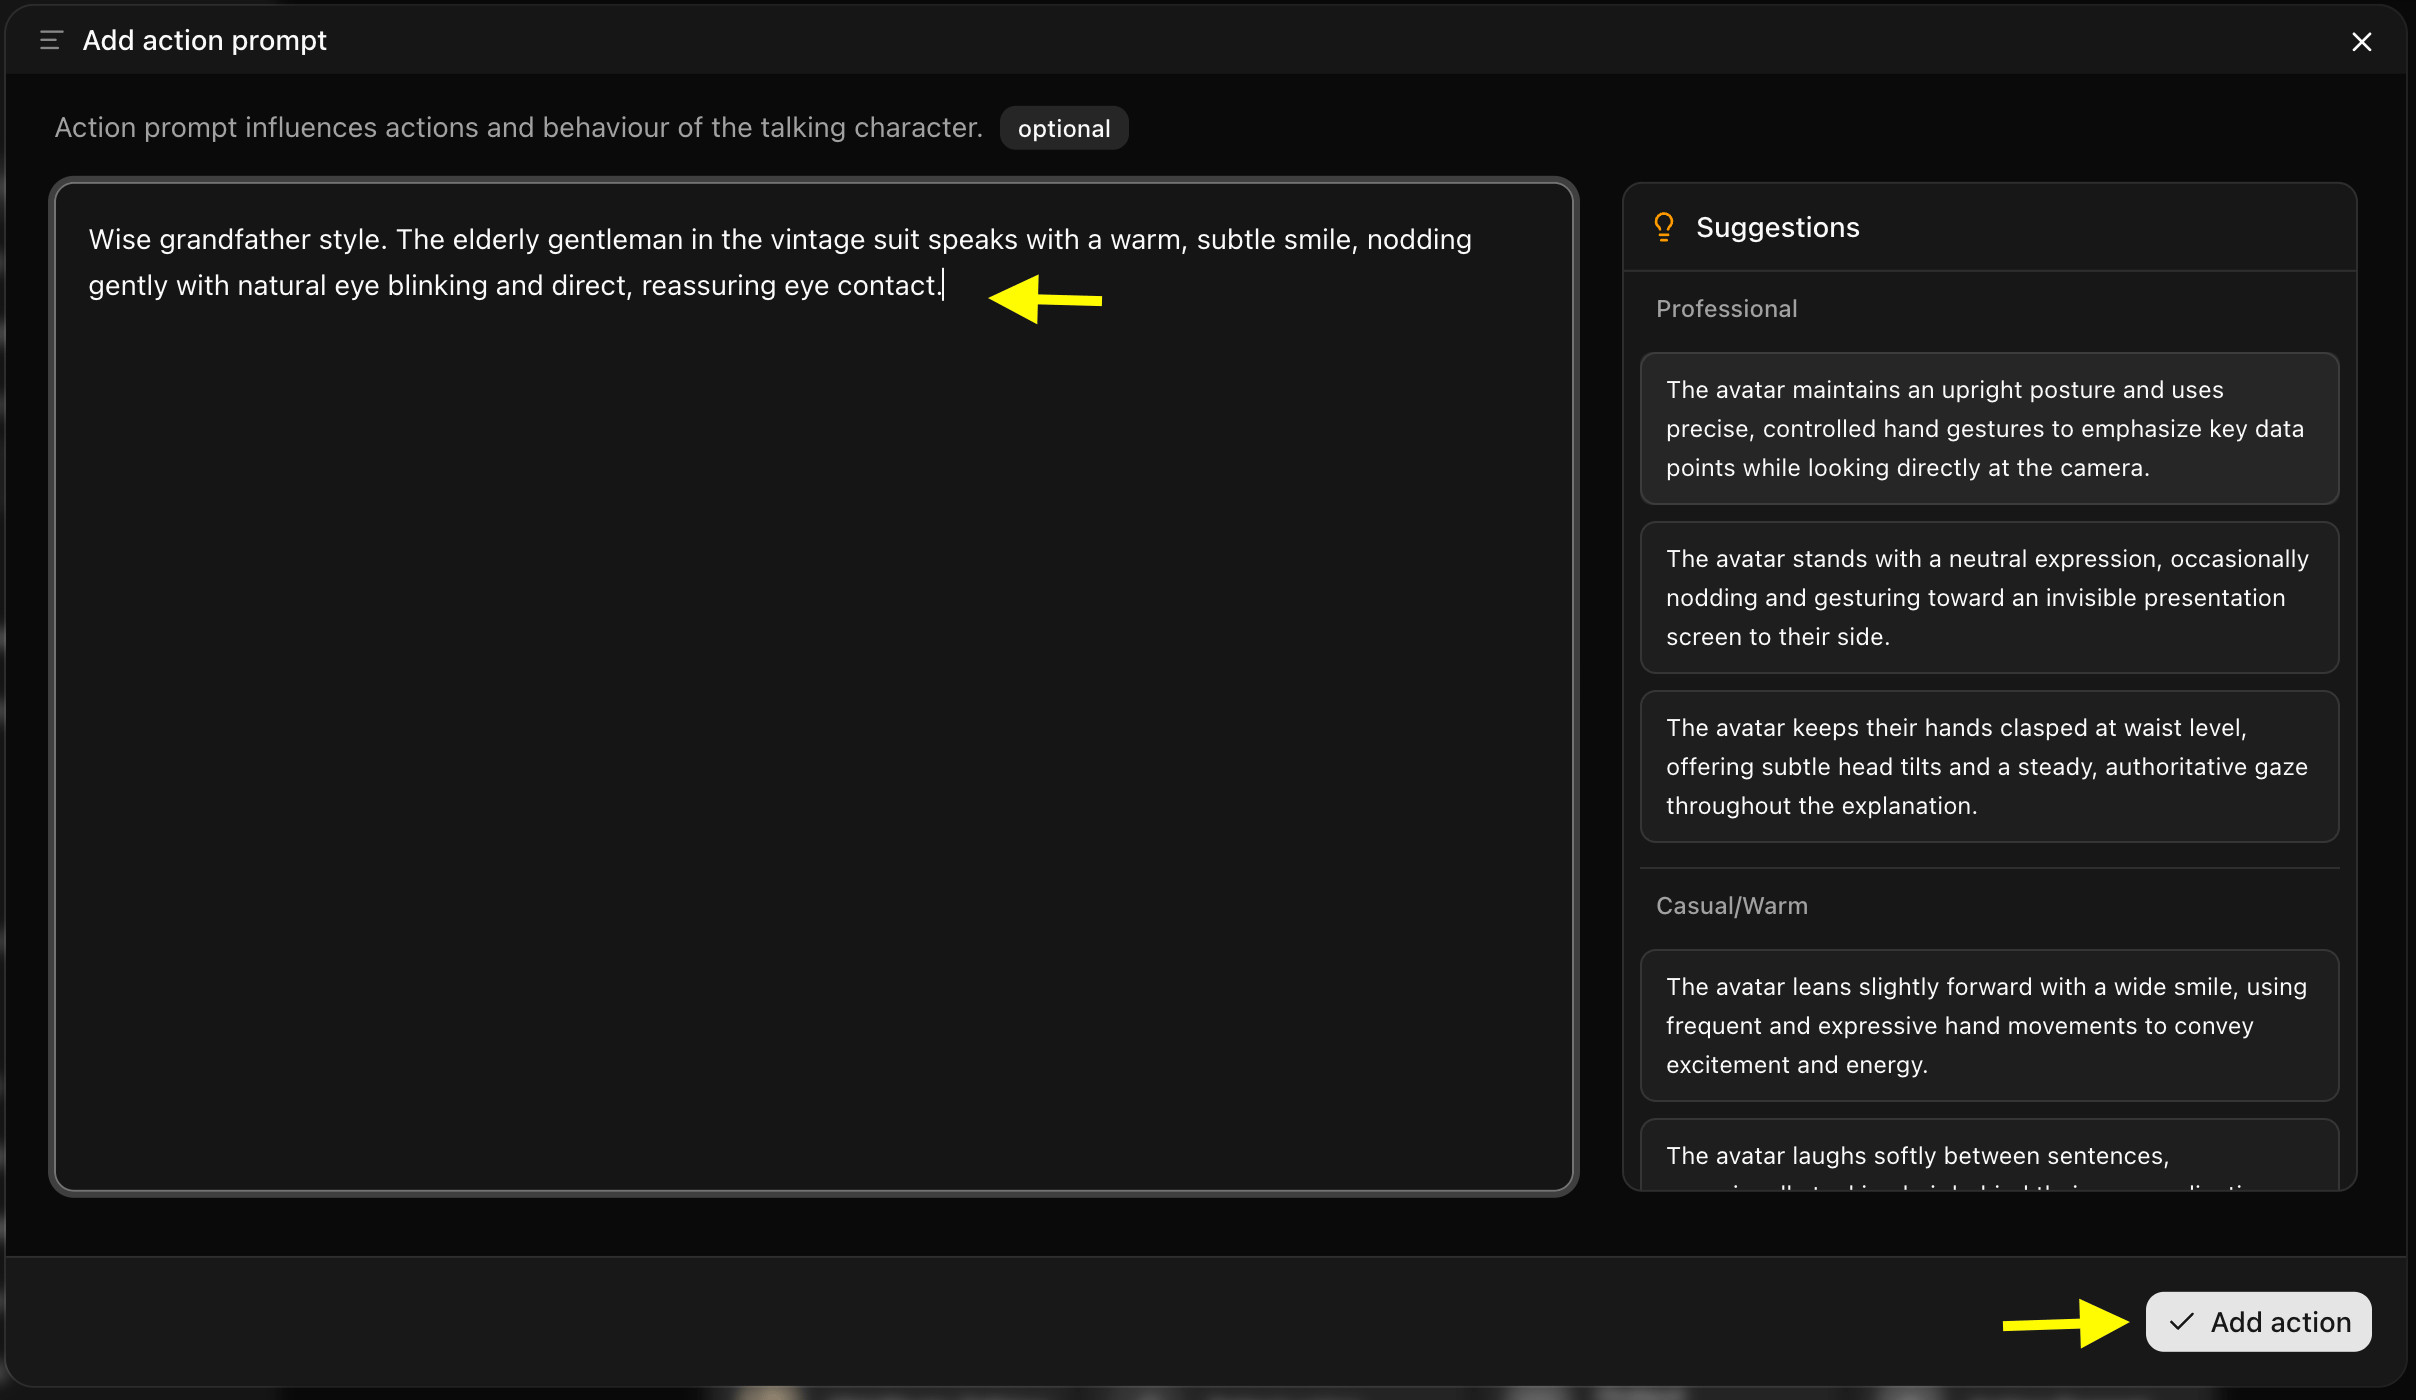
Step 15: Click on Generate for Video Generation
Verify your text script and configurations, and click Generate to start processing.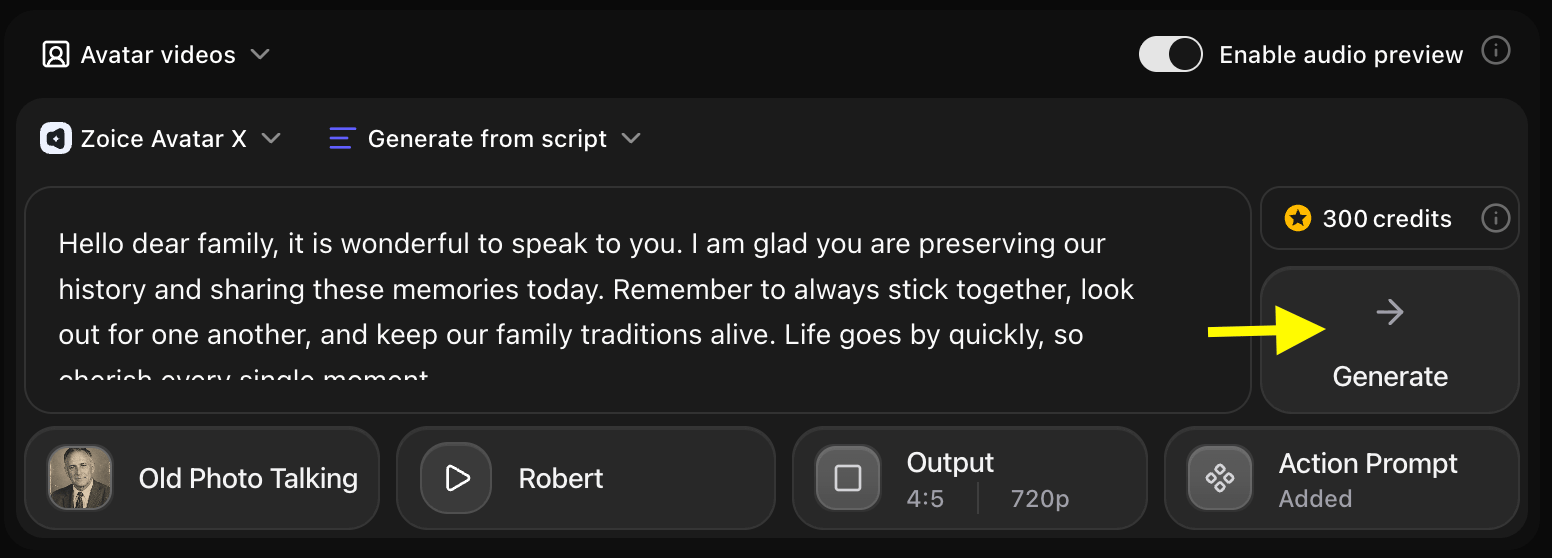
Step 16: Confirm the Audio Preview
Listen to the audio preview to check the pacing. If everything sounds correct, click Generate Avatar Video to compile the video clip.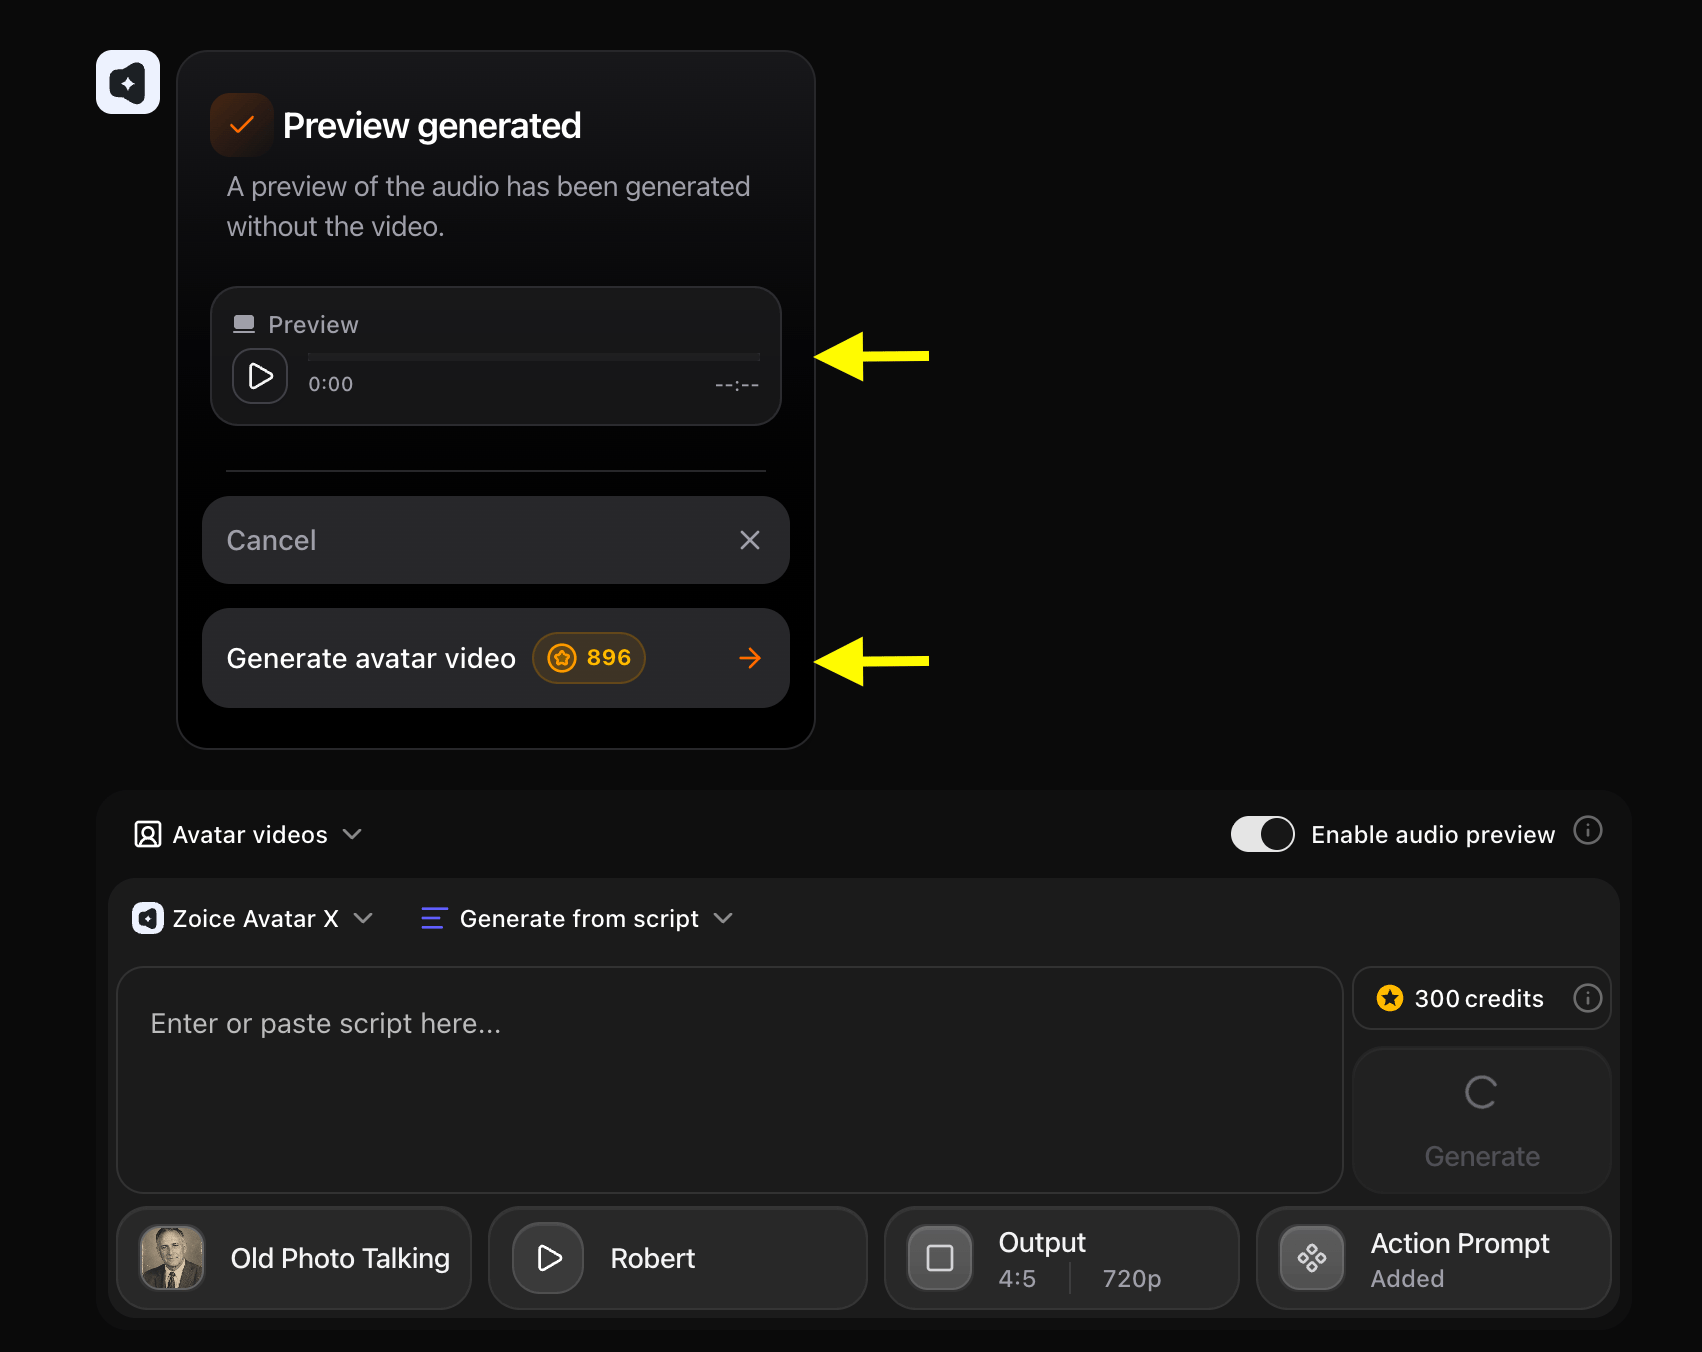
Step 17: Download the Video
Once processing is complete, check the animations. Click the Download button to save the MP4 video to your device.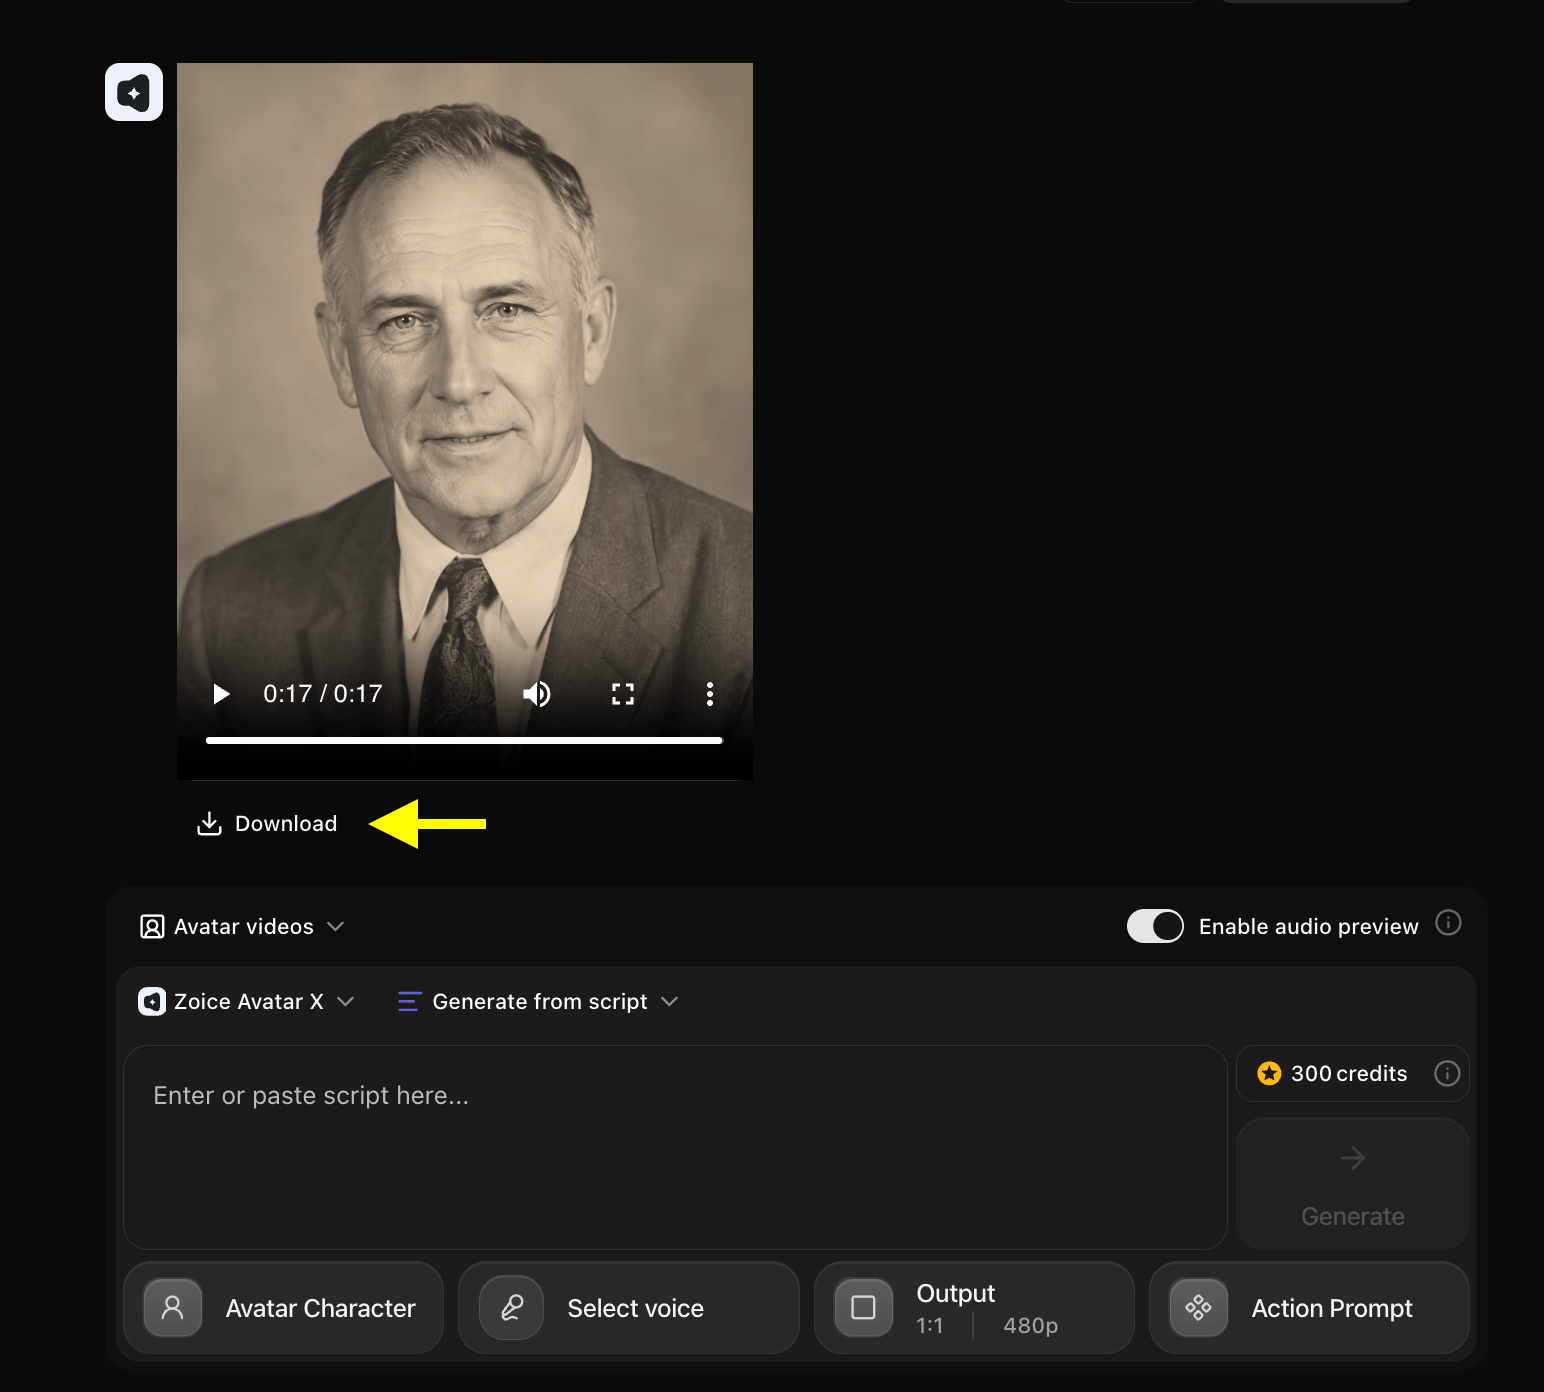
Example Inputs & Result
Here is an example setup to create talking photo of deceased relatives:Used Photo
Used Script
Used Action Prompt
Output Result Video
Below is the rendered video:Tips for Creating Comforting Memorial Videos
To get the best outcome when you create talking photo of deceased relatives:- Use High-Contrast Images: Select pictures with good facial lighting and high contrast to ensure precise landmark tracking.
- Add Personal Voice Recordings: If you have a clear audio recording of your relative’s voice, you can upload it to clone their original voice.
- Keep Movements Subtle: Focus on soft, peaceful facial expressions to ensure a natural performance.
Deceased Person talking Photos Can Be Used For?
These memorial animations are helpful for:- Celebrations of Life: Play talking videos at memorial services or family gatherings.
- Genealogy Archives: Save digital family tree records with speaking bios.
- Personal Comfort: Create a comforting reminder of late parents or grandparents.
Where Memorial Videos Are Shared?
- Family tree ancestry databases.
- Slideshows at family reunion ceremonies.
- Private chat messages (WhatsApp, iMessage) between family members.