

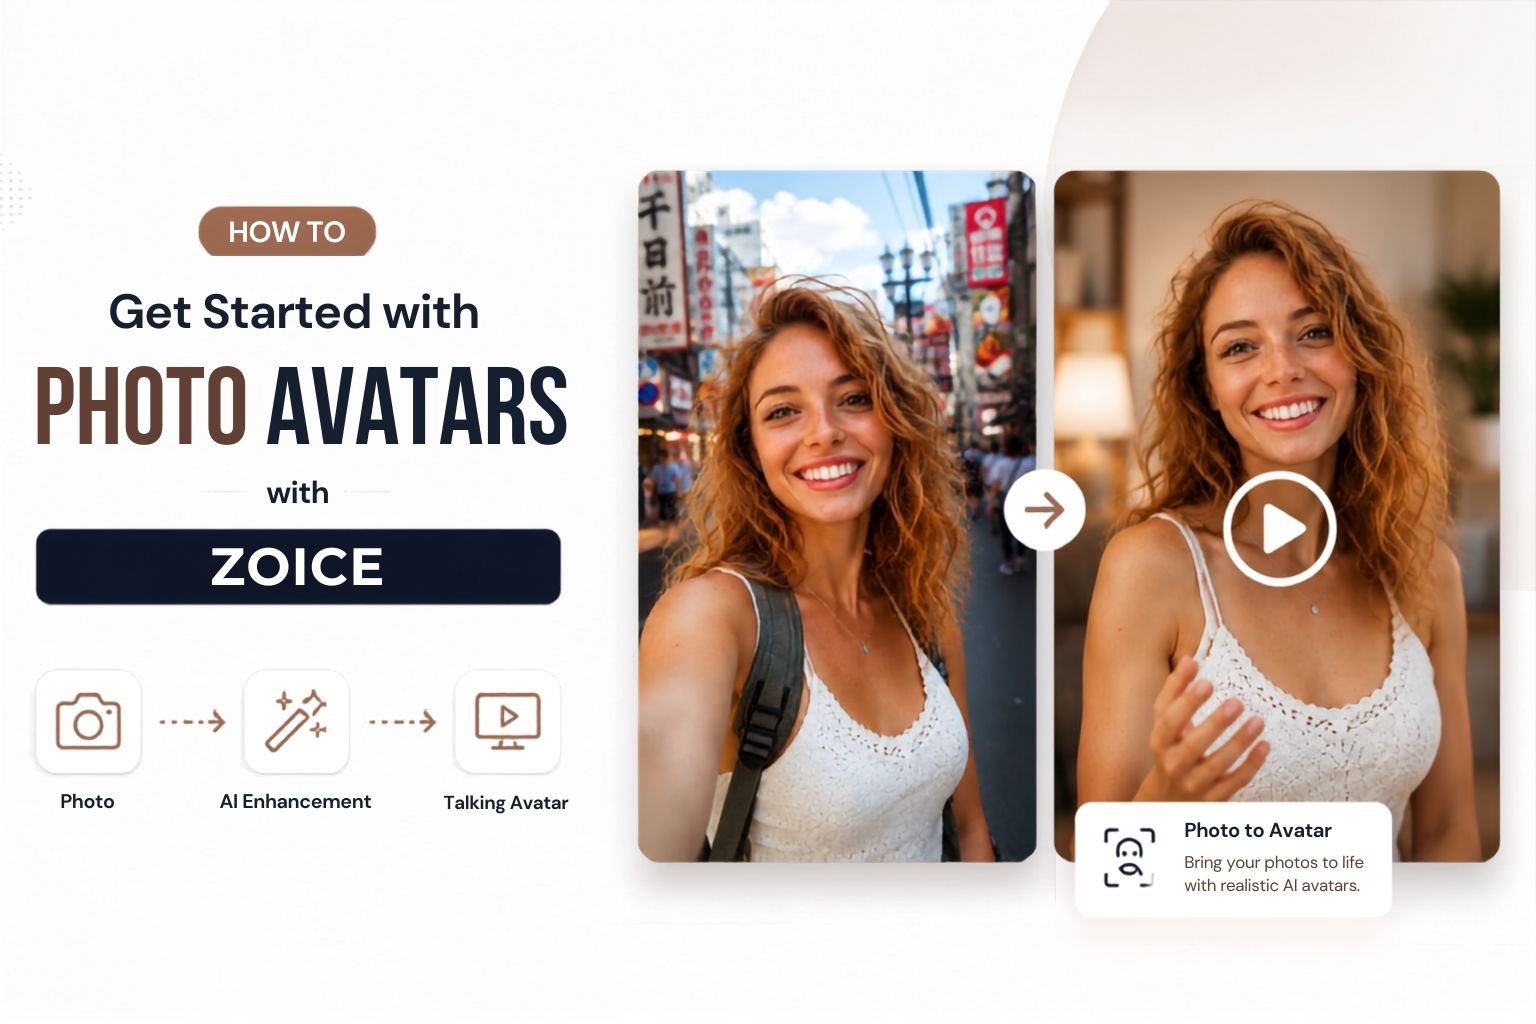
What is a Photo Avatar?
A Photo Avatar is an AI-animated talking presenter created from a single still image. Zoice analyzes the face in your photo and generates realistic motion, lip-syncing, and expressions to match any script you provide. The key difference between a Photo Avatar and a Digital Twin is purpose and personalization. A Digital Twin is built from your own photo and cloned voice — it is a personal AI version of you. A Photo Avatar is more flexible — it can animate any photo into a talking presenter, making it a great tool for brand characters, fictional spokespeople, content creators, and businesses that need different presenter styles without using their own likeness. Photo Avatars are great for:- Brand characters and virtual spokespersons
- Marketing and product explainer videos
- E-learning courses and training content
- News and announcement videos
- Social media content across platforms
- Multilingual campaigns in 100+ languages
How to Create and Use a Photo Avatar in Few Simple Steps
Here is the complete walkthrough from sign-in to downloading your first Photo Avatar video.Step 1: Visit Zoice.com and Sign In
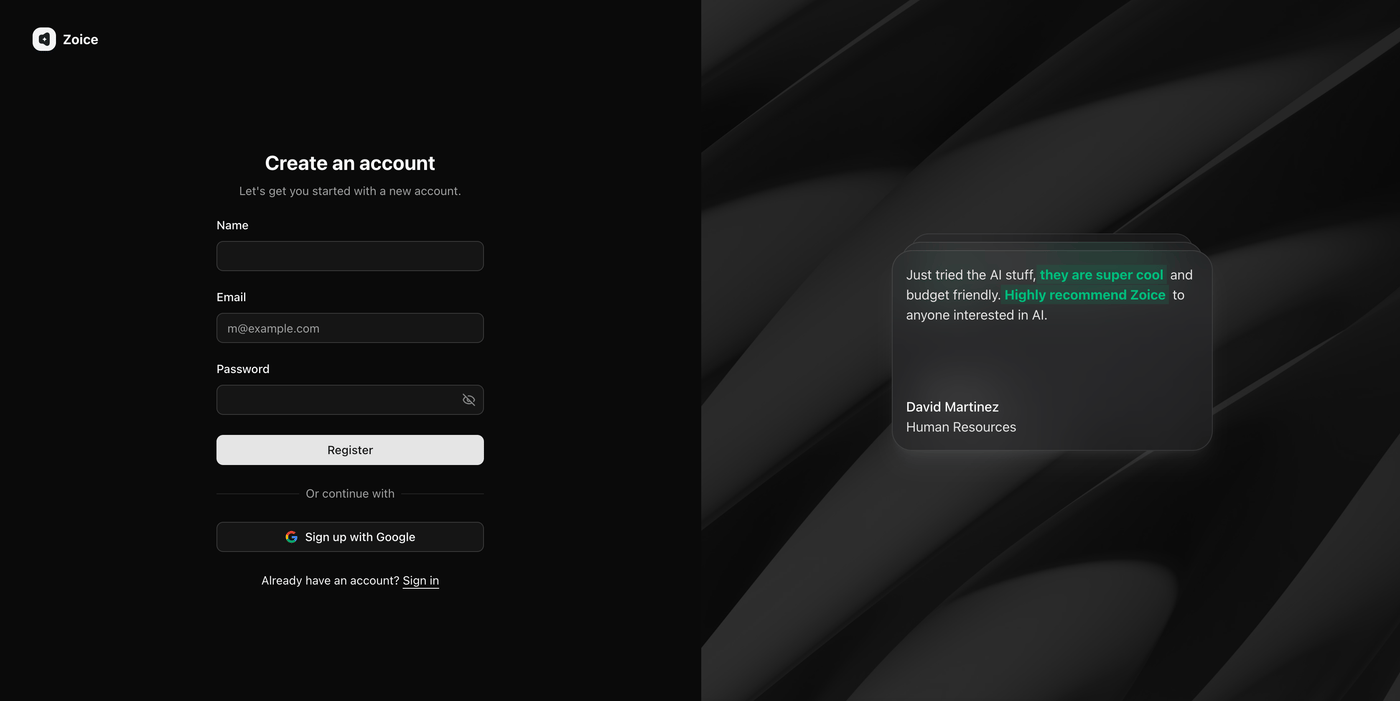
Open Zoice.com in your browser and click the Sign In button at the top-right corner of the homepage. Enter your email and password, or choose Sign in with Google to access your account in one click.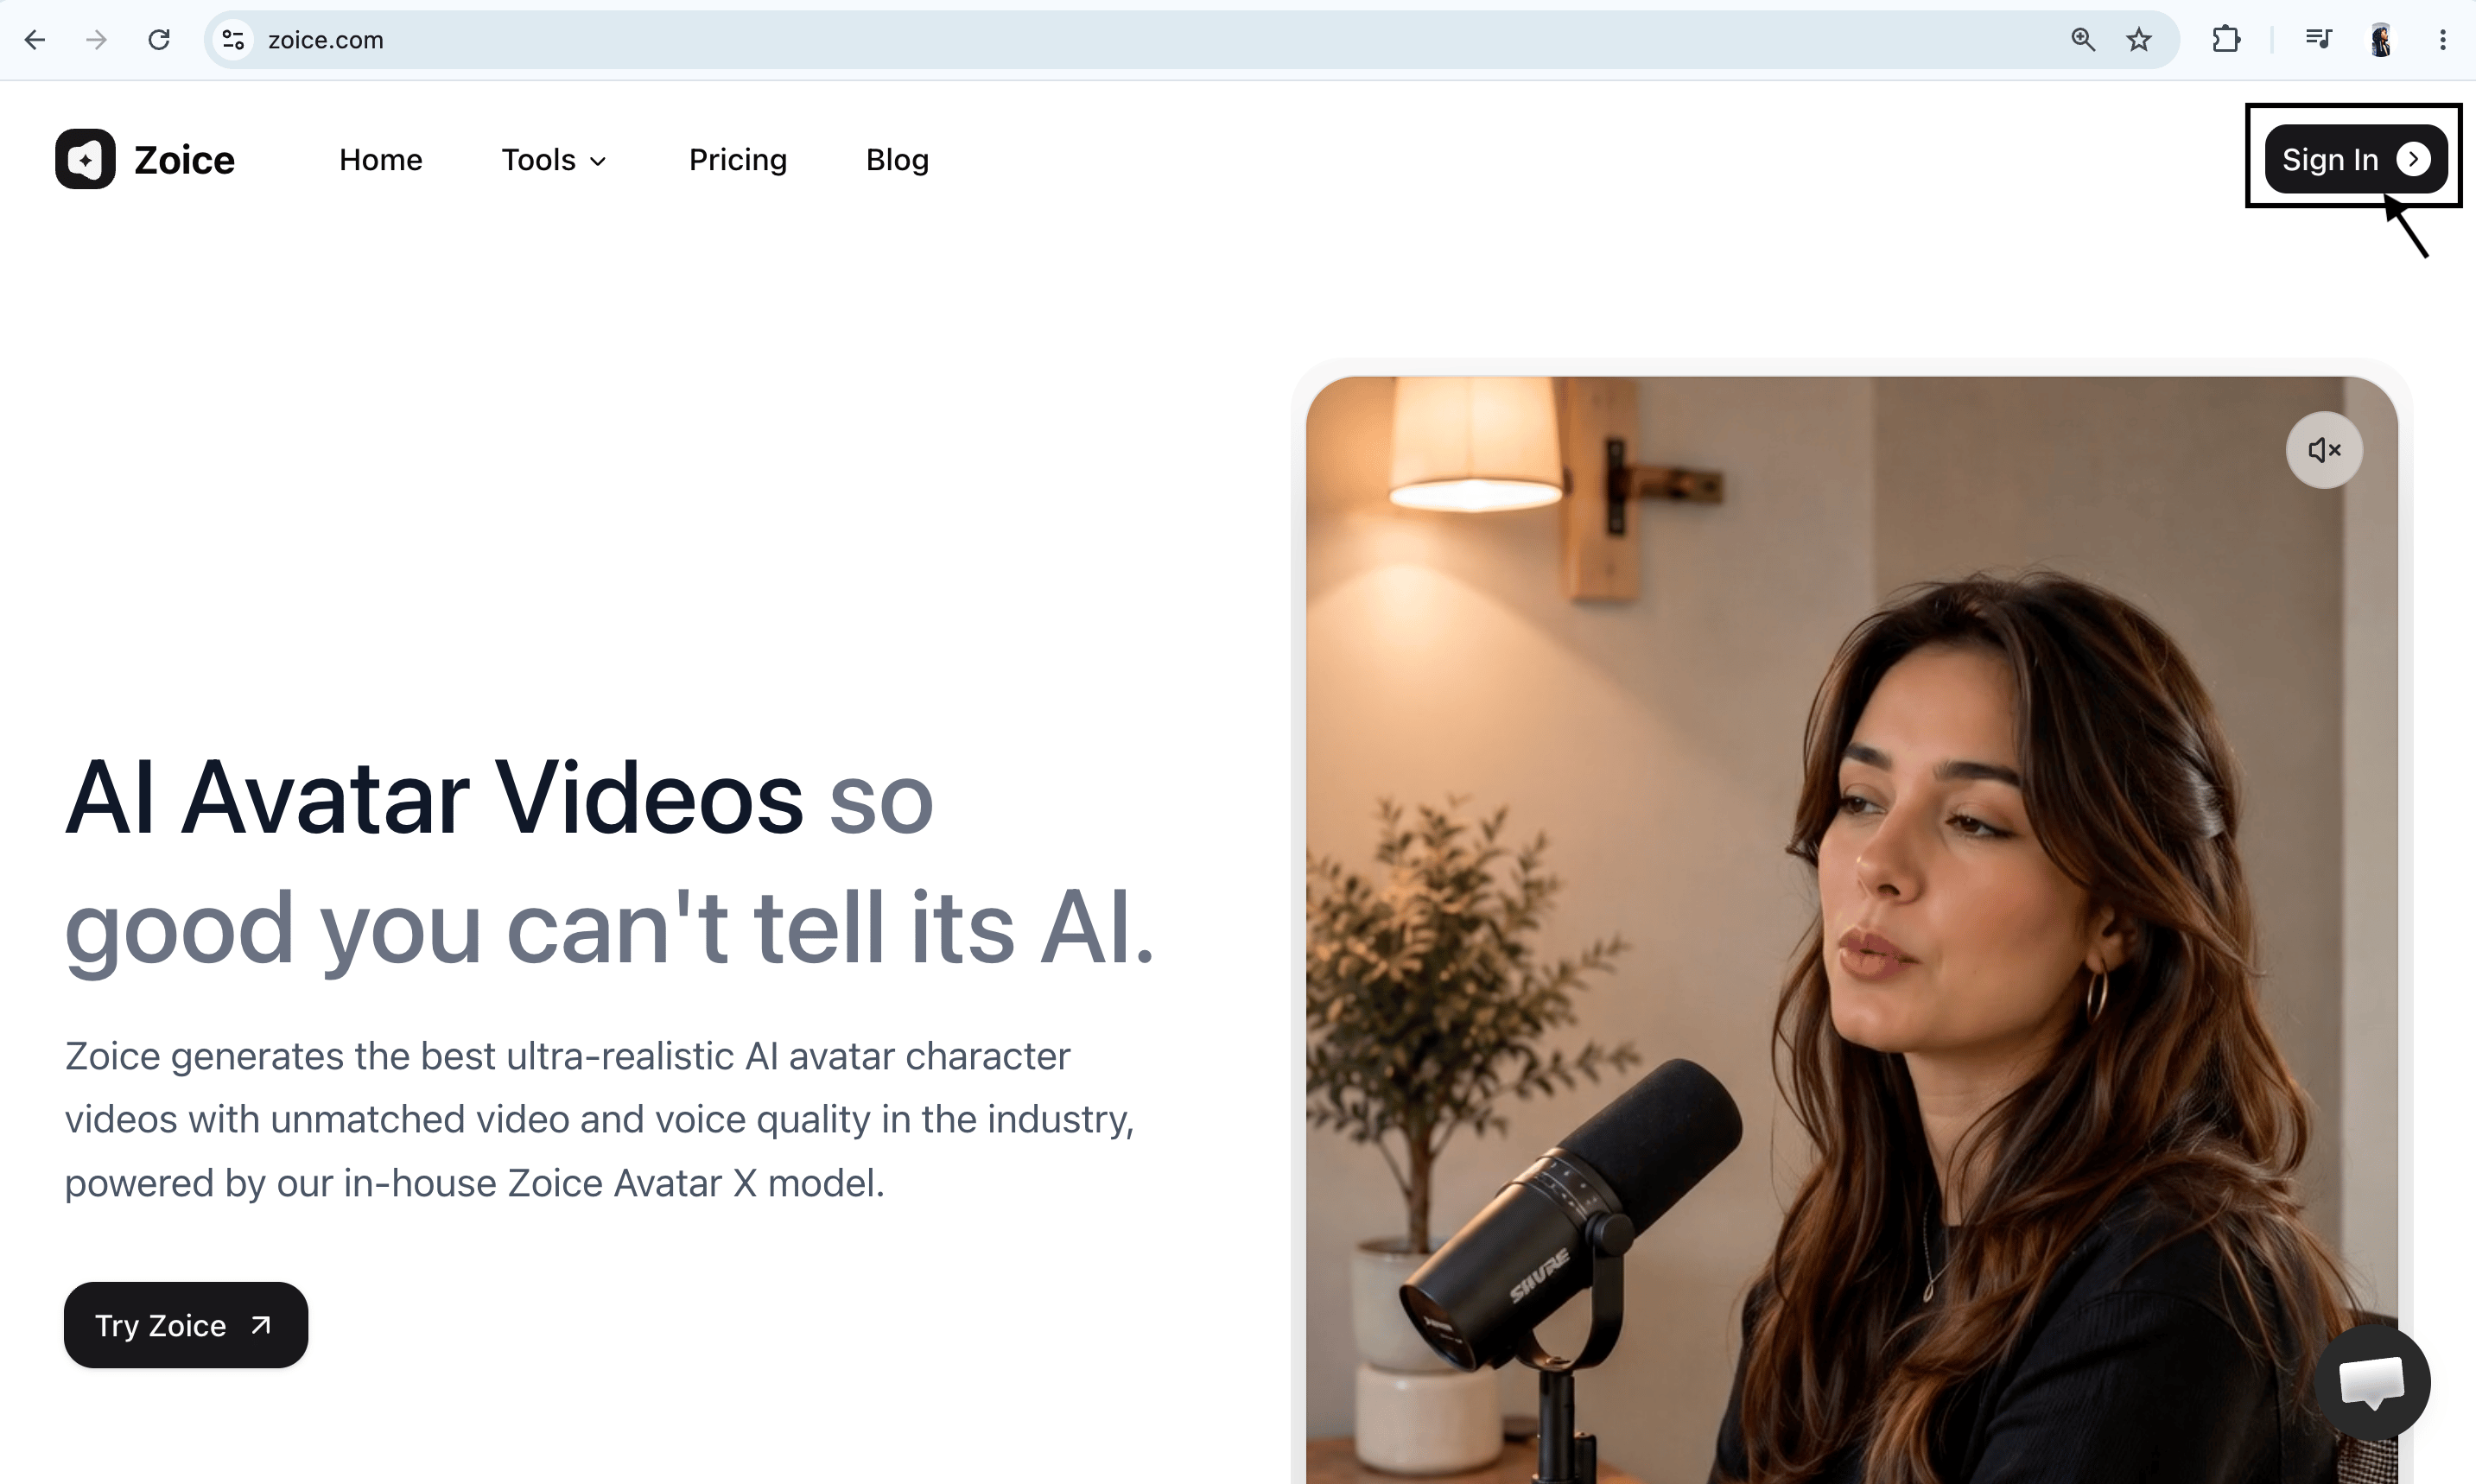
Step 2: Open Avatar Characters
Once you are logged in, click Avatar Characters in the left sidebar of your Zoice dashboard.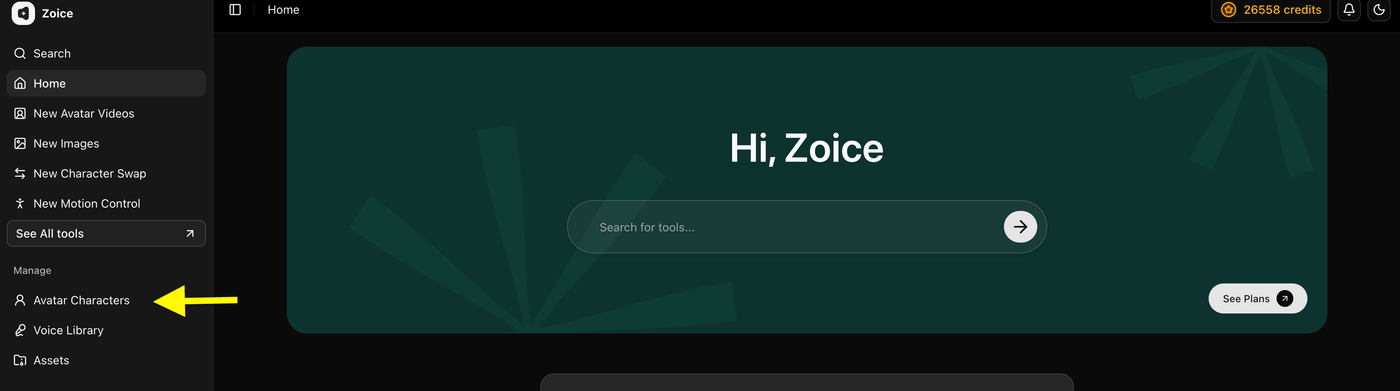
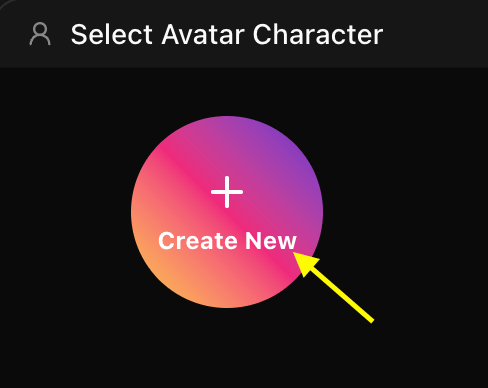
Step 3: Add Your Photo
On the avatar creation page, you have two ways to provide a photo for your avatar: Option A: Upload Your Own Photo Click Upload Image and select a photo from your device. This can be a photo of yourself, a team member, a professional model, or any image of a person you want to animate.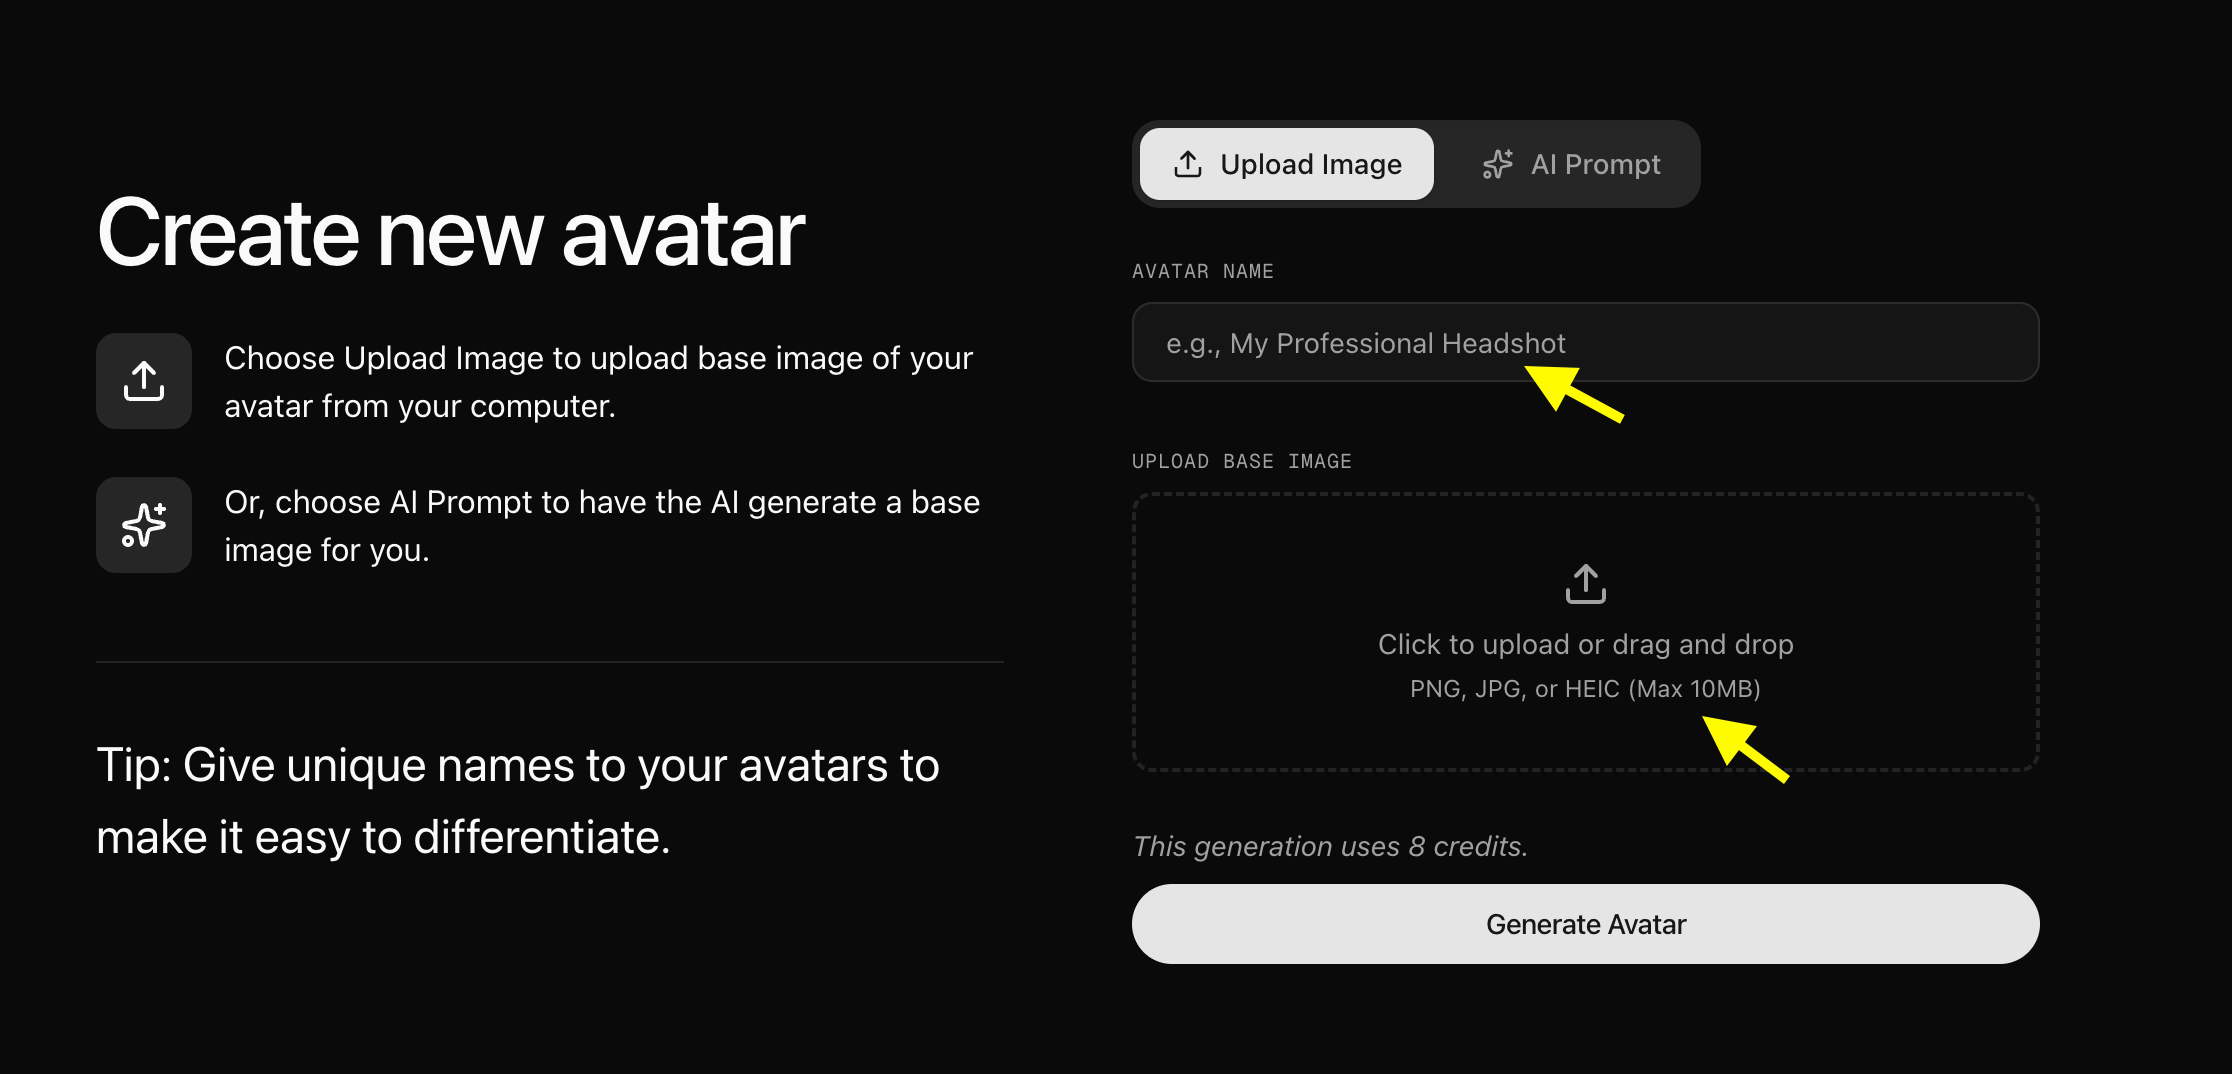
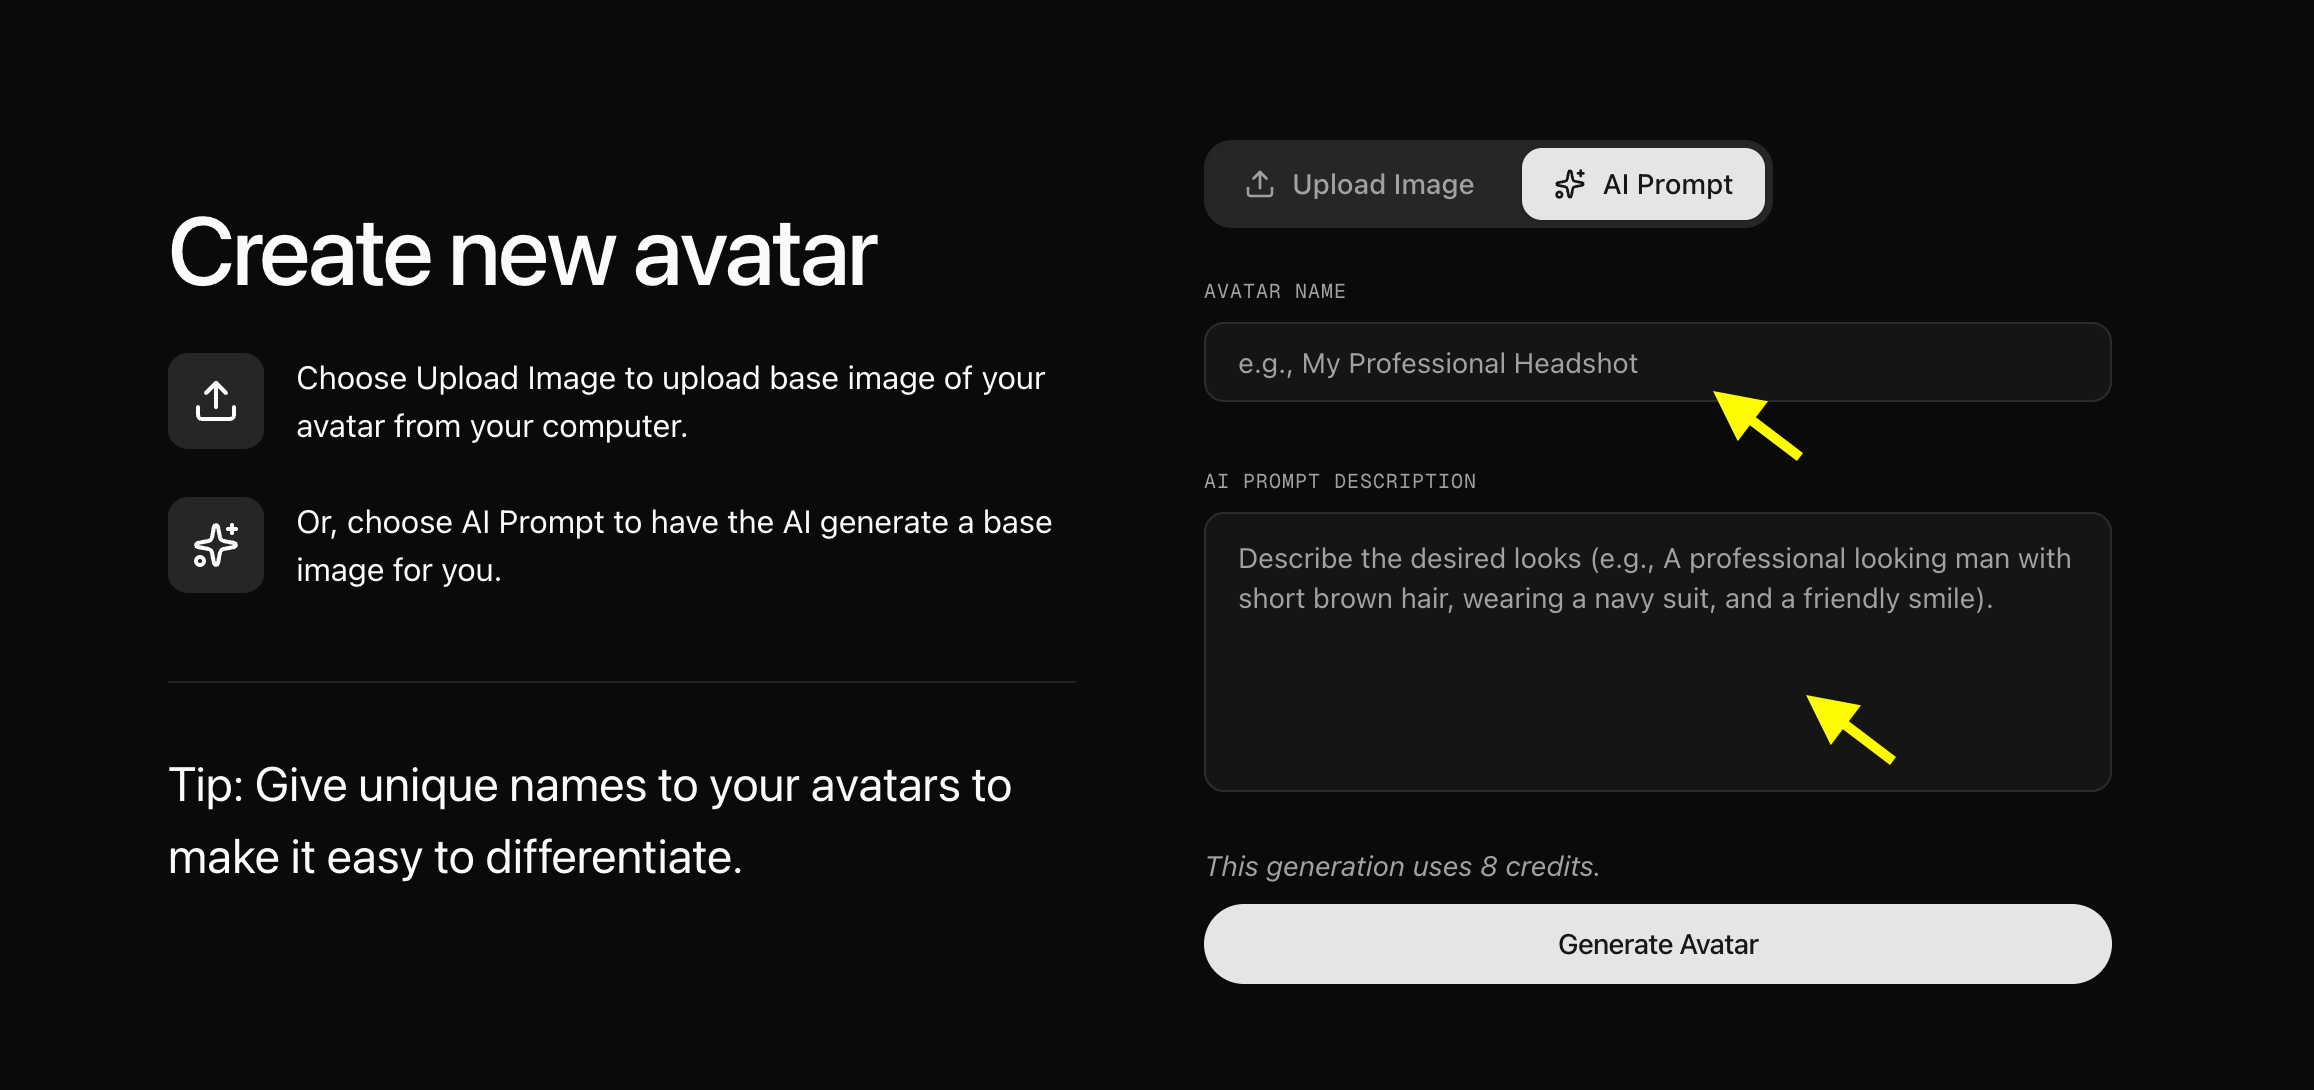
- “A cheerful female traveler in her late 20s with a sun-kissed complexion, wearing a green utility jacket, beautiful outdoor setting at a scenic mountain overlook, soft golden hour sunlight, sharp focus”
- “A professional woman in her 30s with short dark hair, wearing a navy blazer, studio portrait lighting, clean white background”
- “A friendly male news anchor in his 40s wearing a formal grey suit, broadcast studio setting, sharp focus”
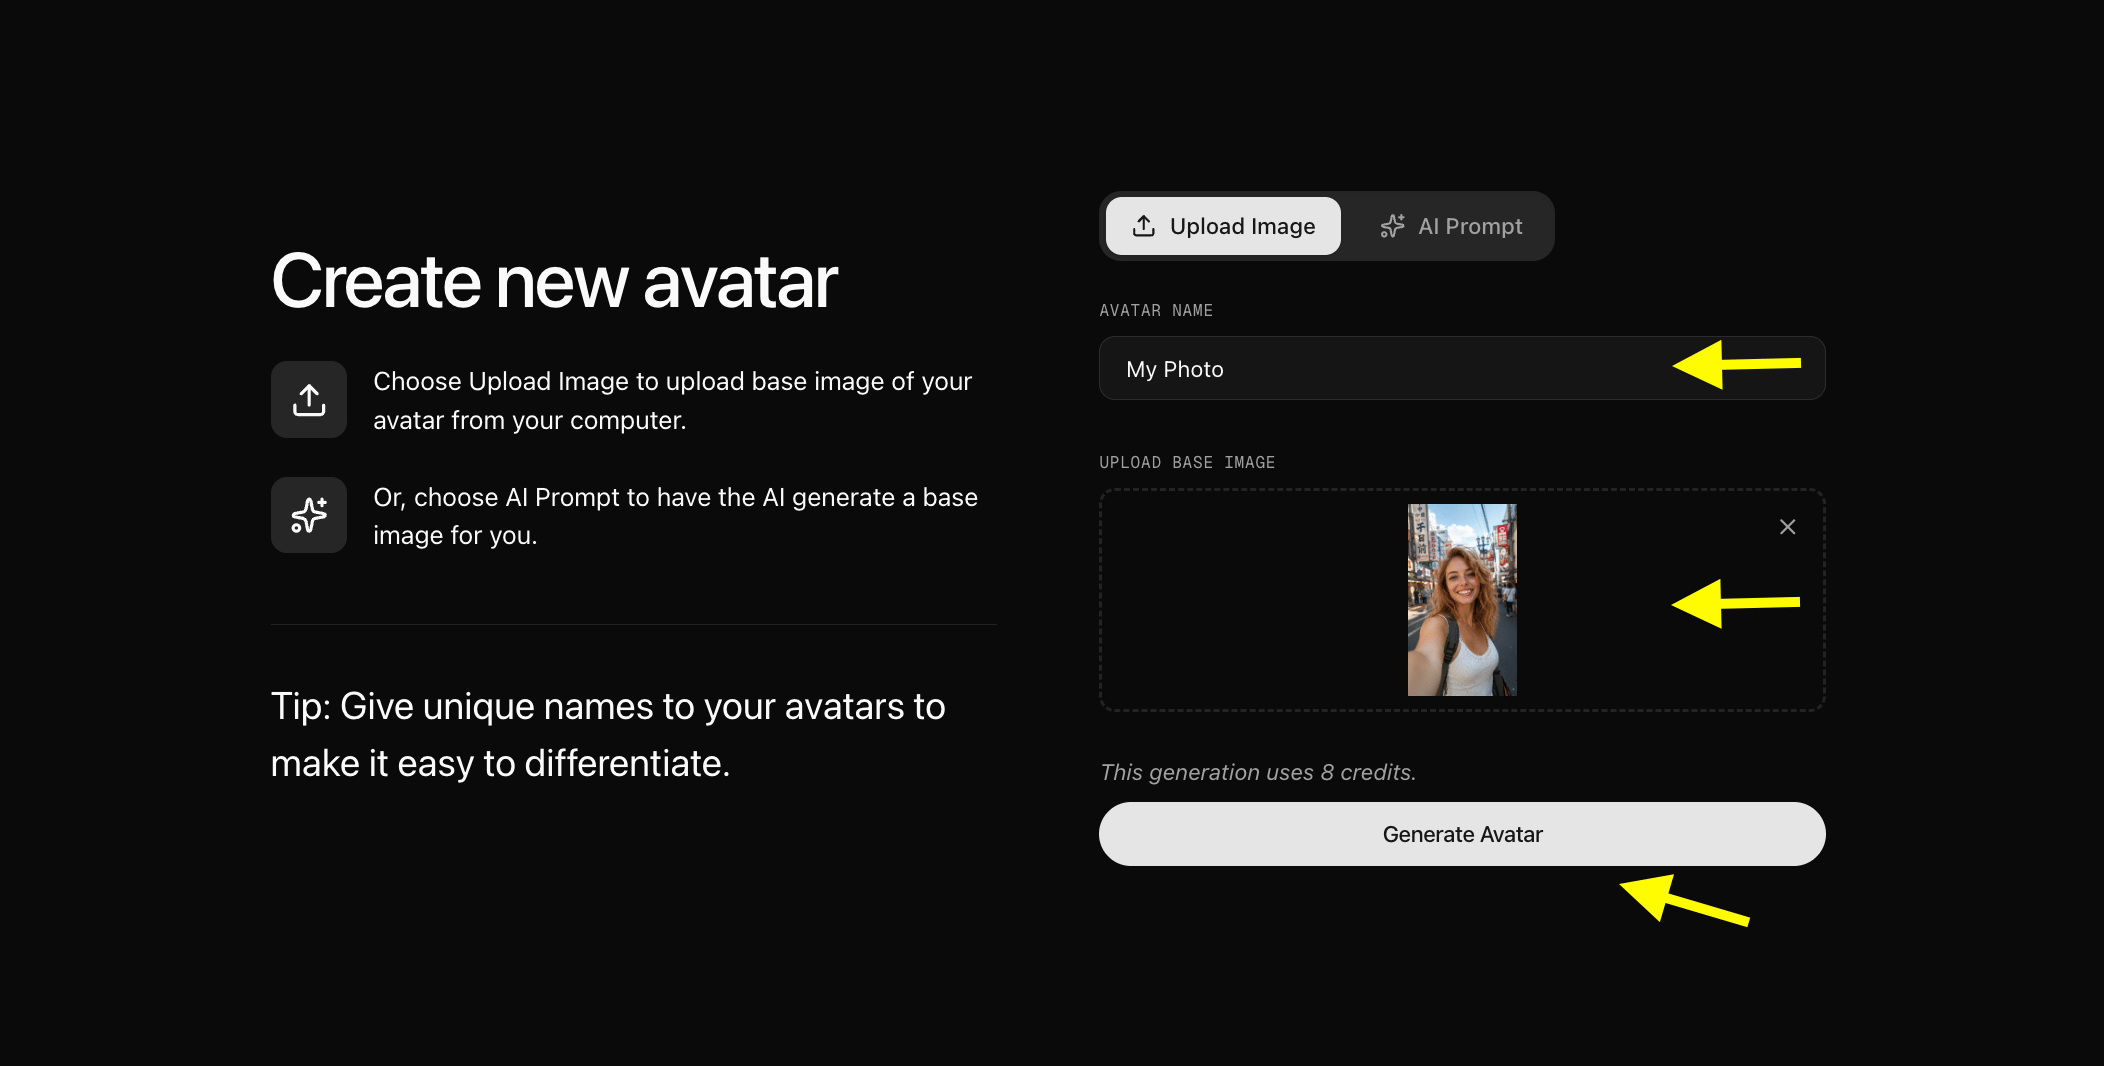
Step 4: Configure Avatar Settings
After your Photo Avatar profile is created, click Avatar Setting to fill in details that help Zoice produce more accurate and natural animations.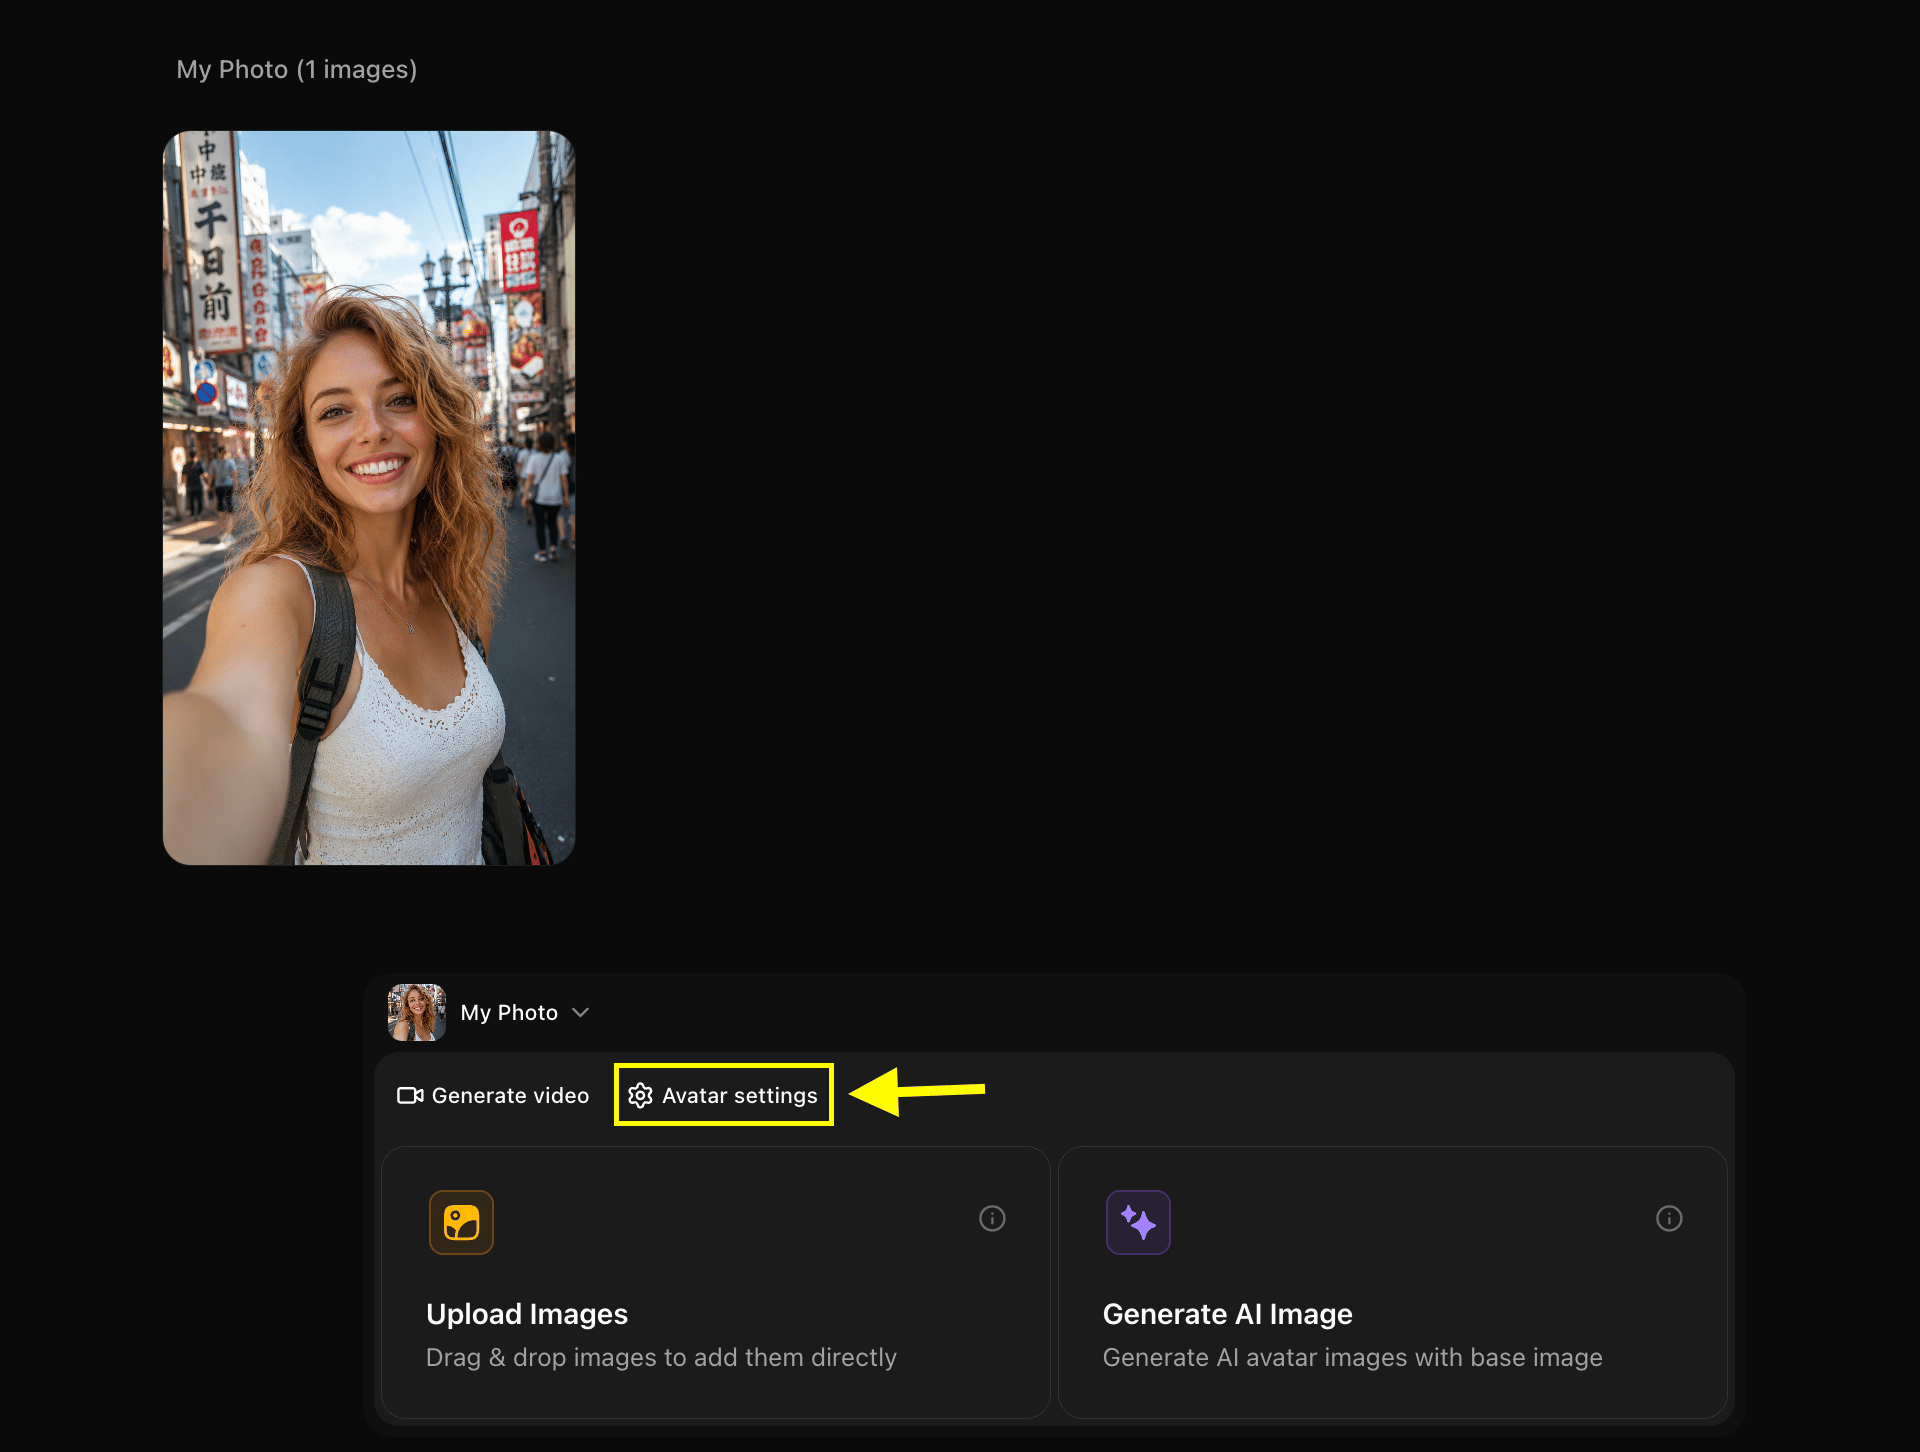
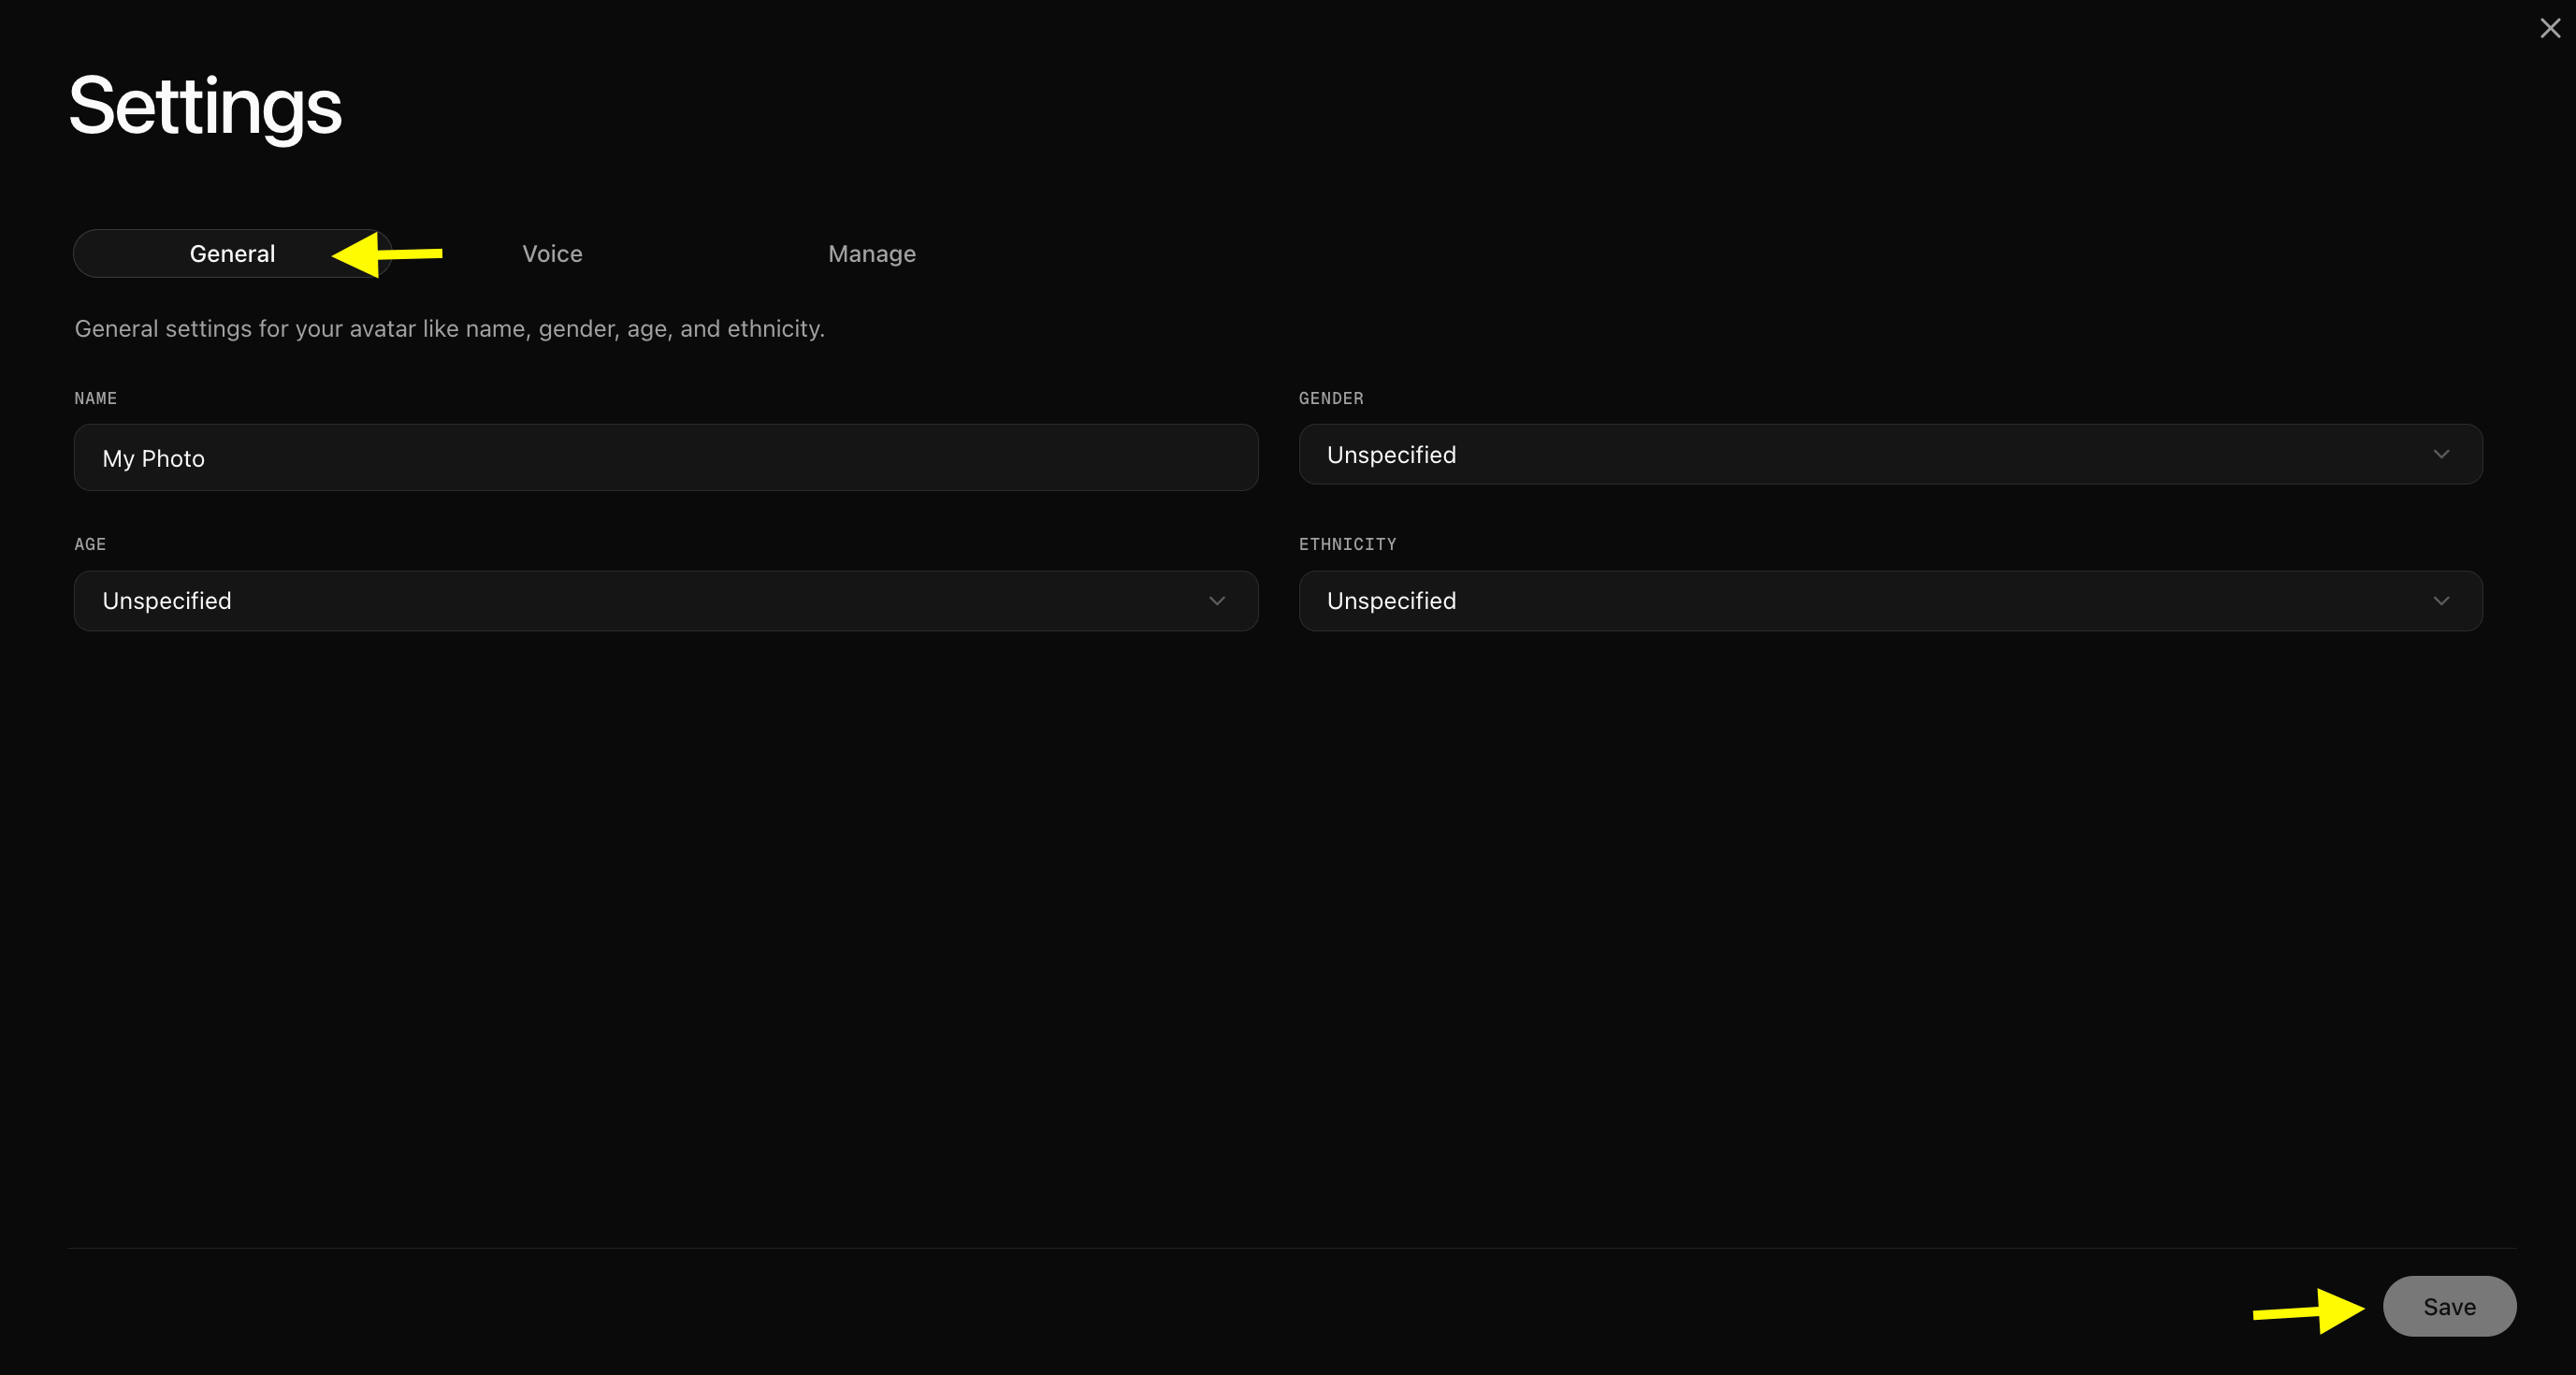
- Avatar Name: A clear, recognizable label so you can find this avatar easily
- Gender: Male or Female
- Age: Young Adult, Adult, or Senior
- Ethnicity: Helps Zoice calibrate facial expression rendering and skin tone accuracy
Step 5: Select Your Avatar and Click Generate Video
Return to the Avatar Characters library. Click your Photo Avatar to select it, then click Generate Video to open the video creation workspace.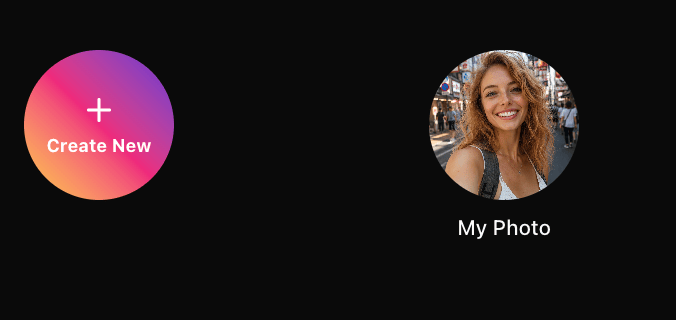
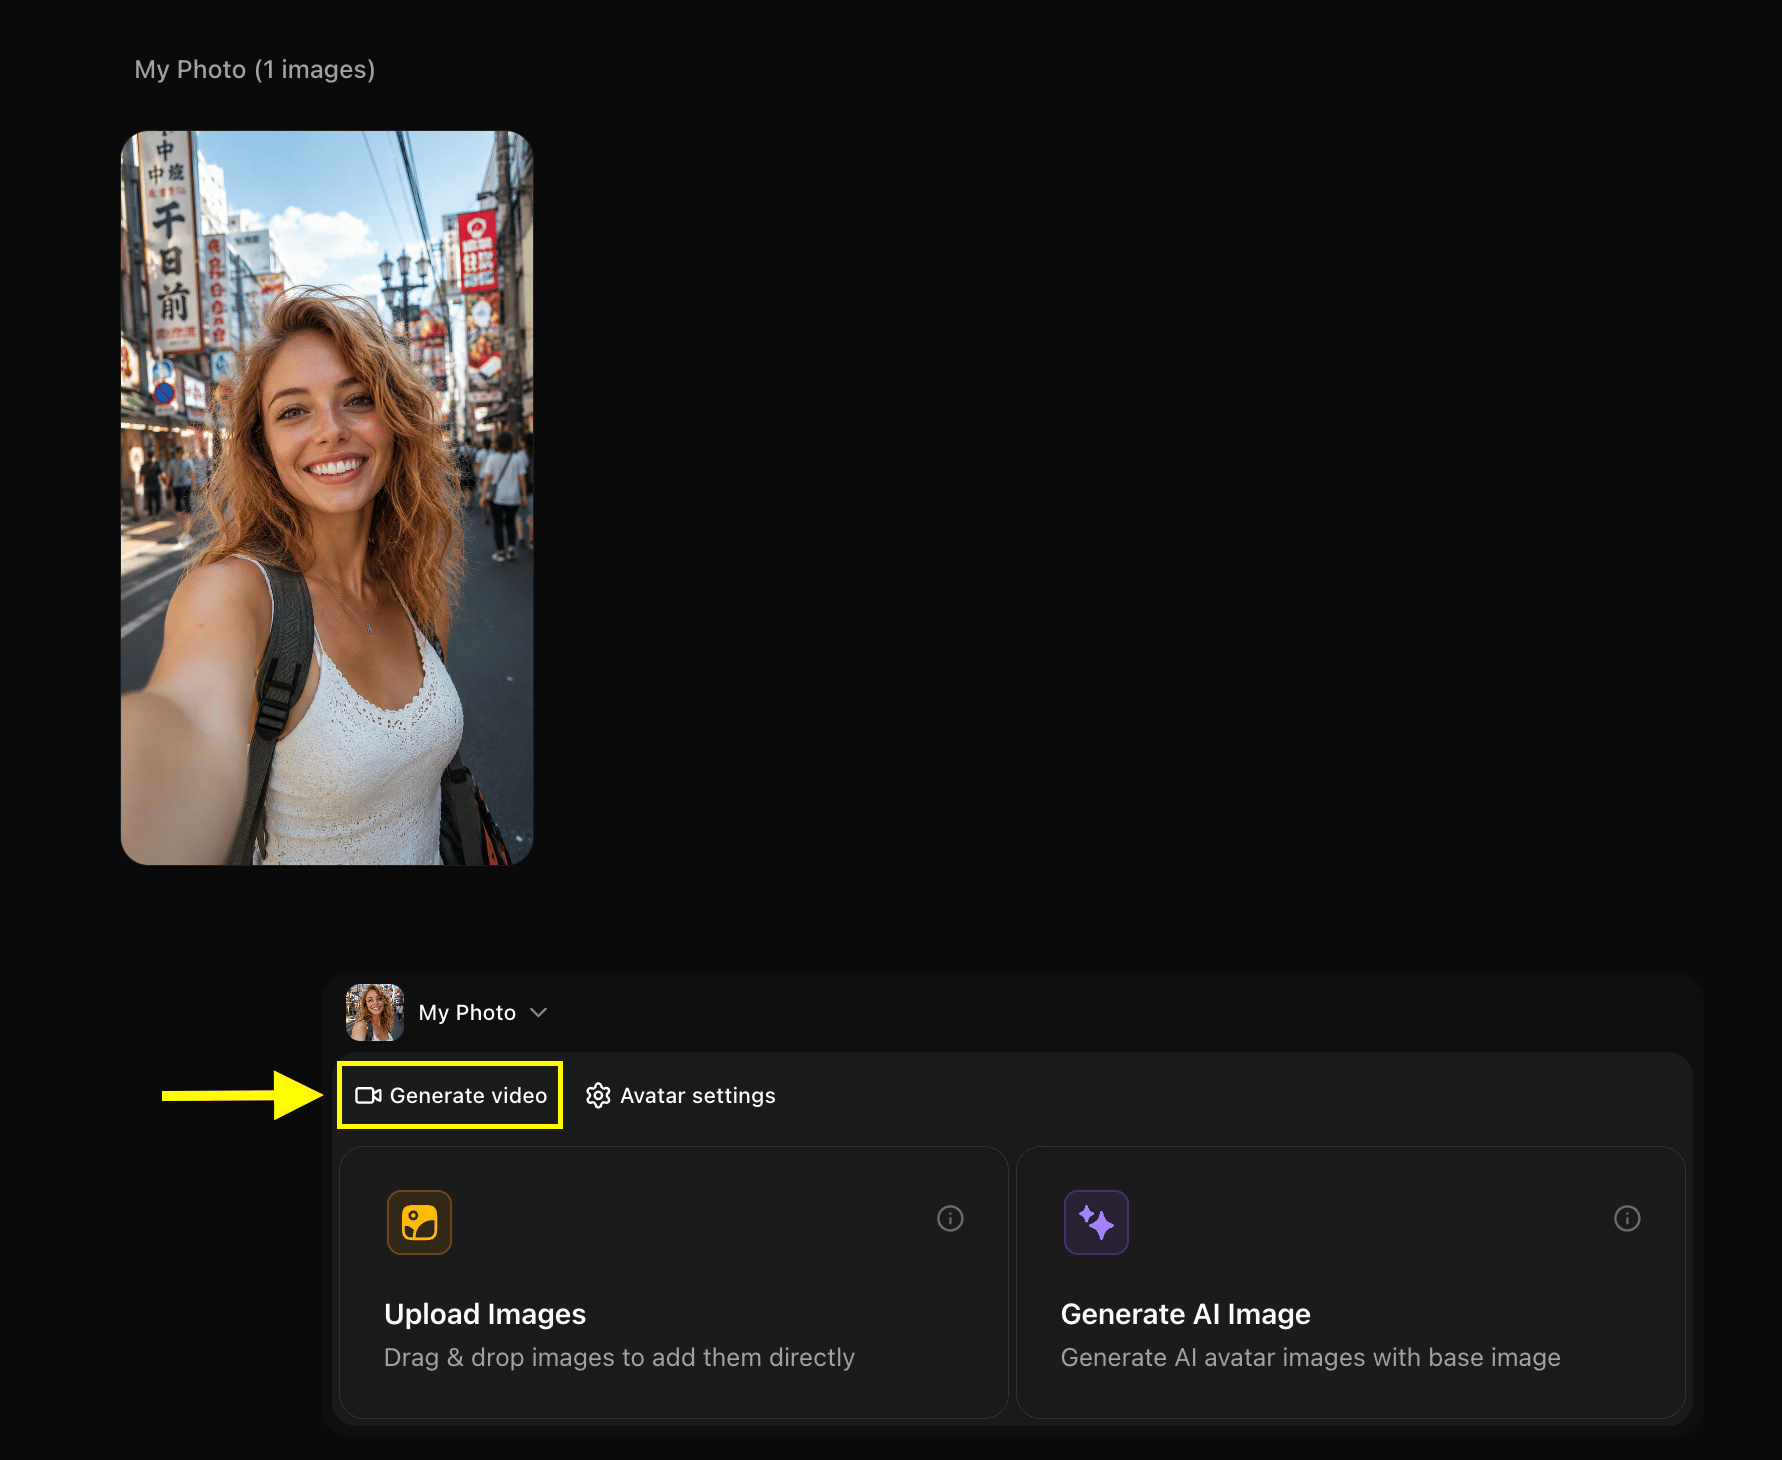
Step 6: Add Your Script
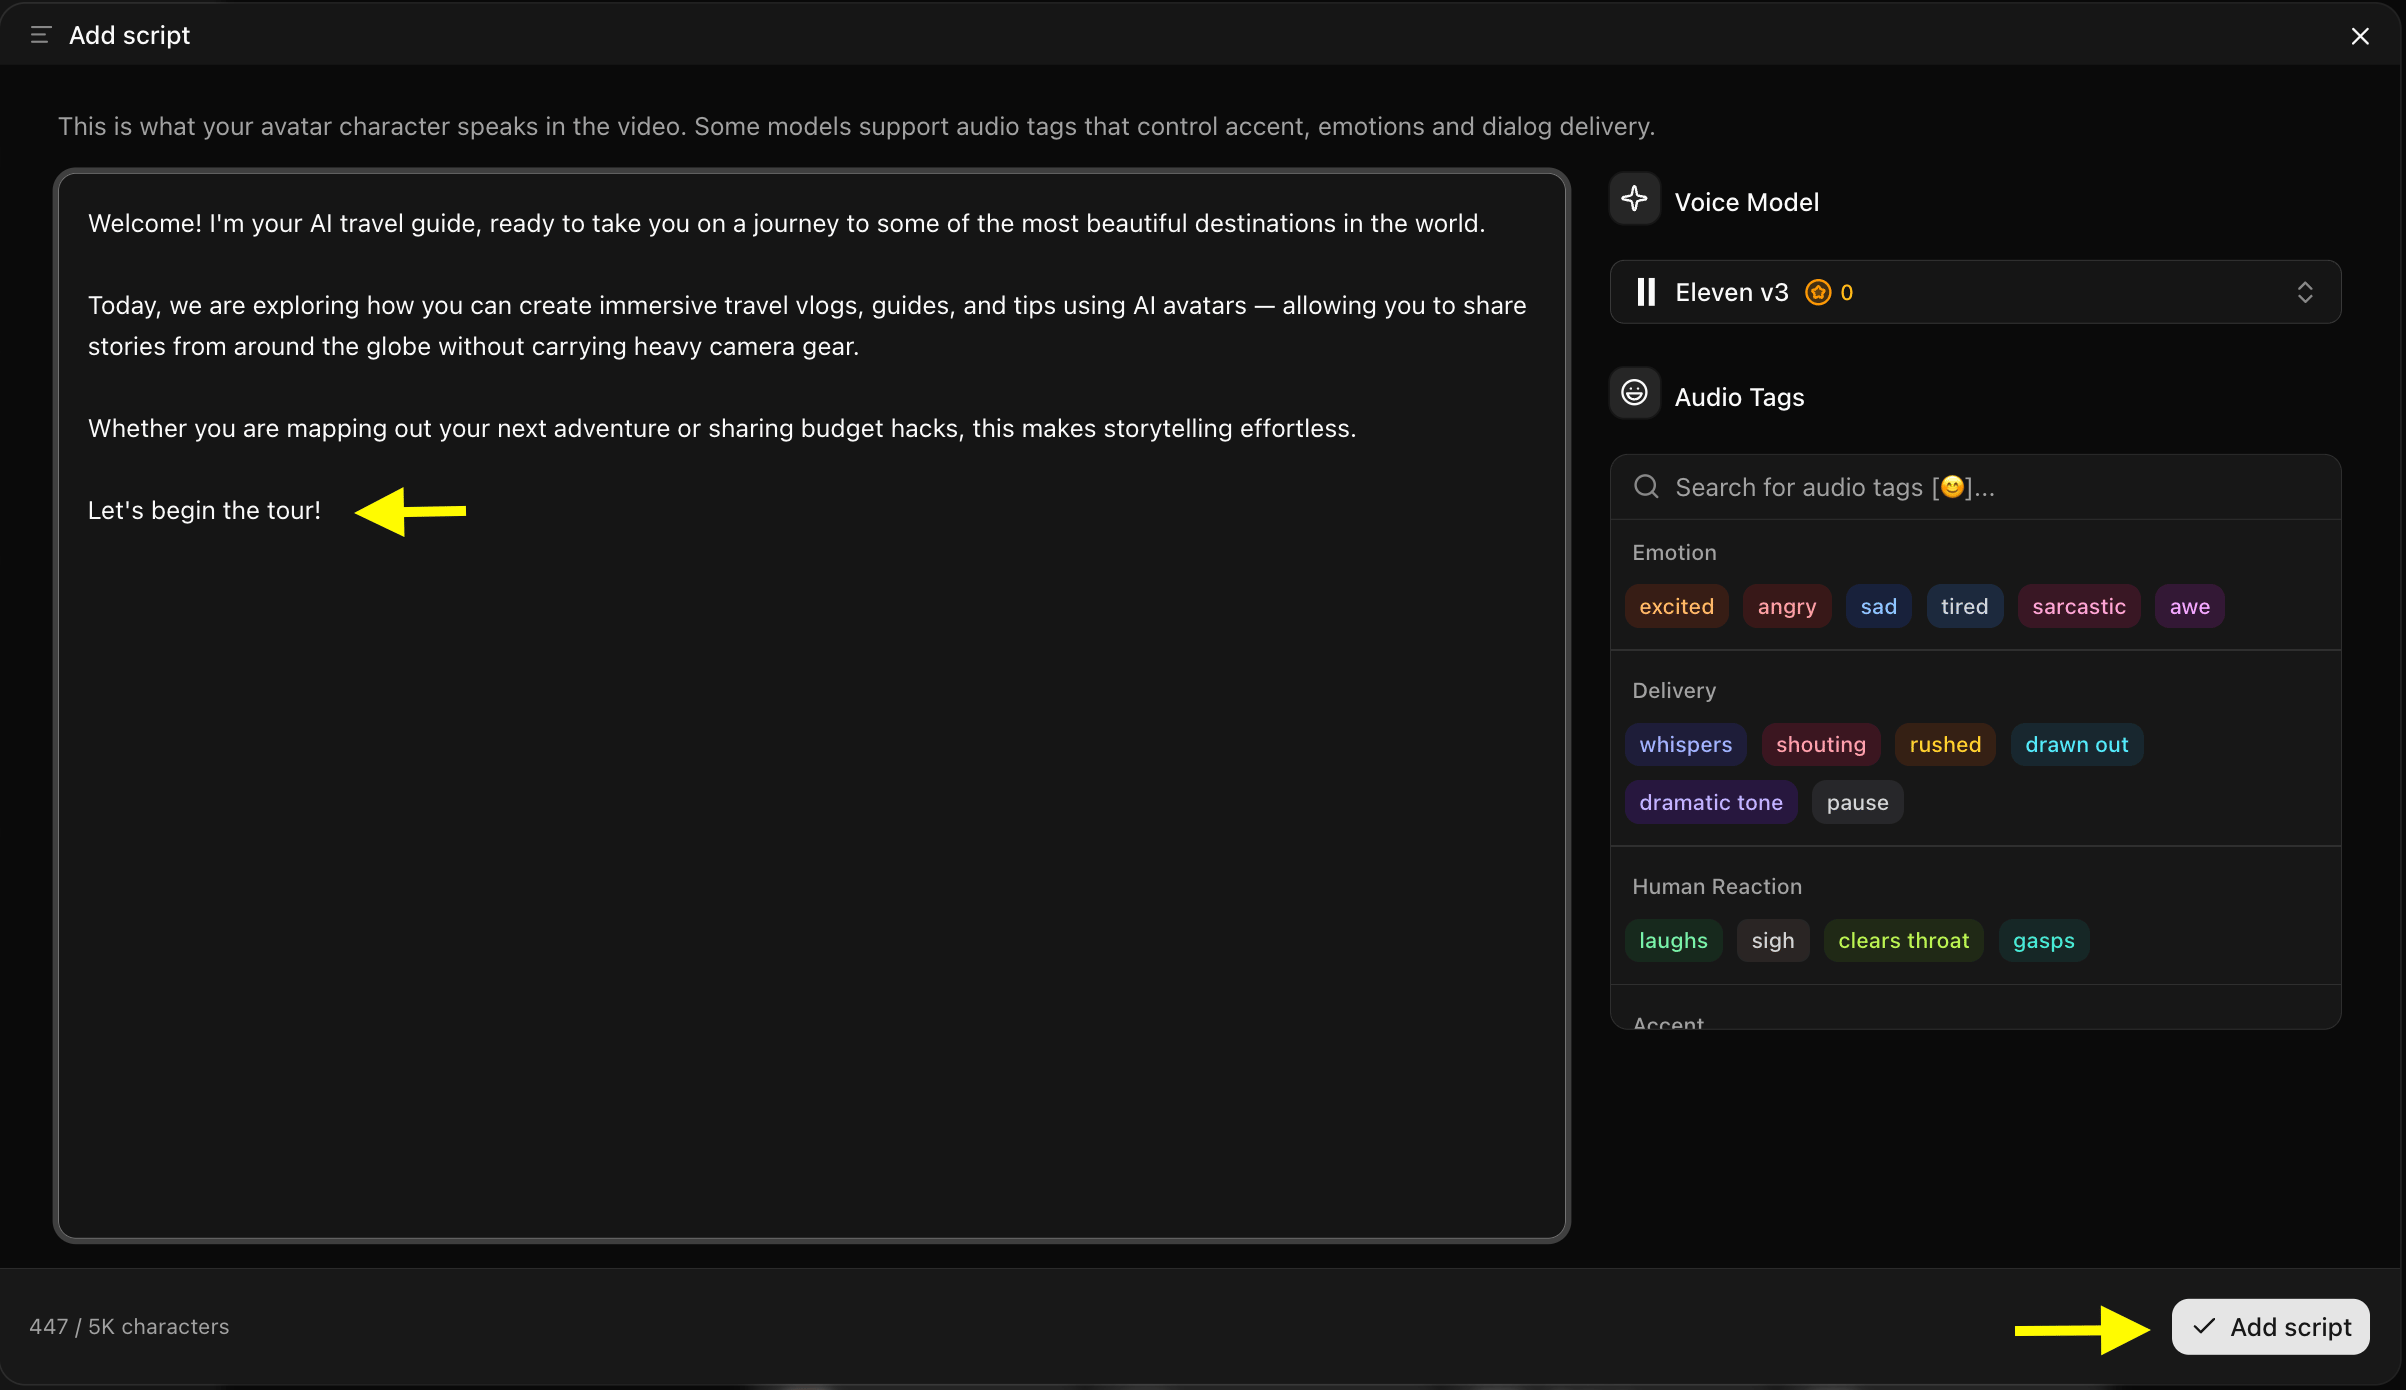
Inside the video creation workspace, click the Script Box. A popup will appear where you type or paste the text you want your Photo Avatar to speak.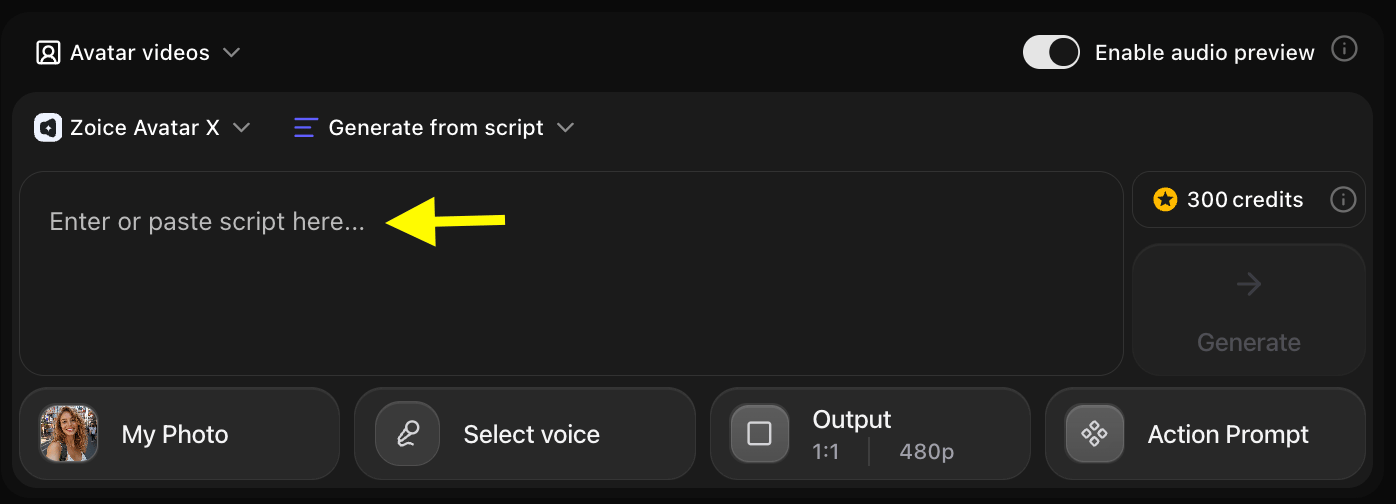
Step 7: Select a Voice
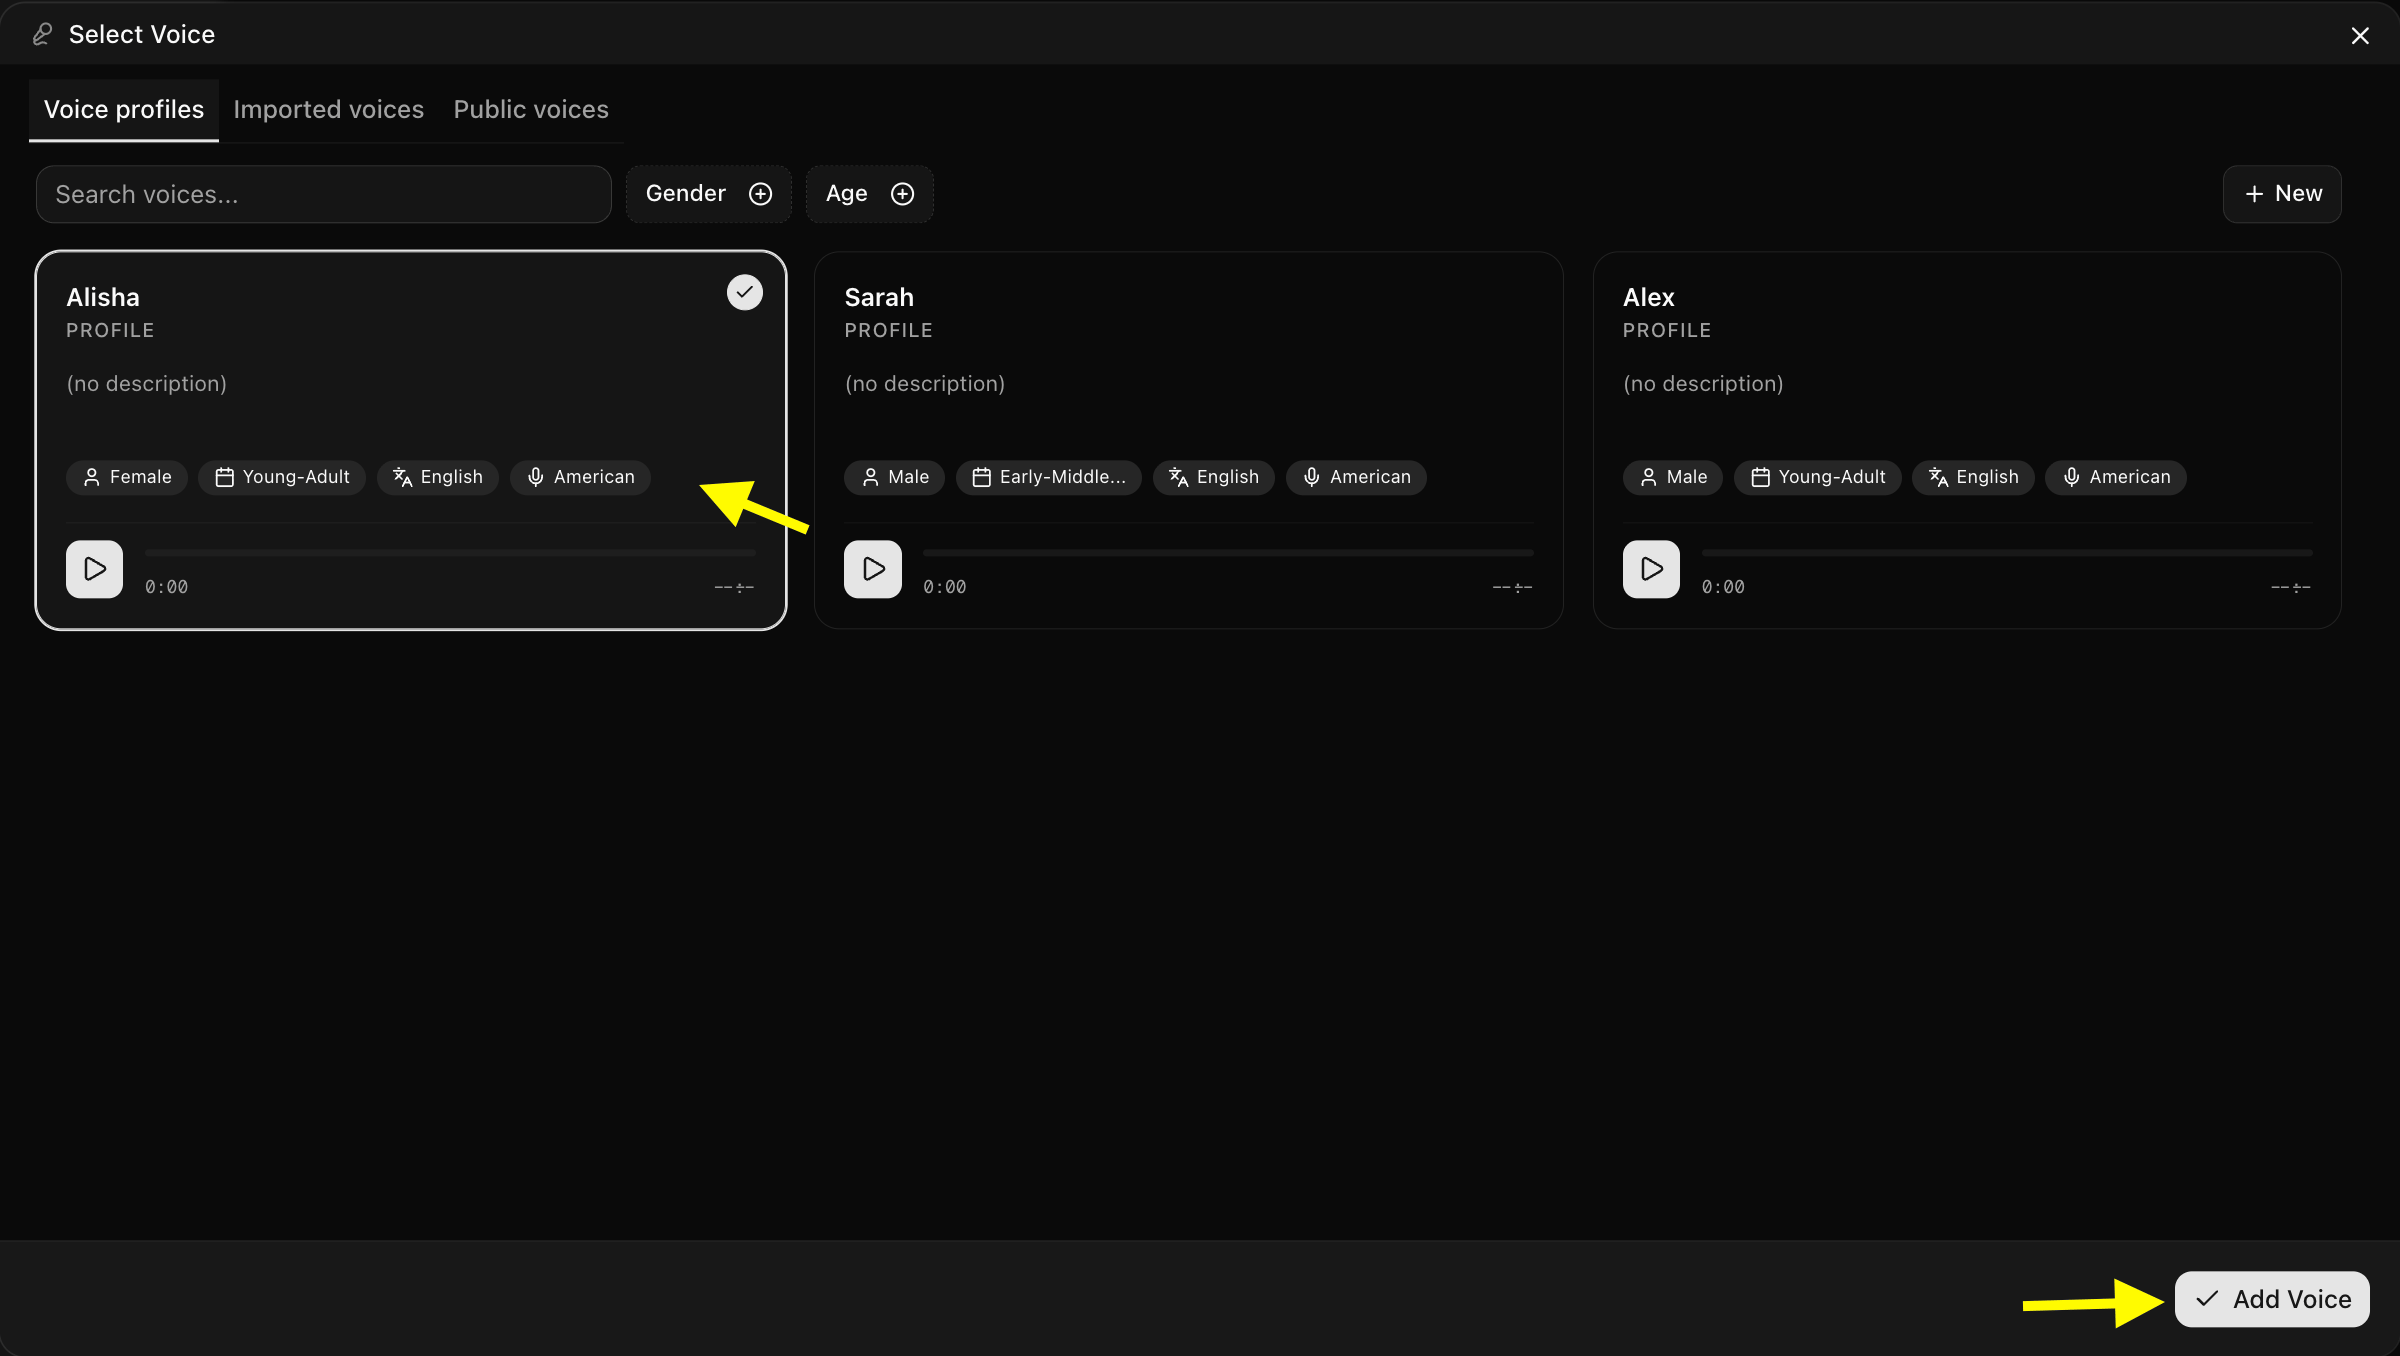
Click Select Voice to choose which AI voice your Photo Avatar will use. Browse Zoice’s library of public voices, preview them, and pick one that fits your content’s tone — professional, warm, authoritative, or conversational.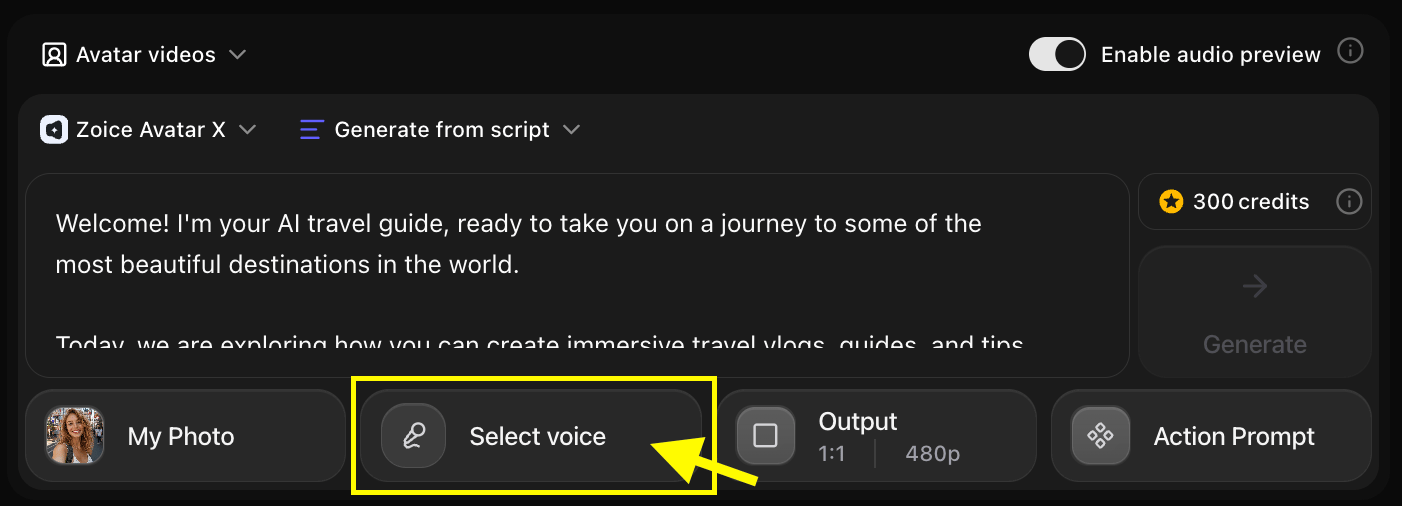
Step 8: Set Output Settings
Click Output Settings to choose the video format for your Photo Avatar:- Aspect Ratio: 16:9 for YouTube, websites, or LinkedIn — or 9:16 for Instagram Reels, TikTok, or YouTube Shorts
- Resolution: Up to 4K for maximum clarity
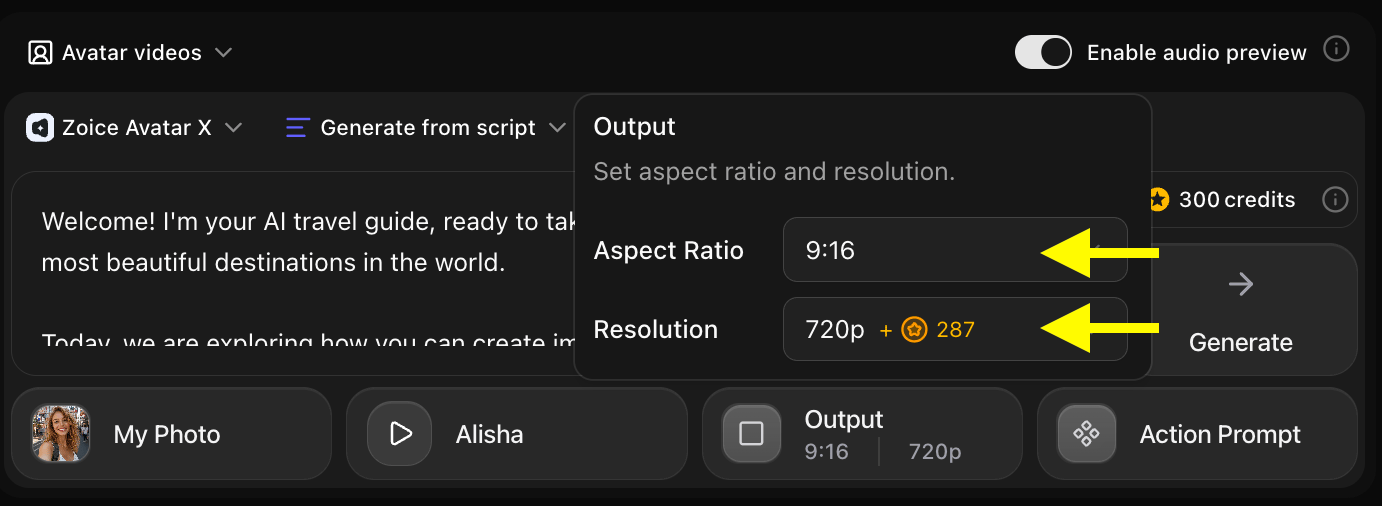
Step 9: Add an Action Prompt
Click Action Prompt to control how your Photo Avatar moves and behaves throughout the video. This includes head movements, eye contact, facial expressions, and delivery energy.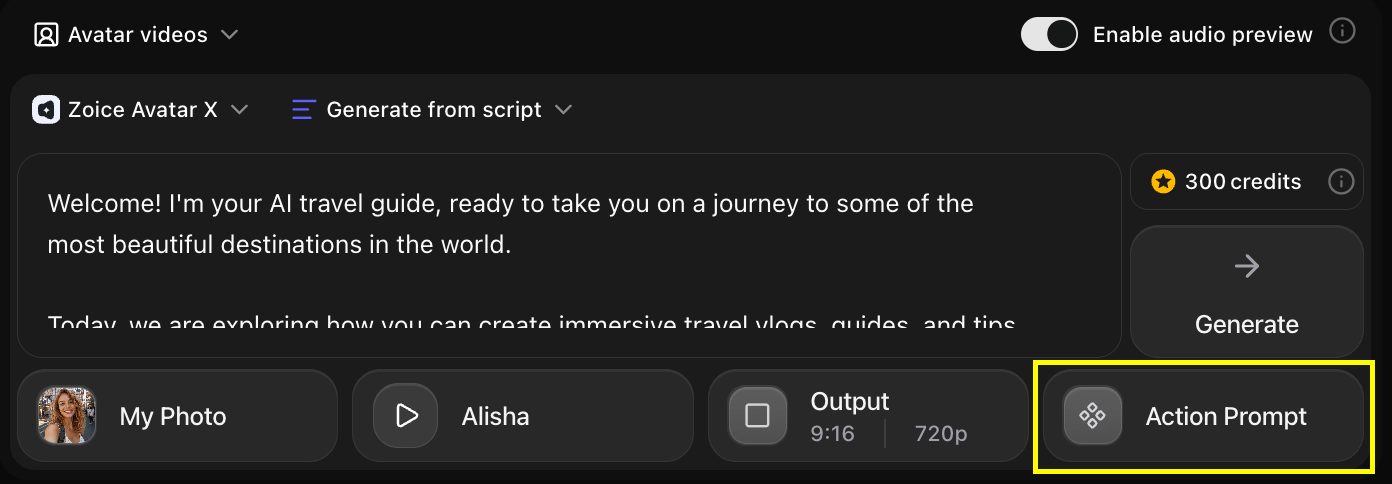
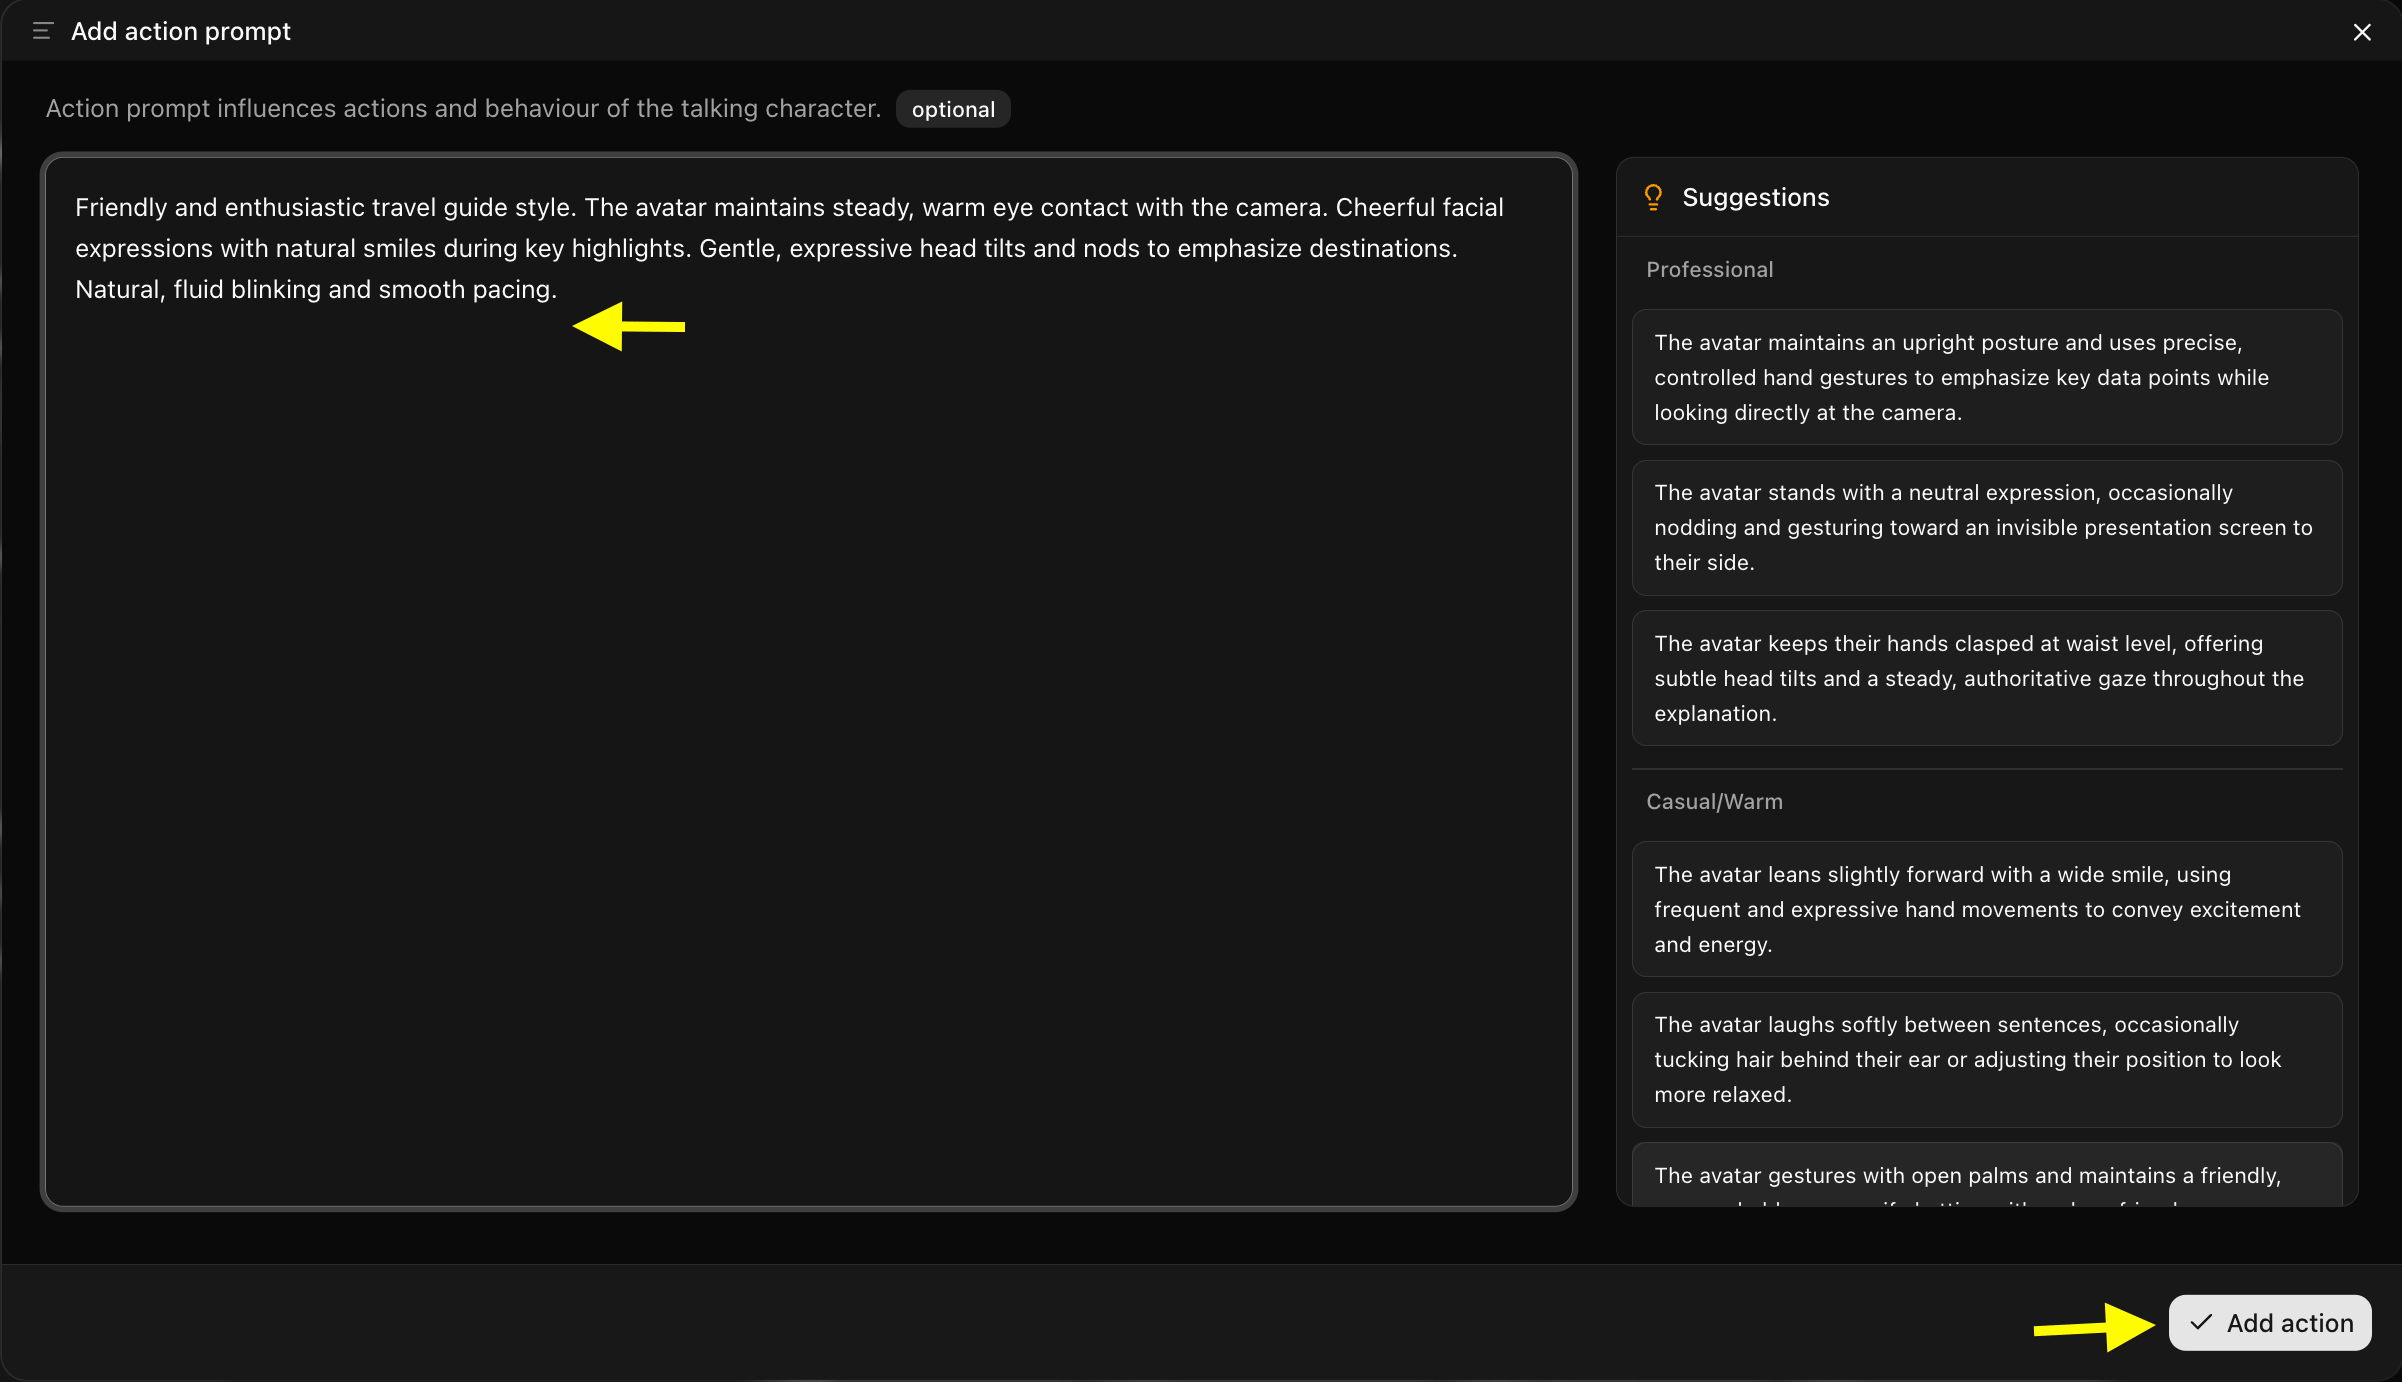
Step 10: Generate Your Photo Avatar Video
Once your script, voice, output settings, and action prompt are all set, click the Generate button to begin rendering.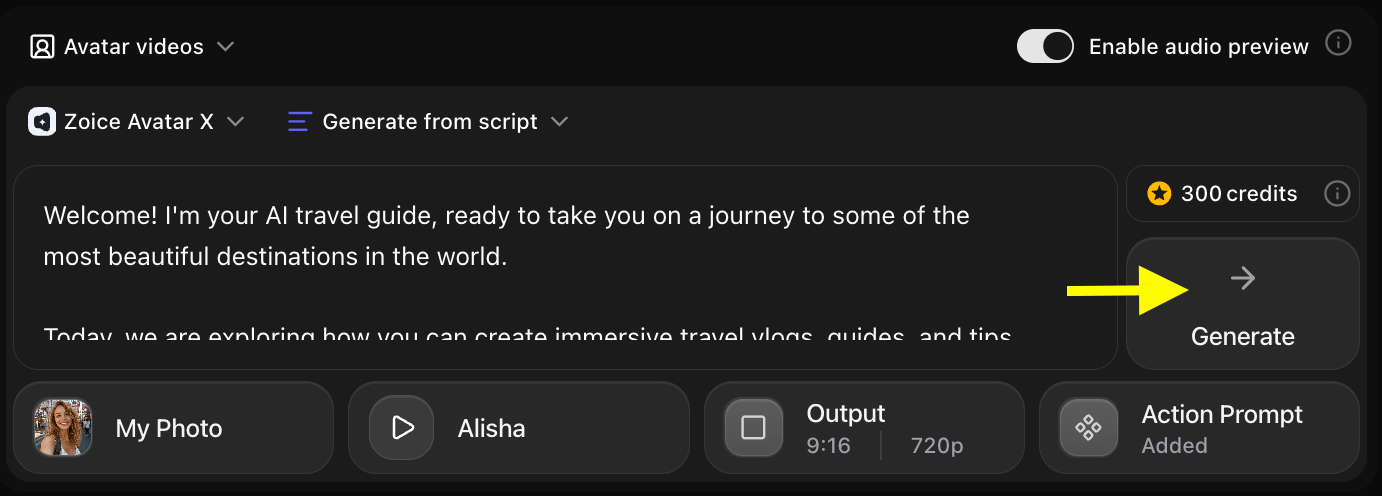
Step 11: Preview Audio and Confirm
Before the final video renders, Zoice creates an audio preview. Listen carefully to verify pronunciation, pacing, and overall voice quality. If everything sounds right, click Generate Avatar Video to produce the final output.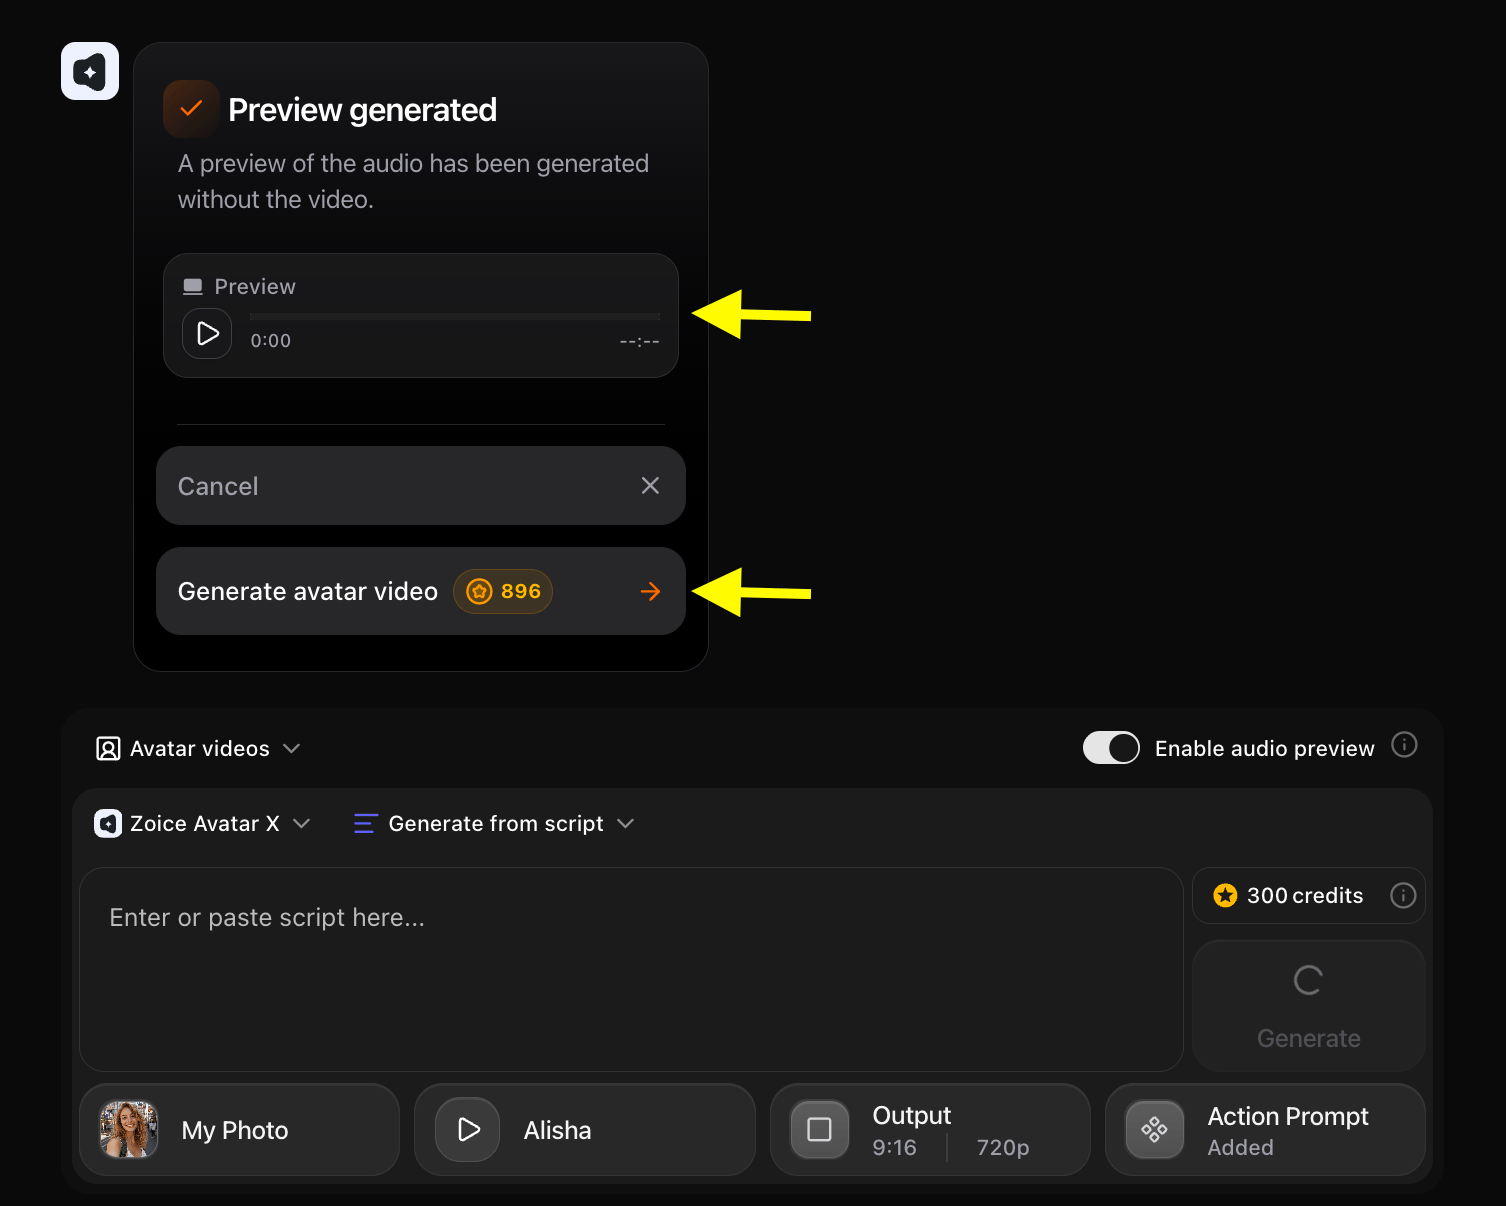
Step 12: Preview and Download Your Video
Once processing is complete, play the video to review the lip-sync accuracy, head movements, expression quality, and overall appearance.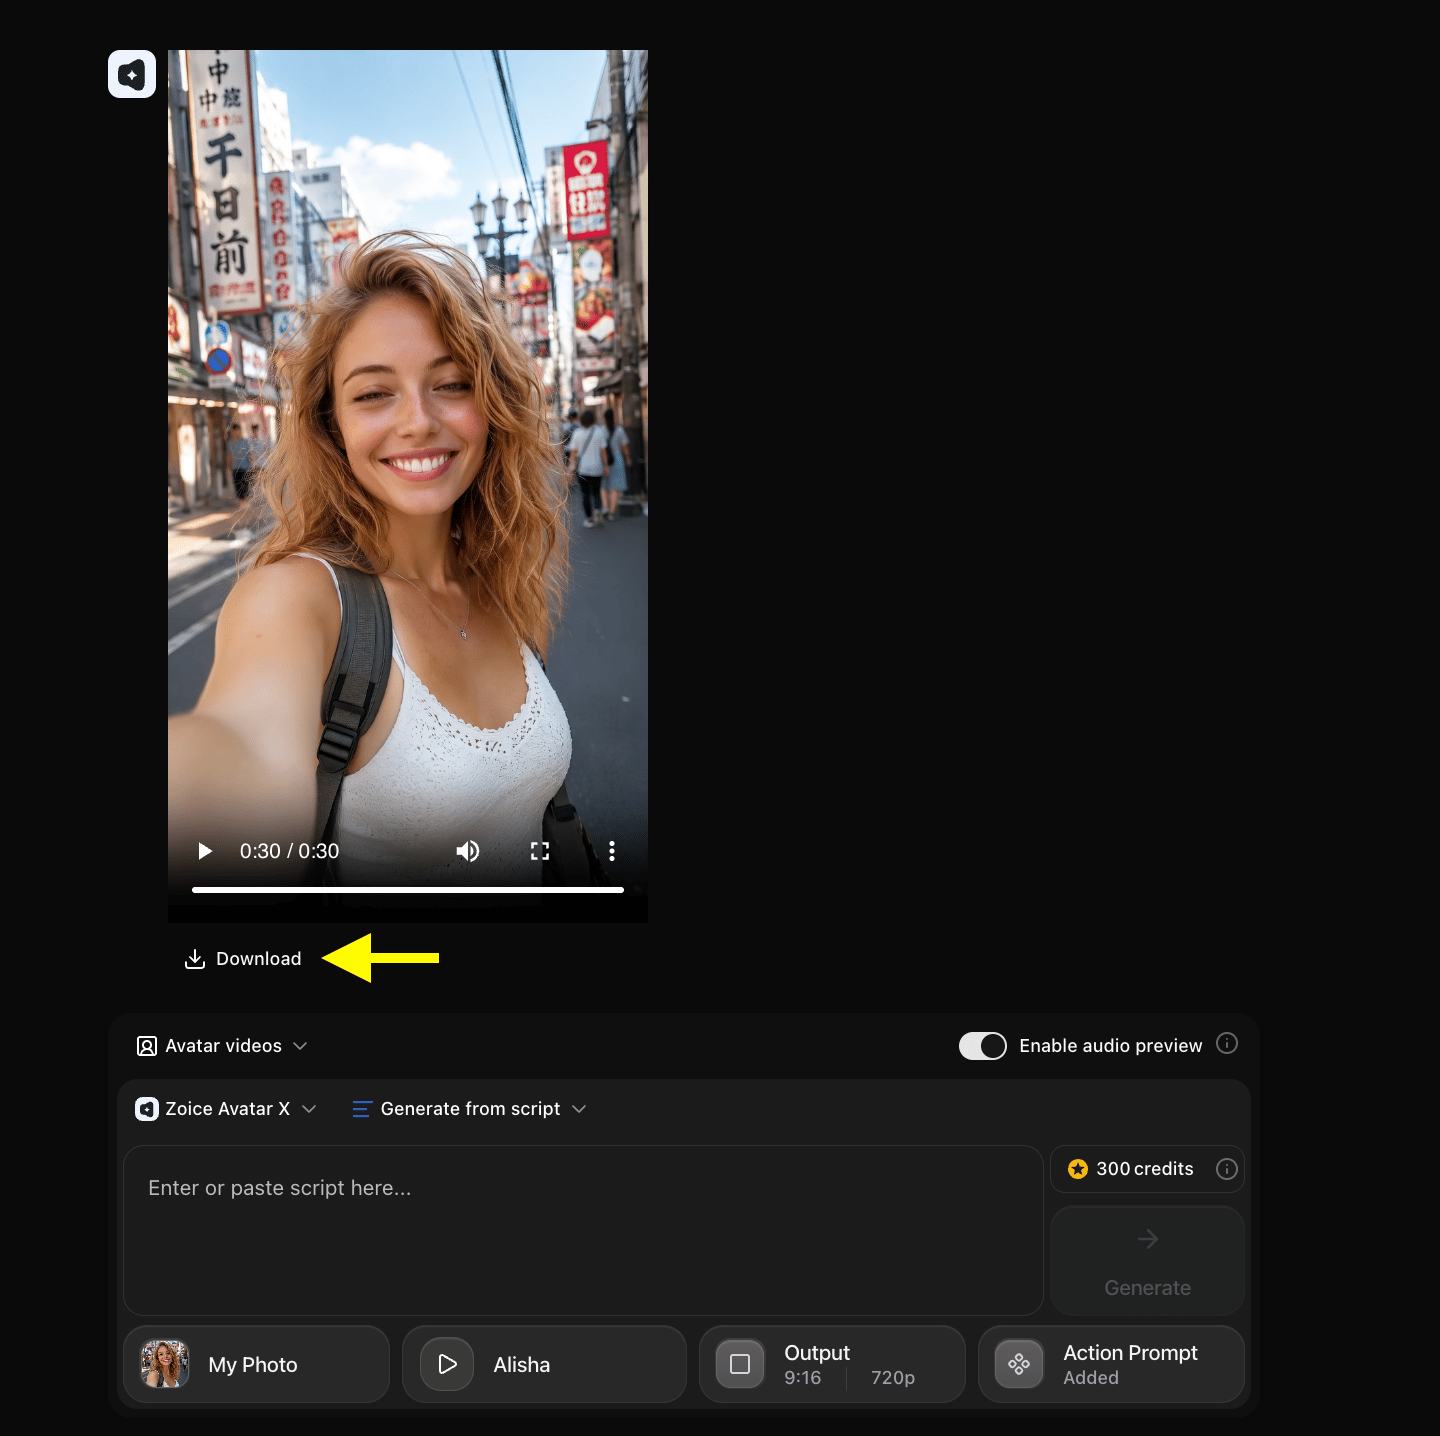
Output Result Video
Below is a sample Photo Avatar video generated using Zoice, based on the script and action prompt shown in this guide:Tips for Getting the Best Results
Photo Tips
- Front-facing photos always work best. Side angles, tilted heads, or partial face visibility reduce animation quality significantly.
- Good lighting is the single biggest quality factor. Soft, even lighting produces far better results than harsh or shadowed lighting.
- Keep backgrounds simple. Plain walls or neutral backgrounds help the AI isolate the face more cleanly.
- Higher resolution means better output. A sharp, high-resolution image produces smoother, more realistic animations.
AI Prompt Tips
- Be specific from the start. Vague prompts like “a professional woman” produce generic results. Add details about age, style, setting, and lighting.
- Include quality modifiers. Keywords like “ultrarealistic,” “sharp focus,” and “highly detailed” consistently improve output quality.
- Describe the lighting explicitly. “Soft studio lighting” and “warm natural daylight” produce very different results — choose based on the tone of your video.
Script Tips
- Shorter sentences sound more natural. Break long ideas into multiple short sentences for a more conversational, human-sounding delivery.
- Use punctuation as a pacing tool. Commas create brief pauses, periods signal the end of a thought — both help the avatar sound more natural.
- Always do a short test first. Generate a 20-30 second test clip before committing to a full video to check that the voice, avatar, and motion all match your expectations.
Frequently Asked Questions
How many Photo Avatars can I create? You can create as many Photo Avatar profiles as you need, subject to your subscription plan credits. Can I reuse a Photo Avatar across multiple videos? Yes. Once created, your Photo Avatar profile can be reused across unlimited video generations — just select it from your Avatar Characters library each time. What photo formats does Zoice accept? Zoice supports JPG, JPEG, and PNG image formats. Can my Photo Avatar speak in different languages? Yes. Zoice supports 100+ languages. Simply type your script in the target language and select a matching voice from the voice library. Can I upload audio instead of typing a script? Yes. In the video creation workspace, switch to Generate from Audio mode to upload an MP3, WAV, or M4A file directly instead of typing a script. What is the difference between a Photo Avatar and a Digital Twin? A Photo Avatar can be created from any photo and uses any public or custom voice. A Digital Twin is a more personal AI clone — built specifically from your own photo and your own cloned voice — designed to replicate you specifically. My Photo Avatar animation looks off — what should I check? Make sure you uploaded the photo through the Avatar Characters section. If the output still looks incorrect, try a higher-resolution, front-facing photo with even lighting and a plain background. Filling in the Avatar Settings (gender, age, ethnicity) also improves rendering accuracy. Still need help? If you have questions not covered here, contact the Zoice support team at [email protected] and they will be happy to assist.Next Steps
Create Your Digital Twin
Take Photo Avatars further — build a full personal Digital Twin with voice cloning.
Avatar X Photo-to-Video
Learn the complete Photo-to-Video workflow step by step.
AI News Anchor Tutorial
Use your Photo Avatar as a professional broadcast news presenter.
AI Healthcare Avatar
Create patient education and healthcare marketing videos with a Photo Avatar.