

What is a Product-Integrated AI Avatar?
A product-integrated AI avatar is a digital presenter customized to showcase, hold, interact with, or promote specific products in an AI-generated video. Whether you are running an e-commerce store, launching a SaaS tool, or advertising physical merchandise, your avatar acts as an automated product demonstrator. Key capabilities of product-integrated AI avatars include:- Product Placement Prompts: Directing your AI avatar to interact with or feature specific items (e.g., holding a modern smartwatch, pointing to a skincare bottle, or wearing branded apparel).
- Synchronized Product Demos: Matching speech delivery and hand gestures to key product callouts in your script.
- Customized Branding: Tailoring avatar outfits, studio backgrounds, and product surroundings to align with your brand identity.
- Multilingual Product Pitches: Generating the same product demonstration video in over 100 languages with localized AI voices.
Key Benefits of Adding Products to Your Avatar
Integrating products into your AI avatar videos offers significant advantages for creators, marketers, and business owners:- Higher Conversion Rates: Product videos led by a friendly presenter increase trust, engagement, and click-through rates.
- Cost & Time Savings: Eliminate expensive studio rentals, filming schedules, and voice actor fees.
- Consistent Brand Identity: Use the same digital ambassador across all your product launches and promotional campaigns.
- Scalable Content Production: Generate dozens of product demonstration videos for your entire catalog in hours instead of weeks.
How to Add Products to Your Avatar Using Zoice
Follow the step-by-step process below to create a video featuring products with your AI avatar.Step 1: Visit Zoice.com and Click Sign In
Go to Zoice.com in your web browser and click the Sign In button in the top-right corner of the homepage.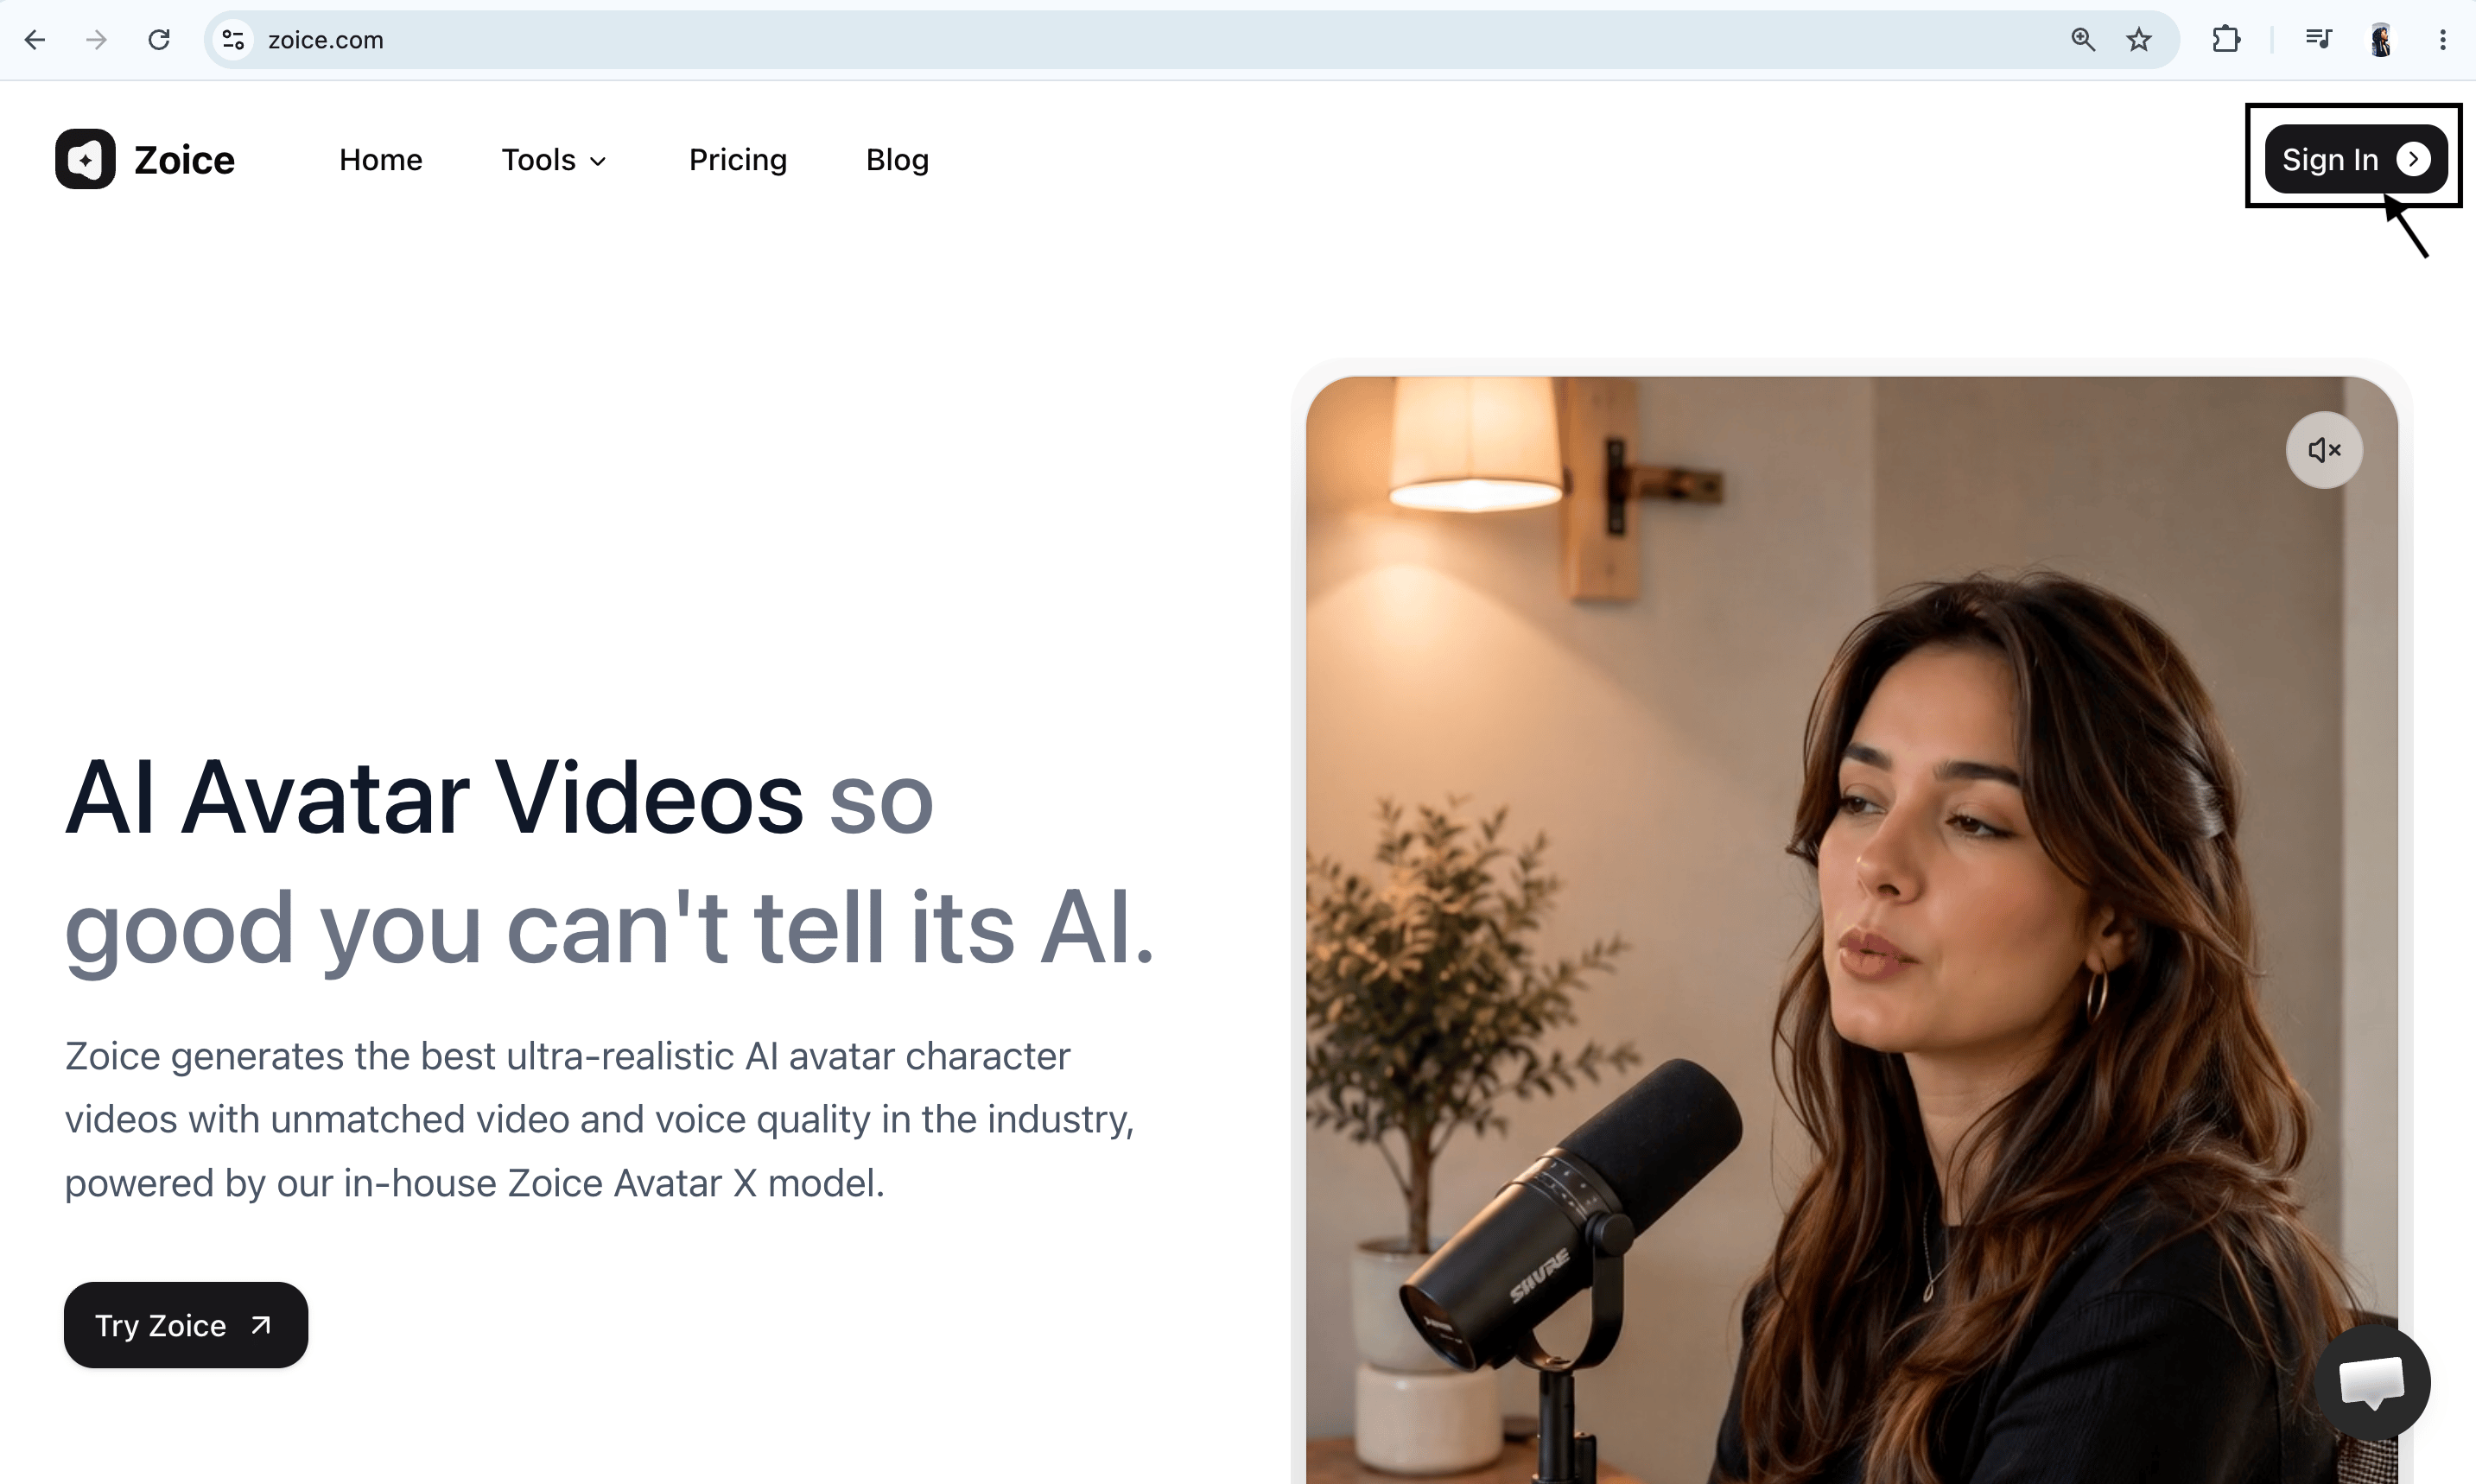
Step 2: Sign In to Your Zoice Account
Enter your registered email address and password, then click Sign In. Alternatively, use Sign in with Google for single-click authentication.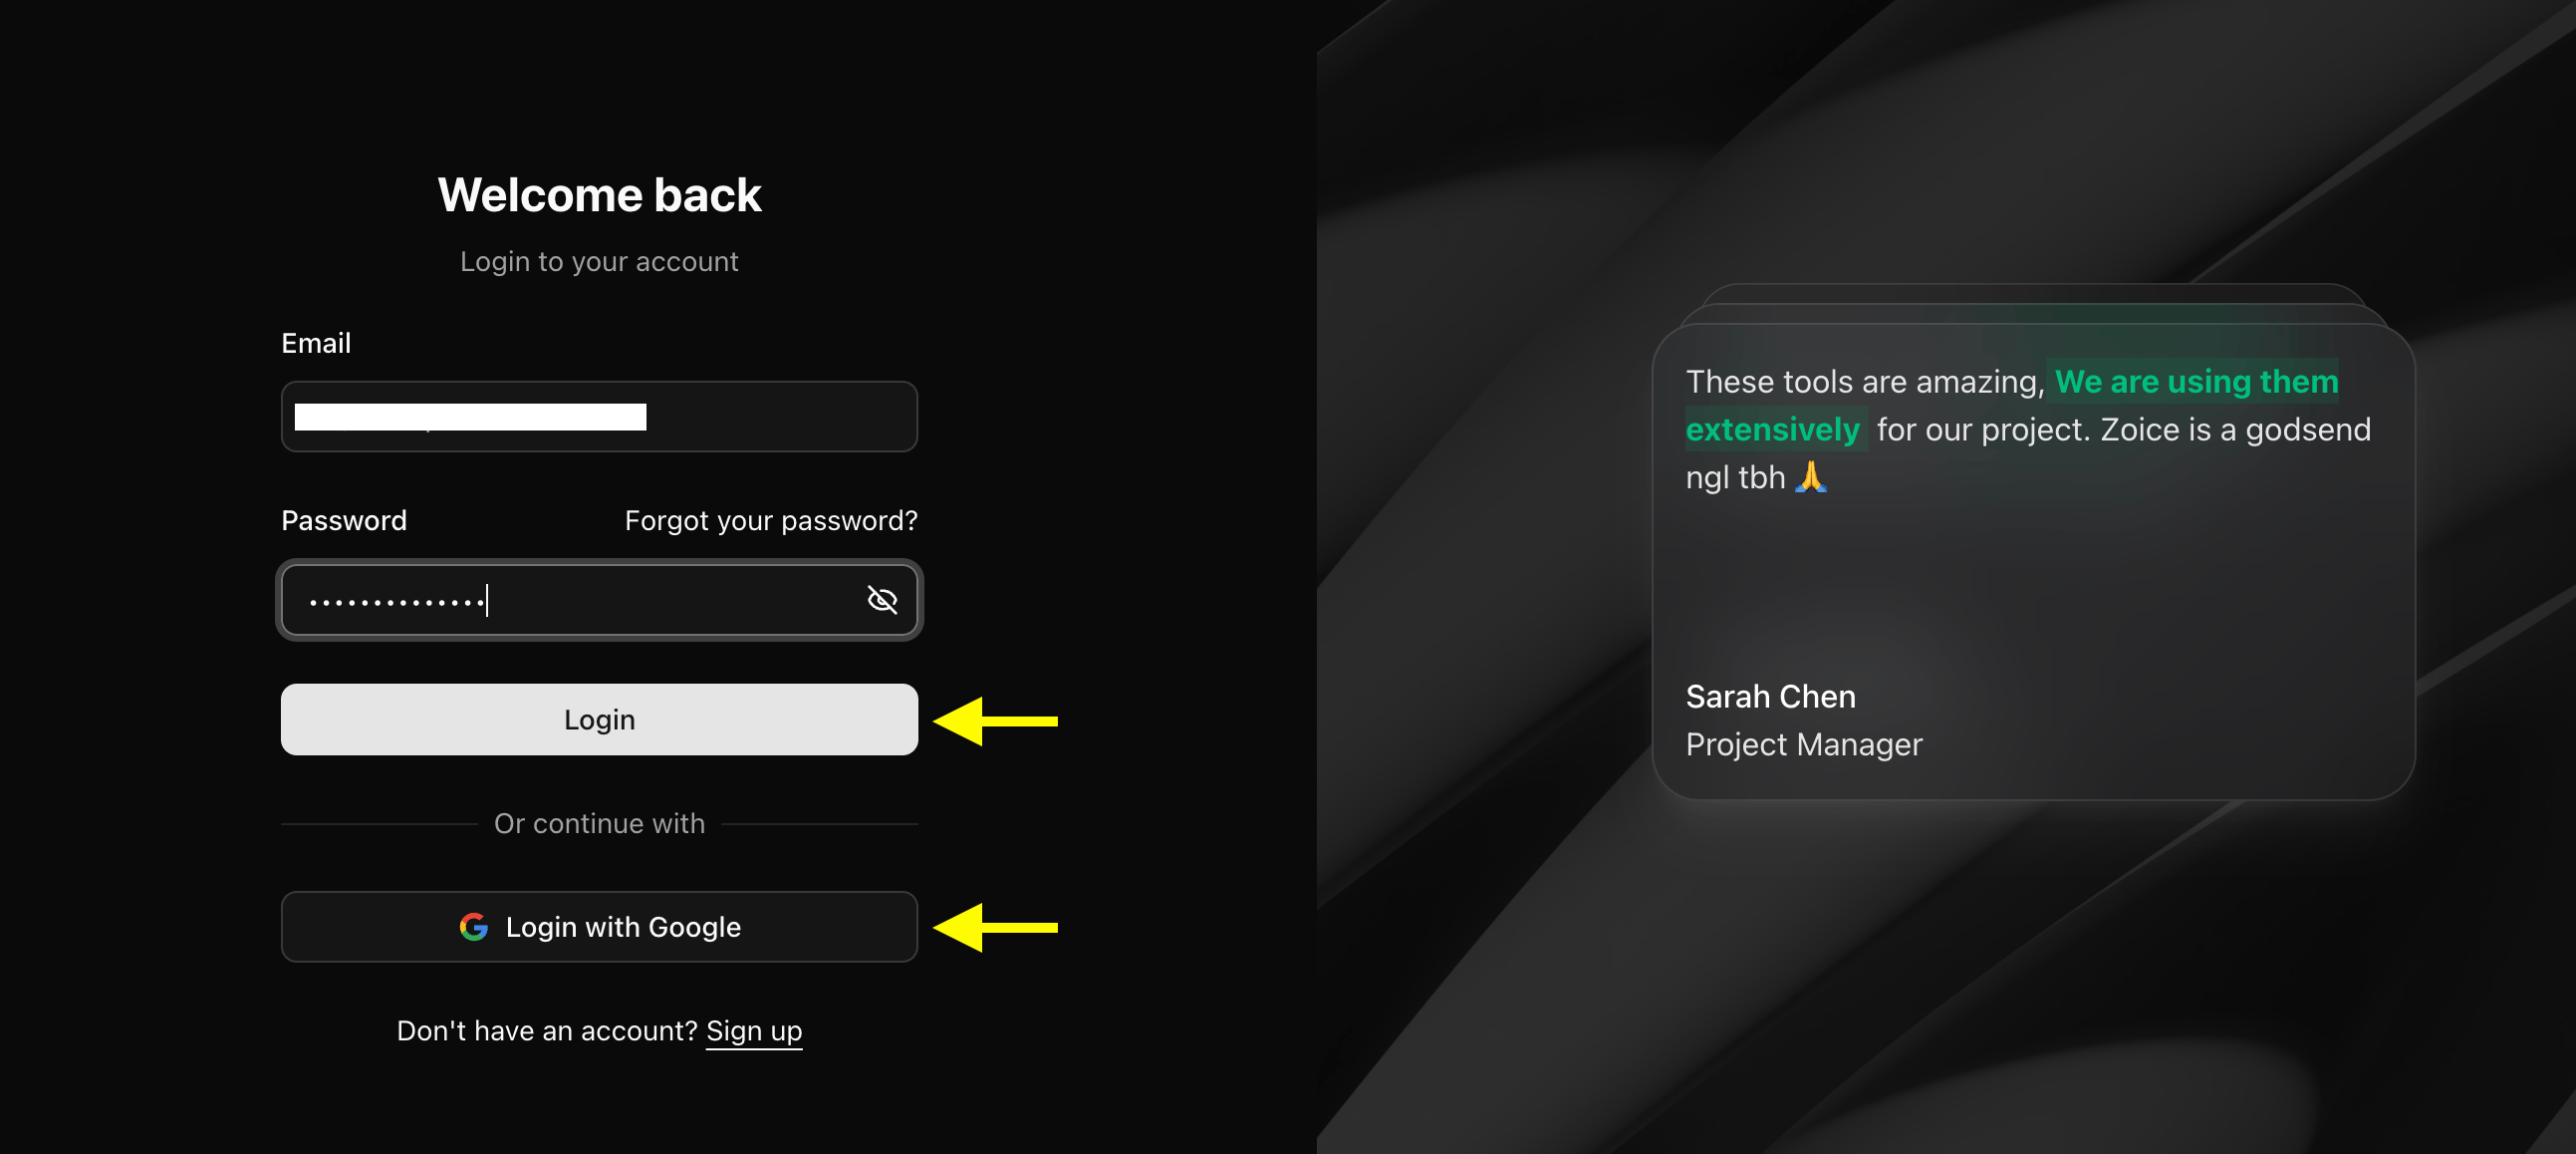
Step 3: Create a New Zoice Account (For New Users)
If you are new to Zoice, click Sign Up to register a new account.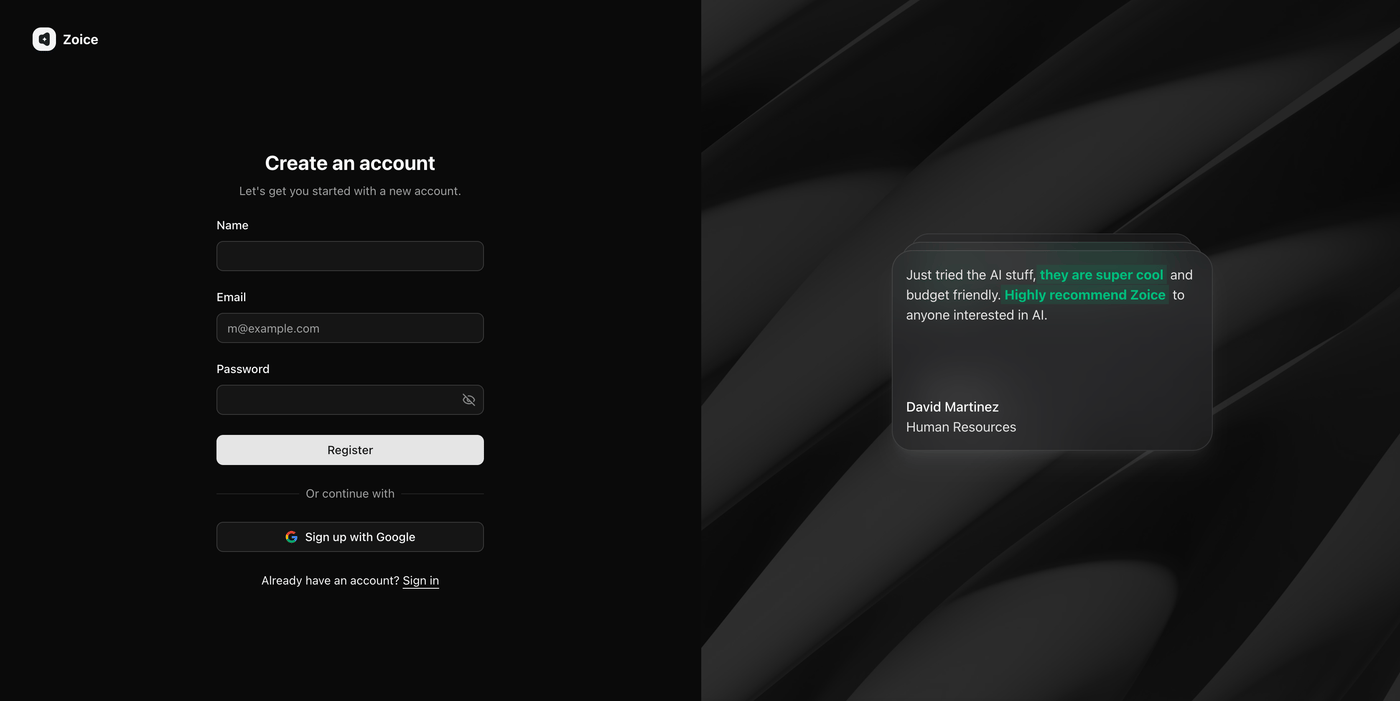
Step 4: Navigate to Avatar Characters
On the left navigation panel of your Zoice dashboard, click Avatar Characters under the Manage section.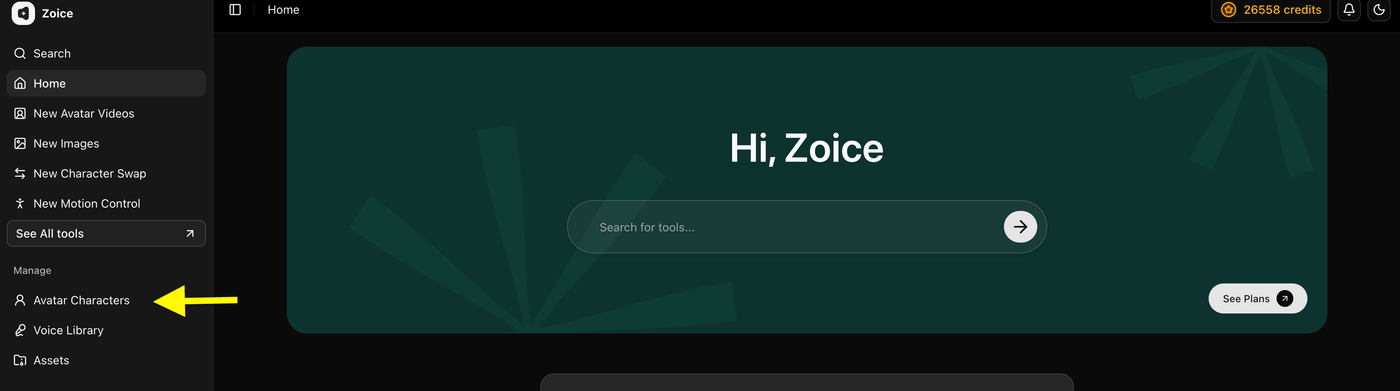
Step 5: Click Create New Avatar
Click the Create New button to launch the avatar creator tool.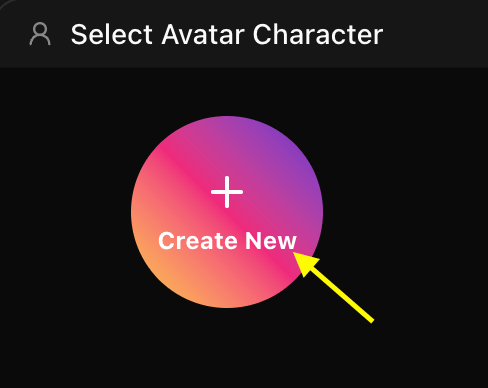
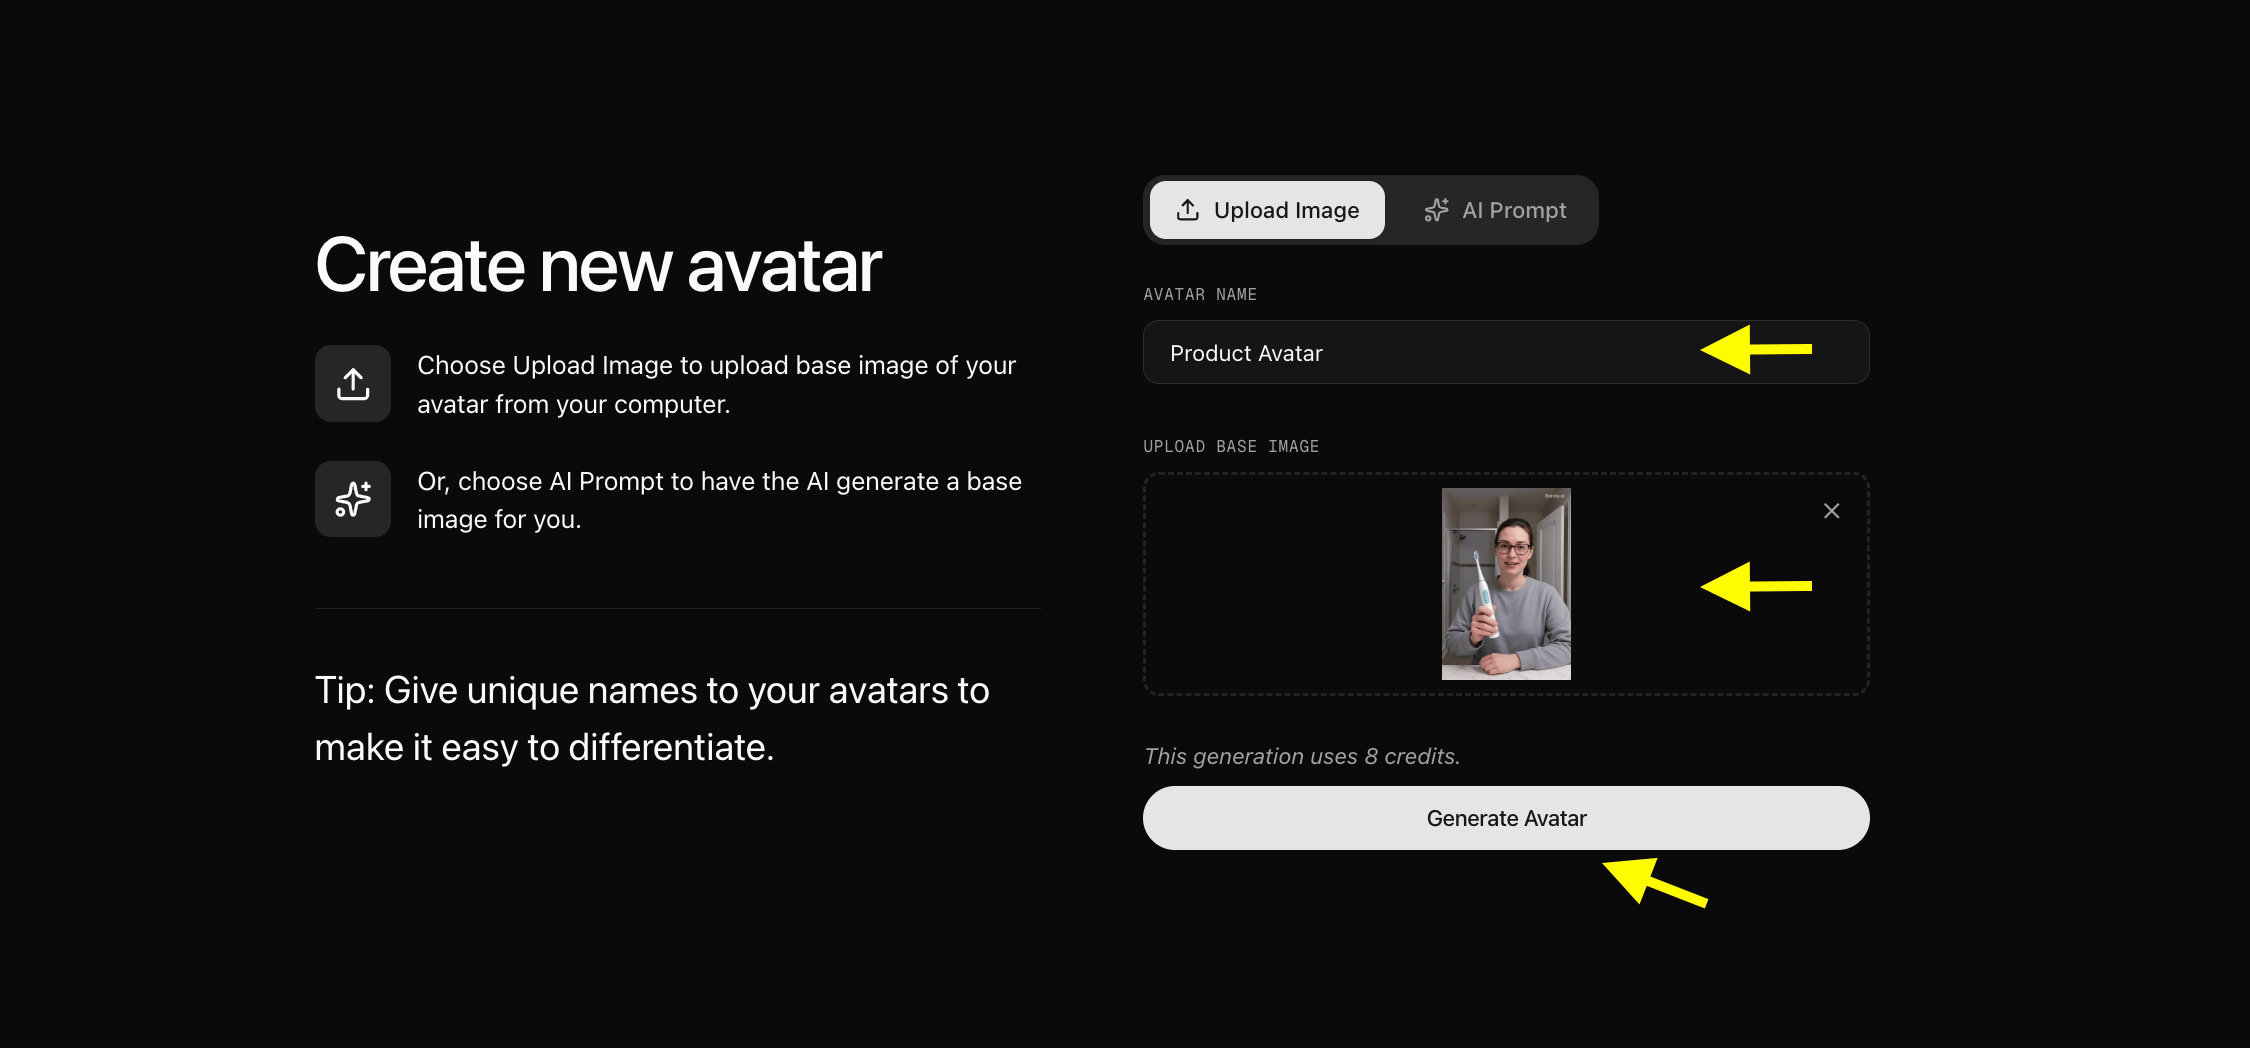
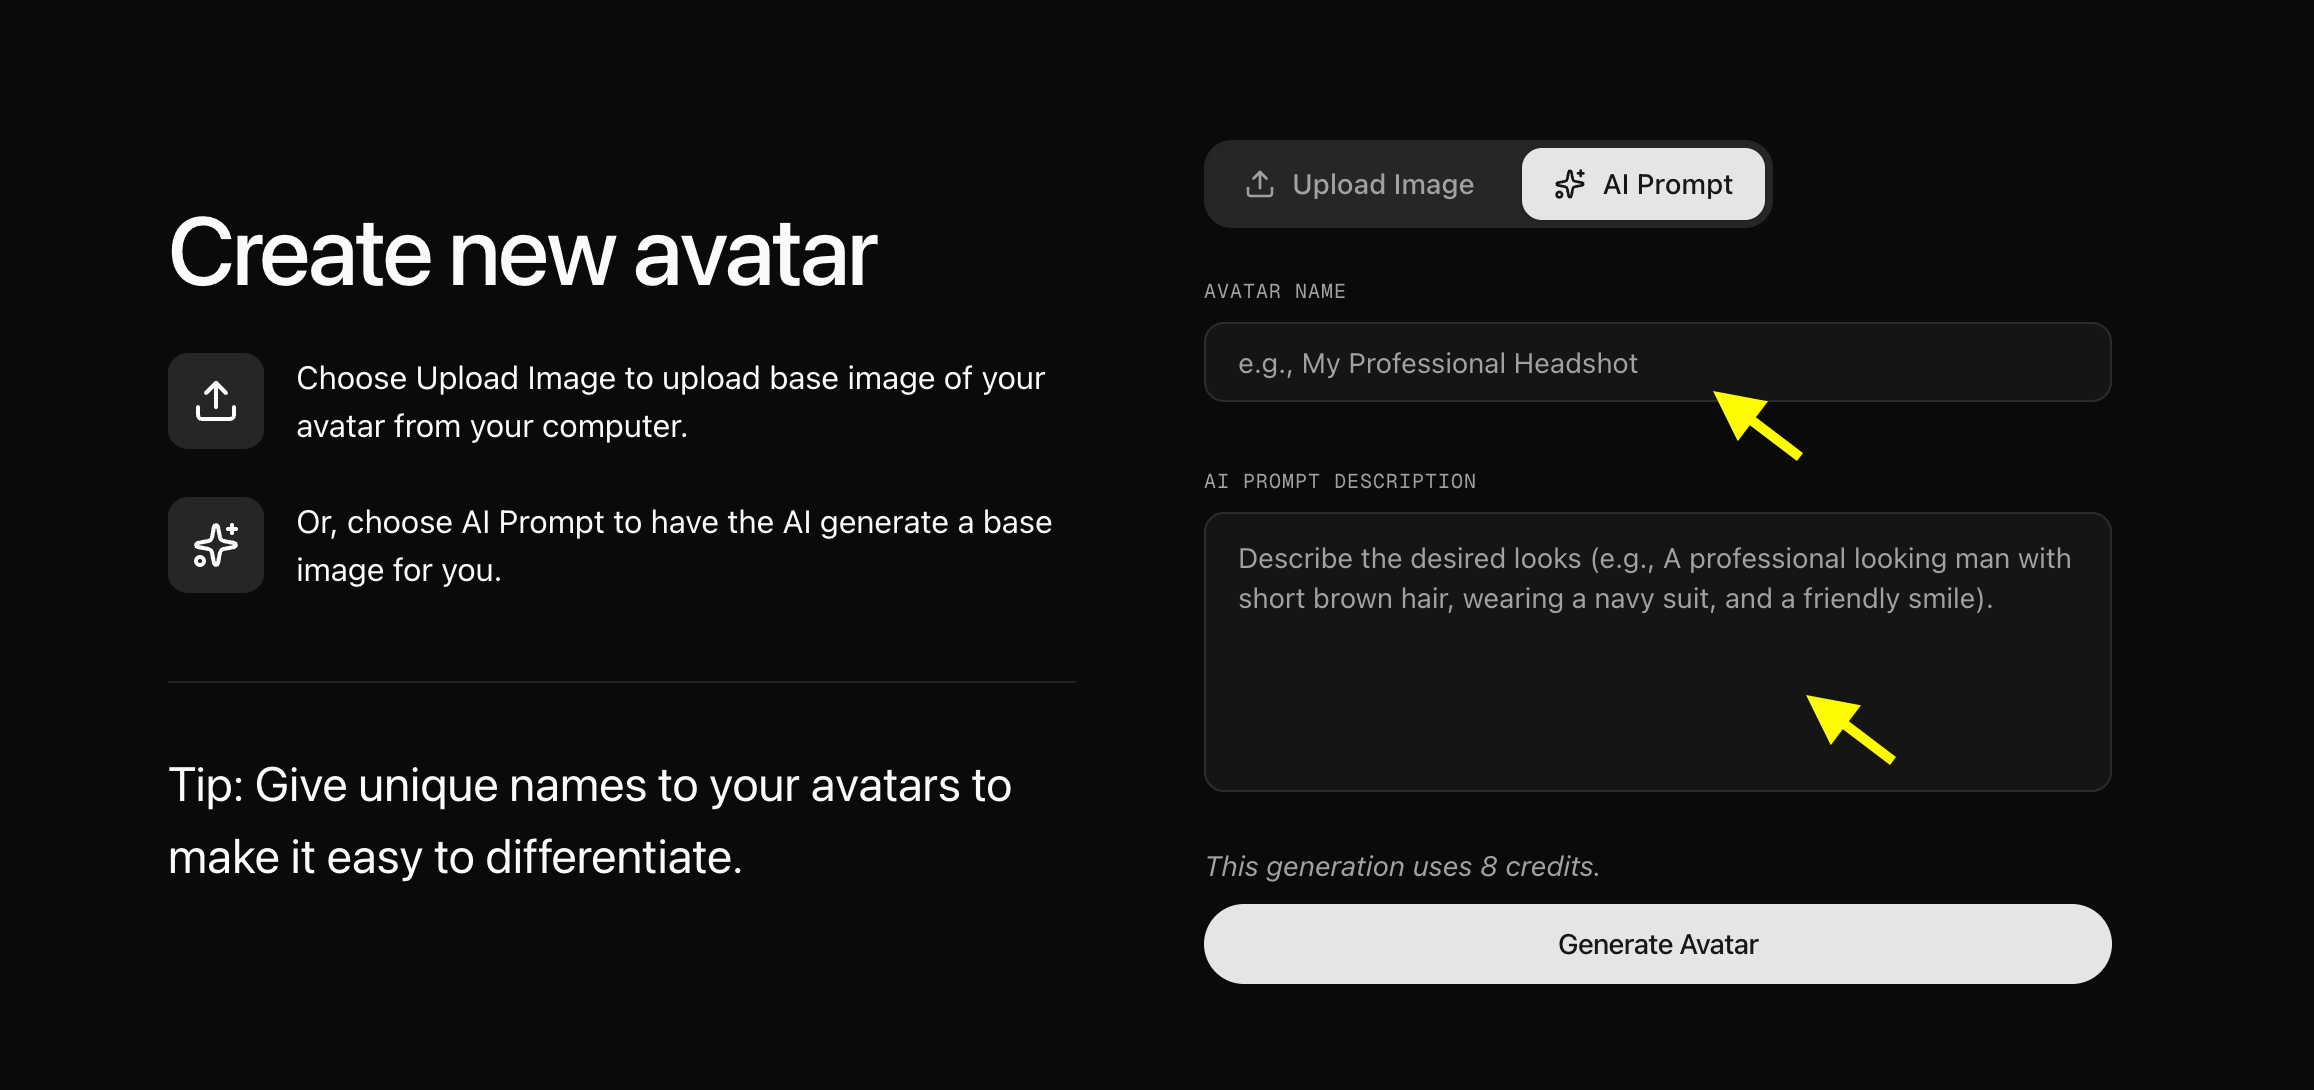
Step 6: Upload Image or Generate Avatar with Product Placement
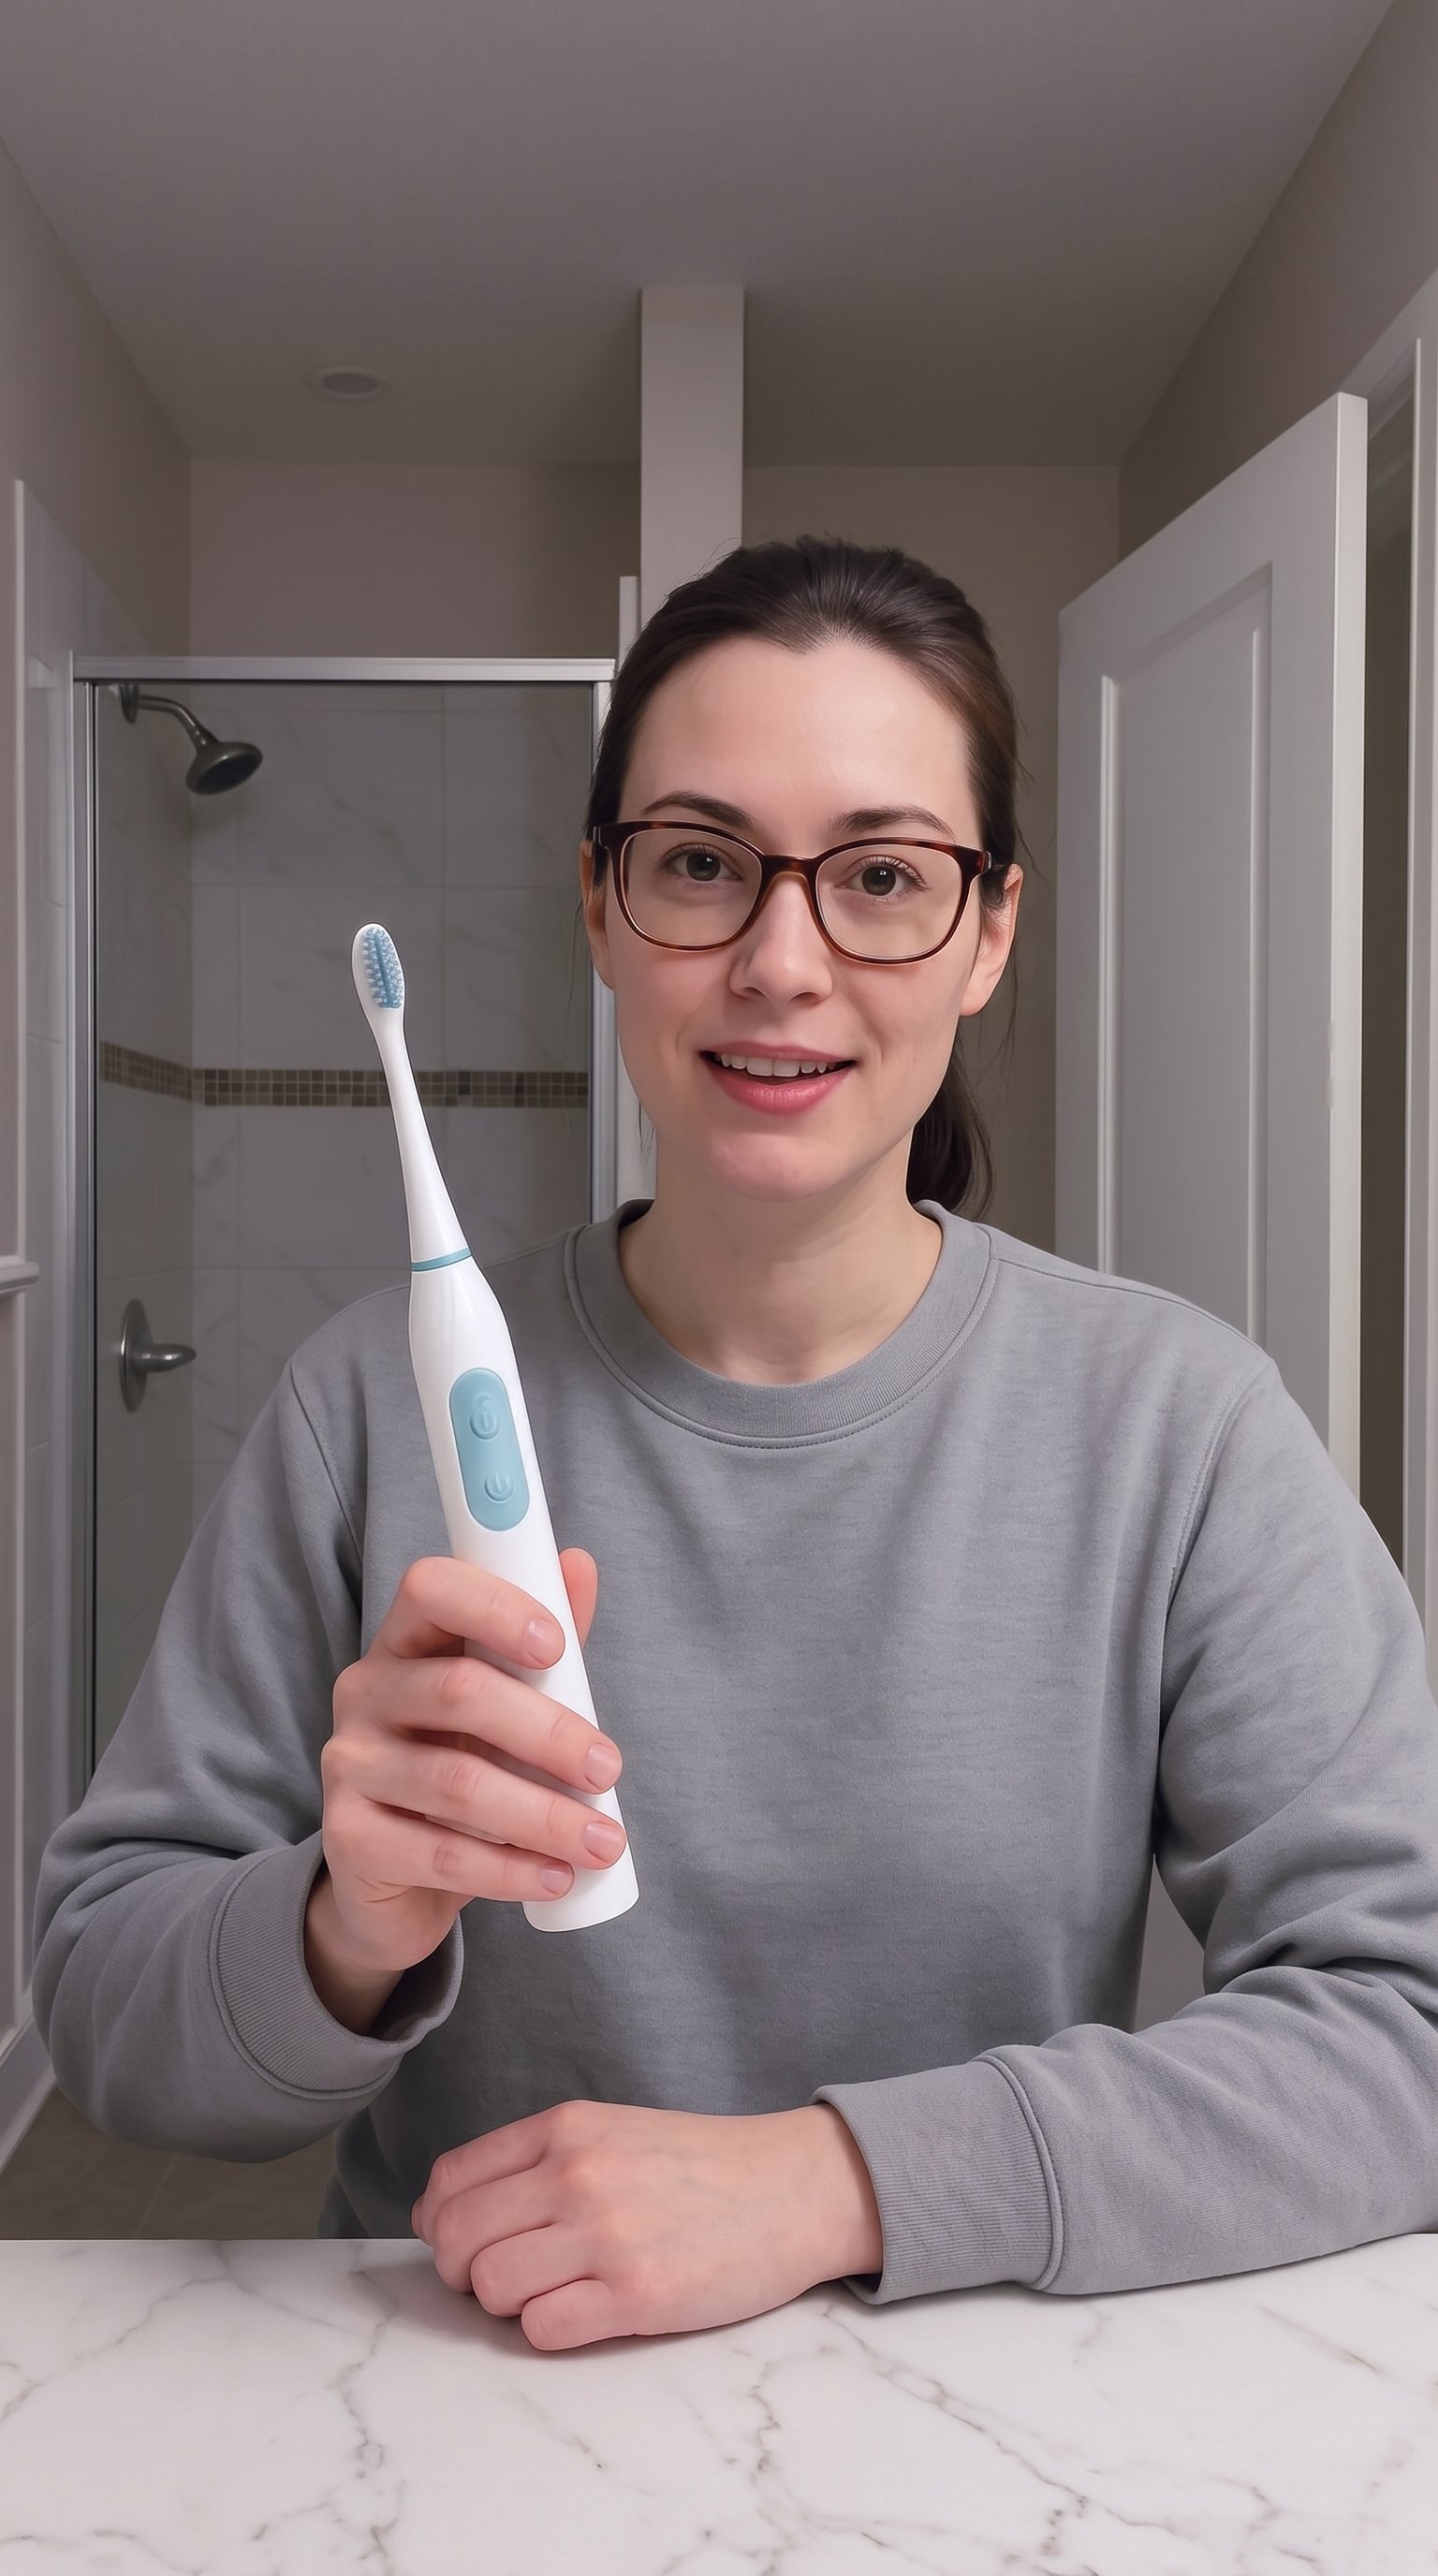
You can choose between two methods to add a product to your avatar setup:- Upload Image: Upload a high-resolution portrait photo of your presenter holding or posing next to your product.
- AI Prompt: Switch to the AI Prompt tab and enter a detailed prompt incorporating your product (e.g., “A professional female presenter holding a sleek black smartphone against a modern office backdrop, realistic lighting”).
Step 7: Configure Avatar Profile Settings
Click Avatar Setting to define your avatar’s profile details, such as Name, Gender, Age, and Category. Setting accurate profile attributes ensures smooth animation and facial rendering around your product.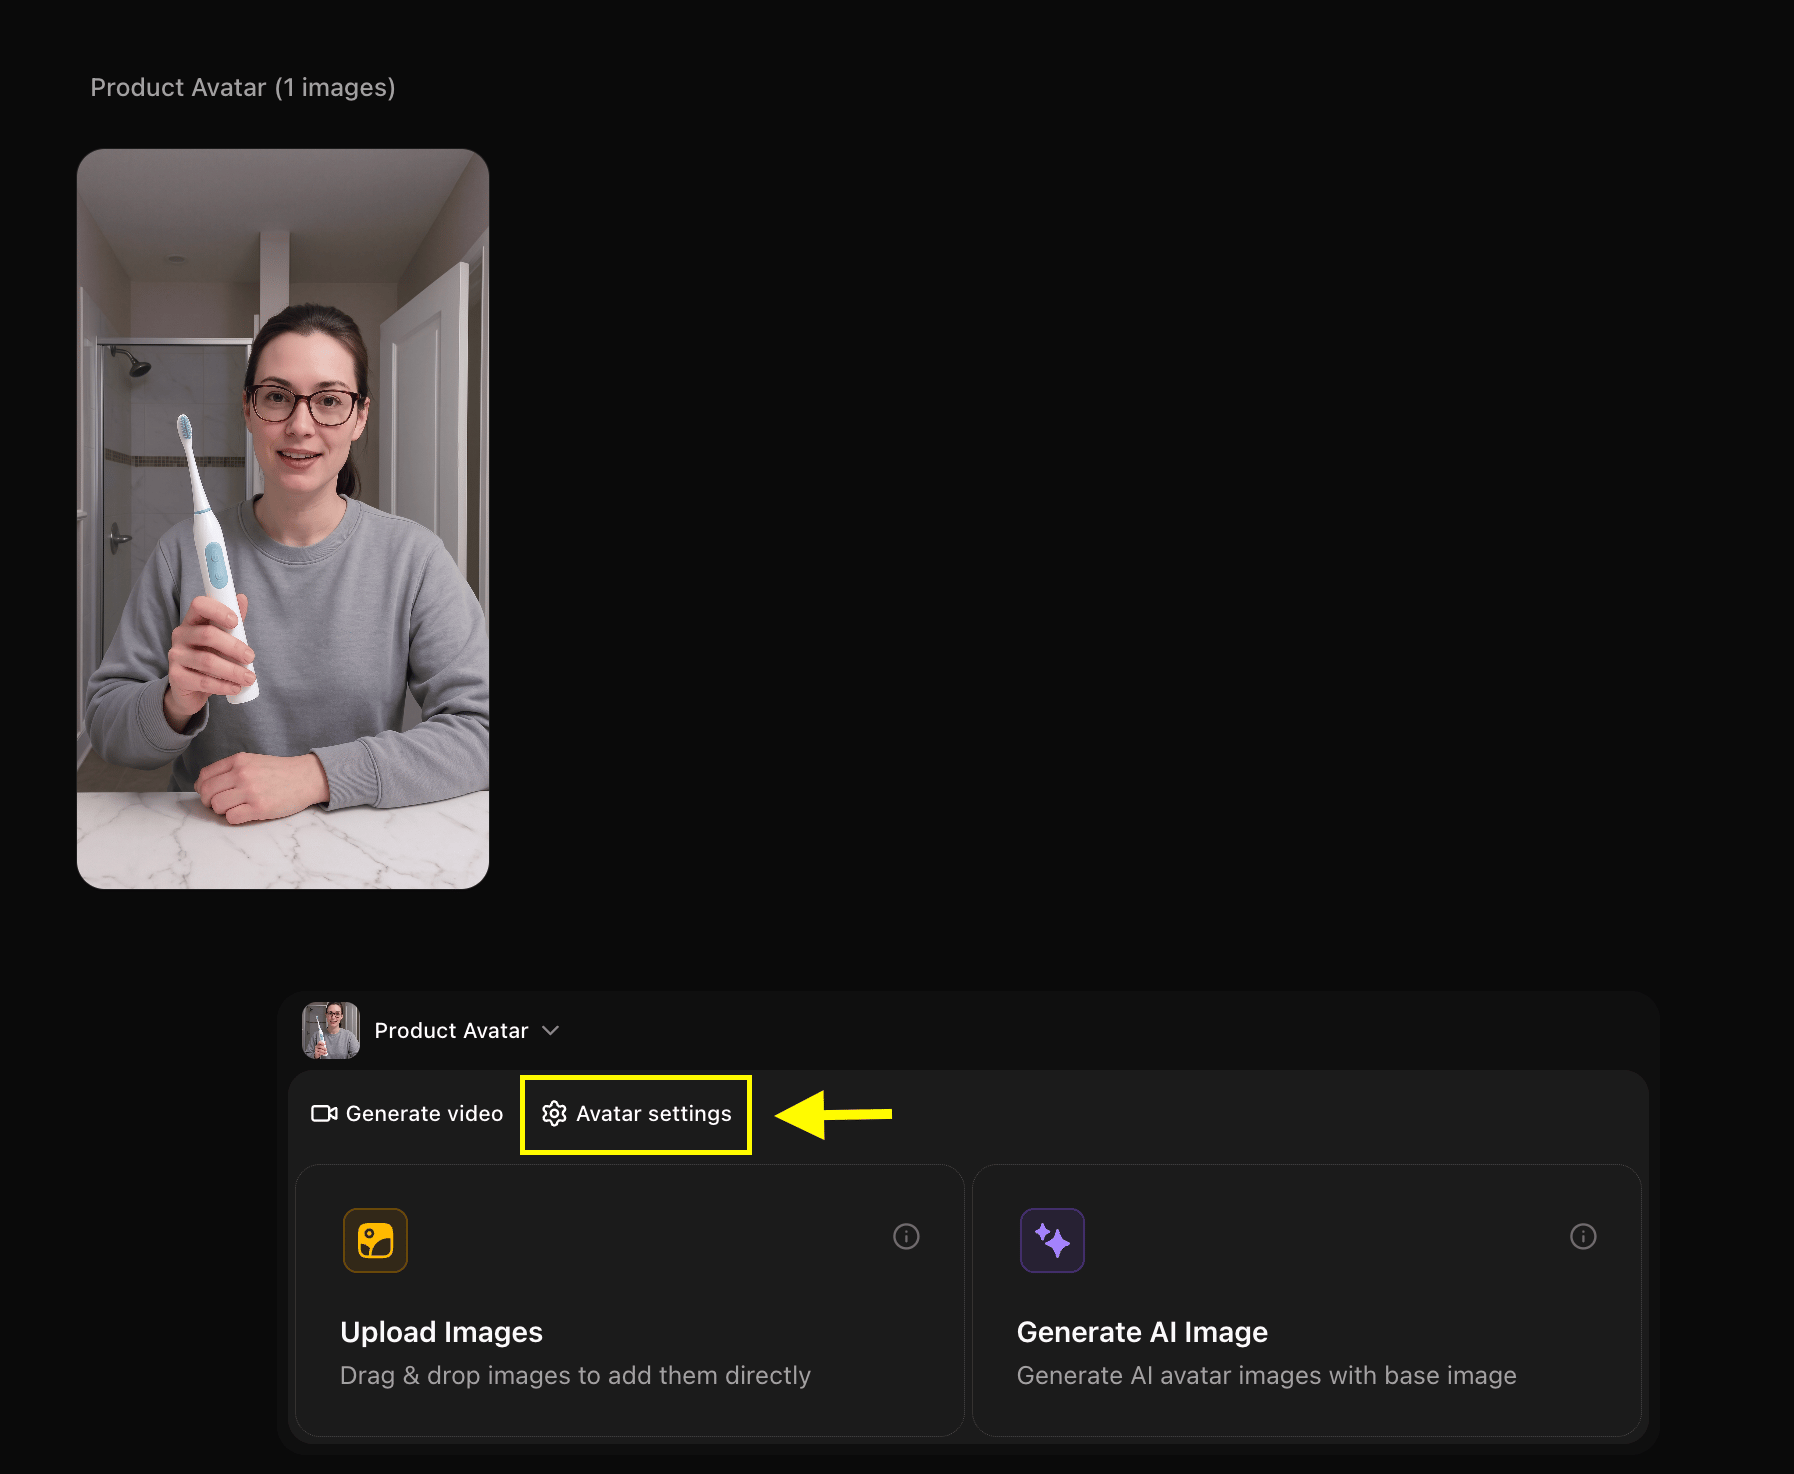
Step 8: Click Generate Video
Once your product avatar profile is saved, select your character from the library and click Generate Video.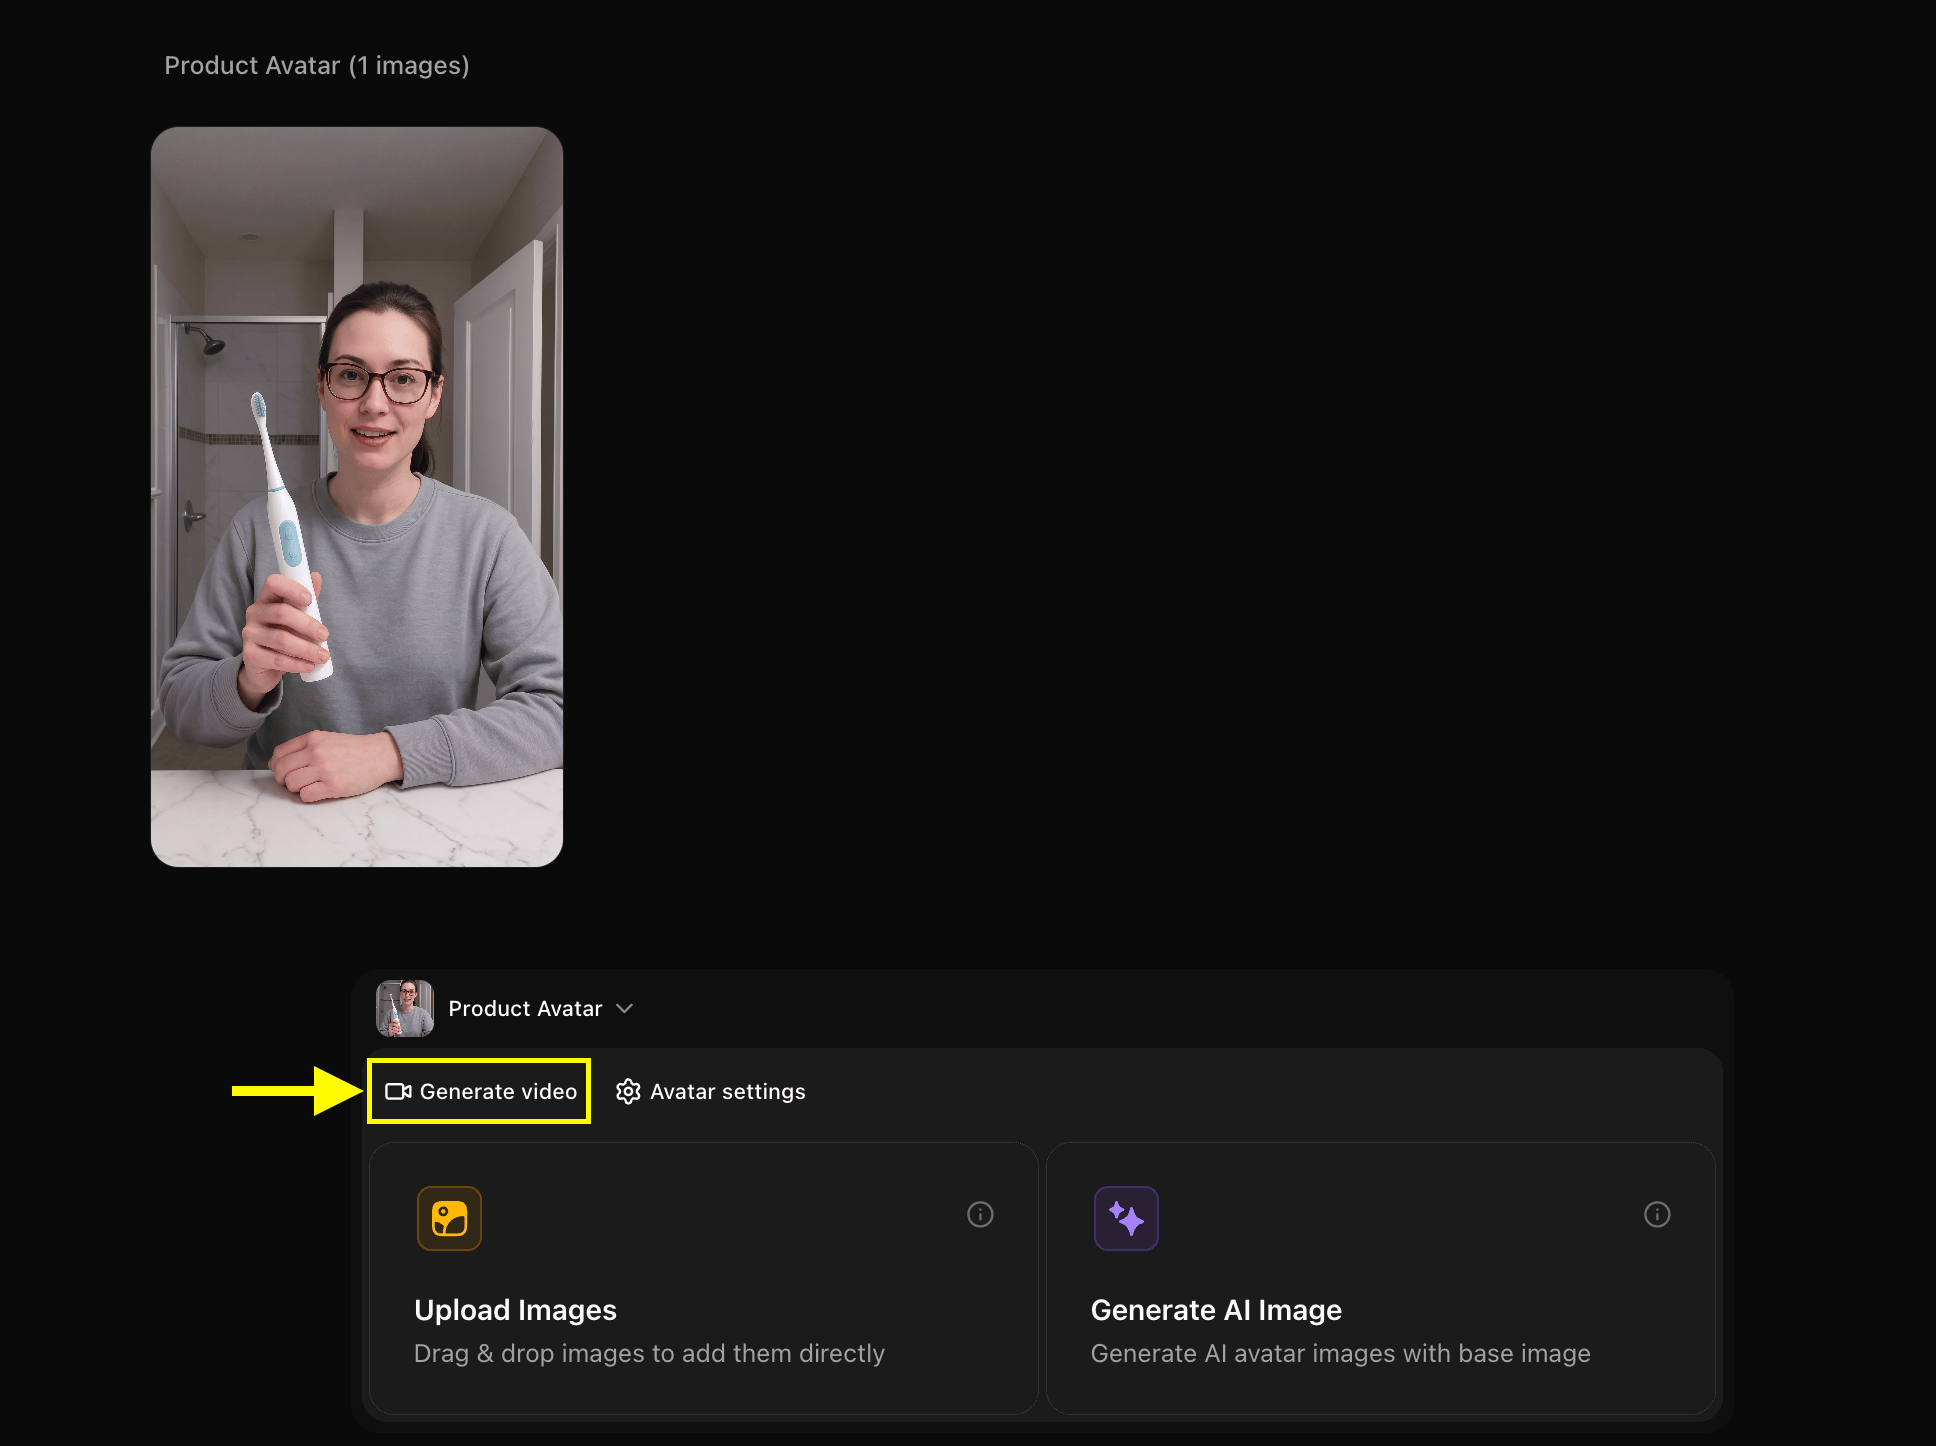
Step 9: Add Script or Audio Content
Click on the script area in the video creation studio.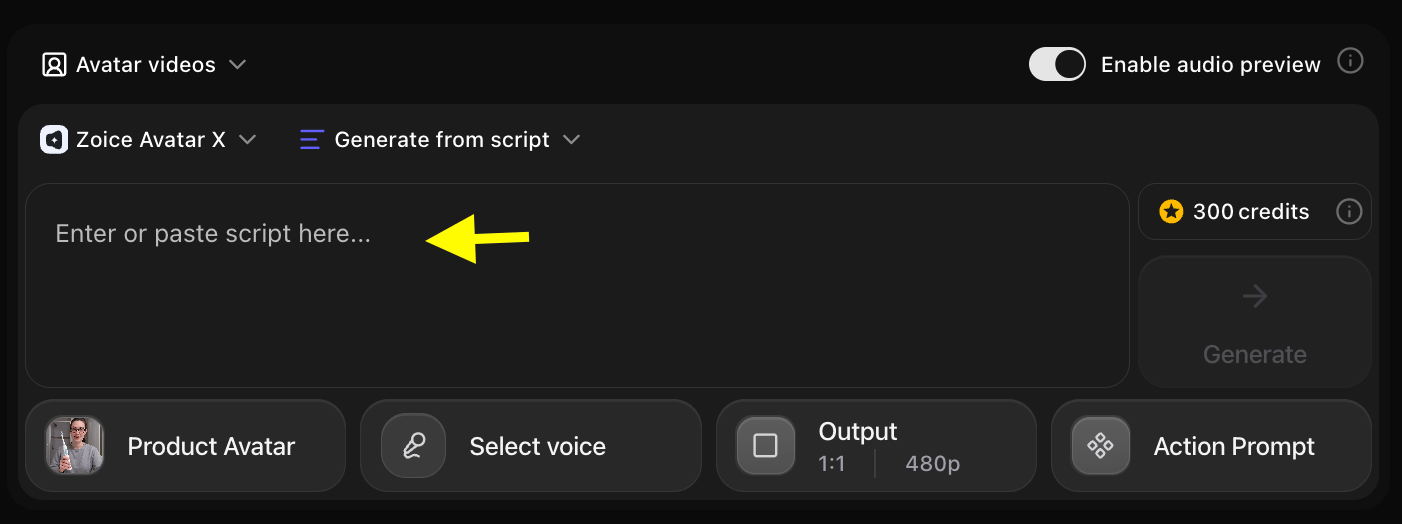
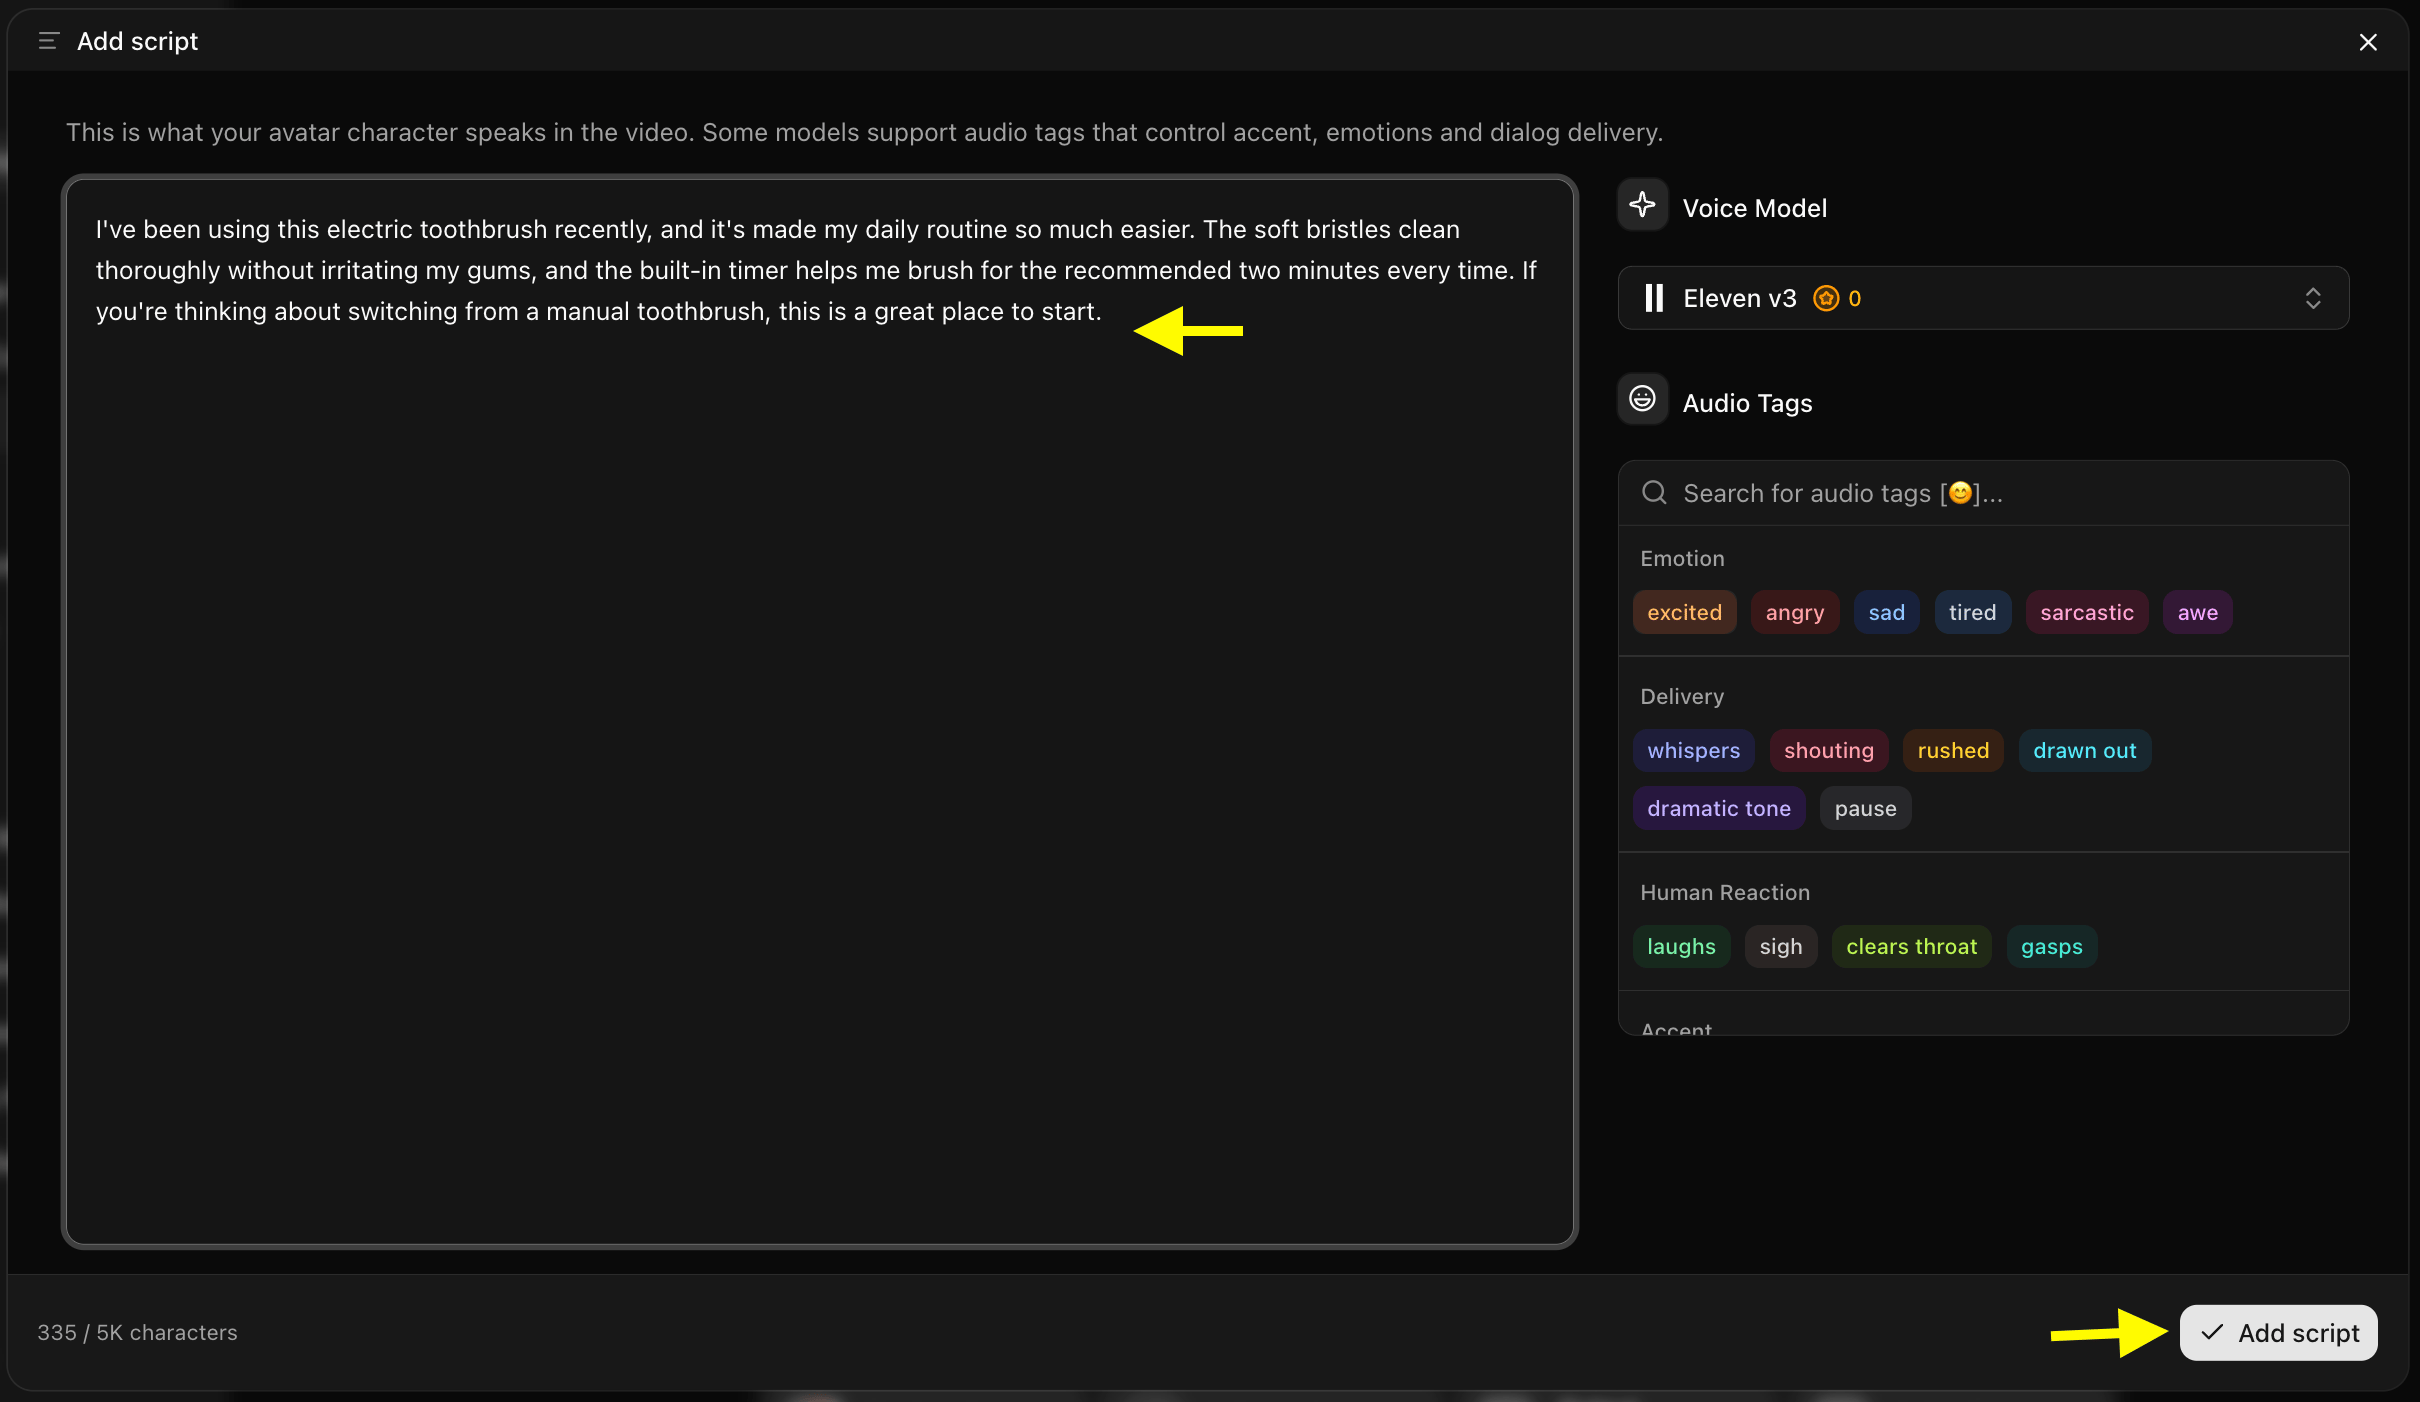
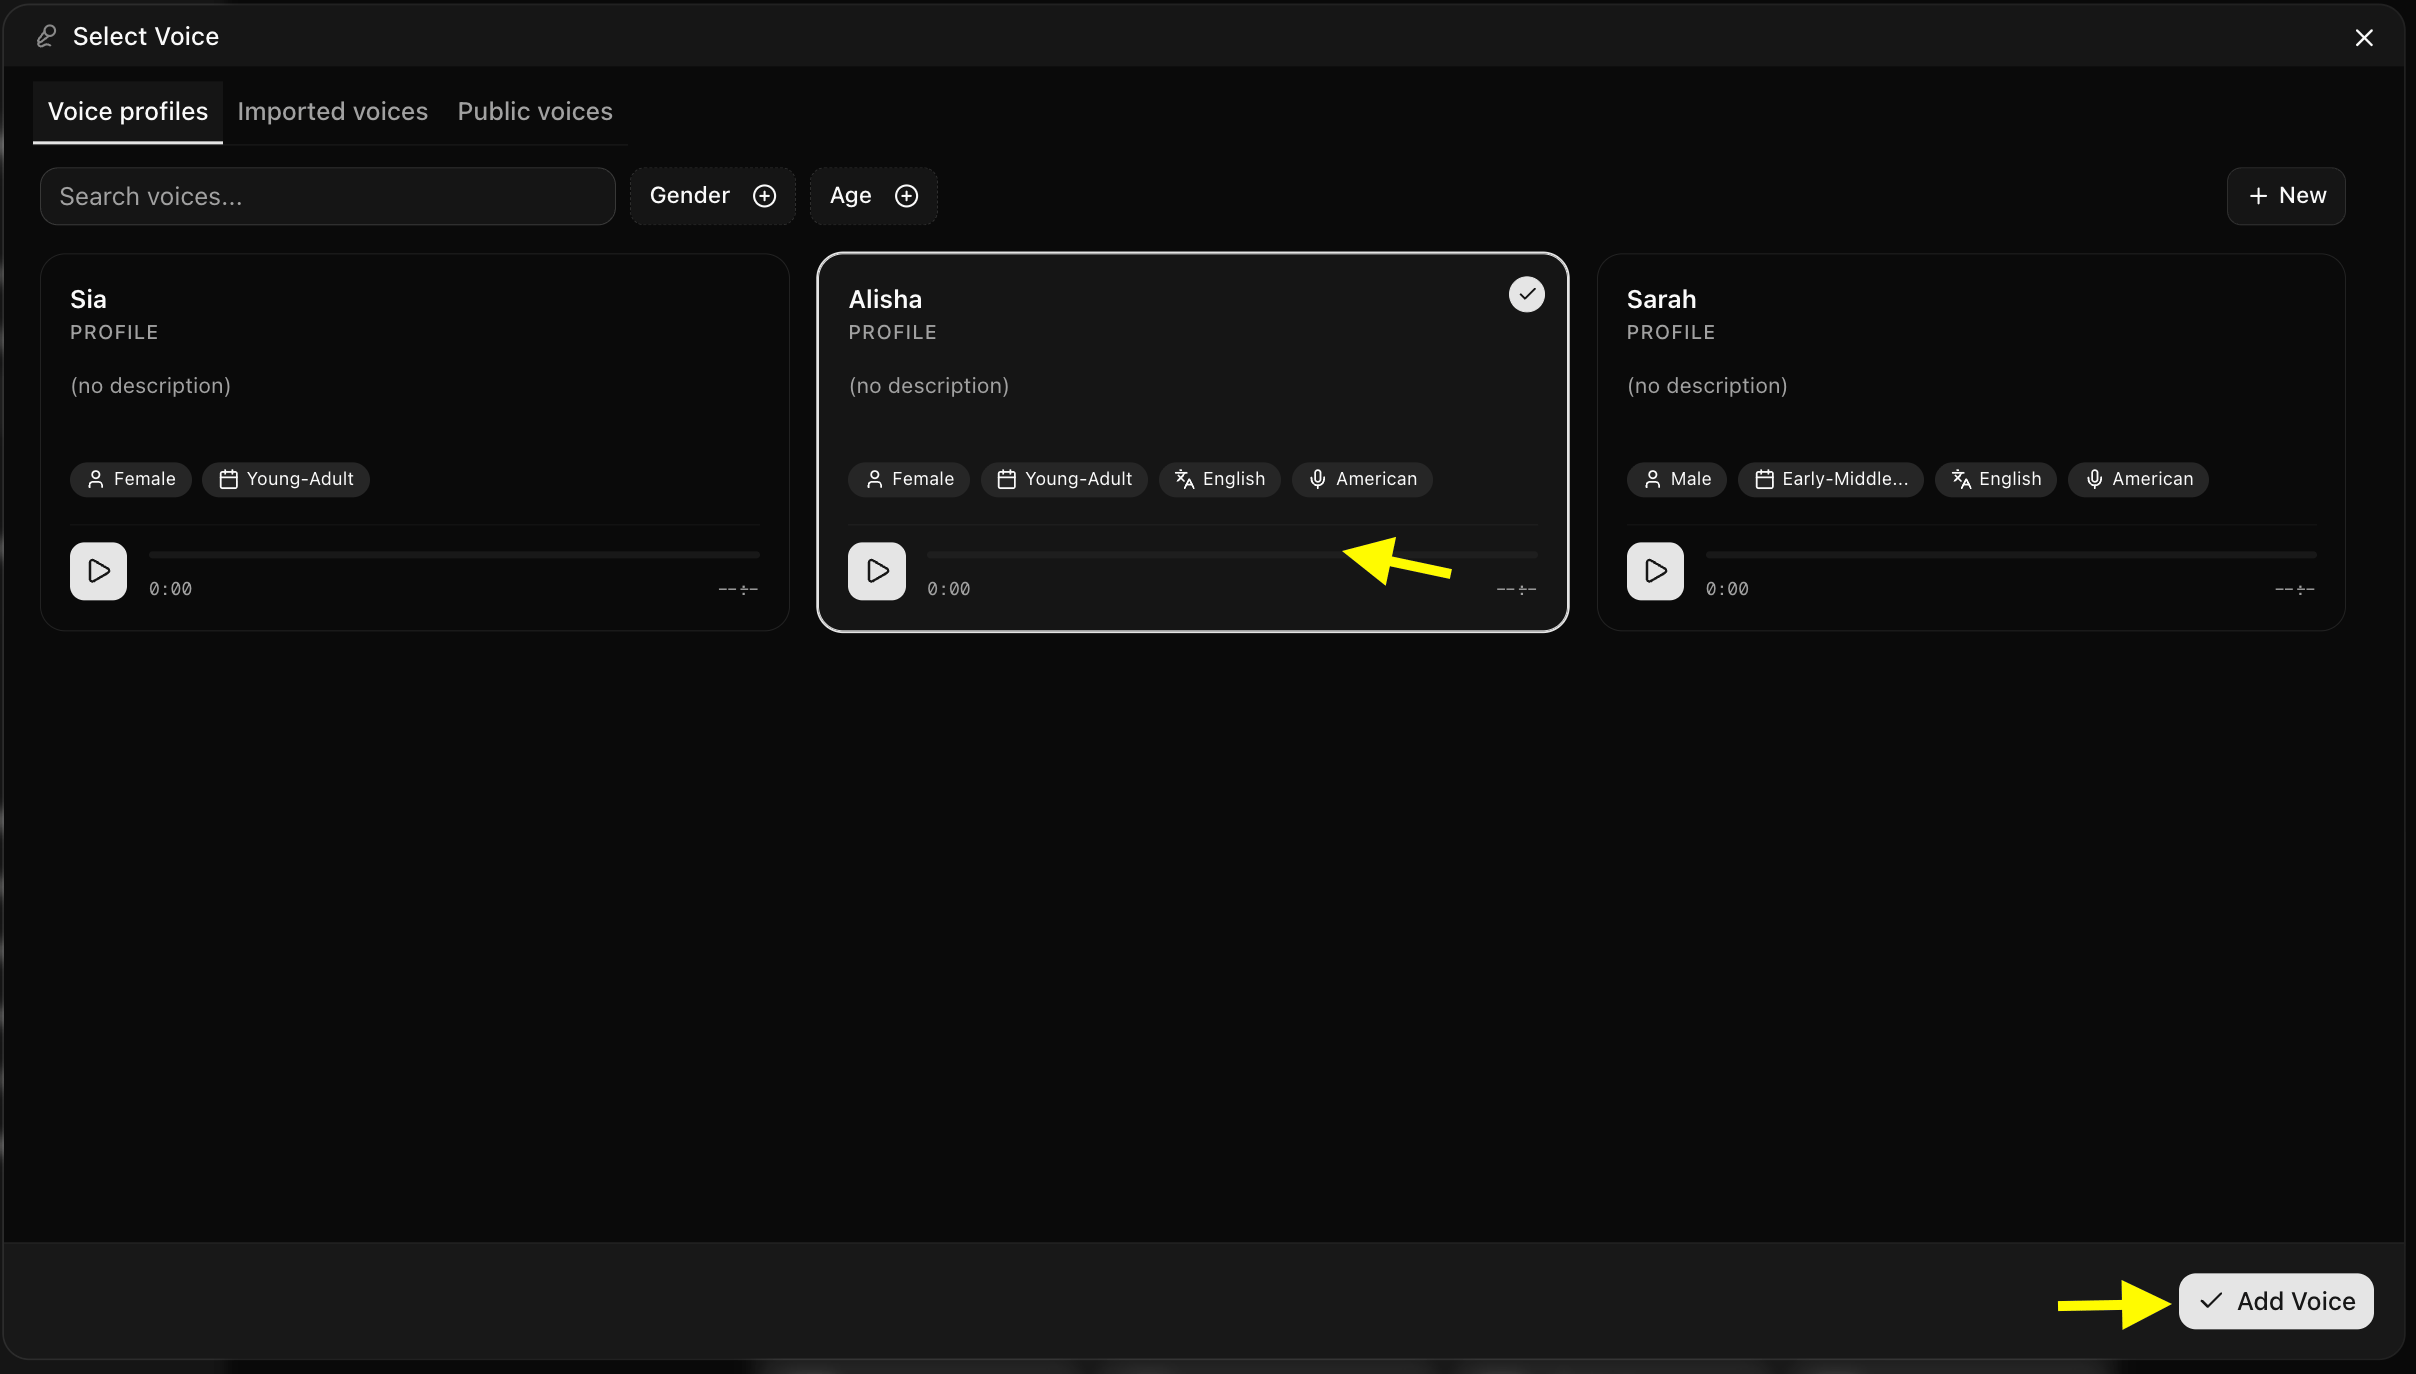
Step 10: Select an AI Voice for Your Product Presenter
Click on Select Voice to choose an AI voice for your presenter.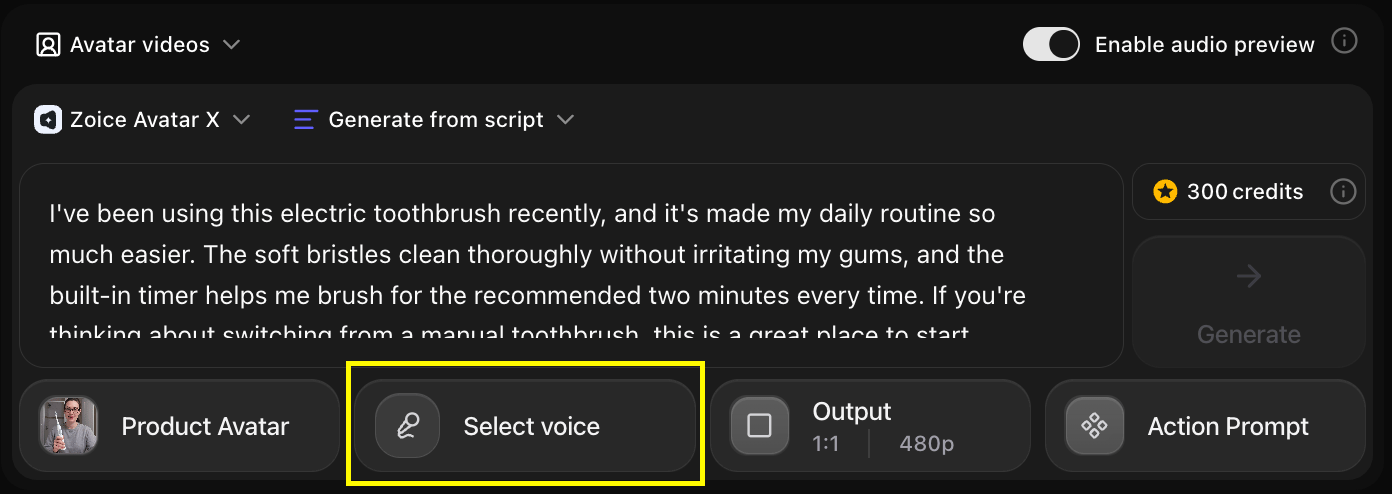
Step 11: Configure Output Settings
Adjust your video resolution, aspect ratio (16:9 for YouTube/Web, 9:16 for TikTok/Reels), and frame rate to match your distribution platform.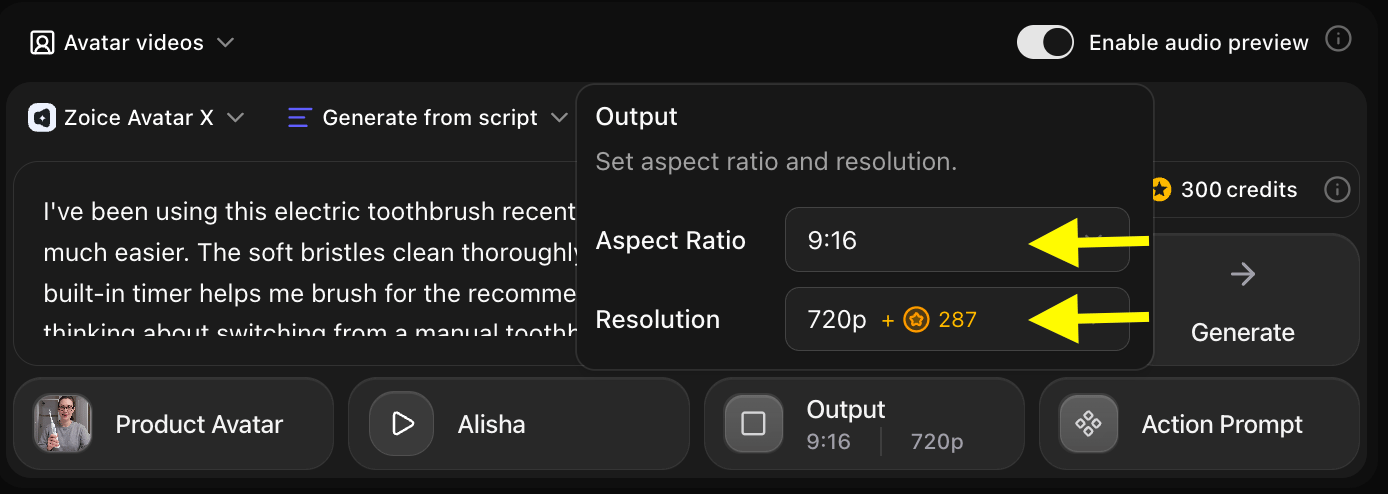
Step 12: Add Product Action Prompts
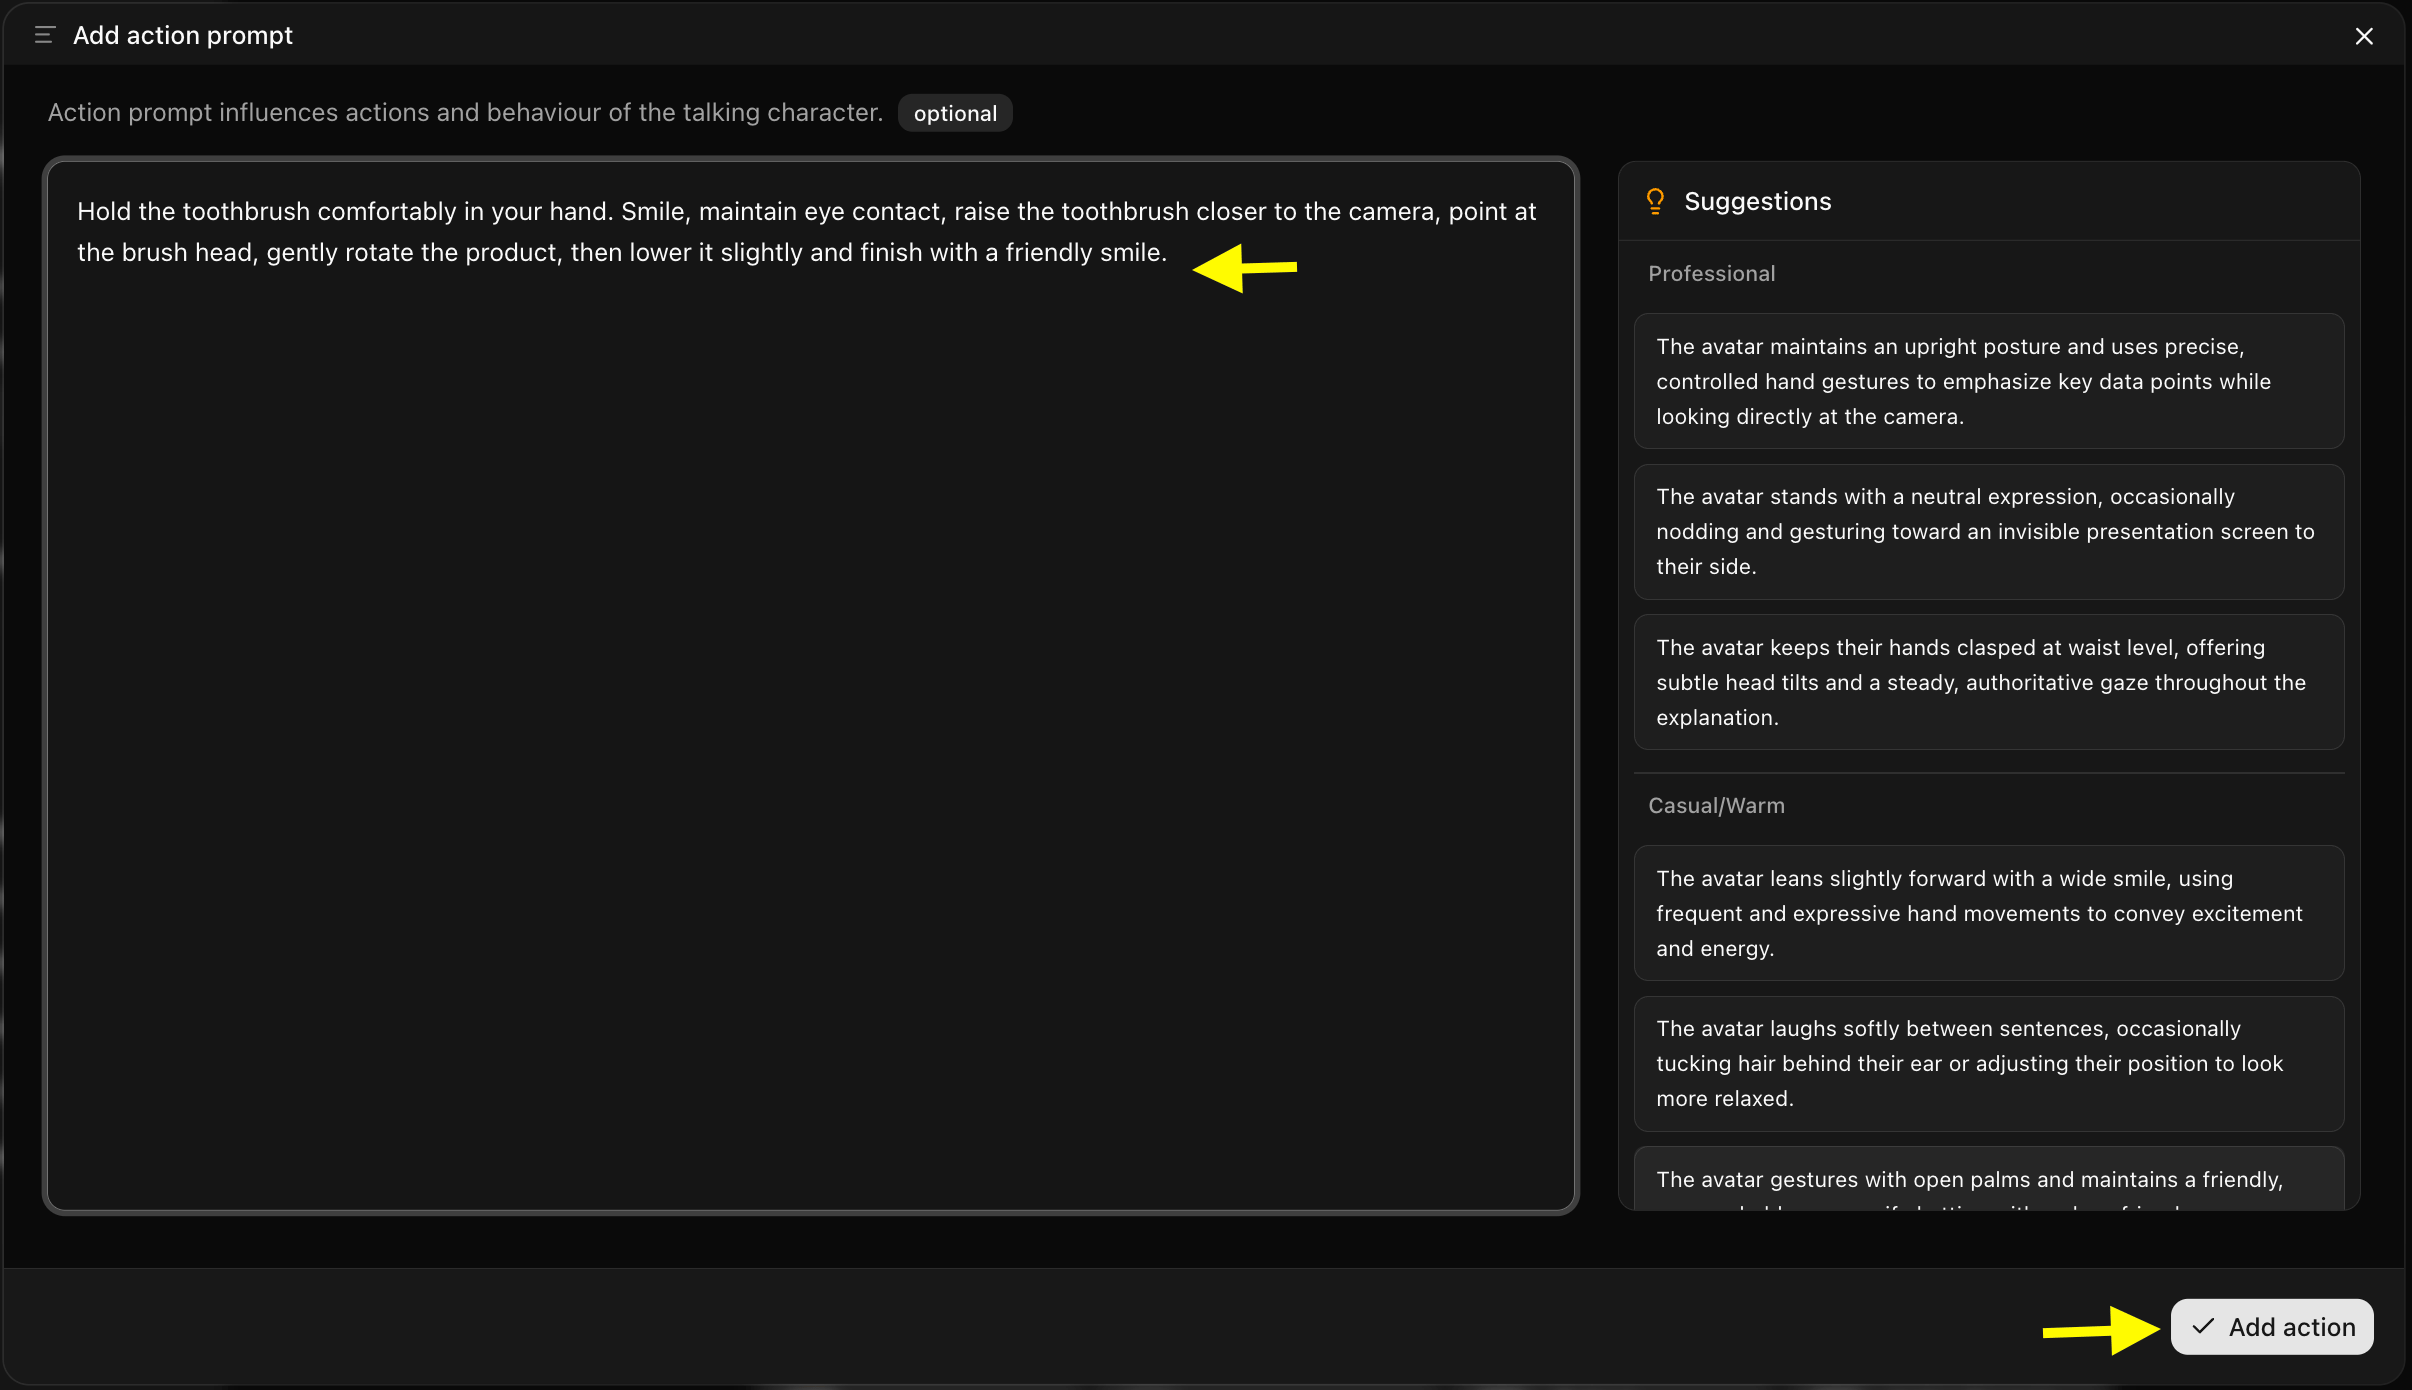
Click on Action Prompt to control how your AI avatar behaves during the product presentation.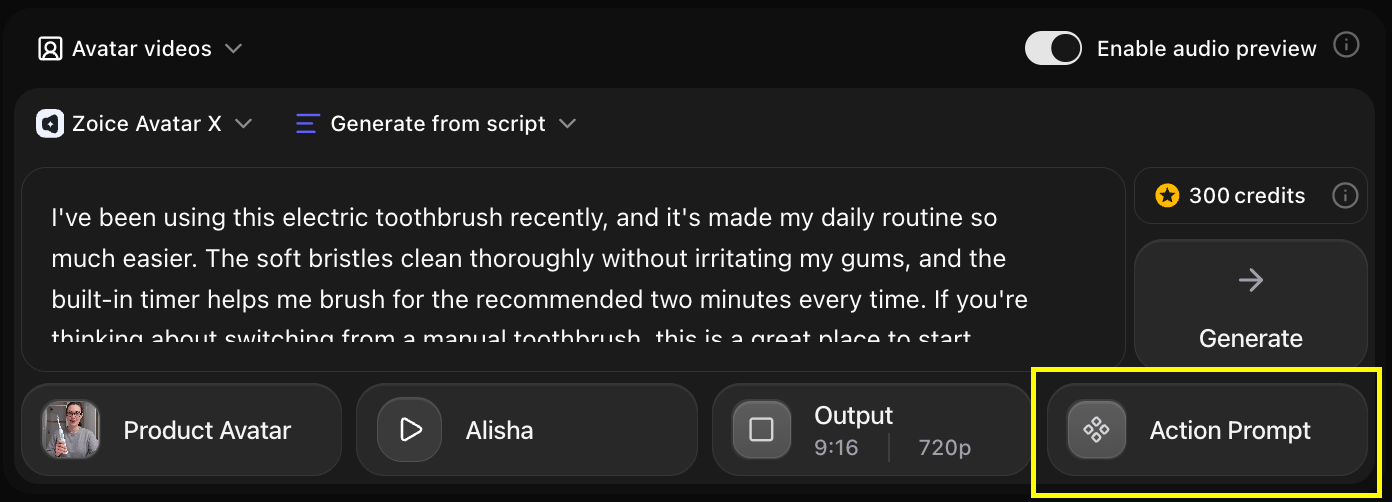
Step 13: Click Generate
Click Generate to start processing your product avatar video setup.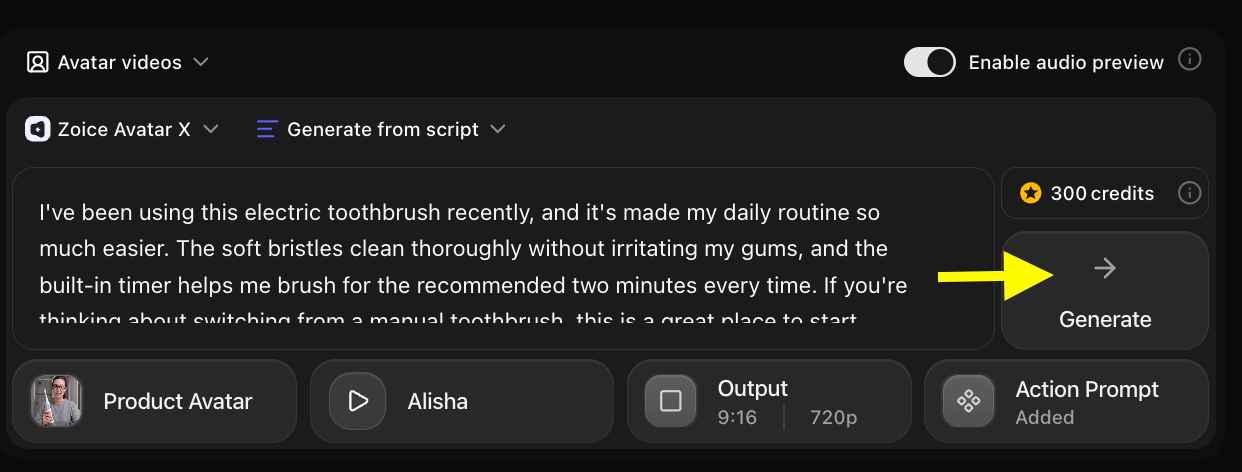
Step 14: Preview Audio and Click Generate Avatar Video
Once you click Generate, the AI voice track is generated first. Listen to the audio preview to verify that the voice tone, speech pacing, and pronunciation are generated properly. If everything sounds right, click Generate Avatar Video to render the video, and wait a few minutes for the final video generation to complete.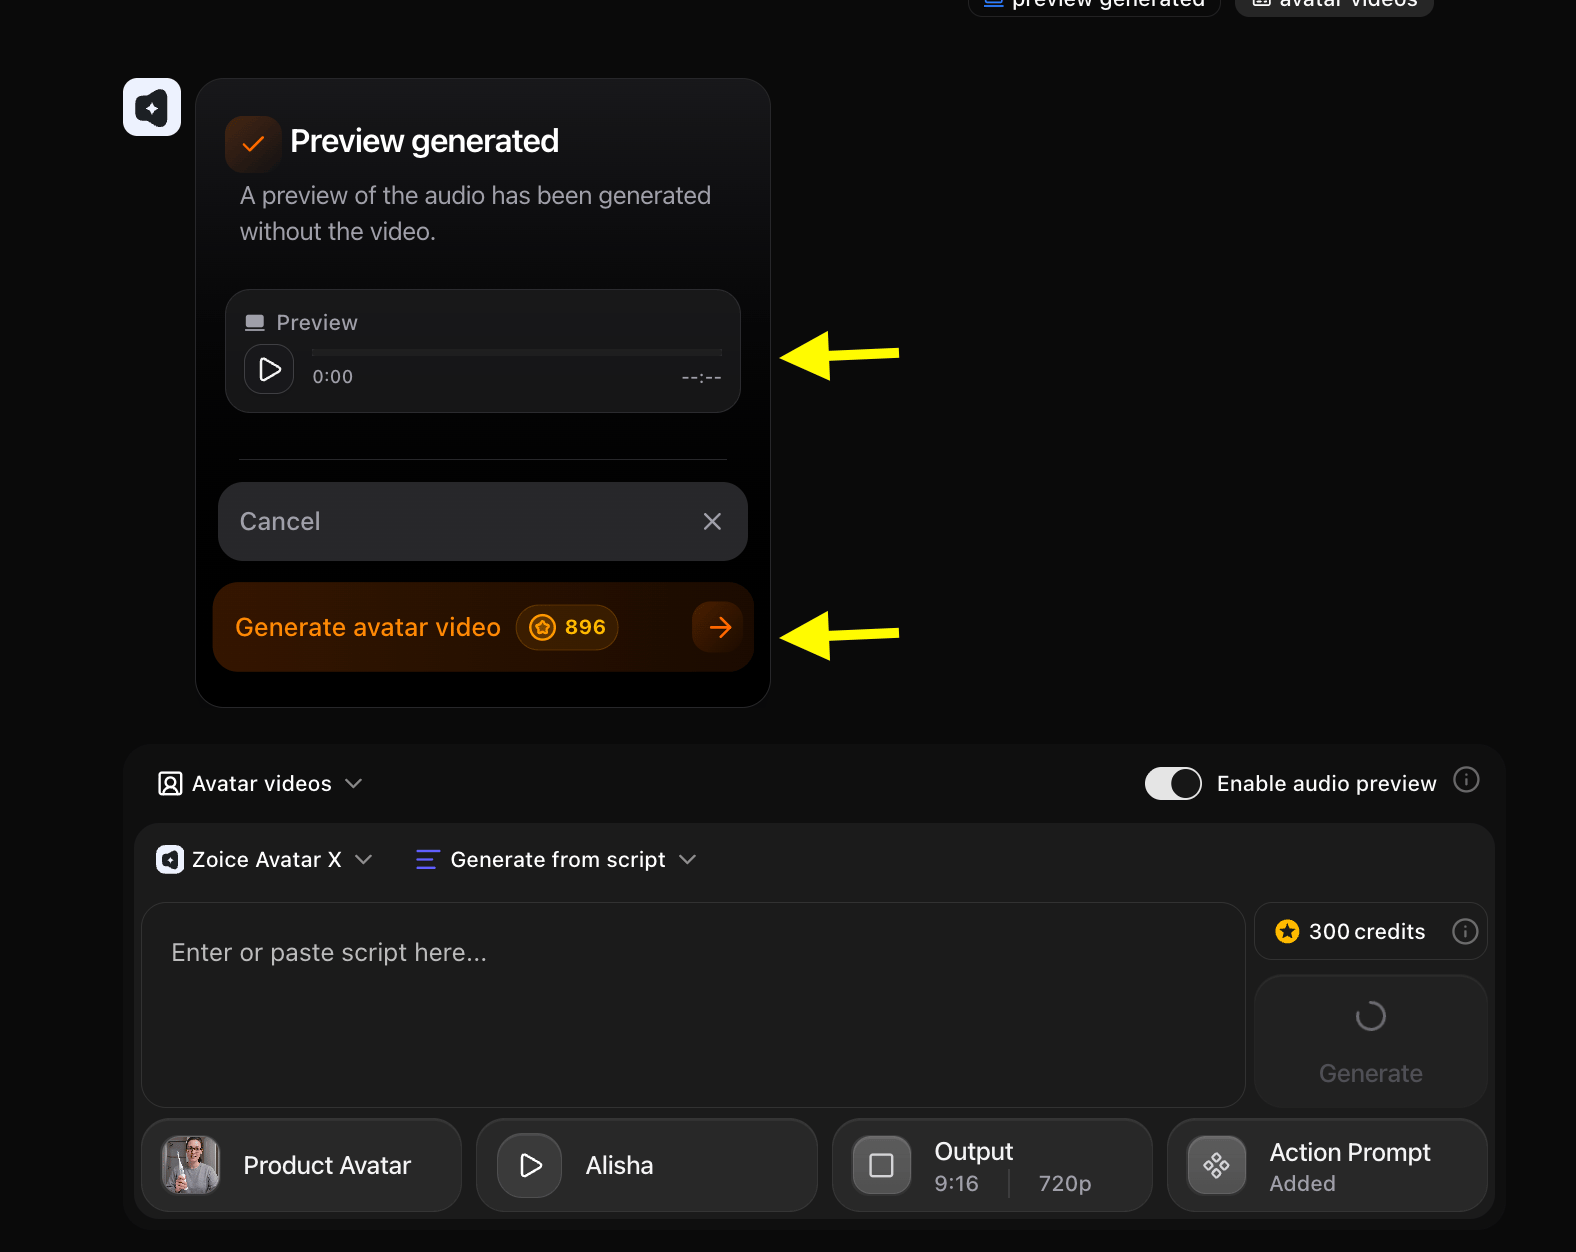
Step 15: Preview and Download Your Video
Once processing is complete, play your video preview to verify speech timing and visual presentation. Click Download to save the final video file.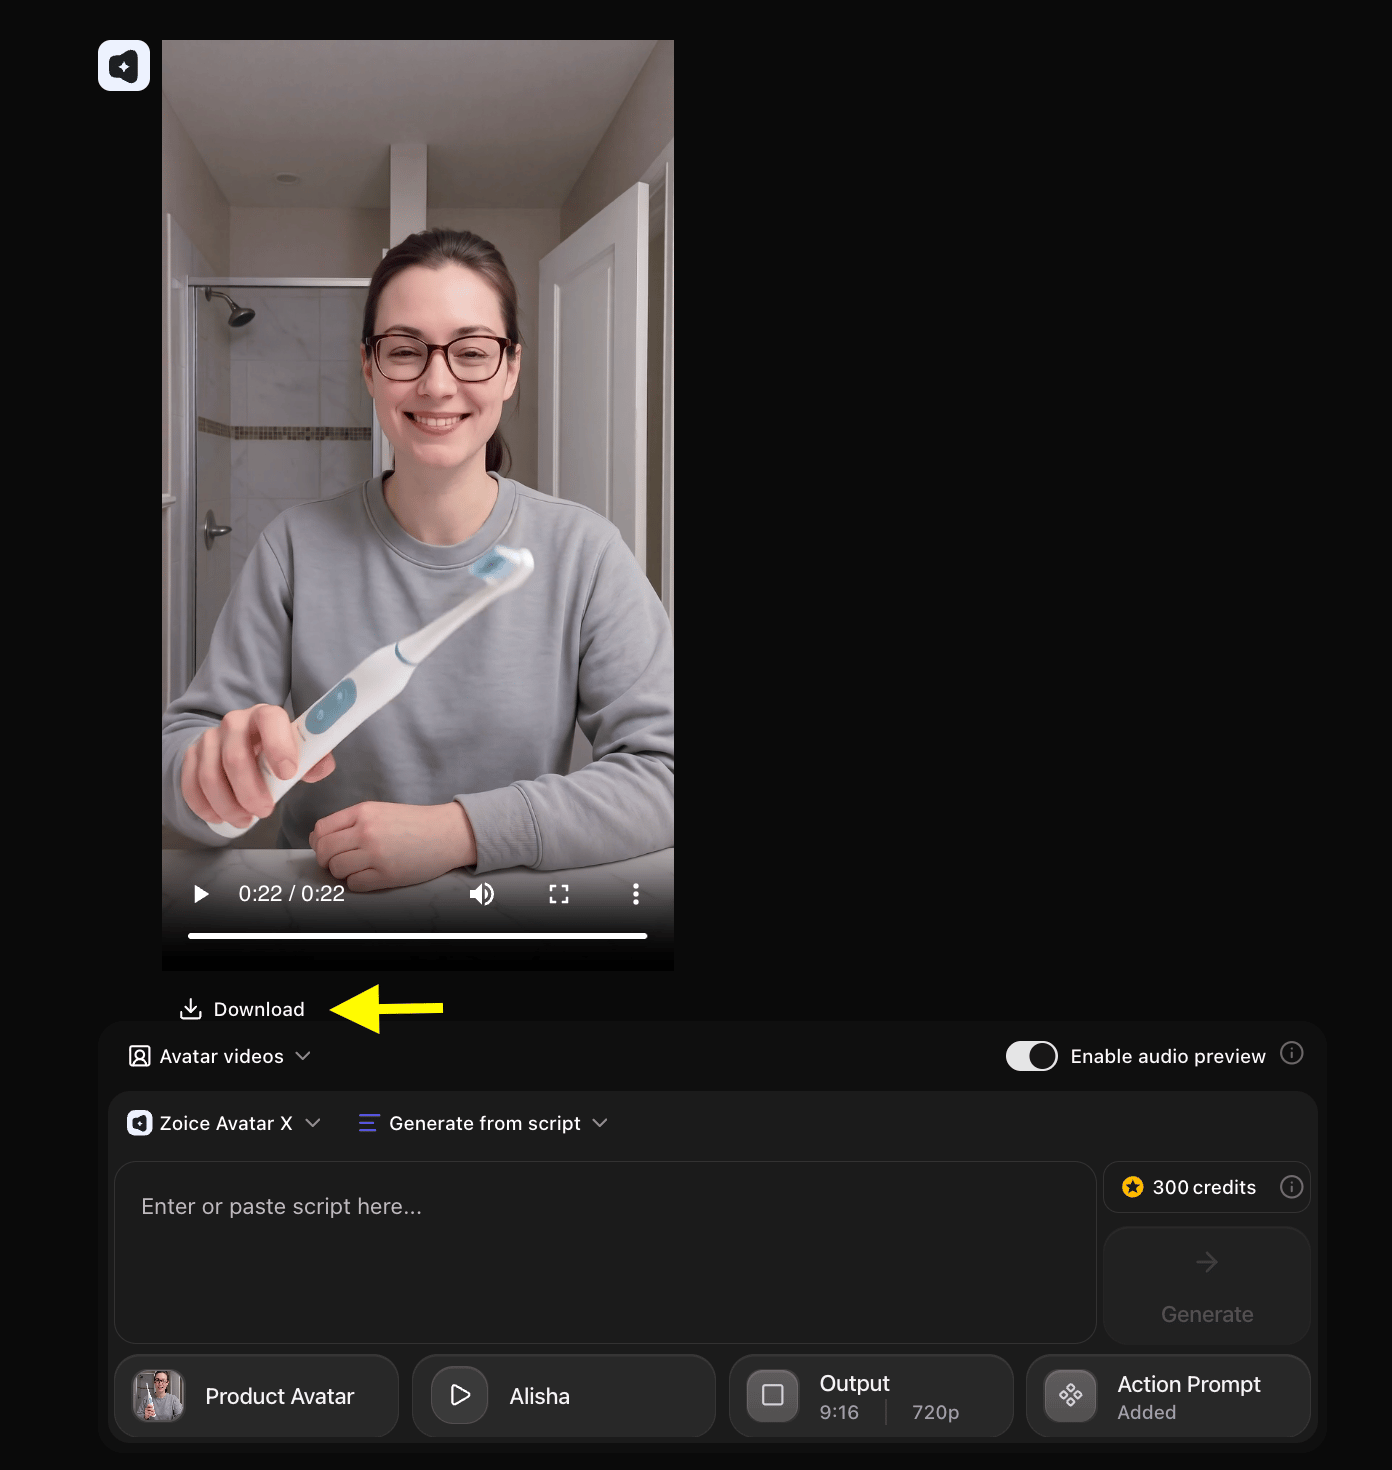
Example Input Image, Script, Action Prompt & Output Video
To help you get started, here is an example of an input image, script, action prompt, and generated AI product avatar video.Used Image
Used Script
Used Action Prompt
Output Result Video
Below is the rendered AI product video based on the input script and action prompt:Best Practices for Avatar Product Presentations
To maximize conversions and engagement with your AI product avatar videos:- Keep Scripts Concise: Hook viewers in the first 3 seconds by showing the product immediately.
- Use Clear Lighting: Ensure your source image has strong lighting on both the avatar and the featured product.
- Match Voice Persona: Pick an energetic voice for fitness/tech products and a reassuring voice for wellness/finance items.
- Include Strong CTAs: Clearly direct viewers to click your link, visit your store, or purchase the product.